 |
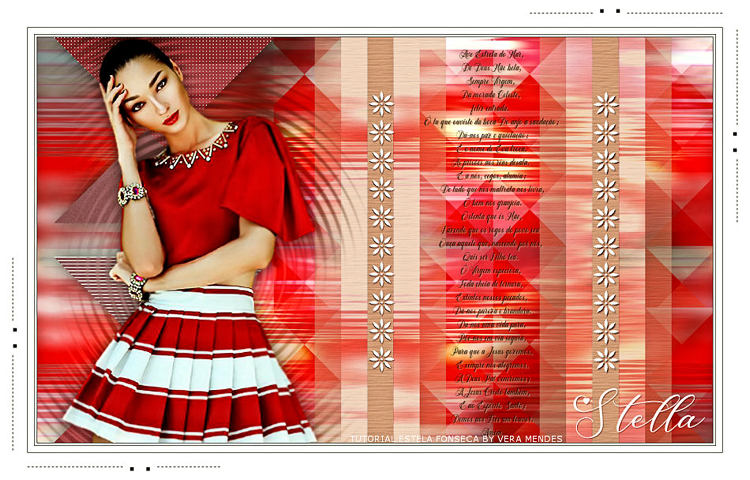
STELLA
Agradeço as maravilhosas tradutoras: Pinuccia, Clo , Maria T , Hillu e Kathy.
Material Necessário:
Tubes de Ana Ridzi, seu site, AQUI. Demais materiais feitos especialmente para este tutorial.
Plugins Utilizados: VM Natural / Lakeside Reflection** VM Toolbox / Instant Tile, Seamless Tile e Trimosaic** Carolaine and Sensibility / CS-HLines AP [Lines] / Lines-Silverlining Sybia / TILEMIRR ** Toadies / What Are You? Adjust / Variation AAA Frames / Foto Frame
** Importados para o Unlimited 2
Preparação: Abra o tube no PSP, duplique e feche o original. Copie a Textura para a pasta de Texturas do PSP.
Cores do Tutorial:
Primeiro Plano cor (2) #683c17 / Segundo Plano cor (1) #b7692c.
01- Abra uma nova imagem transparente de 1000/600 Pixels. Preencha com a cor do Segundo Plano Selections / Select All
02- Ative o tube da Personagem (AR1041 ) Copie e Cole na Seleção Selections / Select None
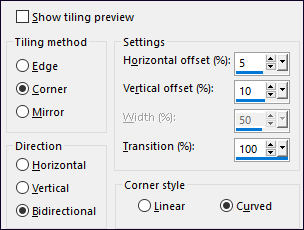
03- Effects / Image Effects / Seamless Tiling
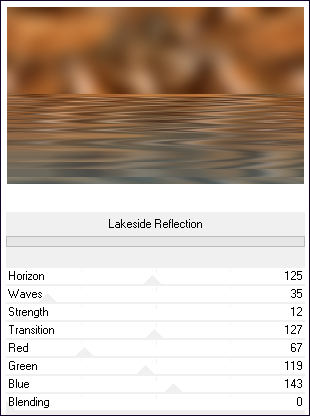
Adjust / Blur / Gaussian Blur / Radius 25 Effects / Plugins /<I.C.NET Software> Filters Unlimited 2.0 / VM Natural / Lakeside Reflection
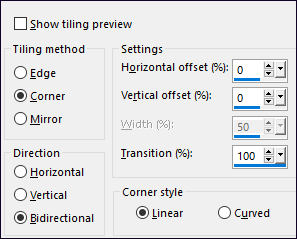
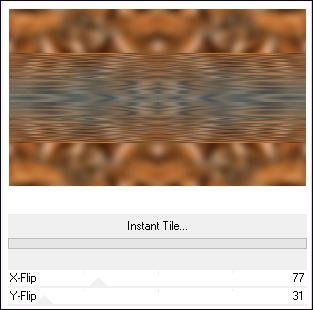
04- Effects / Plugins /<I.C.NET Software> Filters Unlimited 2.0/ VM Toolbox / Instant Tile / Default
Effects / Image Effects / Seamless Tiling
Layers / Duplicate
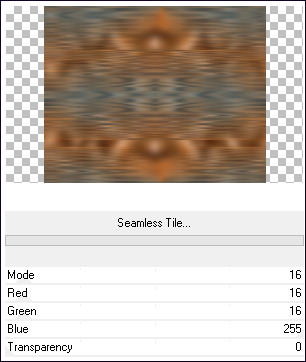
05- Effects / Plugins /<I.C.NET Software> Filters Unlimited 2.0 / VM Toolbox / Seamless Tile / Default
Effects / Edge Effects / Erode
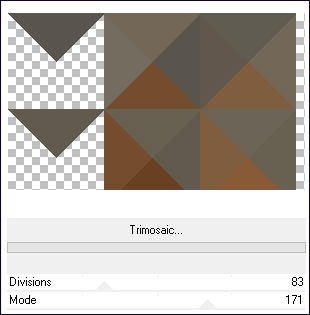
06- Effects / Plugins / <I.C.NET Software> Filters Unlimited 2.0 / VM Toolbox/ Trimosaic: 83 / 171
Objects / Align / Right
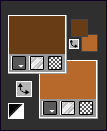
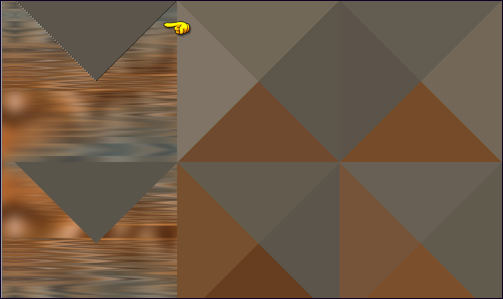
07- Ative a Varinha Mágica configurada como segue
Selecione o triângulo do canto superior esquerdo:
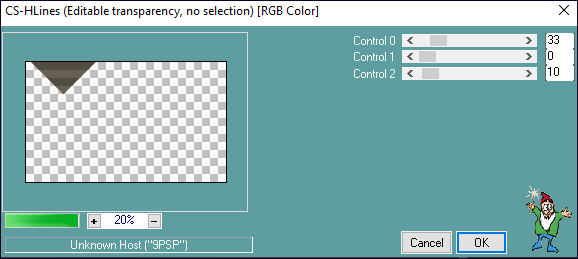
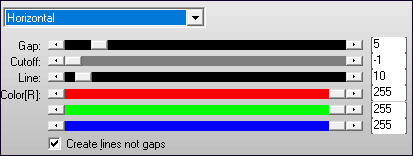
08- Selections / Promote Selection to Layer Selections / Select None Effects / Plugins / Carolaine and Sensibility / CS-HLines
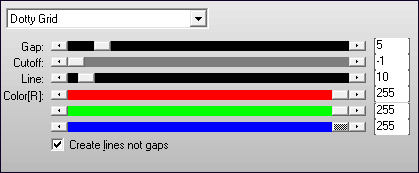
09- Effects / Plugins / AP [Lines] / Lines-Silverlining
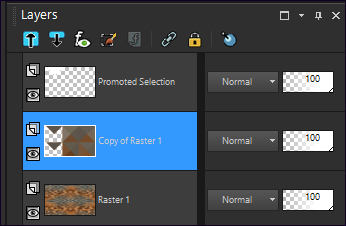
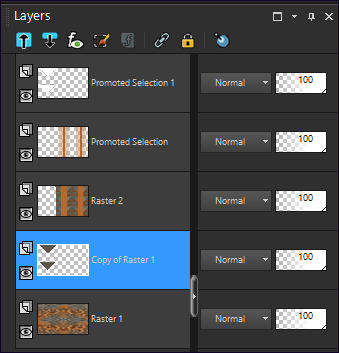
Ative a Layer <<Copy of Raster 1>>
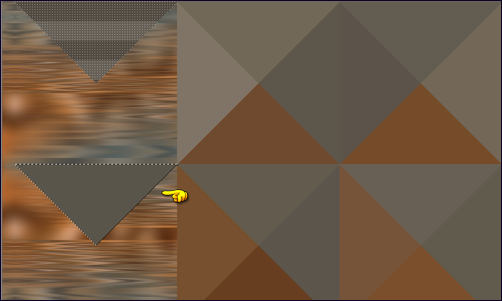
10- Ative a <<Varinha Mágica>> Configurada como antes e selecione o segundo triângulo da esquerda
Selections / Promote Selection to Layer Selections / Select None
11- Effects / Plugins / AP [Lines] / Lines-Silverlining
Ative a Layer do topo <<Promoted Selection >> Layers / Merge / Merge Down
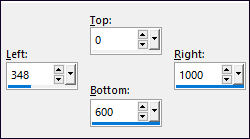
12- Effects / 3D Effects / Drop Shadow: 0 / 0 / 50 / 30 / Cor (5) #000000 Ative Novamente a Layer <<Copy of Raster 1>> Selections Tool (S) Rectangle / Custom Selection:
13- Edit / Cut (a imagem será cortada e copiada) Selections / Select None Cole como nova layer
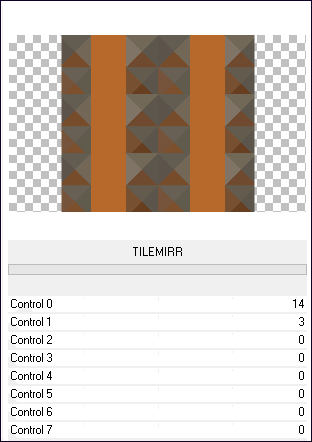
14- Effects / Plugins /<I.C.NET Software> Filters Unlimited 2.0 / Sybia / TILEMIRR
Objects / Align / Right
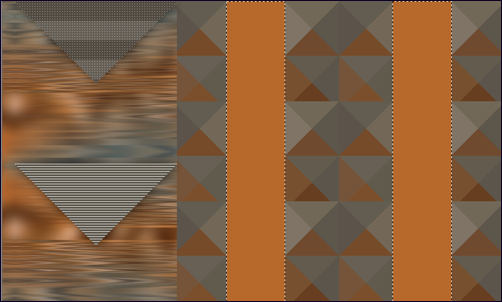
15- Ative a Varinha mágica e selecione as duas listas verticais como segue:
Selections / Promote selection to layer Selections / Select None
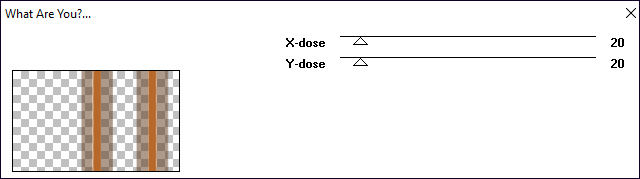
16- Segundo Plano cor (3) #f2ceb4 Effects / Plugins / Toadies / What Are You? 20 / 20
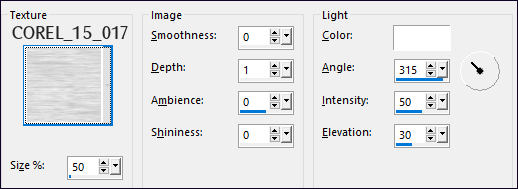
17- Effects / Texture Effects / Texture:
Ative a Layer <<Copy of Raster 1>>
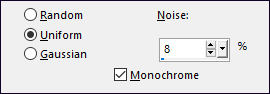
18- Image / Mirror / Mirror Vertical Adjust / Add Remove Noise / Add Noise:
Effects / 3D Effects / Drop Shadow: 0 / 0 / 50 / 30 / Cor #000000
19- Ative a Layer <<Raster 2>> Blend Mode / Overlay
20- Ative a Layer do Fundo <<Raster 1>> Ative o <<EF_Stella_Deco-1>> Copie e Cole como nova layer Blend Mode / Overlay
21- Ative a Layer do Topo Ative <<EF_Stella_Texto1>> Copie e Cole como nova layer Pick Tool (K) Posição X (573) Posição Y (18) Tecla "M" para desativar a Pick
Effects / 3D Effects / Drop Shadow: 1 / 1 / 50 / 1 / Cor (3) #f2ceb4 ( 2 vezes)
22- Ative o <<EF_Stella_Título>> Copie e Cole como nova layer Posicione à gosto! Effects / 3D Effects / Drop Shadow: 1 / 1 / 50 / 1 / Cor (2) #683c17
23- Ative << EF_Stella_Deco-2>> Copie e Cole como nova layer Pick Tool (K) Posição X (490) Posição Y (80) Tecla "M" para desativar a Pick
Effects / 3D Effects / Drop Shadow: 1 / 1 / 50 / 1 / Cor (2) #683c17
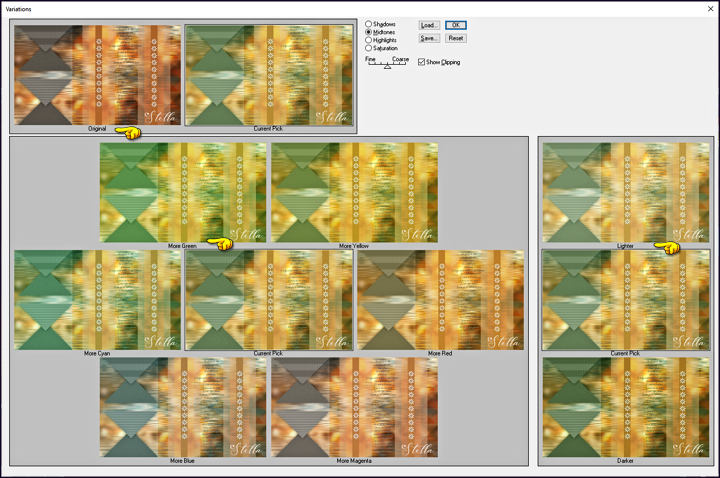
24- Layers / Merge / Merge Visible Effects / Plugins / Adjust / Variation Clique uma vez em <<original>> Clique Uma vez em <<More green>> e clique uma vez em <<Lighter >>
25- Ative o tube da Personagem / Copie e Cole como nova Layer Image / Resize / 75%... Resize All Layers ... Desmarcado Posicione à esquerda
26- Effects / 3D Effects / Drop Shadow: 0 / 0 / 50 / 30 / Cor (5) #000000 Layers / Duplicate
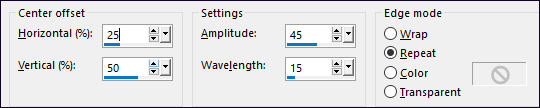
27-Ative a Layer <<Raster 1>> Adjust / Blur / Gaussian Blur / Radius 25 Effects / Distortion Effects / Ripple:
Blend Mode / Luminance / Opacidade/ 79%
28- Image / Add Borders / Symmetric Marcado / 1 Pixel cor Preta Image / Add Borders / Symmetric Marcado / 3 Pixels cor branca Image / Add Borders / Symmetric Marcado / 1 Pixel cor Preta Image / Add Borders / Symmetric Marcado / 50 Pixels cor branca
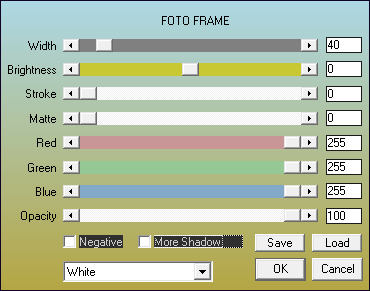
29- Effects / Plugins / AAA Frames / Foto Frame
Ative o <<EF_Stella_Deco-Final>> Copie e Cole como nova layer Posicione
30- Assine seu trabalho Layers / Merge / Merge All Salve Como JPG.
Versão 2: Tube de CibiBijoux
Testado por Vera Mendes:
Versão de Pinuccia:
Versão de Maria T:
Versão de Clo:
Versão de Hillu:
Versões de Keetje:
©Tutorial criado por Estela Fonseca em 19/04/2021. |