 |
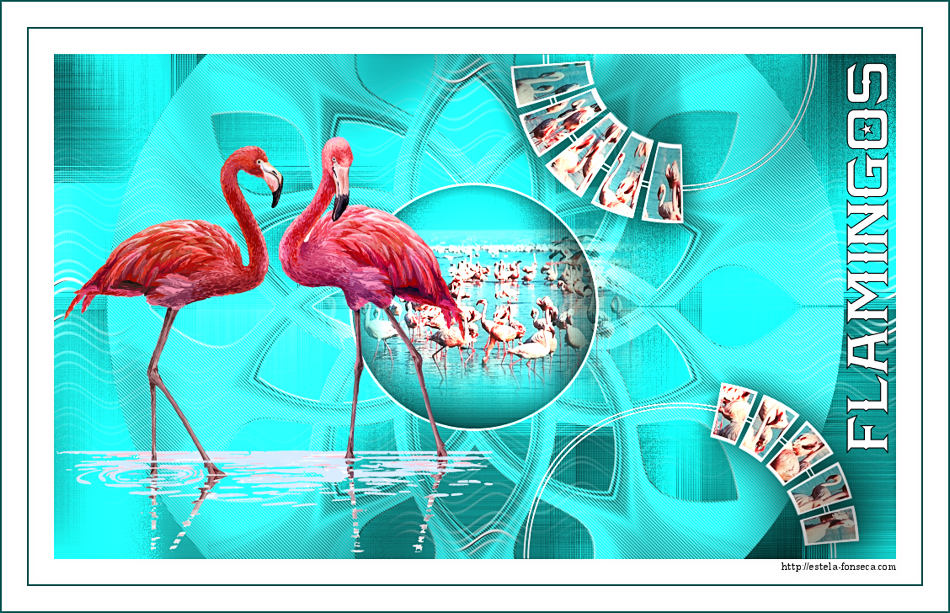
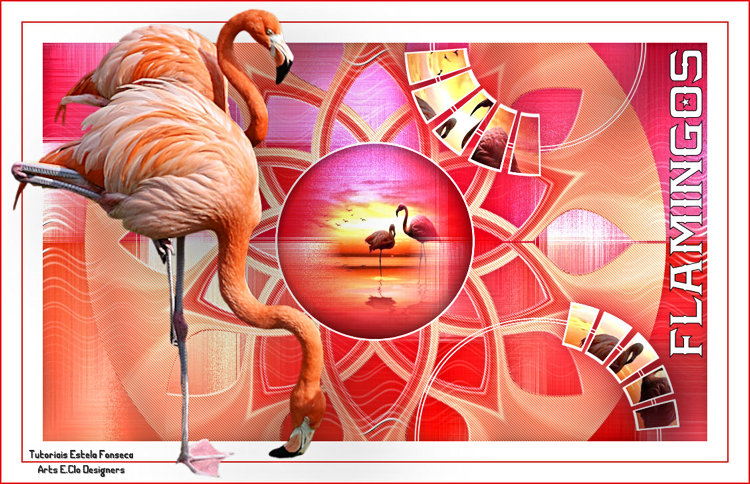
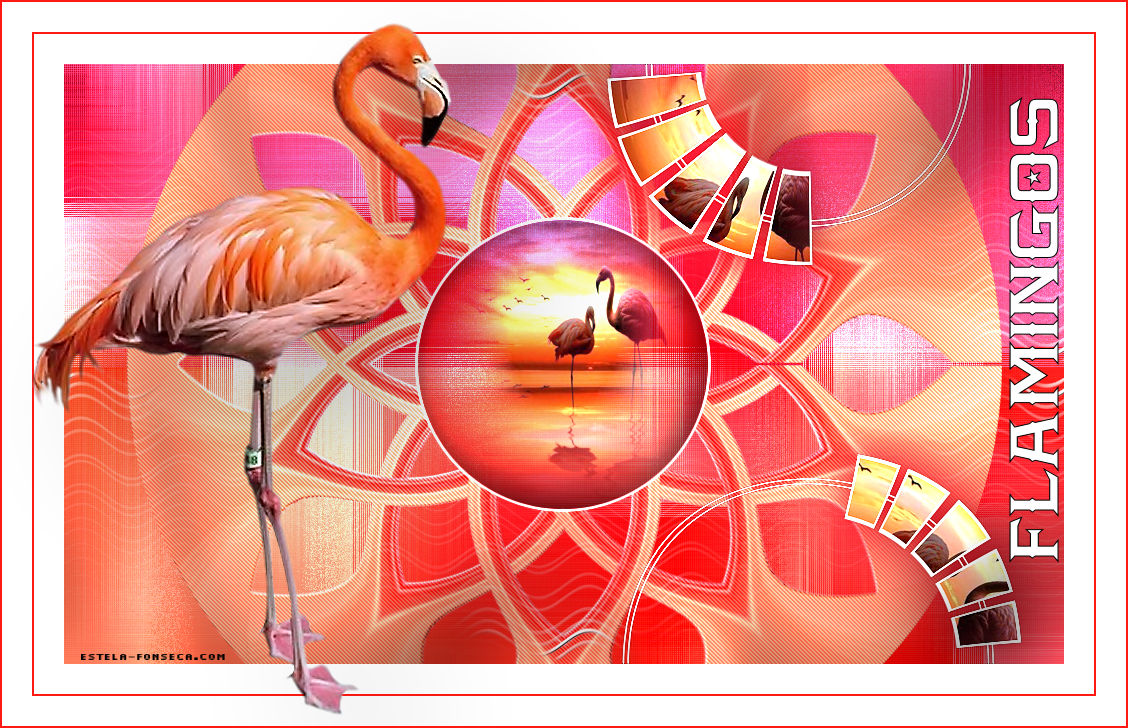
FLAMINGOS
Agradeço as tradutoras: Pinuccia, Clo, Hillu e Maria T.
Material Necessário:
Tubes de Guismo , AQUI. Tube de Thaf's, AQUI. Demais materiais feitos especialmente para este tutorial.
♥ Agradeço as artistas pelas lindas criações (Mask e Tubes e afins) Não altere o nome nem remova a marca d'água do original. Não compartilhe em grupos ou ofereça-os em seus sites, blogs etc ... Seu uso nos tutoriais está sujeito a autorização dos autores. ♥
Plugins Utilizados: Medhi / Sorting Tiles FanHause / Loom Filters Factory Gallery C / Speed Flaming Pear / Flexify 2 MuRa's Meister / Copies e Pole Transform MuRas Seamless / Emboss at Alpha Penta Com / Jeans Filters Unlimited 2.0 / &<Background Designers IV> @Night Shadow Pool Alien Skin Eye Candy 5 / Impact / Perspective Shadow
** Dentro do Unlimited 2
Preparação: Abra os tubes no PSP, duplique e feche os originais. Trabalhes com as cópias!!! Remova a marca d'água dos autores apenas das cópias. Coloque a <<textura>> Na pasta de Texturas do PSP As seleções deste tutorial estão em canal alfa.
01- Abra a imagem <<Fundo-Flamingos>> Duplique e feche a original Convert Background Layer
02- Effects / Plugins / Medhi / Sorting Tiles
03- Effects / Plugins / FanHause / Loom ( 2 Vezes)
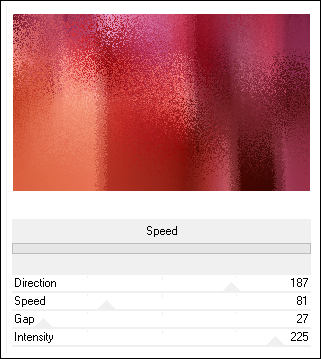
04- Layers / Duplicate Effects / Plugins / Filters Factory Gallery C / Speed
04- Blend Mode / Dodge (Ou outro) Image / Mirror / Mirror Horizontal
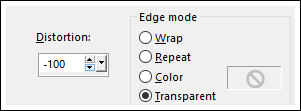
05- Layers / Merge / Merge Down Layers / Duplicate Effects / Geometric Effects / Perspective Vertical
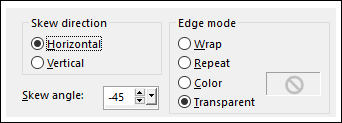
06- Effects / Geometric Effects / Skew:
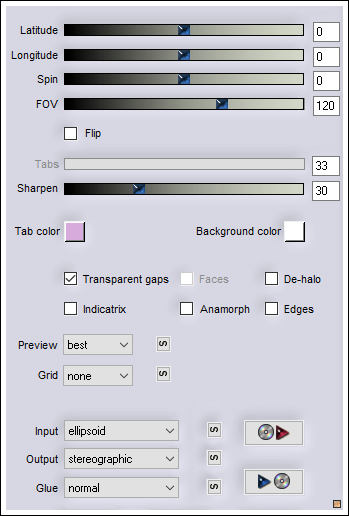
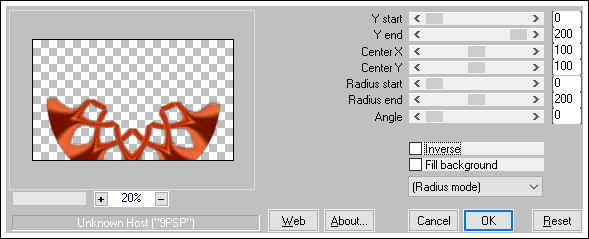
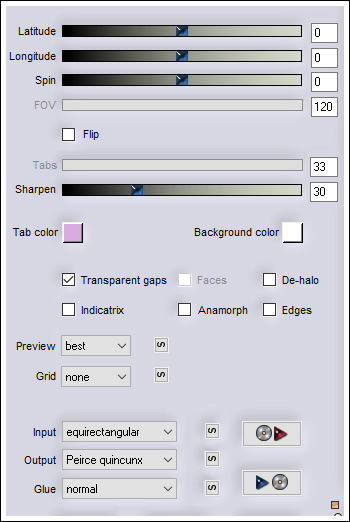
Effects / Plugins / Flaming Pear / Flexify 2
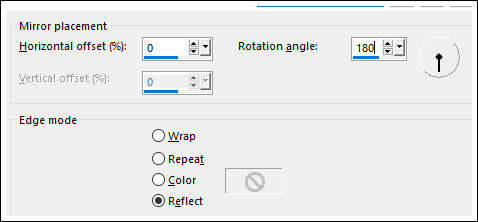
07- Effects / Reflection Effects / Rotating Mirror
Effects / Plugins / MuRa's Meister / Copies
08- Effects / Plugins / MuRas Seamless / Emboss at Alpha / Default Image / Resize / 50%... Resize All Layers ... Desmarcado Effects / Plugins / MuRas / Pole Transforme
09- Layers / Duplicate Image / Mirror / Mirror Vertical Layers / Merge / Merge Down
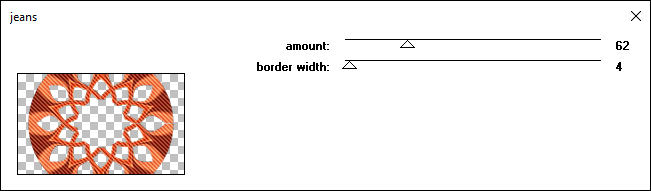
10- Effects / Plugins / Penta Com / Jeans Ative a Layer do Fundo Selections / Load save selection / Load selection from disk: Flamingos-1
11- Selections / Promote Selection to Layer Layers / Arrange / Bring to top
12- Ative o tube << K@rine_dreams_Misted_birds_3503_Juin_2016>> , copie e cole na seleção Mantenha a seleção!
13- Layers / New Raster Layer Effects / 3D Effects / Cutout
14- Mantenha a seleção! Selections / Modify / Select selection Borders
15- Preencha a seleção com a cor branca Selections / Select None Layers / Merge / Merge Down
16- Ative o <<Elemento-1>> Copie e Cole como nova layer Layers / Arrange / Move Down Ative a Layer do Topo
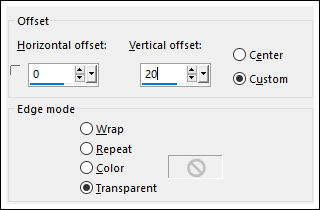
17- Ative o <<Elemento-2>> Copie e Cole como nova layer Effects / Image Effects / Offset:
18- Layers / Duplicate Layers / Merge / Merge Down Selections / Load Save Selection / Load selection from disk: Flamingos-2
19- Ative o tube de << Karine>> Copie e Cole como nova layer Posicionne sobre a seleção
20- Selections / Invert Delete no Teclado Selections / Select None
21- Layers / Arrange / Move Down Ative a Layer do Topo Layers / Merge / Merge Down
22- Selections / Load Save Selection / Load selection from disk: Flamingos-3 Cole como nova layer ( o tube ainda está na memória) Posicione sobre a seleção Selections / Invert Delete no Teclado
23- Selections / Select None Layers / Arrange / Move Down Ative a Layer do Topo Layers / Merge / Merge Down
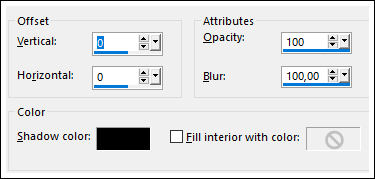
24- Effects / 3D Effects / Drop Shadow: 0 / 0 / 100 / 100 / Cor #ad1220 Effects / Plugins / Flaming Pear / Flexify 2
25- Objects / Align / Right Layers / Duplicate
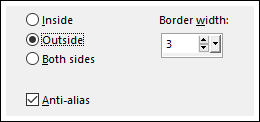
26- Image / Add Borders / Symmetric Marcado / 30 Pixels cor #ffffff Image / Add Borders / Symmetric Marcado / 2 Pixel cor #ff1913 Image / Add Borders / Symmetric Marcado / 30 Pixels cor #ffffff
27- Selections / Select All Selections / Modify / Contract 62 Pixels
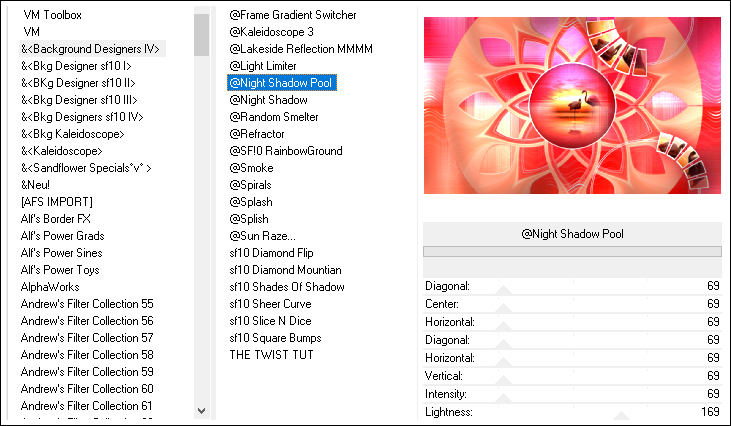
28- Effects / Plugins / Filters Unlimited 2.0 / &<Background Designers IV> @Night Shadow Pool
Selections / Select None Ative o tube << Thafs>> Copie e Cole como nova layer Posicione como preferir
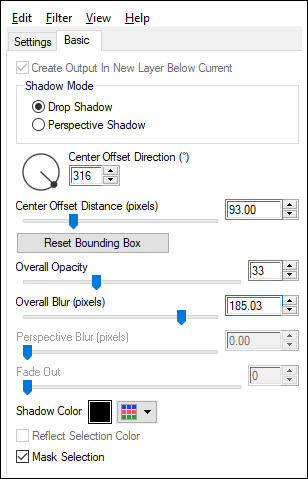
29- Effects / Plugins / Alien Skin Eye Candy 5 / Impact / Perspective Shadow / Drop Shadow Blurry
Adicione o <<Texto>> Posicione Assine seu trabalho
30- Image / Add Borders / Symmetric Marcado / 2 Pixel cor #fd1913 Salve Como JPG.
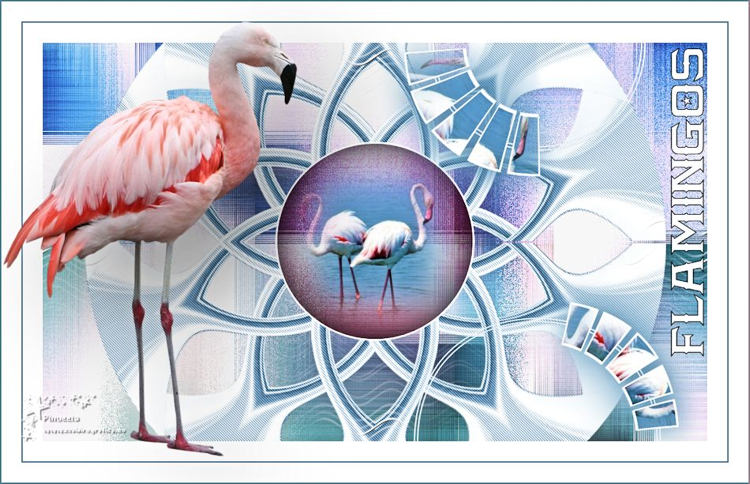
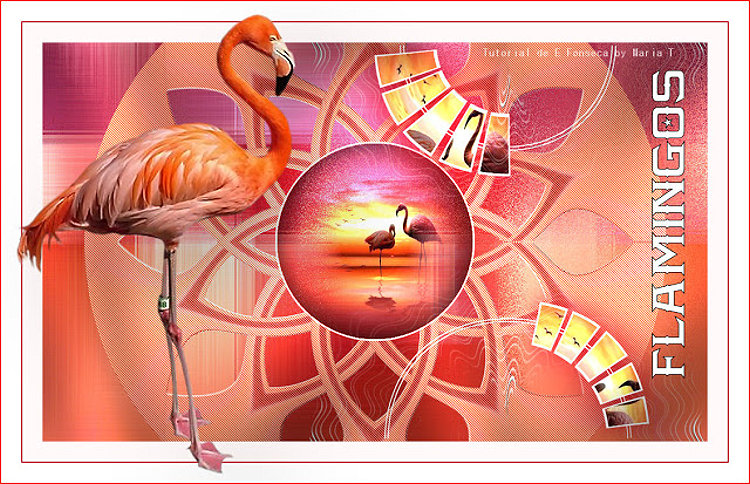
Versão 2:
Testado por Vera Mendes:
Versão de Pinuccia:
Versão de MariaT:
Versão de Clo:
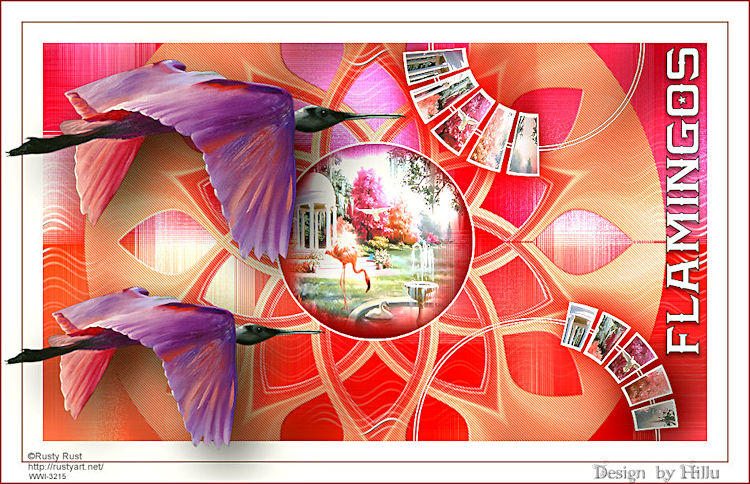
Versão de Hillu:
© Tutorial criado por Estela Fonseca
em fevereiro de 2021. |