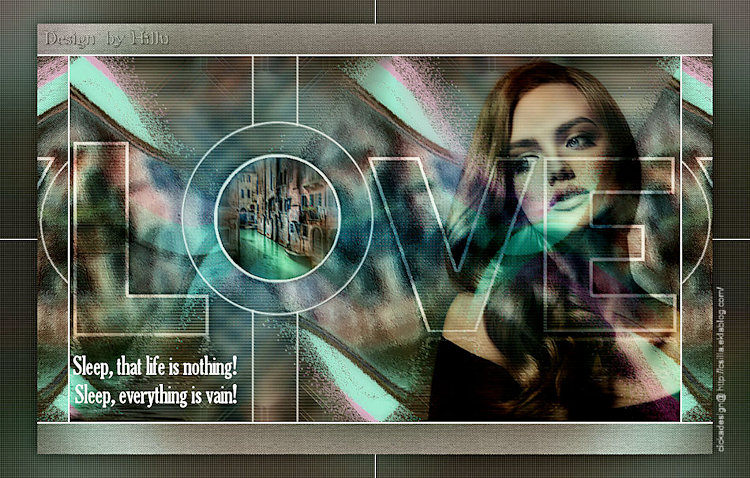
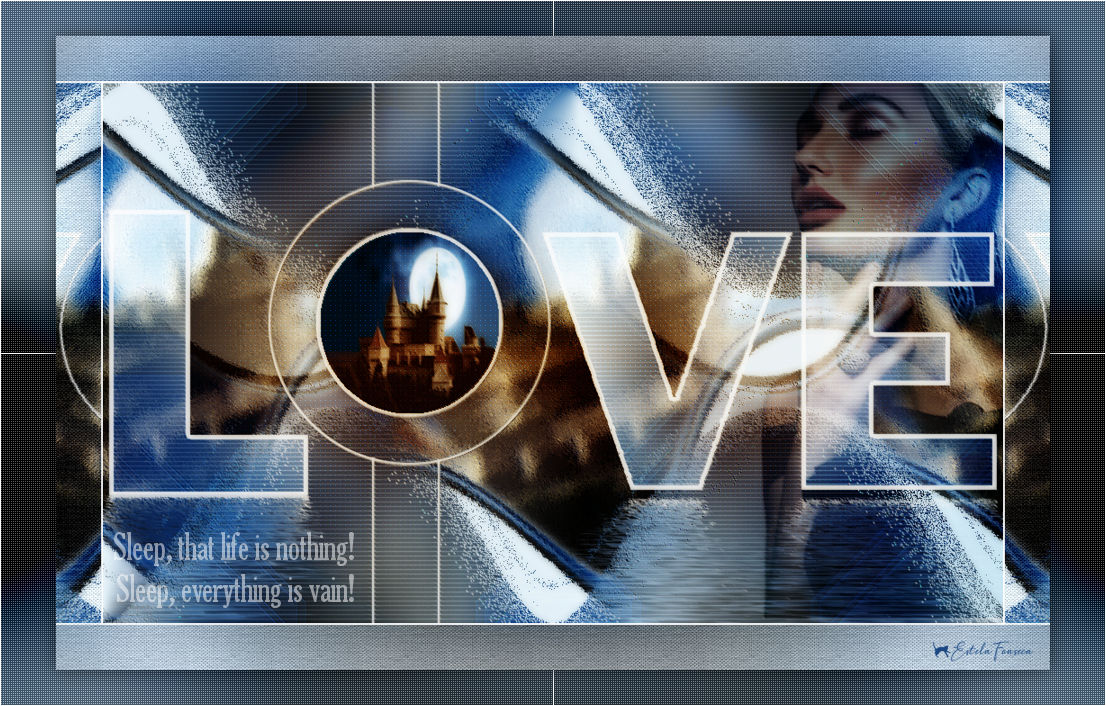
 |
DE NOITE...
Agradeço às tradutoras: Pinuccia , Clo , Hillu e Angela.
Material Necessário: Tubes de Luz Cristina, seu grupo, AQUI. Demais materiais feitos especialmente para este tutorial. Agradeço a Luz pelo lindo tube.
♥ Agradeço por me permitir usar suas lindas criações (Mask e Tubes e afins) Não altere o nome nem remova a marca d'água. Não compartilhe em grupos ou ofereça-os em seus sites, blogs etc ... Seu uso nos tutoriais está sujeito a autorização dos autores. ♥
Plugins Utilizados: Simple / Diamond** &<Bkg Designer sf10 I> / Cruncher** Carolaine and Sensibility / cs texture Flaming Pear / Flood & Flexify2 Alf's Power Toys / Zoom Noise & Split Distortion** Xero / Porcelain AAA Filters / Custom Paper Texture / Canvas Fine** Mock / Windo** Penta Com / Color Dot**
** Importado para dentro do Unlimited 2.
Preparação: Abra o tube no PSP, duplique e feche o original. As seleções deste tutorial estão em canal alfa.
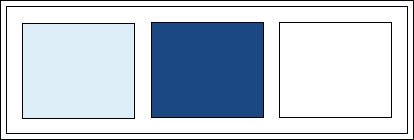
Cores:
01- Abra a layer <<Alpha_De_Noite) Duplique (Shift + D) Feche a original Colorize usando as cores de sua imagem
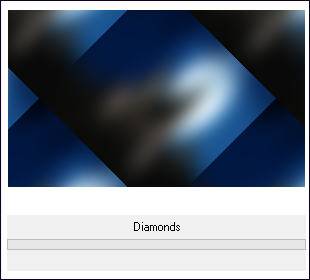
02- Effects / Plugins / <I.C.NET Software> Filters Unlimited 2.0 / Simple / Diamond
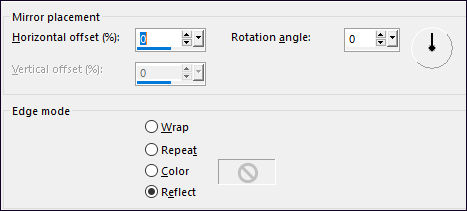
Effects / Reflection Effects / Rotating Mirror / Default
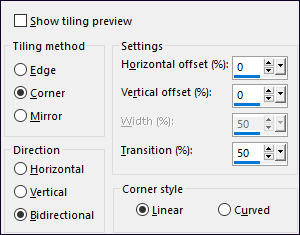
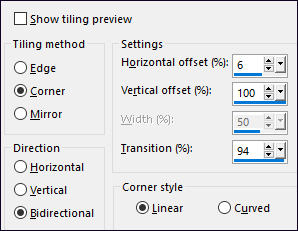
Effects / Image Effects / Seamless Tiling / Default
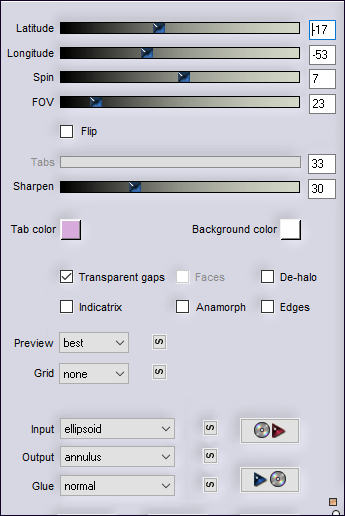
03- Layers / Duplicate Effects / Plugins / Flaming Pear / Flexify 2 (Preset <<De_Noite_Flexify2>> (na pasta do material)
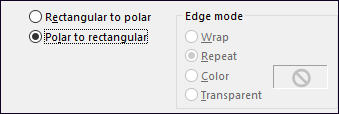
Effects / Distortion Effects / Polar Coordinates
Layers / Duplicate Image / Mirror / Mirror Vertical Layers / Merge / Merge Down
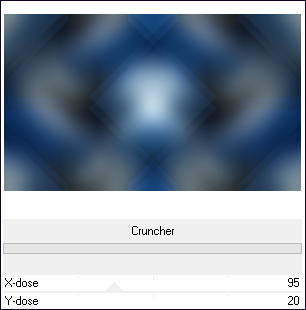
04- Ative a Layer do Fundo Effects / Plugins / <I.C.NET Software> Filters Unlimited 2.0 / &<Bkg Designer sf10 I> / Cruncher: 95/20
Effects / Edge Effects / Enhance More Effects / Plugins / Carolaine and Sensibility / cs texture
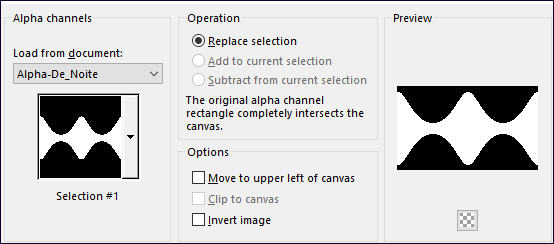
05- Ative a Layer do Topo Selections / Load save selection / Load selection from Alpha Channel: Selection #1
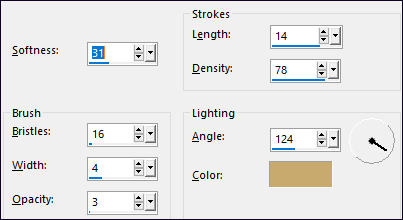
Layers / New Raster Layer Abra a imagem <<moon...> copie e cole na seleção Selections / Select None Effects / Art Média Effects / Brush Strokes:
Layers / Arrange / Move Down
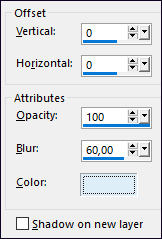
06- Ative a Layer do Topo Layers / Merge / Merge Down Effects / 3D Effects / Drop Shadow: 0 / 0 / 100/ 60,00 / #ddeef8
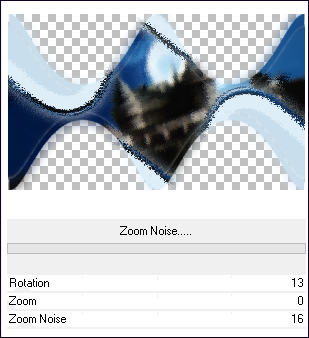
07- Primeiro Plano cor #1b4883 / Segundo Plano cor #ddeef8 ( cor escura e cor clara respectivamente) Effects / Plugins / Alf's Power Toys / Zoom Noise
08- Effects / Image Effects / Seamless Tiling / Side by Side
Blend Mode / Dissolve
09- Ative o <<Deco-1>> Copie e Cole como nova layer Pick (K) Posição X ( 184,00 ) Posição Y (-2,00 ) Tecla <<M>> para desativar a Pick.
Effects / Plugins / MuRa's Seamless / Emboss at Alfa / Default
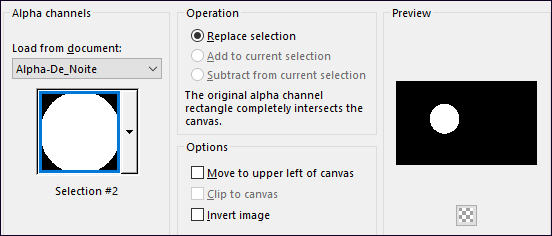
10- Selections / Load save selection / Load selection from Alpha Channel: Selection #2
Selections / Modify / Contract 5 Pixels
11- Abra a imagem JPG , copie e cole na seleção! Selections / Select None Effects / 3D Effects / Drop Shadow: 0 / 0 / 50 / 30 / #000000
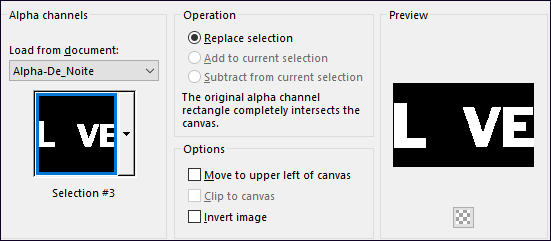
12- Layers / New Raster Layer Selections / Load save selection / Load selection from alpha channel: Selection #3
Preencha com a cor branca (#ffffff) Selections / Modify / Contract 5 Pixels
13- Ative a Layer do Fundo Selections / Promote Selection to Layer Layers / Arrange / Bring to top Selections / Select None Layers / Merge / Merge Down Effects / 3D Effects / Drop Shadow: 0 / 0 / 50 / 30 / #000000
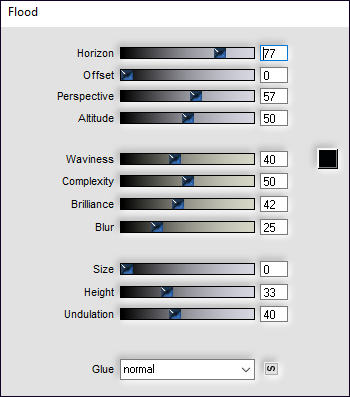
14- Effects / Plugins / Flaming Pear / Flood
Blend Mode / Screen (ou Outro de seu gosto.) Ative o tube <<5993-luzcristina>> ... copie e cole como nova layer Image / Resize / 90%... Resize All Layers ... Desmarcado Image / Mirror / Mirror Horizontal Posicione à direita , como no modelo Blend Mode / Soft Light
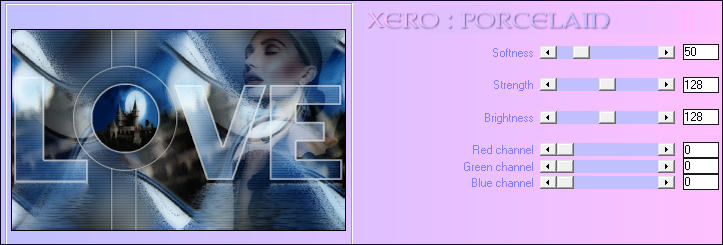
15- Layers / Merge / Merge Visible Effects / Plugins / Xero / Porcelain
Layers / Duplicate
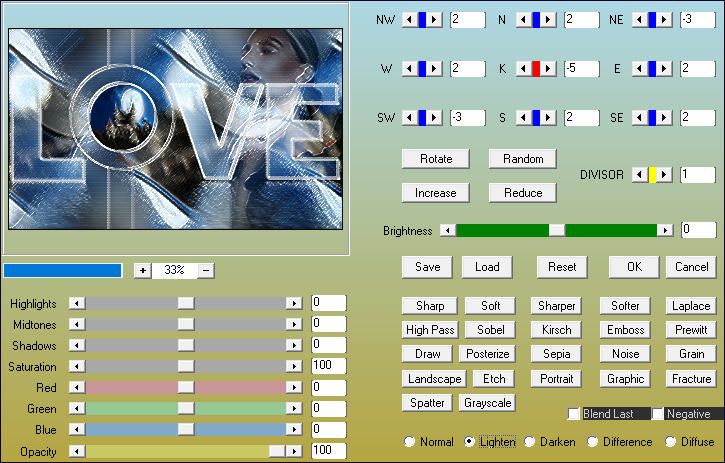
16- Effects / Plugins / AAA Filters / Custom / Fracture (marque:Lighten)
Blend Mode / Soft Light Opacidade / 69%
17- Image / Add Borders / Symmetric Marcado / 2 Pixels cor #ffffff Copie!!! Image / Add Borders / Symmetric Marcado / 50 Pixels cor #1b4883
18- Ative a Varinha Mágica e selecione essa borda Cole na seleção Adjust / Blur / Gaussian Blur / Radius 50
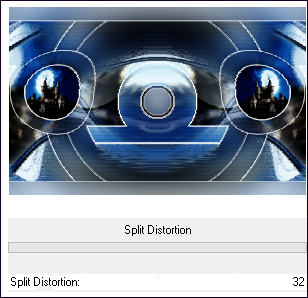
19- Effects / Plugins / Alfs Power Toys / Split Distortion
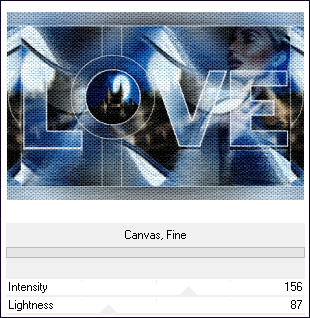
Effects / Plugins / Paper Texture / Canvas Fine / Default
Selections / Select None
20- Layers / Duplicate Image / Resize / 90%... Resize All Layers ... Desmarcado Ative a Layer do Fundo Layers / Promote Background Layer Adjust / Blur / Gaussian Blur / Radius 50
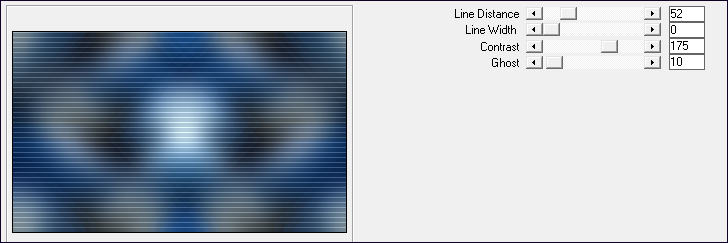
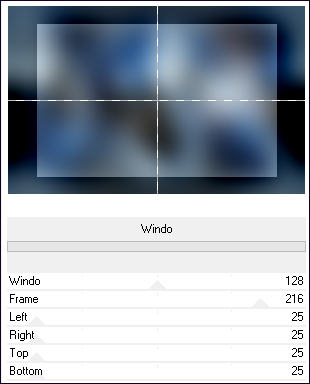
21- Effects / Plugins / Mock / Windo
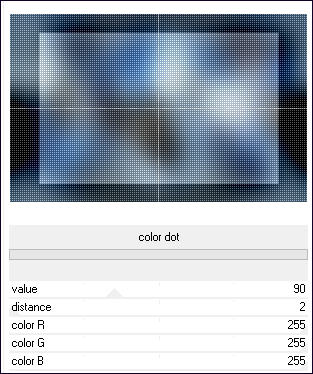
Effects / Plugins / Penta com / color dot
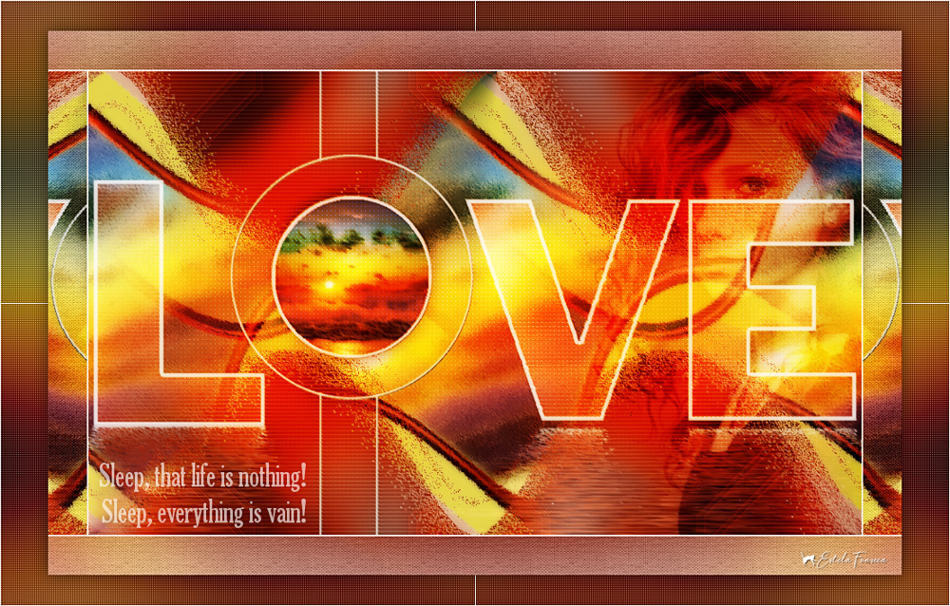
22- Ative a Layer do topo Effects / 3D Effects / Drop Shadow: 0 / 0 / 50 / 30 / #000000 Selections / Select None Ative o <<Deco-2>> Copie e Cole como nova layer Blend Mode / Soft Light (Ou outro de sua escolha) Opacidade / 85% Ative o <<Texto>> Copie e Cole como nova layer Posicione à esquerda... como no modelo. Opacidade à gosto!
23- Assine seu trabalho Image / Add Borders / Symmetric Marcado / 1 Pixel cor branca Salve Como JPG.
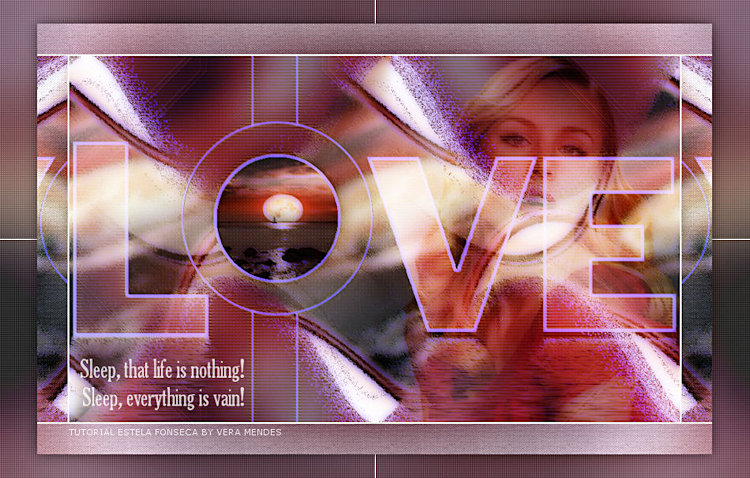
Versão 2: Tube de LisaT / imagem de Google.
Testado por Vera Mendes:
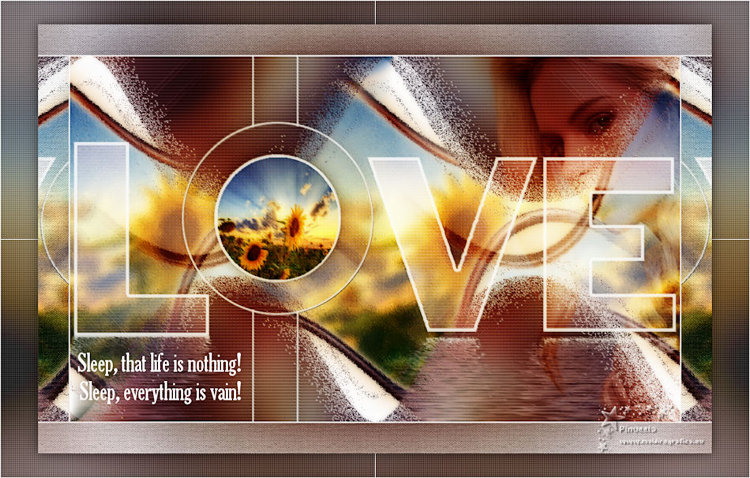
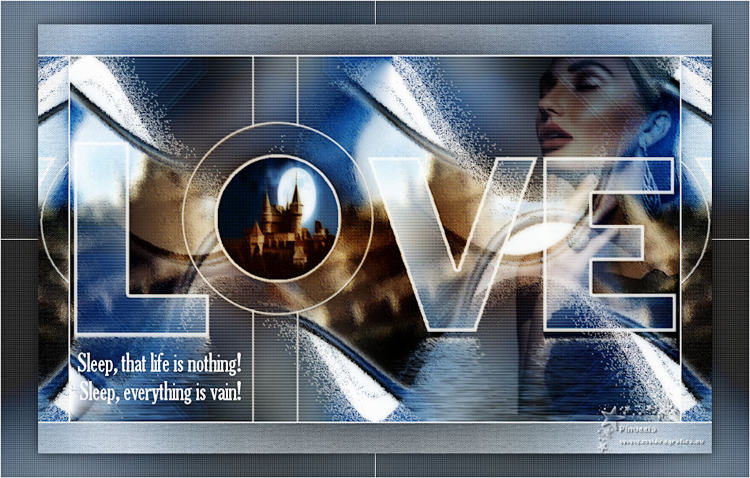
Versões de Pinuccia:
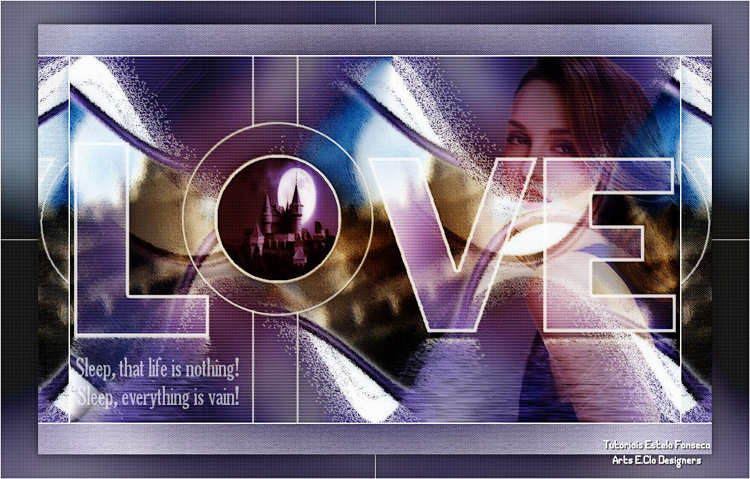
Versão de Clo:
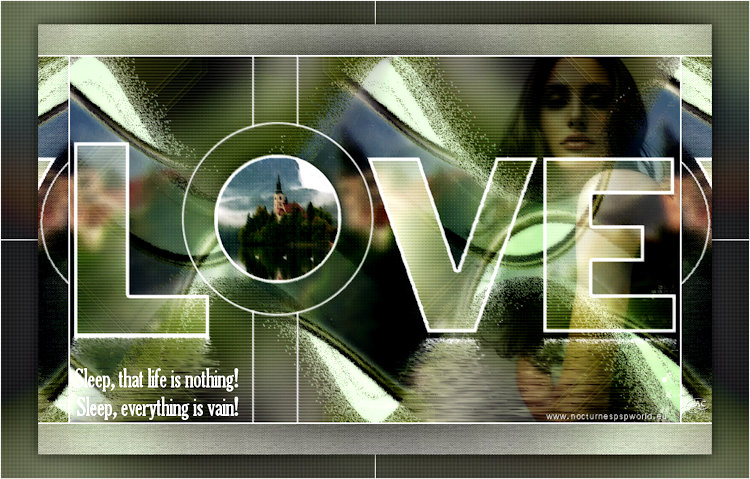
Versão de AngelaC
Versão de Hillu:
©Tutorial criado por Estela Fonseca
em Janeiro/2021. |

