 |
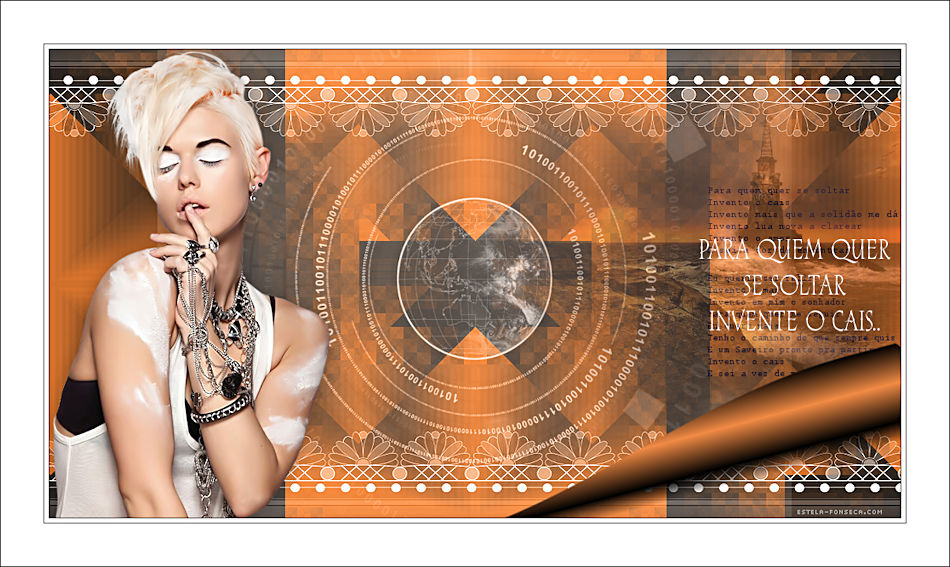
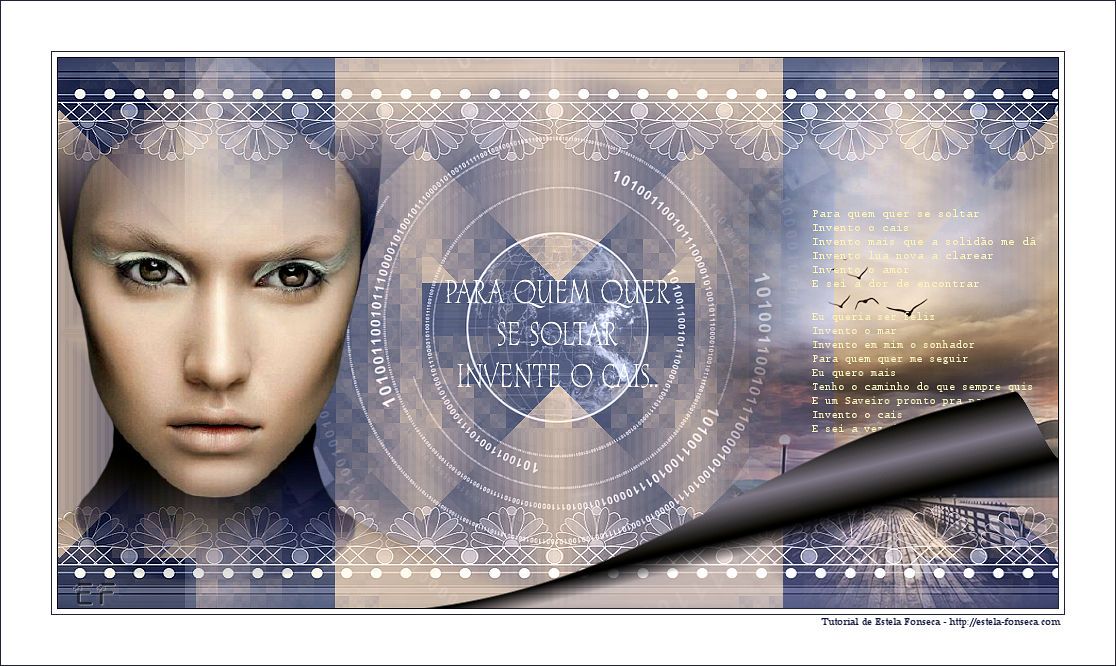
CAIS
Agradeço as maravilhosas tradutoras: Pinuccia, Clo , Hillu e Tati Designs.
Materiais Necessários:
O tube da Personagem é de Renée, seu site ... AQUI. O Tube da Paisagem é de Angel Star. Os demais materiais são exclusivos deste tutorial.
*** Os tubes da segunda versão são de Karine Dreams (Paisagem) e de Ysa (Personagem) ***
Agradeço às artistas que criam estes tubes lindos e que os disponibiliza, muito obrigada!
Plugins Utilizados: Filters Unlimited 2 / &<Bkg Designer sf10II>** Simple / Pizza Slice Mirror** FM Tile Tools / Blend Emboss AAA Filters / Custom
** Dentro do Unlimited 2
Preparação: Abra os tubes no PSP, duplique e feche os originais. Trabalhes com as cópias!!!
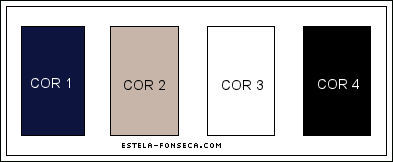
Cores do Tutorial:
Primeiro Plano cor (1) #0d143e Segundo Plano cor (2) #c7b5a9
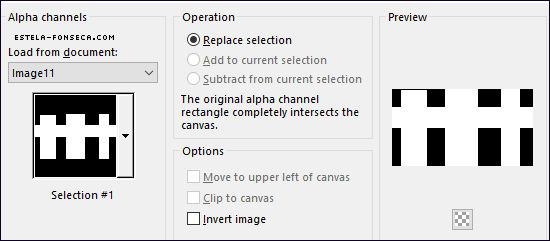
01- Abra a layer <<EF_Cais_Alpha>> Duplique e feche a original Selections / Load/Save Selection / Load selection from Alpha Channel: Selection #1
Preencha com a cor do Primeiro Plano (#0d143e)
02- Selections / Invert Preencha com a cor do Segundo Plano #c7b5a9 Selections / Select None
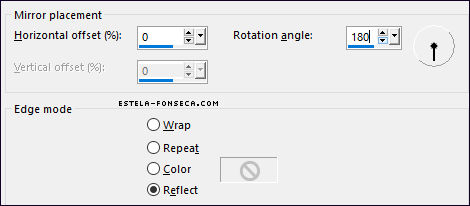
03- Adjust / Blur / Gaussian Blur / Radius 55 Effects / Reflection Effects / Rotating Mirror / Default
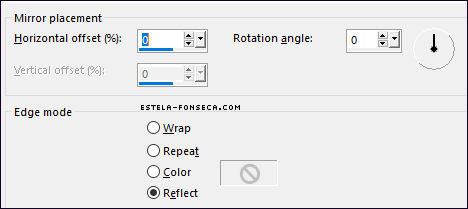
04- Effects / Plugins /<I.C.NET Software> Filters Unlimited 2 / &<Bkg Designer sf10II> / FH PatchWork...
Effects / Reflection Effects / Rotating Mirror
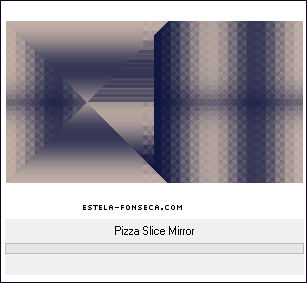
05- Effects / Plugins / <I.C.NET Software> Filters Unlimited 2 /Simple / Pizza Slice Mirror
Selections / Load/Save Selection / Load selection from Alpha Channel: Selection #2
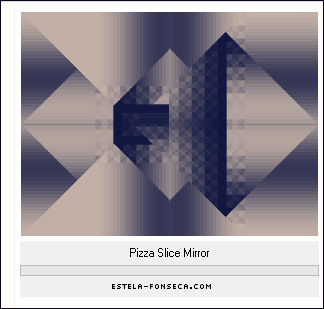
06- Effects / Plugins / <I.C.NET Software> Filters Unlimited 2 /Simple / Pizza Slice Mirror (Como antes)
Selections / Select None
07- Effects / Reflection Effects / Rotating Mirror / Default
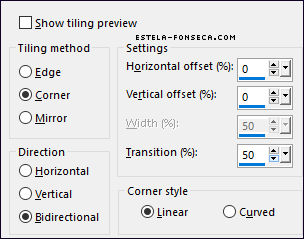
Effects / Image Effects / Seamless Tiling / Default
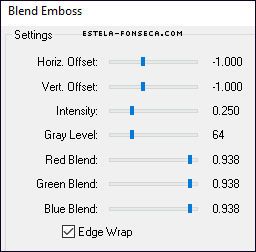
08- Ative <<EF_Cais_Deco_1>> Copie e Cole como nova layer Blend Mode / Luminance (Legacy) Effects /Plugins / FM Tile Tools / Blend Emboss / Default
Layers / Merge / Merge Down
09- Ative <<EF_Cais_Deco_2>> Copie e Cole como nova layer Blend Mode / Luminance (Legacy)
10- Ative o tube <<AS Tube Lanr4d34-hy8 >> Copie e Cole como nova layer PImage / Resize / 70%... Resize All Layers ... Desmarcado Posicione à direita (como no modelo) Blend Mode / Luminance (Legacy) Layers / Arrange / Move Down Layers / Duplicate Blend Mode / Hard Light Opacidade / 53%
11- Ative a Layer do Topo (Raster 2) Ative o tube <<Renee-TUBES-Aout-2021- 27 >> Copie e Cole como nova layer
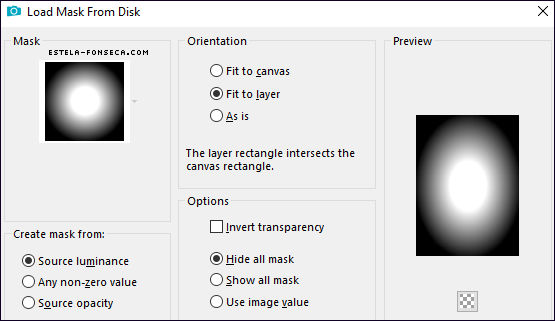
12- Layers / Load save mask / Load mask from disk- 2020
Layers / Merge / Merge Group Pick Tool (K) Posição X ( -50,00) Posição Y (14,00) Tecla "M" para desativar a Pick
14- Abra o <<EF_Texto1>> Copie e Cole como nova layer Pick Tool (K) Posição X ( 774,00) Posição Y (141,00) Tecla "M" para desativar a Pick Image / Negative Image (Opcional)
15- Abra o <<EF_Texto_2>> Copie e Cole como nova layer Não Mova!
16- Image / Add Borders / Symmetric Marcado / 1 Pixel Cor #0d143e Image / Add Borders / Symmetric Marcado / 5 Pixels cor #ffffff Image / Add Borders / Symmetric Marcado / 1 Pixel Cor #0d143e Image / Add Borders / Symmetric Marcado / 50 Pixel Cor #FFFFFF
17- Selections / Select All Selections / Modify / Contract 50 Pixels Selections / Promote Selection to Layer
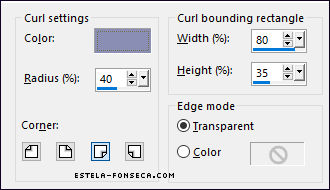
18- Effects / Image Effects / Page Curl
Selections / Modify / Contract / 6 Pixels Selections / Invert Delete no Teclado Selections / Select None
19- Effects / Plugins / AAA Filters / Custom / Landscape Assine seu trabalho Image / Add Borders / Symmetric Marcado / 1 Pixel Cor #0d143e Salve Como JPG.
Versão 2: Tube de Ysa (personagem) e de Karine Dre@ms (Farol) :
Tube de Ana Ridzi:
Testado por Vera Mendes:
Versão de Pinuccia:
Versão de Clo:
Versão de Hillu:
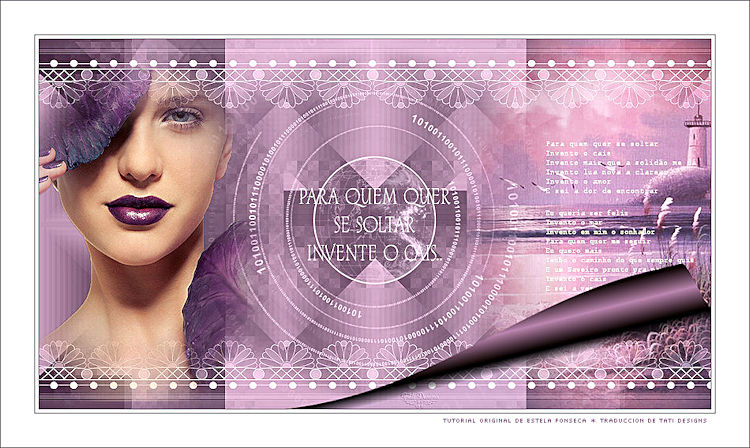
Versão de Tati Designs:
©Tutorial criado por Estela Fonseca
em 26/08/2021. |