 |
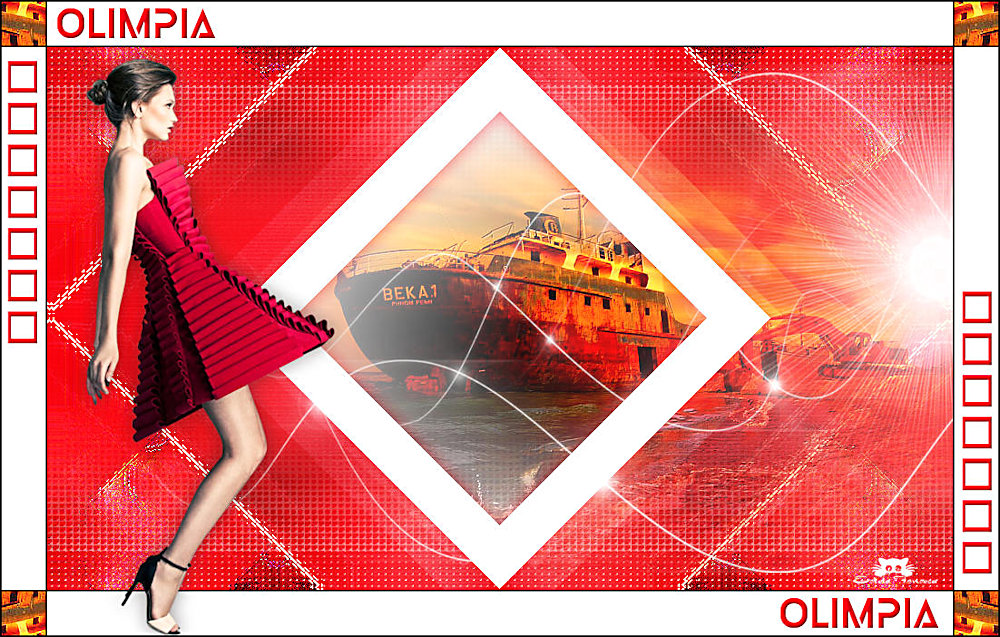
OLIMPIA
Agradeço as maravilhosas tradutoras: Pinuccia, Clo e Hillu.
Tubes de Mentali / Thaf's , AQUI. Mask de Narah, seu grupo AQUI.
♥ Versão 2: Tube de Claudia Viza e Mentali (Personagem) ♥ Agradeço por me permitir usar suas lindas criações (Mask e Tubes e afins) Não altere o nome nem remova a marca d'água. ♥
Plugins Utilizados <I.C.NET Software> Filters Unlimited 2 / VM Instant Art <I.C.NET Software> Filters Unlimited 2 /VM ToolBox Carolaine and Sensibility / CS HLines <I.C.NET Software> Filters Unlimited 2 / &<Bkg Designer sf 10 II> <I.C.NET Software> Filters Unlimited 2 / Simple / Half Wrap e Top Left Mirror VanDerLee / UnPlugged X <I.C.NET Software> Toadies / What Are You FM Tile Tools / Saturation Emboss AAA Filters / Transparente Frame
Preparação: Abra os tubes no PSP, duplique e feche os originais, trabalharemos com as cópias. Copie as seleções para a pasta de seleções do PSP.
1- Abra uma imagem de 1000/600 transparente Preencha com uma cor do tube floral (minha cor #cf681b) Selections / Select All
2- Ative o tube floral << dalhias_orange_tubed_by_thafs>> Copie e Cole na seleção Selections / Select None
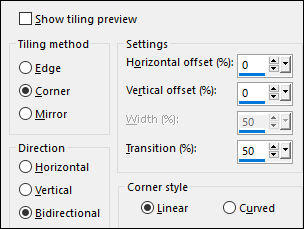
3- Effects / Image Effects / Seamless Tiling / Default
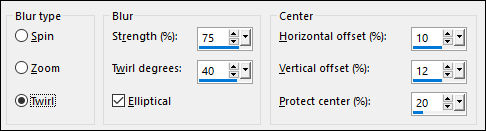
Adjust / Blur / Radial Blur
4- Effects / Image Effects / Seamless Tiling / Default Effects / Edge Effects / Enhance More
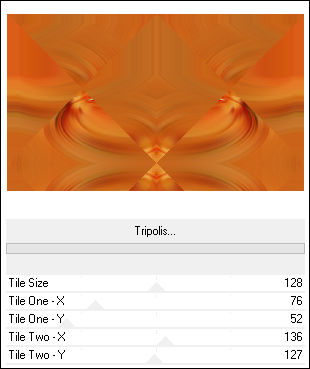
5- Effects / Plugins / <I.C.NET Software> Filters Unlimited 2 / VM Instant Art / Tripolis
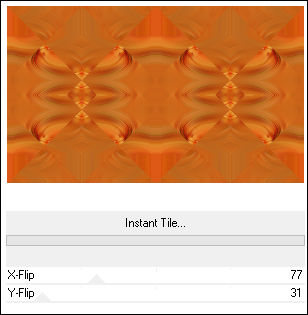
Effects / Plugins / <I.C.NET Software> Filters Unlimited 2 /VM ToolBox / Instant Tile
Effects / Edge Effects / Enhance
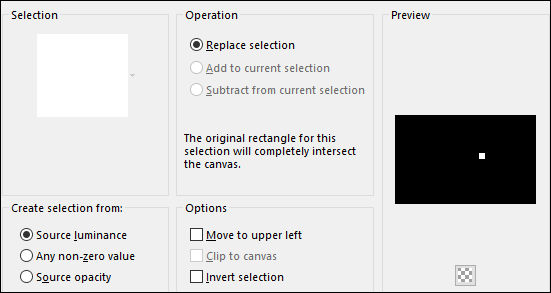
6- Selections / Load save selection / Load selection from disk: Seleção_Olimpia_1
Selections / Promote selection to layer Adjust / Blur / Gaussian Blur / Radius 30 Layers / Duplicate Layers / Merge / Merge Down
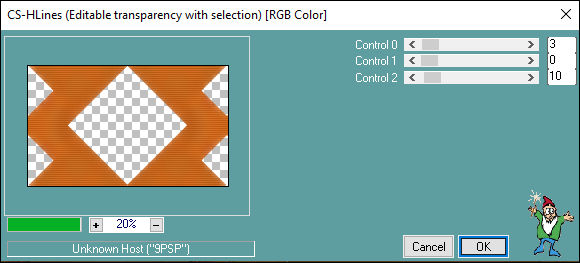
7- Effects / Plugins / Carolaine and Sensibility / CS HLines / Default
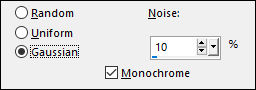
Adjust / Add Remove Noise / Add Noise
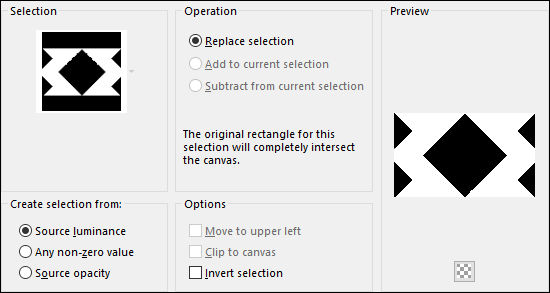
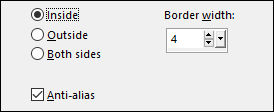
8- Selections / Invert Selections / Modify / Select Selection Borders
Layers / New Raster Layer Preencha com a cor branca Selections / Select None Layers / Merge / Merge Visible
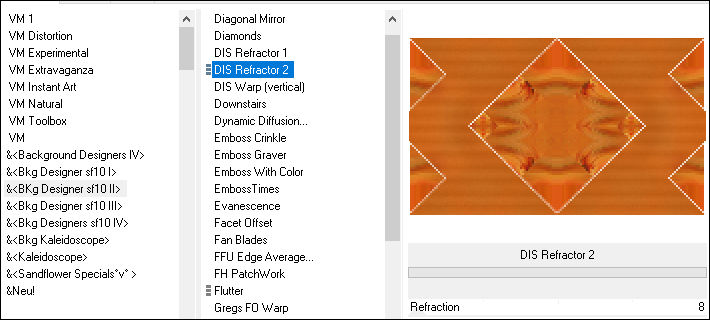
9- Effects / Plugins / <I.C.NET Software> Filters Unlimited 2 / &<Bkg Designer sf 10 II> / DIS Refractor 2
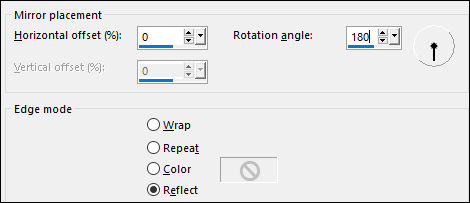
Effects / Reflection Effects / Rotating Mirror
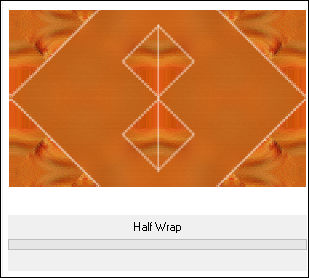
10- Effects / Plugins / <I.C.NET Software> Filters Unlimited 2 / Simple / Half Wrap
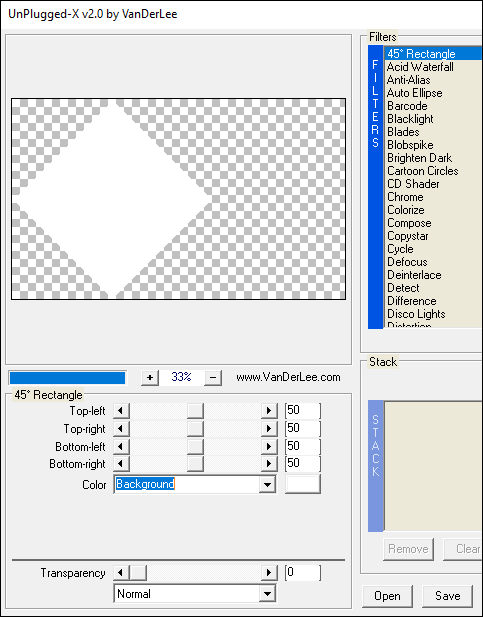
Layers / New Raster Layer Effects / Plugins / VanDerLee / UnPlugged X / 45 Rectangle
Objects / Align / Center in Canvas Ou ative a Pick Tool (K) Posição X (202) Posição Y (2) Tecla "M" para desativar a Pick Tool Layers / Merge / Merge Down
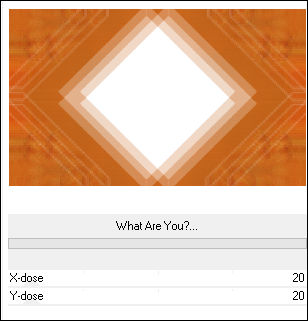
11- Layers / Duplicate Effects / Plugins / <I.C.NET Software> Toadies / What Are You / Default
Blend Mode / Hard Light (ou outra dependendo de sua cor)
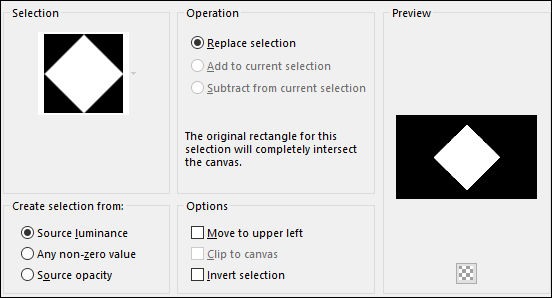
12- Selections / Load save selection / Load selection from disk: Seleção_Olimpia_2
Delete no Teclado... Mantenha a seleção!
13- Ative o tube floral <<dalhias_orange_tubed_by_thafs>> Copie e Cole como nova layer Layers / Arrange / Move Down Selections / Select None Nota: Dependendo do tube, pode ser necessário você aplicar a mask 2020 antes de usá-lo.
14- Ative a Layer do Topo Effects / 3D Effects / Drop Shadow: Cor #000000
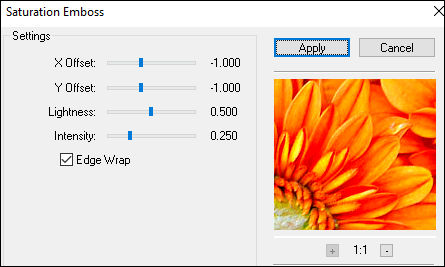
Ative a Layer do Meio (Raster 1) Effects / Plugins / FM Tile Tools / Saturation Emboss / Default
Layers / Merge / Merge Visible
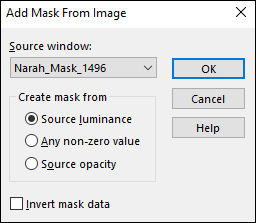
15- Layers / New Raster Layer Preencha com a cor Branca (#ffffff) Layers / New Mask Layer / From Image: Narah_Mask_1496
Layers / Duplicate Layers / Merge / Merge Group
16- Ative o <Deco-1>> Copie e Cole como Nova Layer Effects / 3D Effects / Drop Shadow: Cor #cd6e26
Ative o <Deco-2>> Copie e Cole como Nova Layer Objects / Align / Right
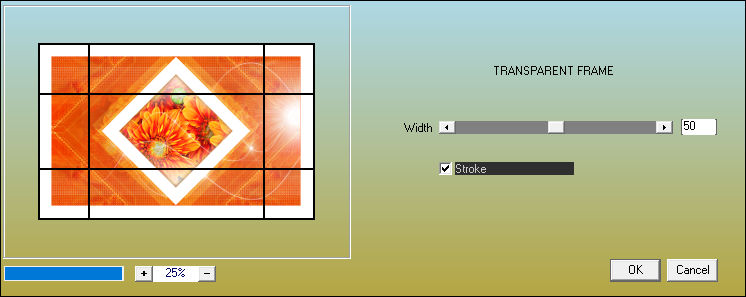
17- Image / Add Borders / Symmetric Marcado / 50 pixels / Cor branca (#ffffff) Effects / Plugins / AAA Filters / Transparente Frame
Selections / Load save selection / Load selection from disk: Seleção_Olimpia_3
Copie Selections / Select None
18- Selection Tool (S) / Custom Selection
Layers / New Raster Layer Cole na seleção Adjust / Sharpness / Sharpen Selections / Select None
19- Effects / Plugins / Simple / Top left Mirror
Ative o <<Texto-Deco>> Copie e Cole como nova layer Effects / 3D Effects / Inner Bevel:
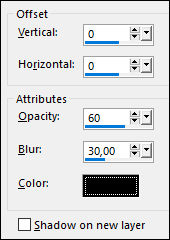
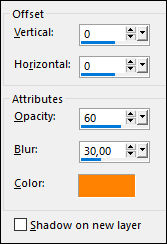
Ative o tube da personagem << >> Copie e Cole como nova layer Posicione Effects / 3D Effects / Drop Shadow: 0 / 0 / 60 / 30 / Cor #000000
20- Assine seu trabalho Image / Add Borders / Symmetric Marcado / 1 Pixel cor #000000 Salve Como JPG
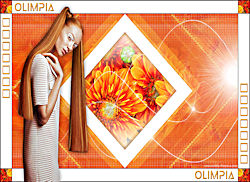
Versão 2: Tube de Claudia Viza e Mentali (Personagem)
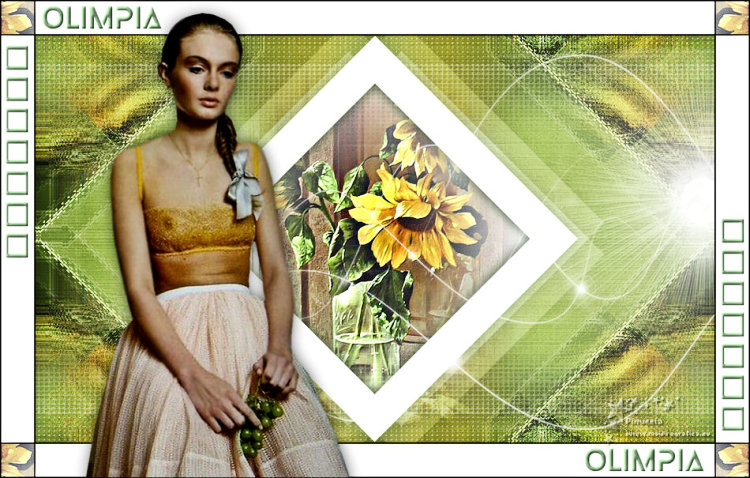
Versão de Pinuccia:
Versão de Clo:
Versão de Hillu:
©Tutorial criado por Estela Fonseca em 29/11/2019. |