 |
MARA PONTES
Agradeço as maravilhosas tradutoras: Pinuccia, Clo, Hillu e AngelaC.
Tube de Odetth Tube de DI Mask de Ildiko, AQUI. Mask de Estela Versão 2: Tube de Nadège
** Agradeço por me permitir usar suas lindas criações (Mask e Tubes e afins) Não altere o nome nem remova a marca d'água. **
Plugins Utilizados: Kang 4 / Lens Fun Simple / Top Left Mirror Alien Skin Eye Candy 5 / Impact / Extrude
Preparação: Abra o tube no PSP, duplique e feche o original. Abra a Mask no PSP e Minimize.
1- Abra a Layer <<Alpha_MaraPontes>> Duplique e fecha a Original Selections / Select All
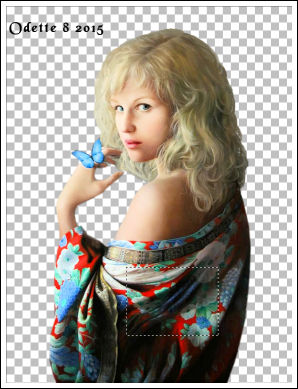
2 - Ative o tube <<Odette 8 2015 >> selecione uma parte do tube como segue:
Copie Selections / Select None
3- Cole como nova imagem e minimize (utilizaremos mais tarde) Na layer selecionada: Cole na seleção. Selections / Select None.
4- Adjust / Blur / Gaussian Blur / Radius 50 Layers / Duplicate
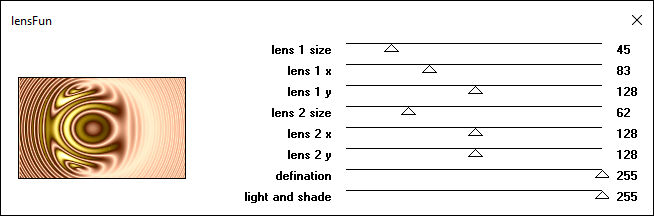
5- Effects / Plugins / Kang 4 / Lens Fun
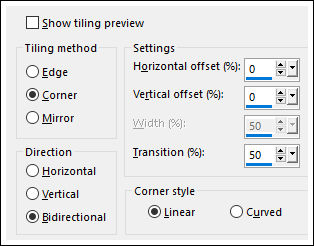
Effects / Image Effects / Seamless Tiling / Default
Blend Mode / Overlay Opacidade / 34
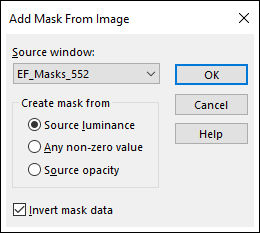
6 - Layers / New Raster Layer Preencha com a cor branca (#ffffff) Layers / New Mask Layer / From Image: EF_Masks_552
Layers / Merge / Merge Group Opacidade / 69 Layers / Merge / Merge Visible
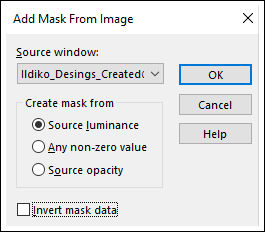
7 - Layers / New Raster Layer Preencha com a cor Preta (#000000) Layers / New Mask Layer / From Image: Mask Ildiko
8- Layers / Merge / Merge Group Layers / Duplicate Image / Mirror / Mirror Horizontal Image / Negative image
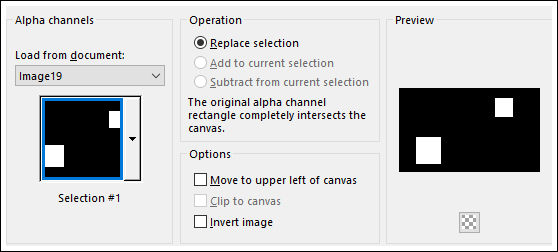
9- Ative a Layer do Meio Selections / Load save selection / Load selection from alpha channel: Selection Selection #1
Delete no teclado Selections / Select None
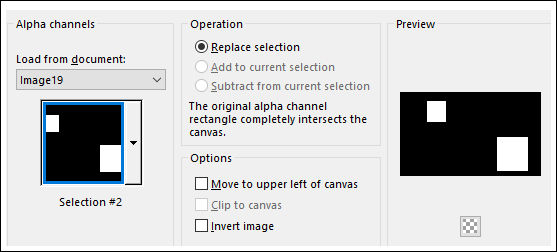
10- Ative a Layer do topo Selections / Load save selection / Load selection from alpha channel: Selection Selection #2
Delete no teclado Selections / Select None Layers / Merge / Merge Down
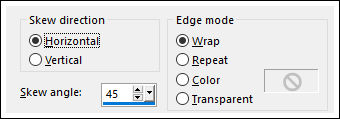
11- Layers / Duplicate Ative a layer do Meio Effects / Geometric Effects / Skew
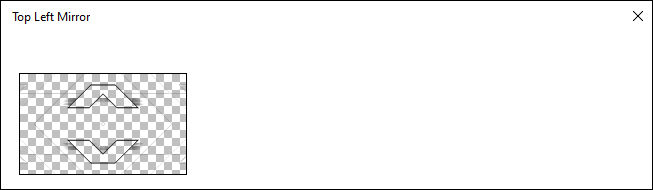
Effects / Plugins / Simple / Top Left Mirror
Blend Mode / Dodge
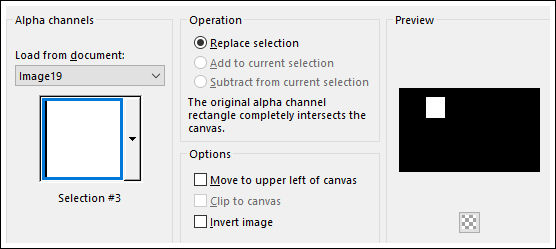
12- Ative a Layer <<Merged>> Selections / Load save selection / Load selection from alpha channel: Selection Selection #3
Selections / Promote selection to layer Layers / Arrange / Bring to top
13- Effects / Plugins / Alien Skin Eye Candy 5 / Impact / Extrude
Layers / New Raster Layer Preencha com a cor preta (#000000) Selections / Modify / Contract 1 Pixel Delete no Teclado Selections / Select None Layers / Merge / Merge Down
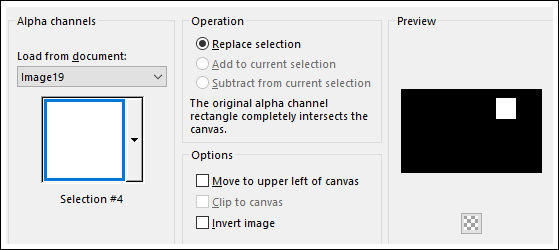
14 - Ative a Layer do fundo <<Merged>> Selections / Load save selection / Load selection from alpha channel: Selection Selection #4
Selections / Promote selection to layer Layers / Arrange / Bring to top Effects / Plugins / Alien Skin Eye Candy 5 / Impact / Extrude
Layers / New Raster Layer Preencha com a cor preta (#000000) Selections / Modify / Contract 1 Pixel Delete no Teclado Selections / Select None Layers / Merge / Merge Down
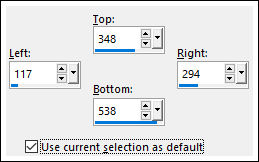
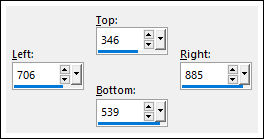
15 - Ative a Layer <<Merged>> Selection Tool (S) / Custom selection
Ative a layer <<Merged>> Selections / Promote selection to layer Layers / Arrange / Move Up
16- Ative o tube de Odette Copie e cole como nova layer Posicione na seleção Selections / Invert Delete no Teclado Selections / Select None Adjust / One Step Photo Fix Layers / Merge / Merge Down
17- Ative a Layer do Fundo <<Merged>> Selection Tool (S) / Custom selection
Selections / Promote selection to layer Layers / Arrange / Move Up
18- Ative o tube de Odette Copie e cole como nova layer Posicione sobre a seleção Selections / Invert Delete no Teclado Selections / Select None Adjust / One Step Photo Fix Layers / Merge / Merge Down
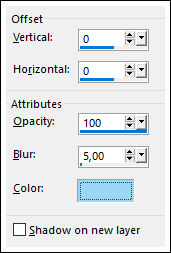
19- Ative a Layer <<Copy of Group Raster 1>> Layers / Merge / Merge Down ( 2 Vezes) Effects / 3D Effects / Drop Shadow: 0 / 0 / 100 / 5 (capture uma cor do tube para esta sombra)
20- Ative a Layer do fundo <<Merged>> Copie o tube <<DI_tube1048 >> Cole como nova layer Posicione à gosto Blend Mode / Hard Light Se necessário baixe a opacidade!!
21- Image / Add Borders / Symmetric Marcado /1 pixel Cor preta Image / Add Borders / Symmetric Marcado /1 pixel Cor branca Image / Add Borders / Symmetric Marcado /1 pixel Cor preta Selections / Select All Image / Add Borders / Symmetric Marcado / 50 Pixels branca Selections / Invert
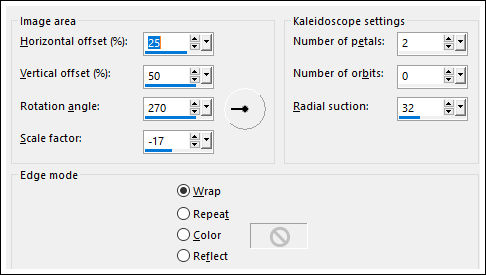
22- Ative a imagem minimizada do início do tutorial Copie e Cole na seleção Effects / Reflection Effects / Kaleidoscope
Copie Adjust / Blur / Gaussian Blur / Radius 50 Selections / Select None Cole como nova layer Blend Mode / Hard Light Opacidade / 50 Effects / 3D Effects / Drop Shadow: 0 / 0 / 45 / 30 / Cor #000000
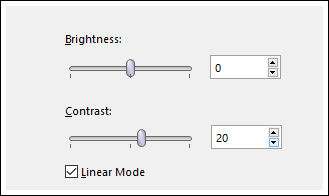
23- Ative o tube da personagem Copie e Cole como nova layer Adjust / Brightness and Contrast / Brightness/Contrast:
Posicione à gosto Image / Add Borders / Symmetric Marcado /1 pixel Cor preta Image / Add Borders / Symmetric Marcado /1 pixel Cor branca Image / Add Borders / Symmetric Marcado /1 pixel Cor preta Assine seu trabalho Layers / Merge / Merge All Salve como JPG.
Versão 2: Tube de Nadège
Versão de Clo
Versão de Pinuccia
Versão de Angela
Versão de Hillu:
© 2020 - Tutorial de Estela Fonseca. |