 |
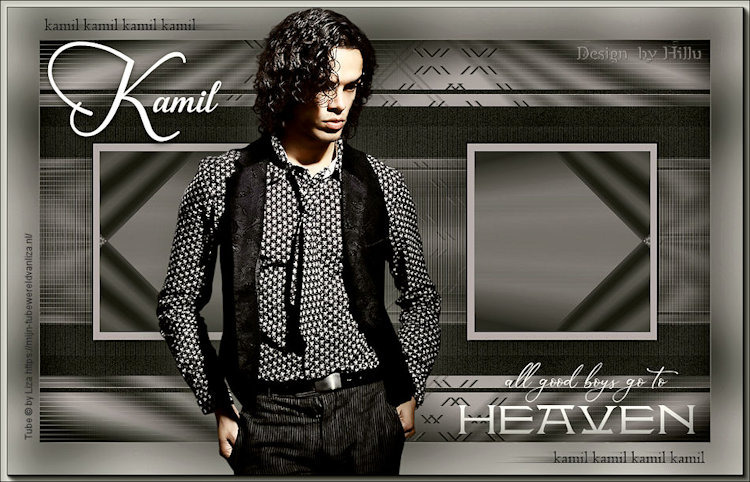
KAMILEste tutorial foi realizado no Corel PaintShop Pro 2019.
Agradeço as maravilhosas tradutoras: Pinuccia, Clo e Hillu.
Tube utilizado de Kamil, seu blog , AQUI. Mask de Narah, seu grupo, AQUI. Demais materiais de Estela Fonseca Versão 2 com tube de LB Tubes
** Agradeço as artistas por disponibilizarem suas lindas criações (Mask e Tubes e afins) Não altere o nome nem remova a marca d'água. Não compartilhe em grupos ou ofereça-os em seus sites, blogs etc ... Seu uso nos tutoriais está sujeito a autorização dos autores. **
Plugins Utilizados: <I.C.NET Software> Filters Unlimited 2 / Simple DSB Flux / Linear Transmission I.C.NET Software> Filters Unlimited 2 / Tile&Mirror AP Lines / Lines-Silverlining AAA Frames / Foto Frame
Preparação: Abra a Mask de Narah no PSP e Minimize. Abra o tube de Kamil no PSP, duplique , feche o original e Remova a assinatura da cópia. Lembre-se a layer <<alpha>> contém seleções!
1-Abra a imagem <<Alpha-Kamil>> Duplique e feche a original. Primeiro Plano Cor #c5b6a9 Segundo Plano Cor #2a292d
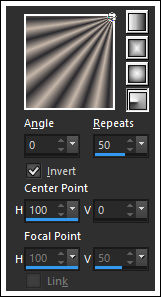
Forme um Gradiente <<Radial>> Configurado como segue:
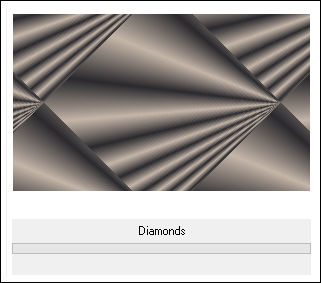
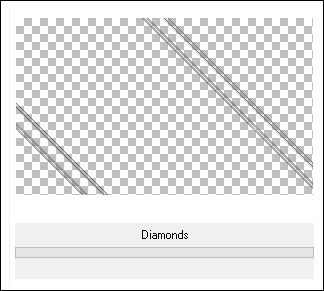
2- Preencha a imagem transparente com esse gradiente. Effects / Plugins / <I.C.NET Software> Filters Unlimited 2 / Simple / Diamonds
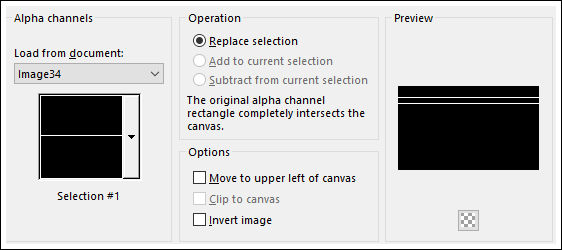
Layers / New Raster Layer Selections / Load save selection / Load selection from Alpha Channel: Selection #1
Preencha a seleção com a cor do Segundo Plano Selections / Select None Effects / 3D Effects / Drop Shadow: 1 / 1 / 100 / 2 / Cor do Primeiro Plano
3- Effects / Plugins / <I.C.NET Software> Filters Unlimited 2 / Simple / Diamonds
Layers / Duplicate Image / Mirror / Mirror Horizontal Layers / Merge / Merge Down
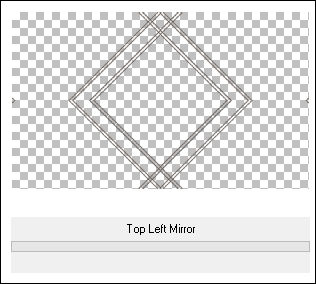
4- Effects / Plugins / <I.C.NET Software> Filters Unlimited 2 /Top Left Mirror
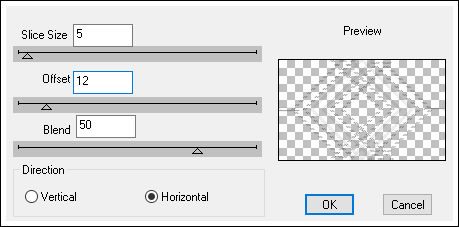
Effects / Plugins / DSB Flux / Linear Transmission
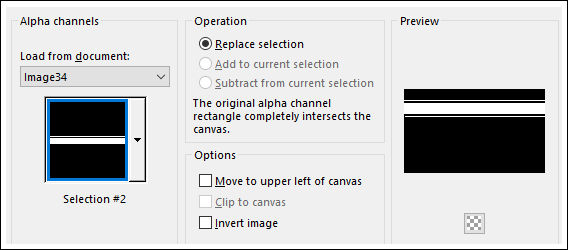
5- Layers / New Raster Layer Selections / Load save selection / Load selection from Alpha Channel: Selection #2
Preencha a seleção com a Cor do Segundo Plano Selections / Select None Effects / 3D Effects / Drop Shadow: 1 / 1 / 100 / 2 / Cor do Primeiro Plano
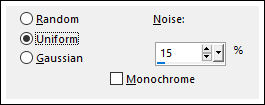
6- Adjust / Add Remove Noise / Add Noise
Layers / Duplicate Image / Mirror / Mirror Vertical Layers / Merge / Merge Down
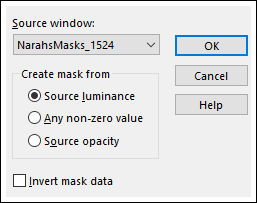
7- Layers / New Raster Layer Preencha com a cor do Primeiro Plano Layers / New Mask Layer / From Image: <<NarahsMasks_1524>>
Layers / Merge / Merge Group
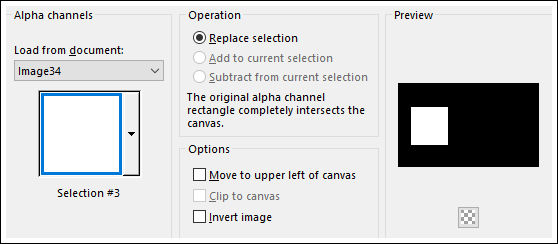
8- Selections / Load save selection / Load selection from Alpha Channel: Selection #3
Ative a Layer do Fundo Selections / Promote selection to layer Layers / Arrange / Bring to top Selections / Select None
9- Layers / Duplicate Image / Mirror / Mirror Horizontal Layers / Merge / Merge Down
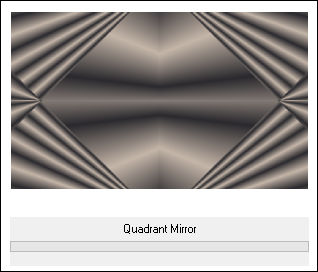
10- Ative a Layer do Fundo Ative a Layer do Fundo <<Raster 1 >> Effects / Plugins / <I.C.NET Software> Filters Unlimited 2 / Tile&Mirror / Quadrante Mirror
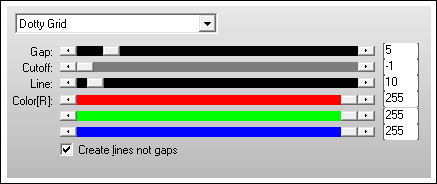
11- Effects / Plugins / AP Lines / Lines-Silverlining / Dotty Grid
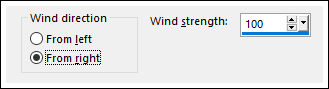
Effects / Distortion Effects / Wind
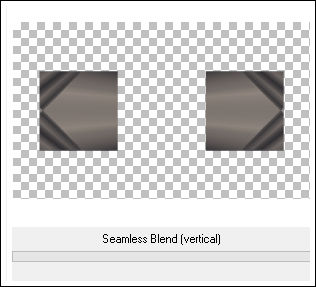
12- Ative a Layer do Topo Effects / Plugins / <I.C.NET Software> Filters Unlimited 2 /Tile&Mirror / Seamless Blend (Vertical)
Layers / Merge / Merge Down Effects / 3D Effects / Drop Shadow: 0 / 0 / 100 / 100 / Cor do Segundo Plano
13- Ative o <<Texto-1>> Copie e Cole como nova layer Posicione no canto inferior à direita Image / Add Borders / Symmetric Marcado / 1 pixel cor branca Copie
14- Selections / Select All Image / Add Borders / Symmetric Marcado / 48 Pixels Cor #ffffff Selections / Invert Cole na seleção! Adjust / Blur / Gaussian Blur / Radius 50 Effects / 3D Effects / Drop Shadow: 0 / 0 / 100 / 100 / Cor do Segundo Plano Selections / Select None
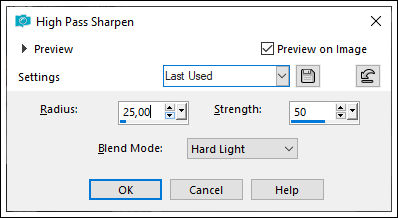
15- Ative o tube do personagem copie e Cole como nova layer Image / Resize / 85%... Resize All Layers ... Desmarcado ( 2 Vezes) Posicione à gosto Adjust / Sharpness / High Pass Sharpen
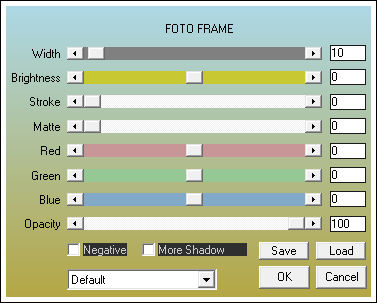
16- Ative o <<Texto-2>> Copie e Cole como nova layer Posicione no canto superior à esquerda Image / Add Borders / Symmetric Marcado / 10 Pixels cor #ffffff (branco) Effects / Plugins / AAA Frames / Foto Frame
17- Ative o <<Deco-Final>> Copie e Cole como nova layer Layers / New Raster Layer Coloque a sua assinatura Layers / Merge / Merge All Salve como JPG.
Versão 2 com tube de LB Tubes:
Versões de Pinuccia:
Versão de Clo:
Versão de Hillu:
©Tutorial criado por Estela Fonseca em 2020. |