|
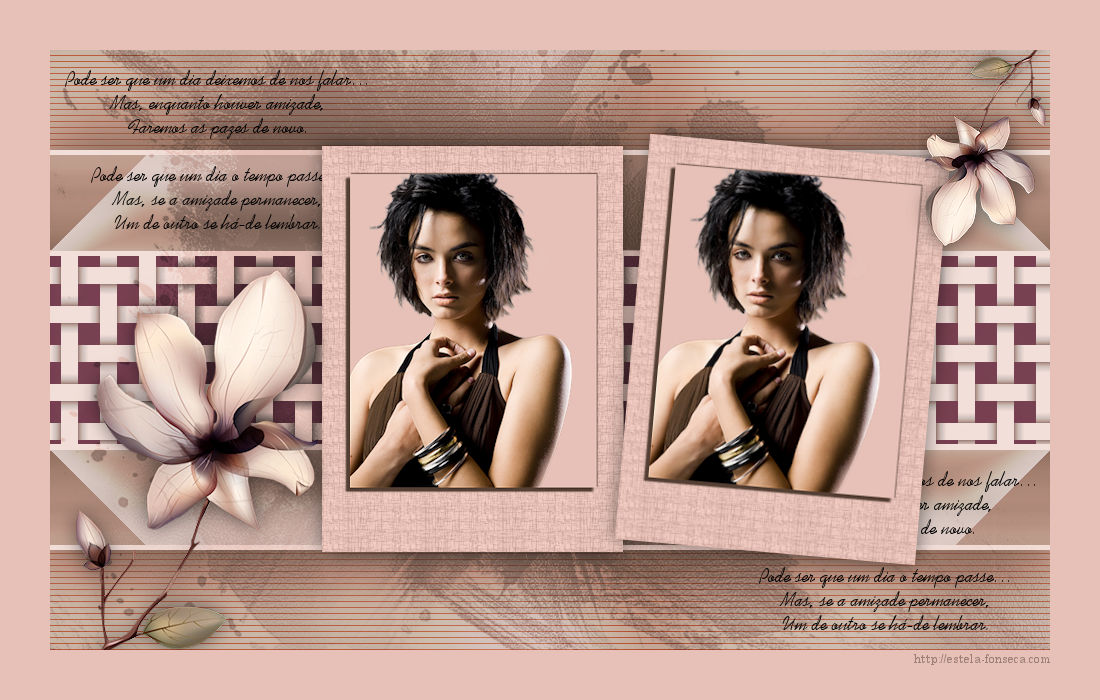
JOAQUINA
Meu agradecimento especial as tradutoras maravilhosas: Pinuccia, Clo e Hillu.
Tube de Nikita, AQUI. Tube Floral de HJR
Demais materiais feitos especialmente para este tutorial. ** Versão 2: Tube de Kts (Personagem) e Tube de Dani@ (Floral)
** Agradeço as artistas por disponibilarem as suas lindas criações (Mask e Tubes e afins) Sem elas não seria possível a criação deste tutorial. **
Plugins Utilizados: Medhi / Sorting Tiles Simple / Pizza Slice Mirror e Top Left Mirror ** Richard Rosenman / Scanlines Scribe / 4way mirror** Filter Factory Gallery A / Weave...** <I.C.NET Software> Filters Unlimited 2.0 / Paper texture **
** Dentro do Unlimited 2
Preparação: Abra os tubes no PSP, duplique e feche os originais. Trabalhes com as cópias!!! Remova a marca d'água dos autores apenas das cópias. Copie as seleções para a pasta de seleções do PSP
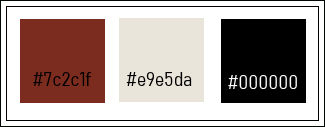
Cores:
01-Abra uma imagem transparente de 1000 x 600 pixels. Primeiro Plano cor #7c2c1f (Cor escura) Segundo Plano cor #e9e5da (Cor clara)
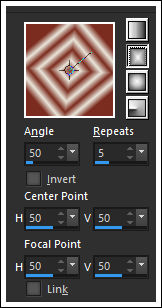
Forme um Gradiente <<rectangular>> Configurado como segue:
Preencha a layer transparente com o gradiente.
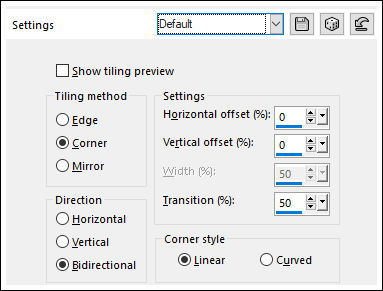
02- Effects / Image Effects / Seamless Tiling / Default.
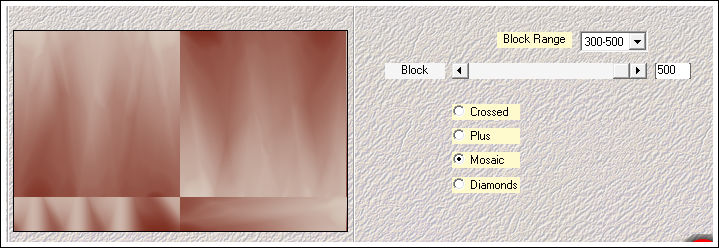
Adjust / Blur / Gaussian Blur / Radius 20 Effects / Plugins / Mehdi / Sorting Tiles
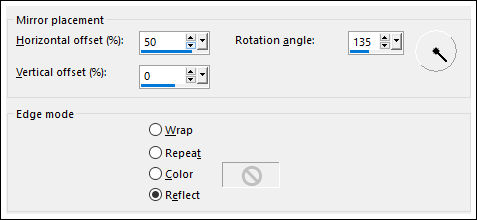
03- Effects / Reflection Effects / Rotating Mirror
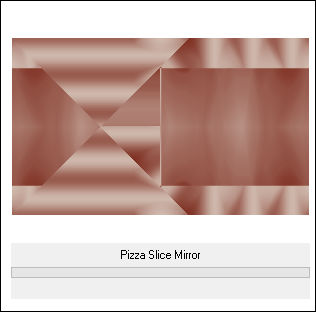
Effects / Plugins / <I.C.NET Software> Filters Unlimited 2.0 / Simple / Pizza Slice Mirror
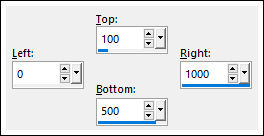
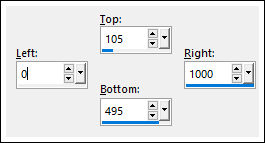
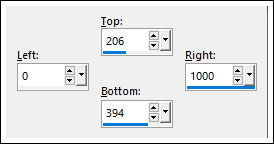
04- Selection Tool (S) / Custom Selection:
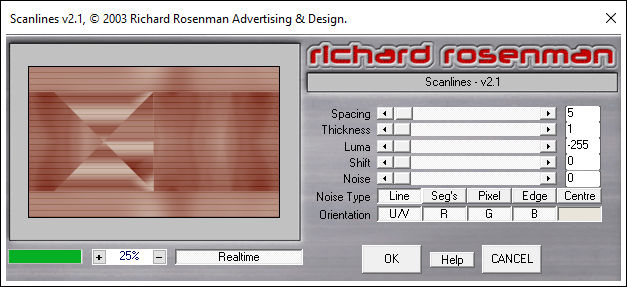
Selections / Invert Adjust / Blur / Gaussian Blur / Radius 50 Effects / Plugins / Richard Rosenman / Scanlines (No quadradinho colorido eu coloquei a cor do Segundo Plano)
Selections / Invert Selections / Promote selection to Layer
05- Layers / New Raster Layer Preencha com a cor clara do Segundo Plano Selections / Select None Selections / Tool (S) / Custom Selection
Delete no Teclado Selections / Select None.
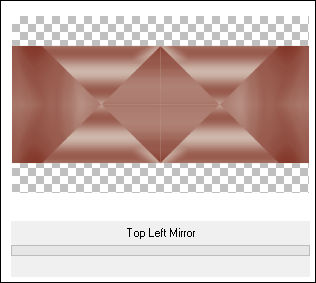
06- Ative a Layer do Meio (Promoted Selection) Effects / Plugins / <I.C.NET Software> Filters Unlimited 2 / Simple / Top Left Mirror
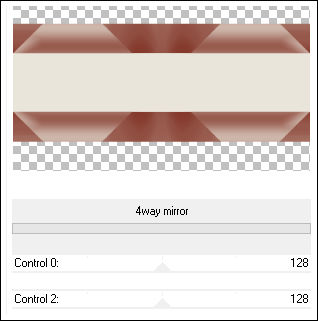
Effects / Plugins / <I.C.NET Software> Filters Unlimited 2 / Scribe / 4way mirror
07- Selection Tool (S) / Custom Selection
Effects / Plugins /<I.C.NET Software> Filters Unlimited 2.0 / Filter Factory Gallery A / Weave...
Nota: Mude os valores de <<Red, Green e de Blue>> se trabalha com outra cor Effects / 3D Effects / Drop Shadow: 0 / 0 / 100 / 100 / #7c2d1f (cor do Primeiro Plano)
08- Ative a layer do topo Layers / Merge / Merge Down Effects / 3D Effects / Drop Shadow: 0 / 0 / 100 / 100 / #7c2d1f (cor do Primeiro Plano) Layers / Merge /Merge visible
09- Ative o <<Deco-1>> Copie e Cole como nova layer Bend Mode / Overlay Opacidade / 63
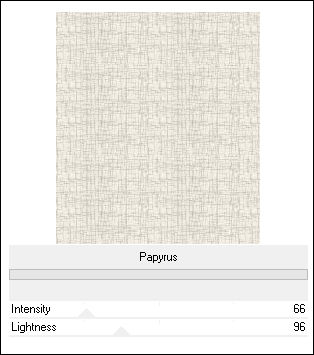
10- Selections / Load save selection / Load selection from disk: Joaquina-1 Layers / New Raster Layer Preencha com a cor do Segundo Plano Effects / Plugins / <I.C.NET Software> Filters Unlimited 2.0 / Paper texture / Papyrus
Selections / Select None.
11- Layers / New Raster Layer Selections / Load save selection / Load selection from disk: Joaquina-2 Preencha com a cor do Segundo Plano Mantenha a seleção!!!!
12- Ative o tube da Personagem / copie e cole como nova layer Image / Resize / 70% ... Resize All Layers ... Desmarcado Posicione sobre a seleção Selections / Invert Delete no Teclado Selections / Select None
13- Adjust / Sharpness / Sharpen Layers / Merge / Merge Down Effects / 3D Effects / Drop Shadow: 5 /-5 /100 / 2 / Cor do Primeiro Plano Effects / 3D Effects / Drop Shadow: -1 /1 /100 / 2 / Cor do Primeiro Plano Layers / Merge / Merge Down Image / Resize / 85%... Resize All Layers ... Desmarcado Effects / 3D Effects / Drop Shadow: 0 / 0 / 50 / 30 / #000000
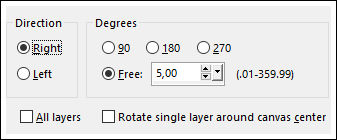
14- Layers / Duplicate Image / Free Rotate:
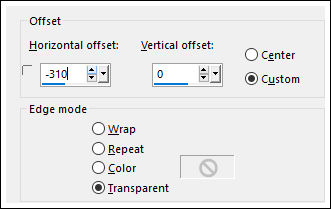
Ative a Layer imediatamente abaixo (Raster 2) Effects / Image Effects / Offset
15- Ative o <<Texto>> Copie e cole como nova layer Layers / Arrange / Move down
16- Abra o tube <<Floral >> Copie e Cole como nova layer Layers / Arrange / Bring to top Image / Resize / 50%... Resize All Layers ... Desmarcado Posicione à esquerda como no modelo.
17- Layers / Duplicate Image / Mirror / Mirror Vertical Image / Mirror / Mirror Horizontal Image / Resize / 50%... Resize All Layers ... Desmarcado Posicione no canto superior à direita Adjust / Sharpness / Sharpen Layers / Merge / Merge Down Effects / 3D Effects / Drop Shadow: 0 / 0 / 50 / 30 / #000000
18- Image / Add Borders / Symmetric Marcado / 50 Pixels cor do Segundo Plano Assine seu trabalho Layers / Merge / Merge All Salve Como JPG.
Versão 2: Tube de Kts (Personagem) e Tube de Dani@ (Floral)
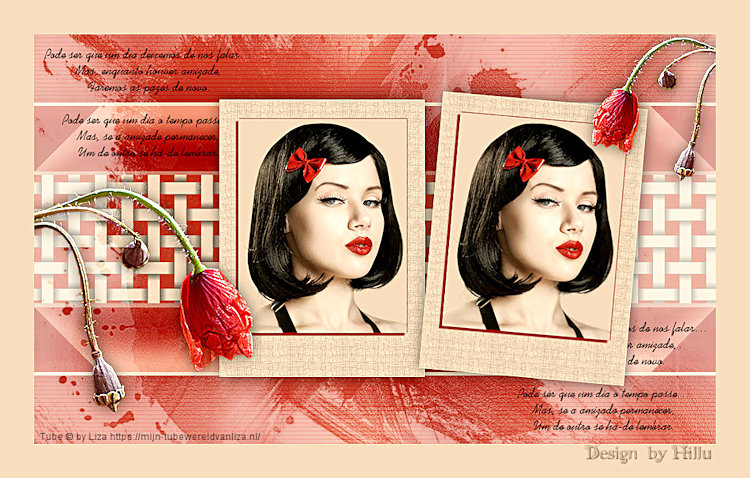
Versão de Pinuccia
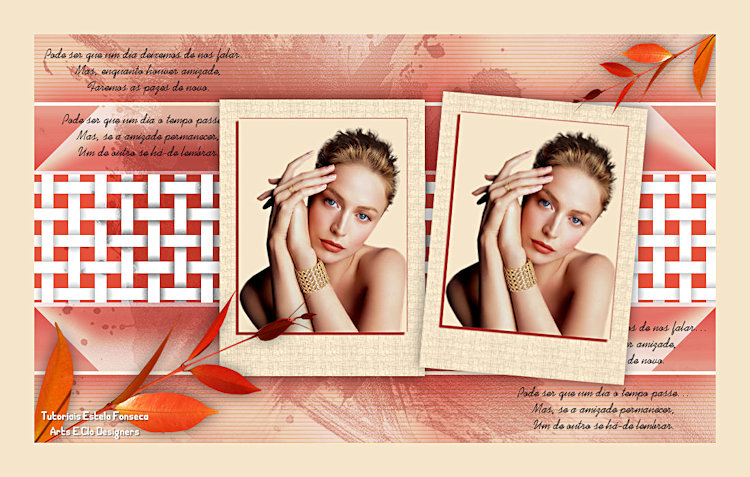
Versão de Clo
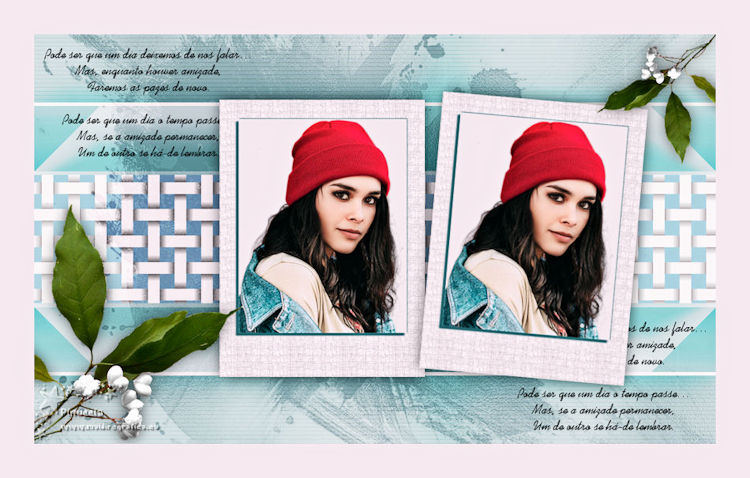
Versão de Hillu:
©2020. Tutorial criado por Estela Fonseca. |