Tube de Mentali. (Obrigada!)
Demais materiais feitos especialmente para este tutorial.
**
Agradeço por me permitir usar suas lindas criações (Mask e Tubes e
afins)
Não altere o nome nem remova a marca d'água.
Não compartilhe em grupos ou ofereça-os em seus sites, blogs etc ...
Seu uso nos tutoriais está sujeito a autorização dos autores.
**
Plugins Utilizados:
Krusty's FX vol. I / Radial Texturizer **
Toadies / What Are You? e Blast 'n Blur**
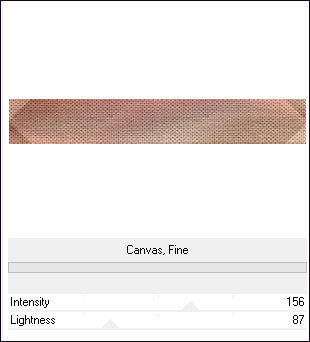
Paper Texture / Canvas, Fine**
AP [Lines] / Lines-Silverlining
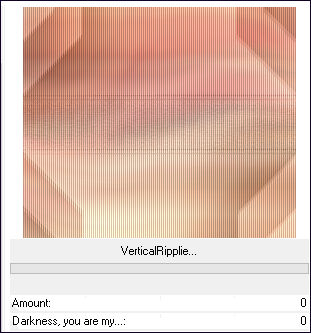
Two Moon / VerticalRipplie**
Xero / Fritillary
Filters Unlimited 2.0 /Special Effects 1**
Filter Factory Gallery B / Button Deluxe**
** Dentro do Unlimited 2
Preparação:
Abra os tubes no PSP, duplique e feche os originais. Trabalhes com
as cópias!!!
Remova a marca d'água dos autores apenas das cópias.
Copie a textura para a pasta de texturas do PSP.
01- Abra a layer <<Alpha-Filme>> Duplique e feche a original.
Selections / Select All.
Abra o tube <<mentali-misted2091 >> copie e cole na
seleção
Selections / None.
02- Effects / Image Effects / Seamless Tiling / Default
Layers / Merge / Merge All
Layers / Promoted Background Layer
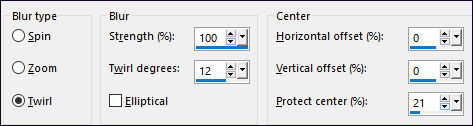
Adjust / Blur / Radial Blur
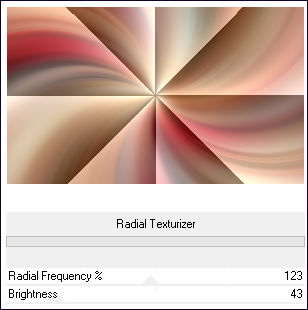
03- Effects / Plugins / <I.C.NET Software> Filters Unlimited 2.0 /
Krusty's FX vol. I / Radial Texturizer
Layers / Duplicate
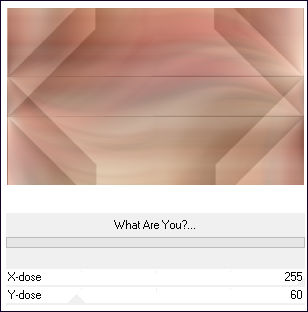
Effects / Plugins / <I.C.NET Software> Filters
Unlimited 2.0 /Toadies / What Are You? 255 / 60
04- Selections / Load save selection / Load selection from alpha
channel: Selection #1

Effects / Plugins /<I.C.NET Software> Filters Unlimited 2.0 / Paper
Texture / Canvas, Fine
Selections / Select \None
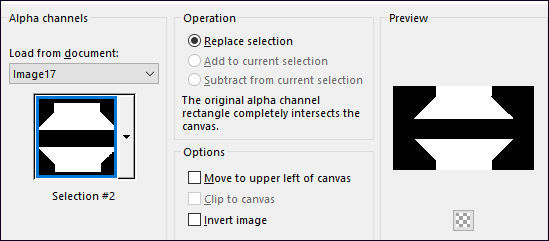
05- Selections / Load save selection / Load selection from alpha
channel: Selection #2
Effects / Plugins /<I.C.NET Software> Filters Unlimited 2.0 / Two
Moon / VerticalRipplie
Selections / Select None
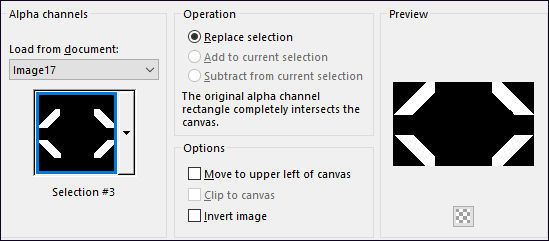
06- Selections / Load save selection / Load selection from alpha
channel: Selection #3
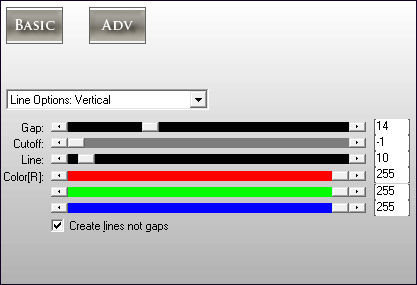
Effects / Plugins / AP [Lines] / Lines-Silverlining / Line Options:
Vertical
Mantenha a Seleção!
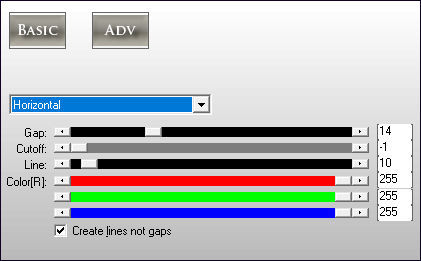
Effects / Plugins / AP [Lines] / Lines-Silverlining /
Horizontal
Mantenha a Seleção!
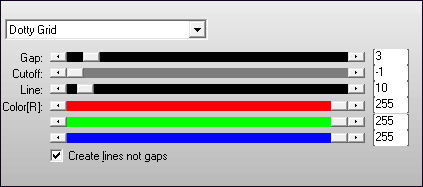
Effects / Plugins / AP [Lines] / Lines-Silverlining
/Dotty Grid
Selections / Select None
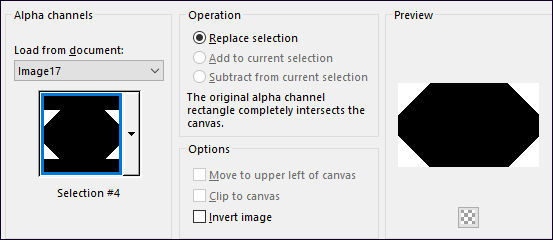
07- Selections / Load save selection / Load selection from alpha
channel: Selection #4
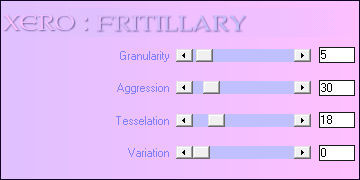
Effects / Plugins / Xero / Fritillary :
Selections / Select None
08- Selections / Load save selection / Load selection
from alpha channel: Selection #5
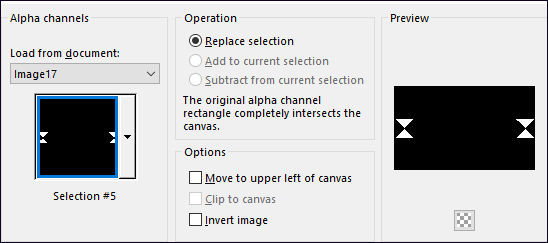
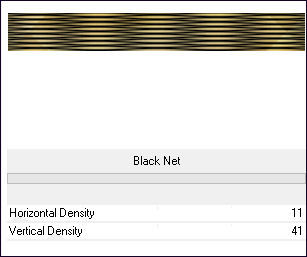
Effects / Plugins /<I.C.NET Software> Filters Unlimited 2.0 /Special
Effects 1/ Black Net: 11 / 41
Selections / Select None
09- Selections / Load save selection / Load selection
from alpha channel: Selection #6
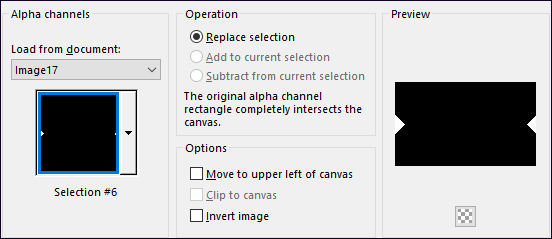
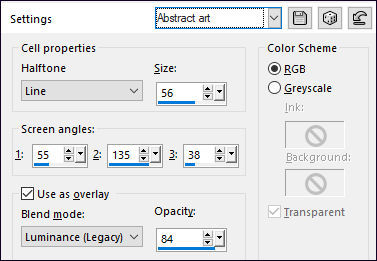
Effects / Artistic Effects / Halftone:Abstract Art
Selections / Select None
10- Ative o <<Deco-1>> Copie e Cole como Nova Layer
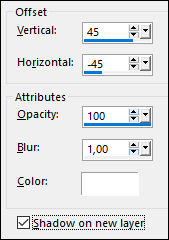
Effects / 3D Effects / Drop Shadow: 0 / 0 / 50 / 30 /
Cor #000000
11- Ative a Layer do Fundo <<Raster 1 >>
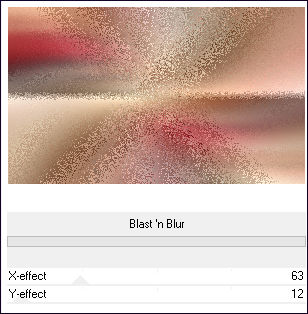
Effects / Plugins /<I.C.NET Software> Filters
Unlimited 2.0 /Toadies / Blast 'n Blur: 63/12
Ative a Layer do Meio (Copy of Raster 1>>
Blend Mode / Multiply
Opacidade / 61%
12- Ative a Layer do Fundo
Selection Tool (S) Custom Selection
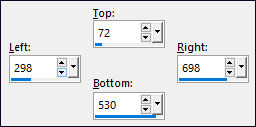
Selections / Promote Selection to Layer
Layers / Arrange / Bring To Top
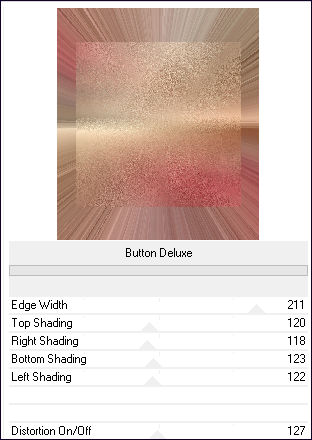
Effects / Plugins / Filter Factory Gallery B / Button
Deluxe
Selections / Select None
13- Abra o <<Deco-2> Copie e Cole como nova layer
Layers / Merge / Merge Down
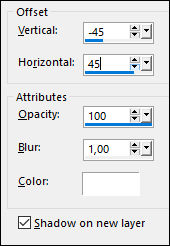
Effects / 3D Effects / Drop Shadow: Cor #FFFFFF
(Shadow on new layer, marcado)
14- Ative a Layer do topo
Effects / 3D Effects / Drop Shadow: Cor #FFFFFF
(Shadow on new layer, marcado)
Layers / Merge / Merge Down
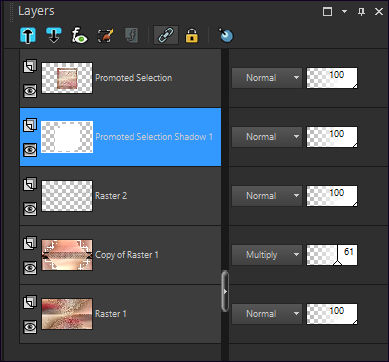
Minha Palete de Layers , agora:
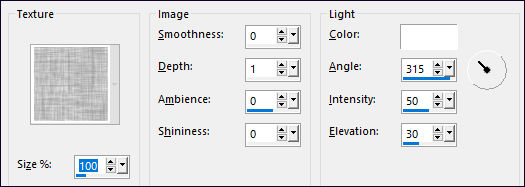
10- Effects / Texture Effects / Texture / Hachure Fine
Ative a Layer do Topo
Layers / Merge / Merge Down
Effects / 3D Effects / Drop Shadow: 0 / 0 / 50 /
30,00 / Cor #000000 (Shadow on new layer, Desmarcado)
11- Selection Tool (S) / Custom Selection
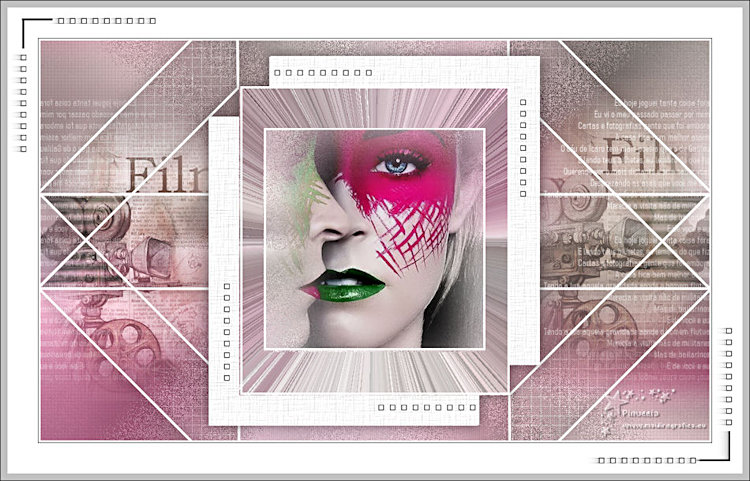
Ative o Misted <<mentali-misted2091>> Copie e Cole como nova layer
Posicione sobre a seleção
Image / Resize / 75%... Resize All Layers
...Desmarcado
Selections / Invert
Delete no Teclado
Selections / Select None
Layers / Merge / Merge Down
12-
Ative a Layer << Copy of Raster 1>>
Abra o tube <<Deco-3>> Copie e Cole como nova layer
Layers / Duplicate
Blend Mode / Overlay
13-
Abra o <<texto>> Copie e Cole como nova layer
Layers / Arrange / Move Up
Layers / Merge / Merge Visible
14-
Ative o Deco-4 Copie e cole como nova layer
Layers / New Raster Layer
Preencha com a cor branca (#ffffff)
Selections / Select All
Selections / Modify / Contract 3 Pixels
Delete no Teclado.
Selections / Select None
15-
Image / Add Borders / Symmetric Marcado / 1 Pixel cor #000000
Image / Add Borders / Symmetric Marcado / 55 Pixels
cor #ffffff
16-
Ative o <<Deco-5>> Copie e cole como nova layer
Arraste um pouco para à esquerda
Layers / Merge / Merge Visible
Effects / 3D Effects / Buttonize
Image / Add Borders / Symmetric Marcado / 1 Pixel cor #000000
Assine seu trabalho
Layers / Merge / Merge All
Salve Como JPG.

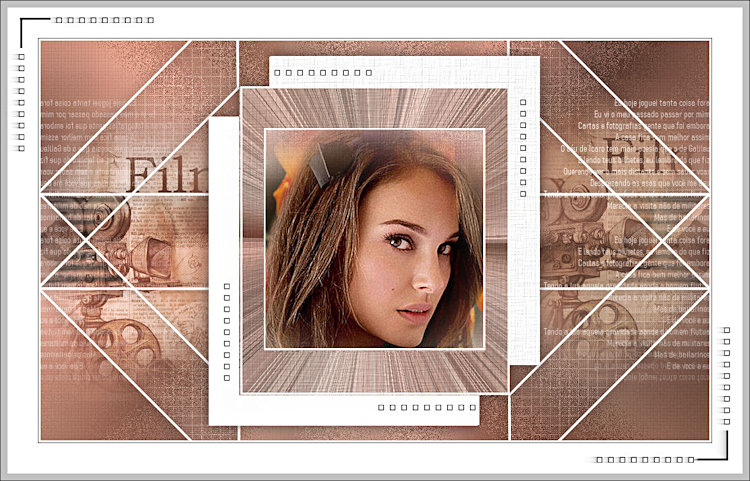
Versão 2: Imagem de Pinterest

Pinuccia:
Clo:
Hillu: