 |
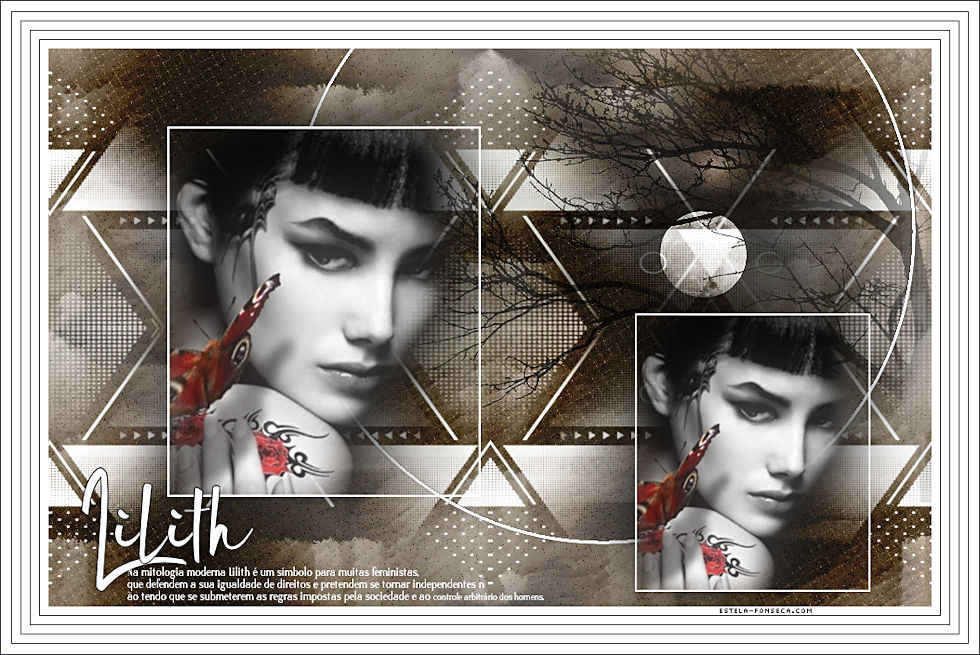
LILITH
Agradeço às maravilhosas tradutoras: Pinuccia, Clo, Hillu e Kathy.
Tube Misted_Lilith_EF (Imagem do Site PINTEREST) Tube de Renée, seu site, AQUI. Demais materiais feitos especialmene para este trabalho.
♥ Agradeço por me permitir usar suas lindas criações (Mask e Tubes e afins) Não altere o nome nem remova a marca d'água. Não compartilhe em grupos ou ofereça-os em seus sites, blogs etc ... Seu uso nos tutoriais está sujeito a autorização dos autores. ♥ Plugins Utilizados: Simple / 4way Average... Tiler / Tile Mirror... Toadies / Weaver... Fantastic Machini / Paint Eugene Graphics Pluss / Vertical Mirror AAA Frames / Foto Frame
** Importados para o Unlimited 2
Preparação: Abra o tube no PSP. Duplique. Feche o Original.
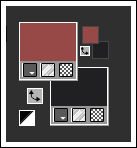
Coloque no Primeiro Plano a cor #974947 / e no segundo Plano a cor #212123
Forme um Gradiente <<Sunburst>> Comfigurado como seue: 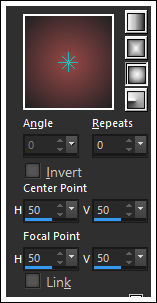
1- Abra a layer <<Lilith-Alpha>> Window/Duplicate Feche a original Continue na Cópia!
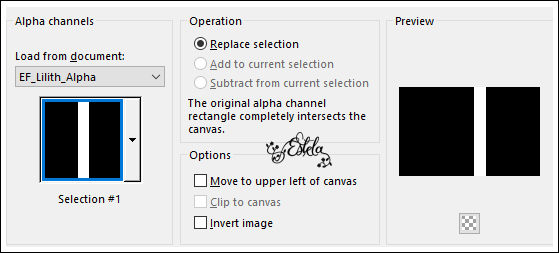
2- Preencha a layer transparente com o gradiente. Selections / Load save selection / Load Selection from alpha channel: Selection #1
3- Preencha com a Cor do segundo plano Selections / Select None
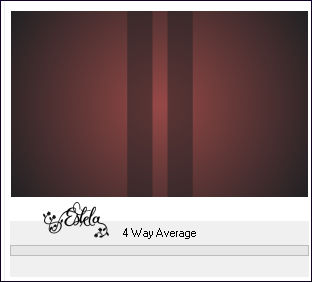
4- Effects / Plugins / <I.C.NET Software> Filters Unlimited 2.0 / Simple / 4way Average...
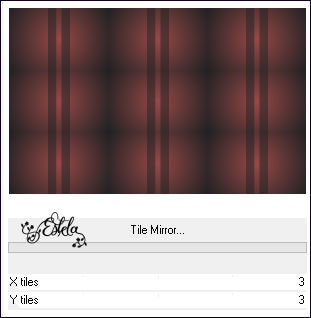
5- Effects / Plugins /<I.C.NET Software> Filters Unlimited 2.0 / Tilers / Tile Mirror...
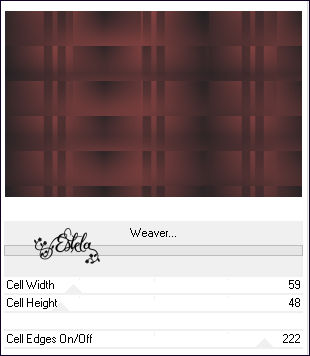
6- Effects / Plugins /<I.C.NET Software> Filters Unlimited 2.0 / Toadies / Weaver...
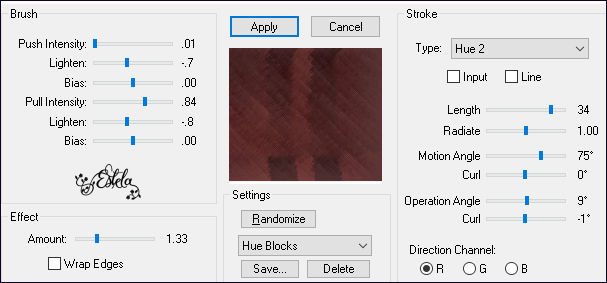
7- Effects / Image Effects / Seamless Tiling / Default Effects / Plugins / Fantastic Machini / Paint Eugene / Hue Blocks
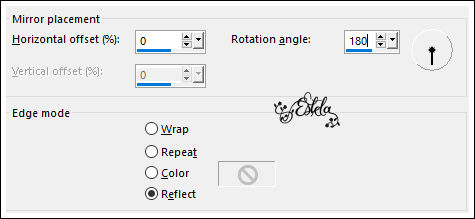
8- Ative o <<EF_Lilith_Deco_1>> Copie e Cole como nova layer Effects / Reflection Effects / Rotating Mirror
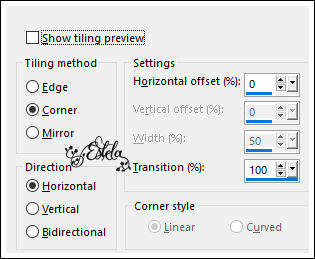
9- Effects / Image Effects / Seamless Tiling ( Corner /Horizontal / 0 / 100)
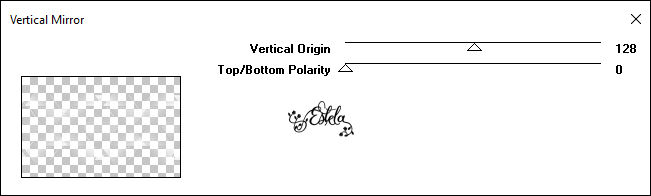
Effects / Plugins / Graphics Plus / Vertical Mirror
10- Layers / Duplicate Layers / Merge / Merge Down
11- Ative o tube <<Misted_Lilith_EF>> Copie e Cole como nova layer Image / Mirror / Mirror / Horizontal Posicione à Direita
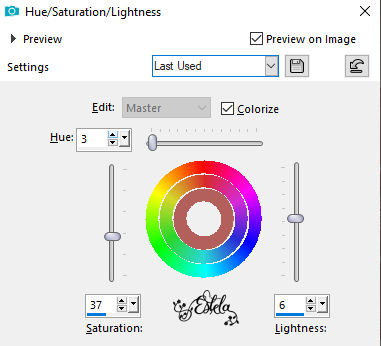
12- Adjust / Hue and Saturation / Hue/Saturation/Lightness
Opacidade 75%
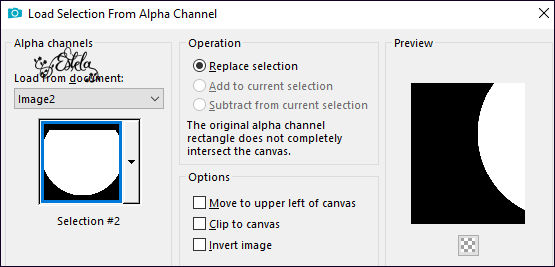
13- Layers / New Raster Layer Selections / Load save selection / Load Selection from alpha channel: Selection #2
14- Mude a cor do Segundo Plano para #FFFFFF Preencha a seleção com a cor branca do Segundo Plano(#FFFFFF)
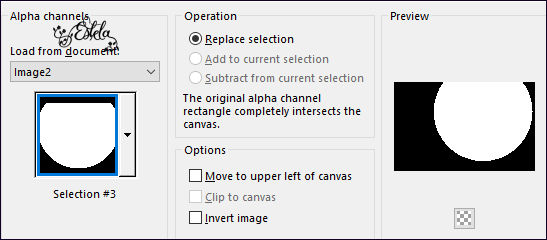
15- Selections / Select None Selections / Load save selection / Load Selection from alpha channel: Selection #3
16- Delete no Teclado Selections / Select None Effects / 3D Effects / Drop Shadow: 0 / 0 / 100 / 2 / Cor do Primeiro Plano
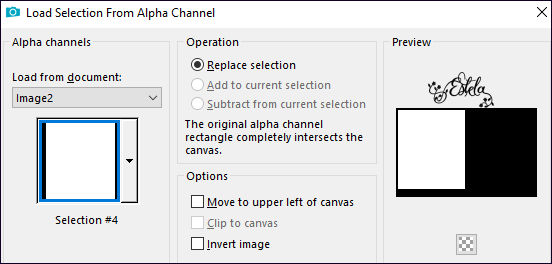
17- Layers / New Raster Layer Selections / Load save selection / Load Selection from alpha channel: Selection #4
18- Preencha com a cor branca (#ffffff) Selections / Modify / Contract / 3 Pixels Delete no Teclado
19- Layers / New Raster Layer Ative o tube da Personagem, copie e cole na seleção Selections / Select None Adjust / Sharpness /Sharpen Layers / Merge / Merge Down
20- Image / Resize / 75%... Resize All Layers ... Desmarcado Não Mova!!!
21- Layers / Duplicate Image / Resize / 75%... Resize All Layers ... Desmarcado
22- Pick (K) Posição X = 631 / Posição Y=285 / Letra "M" para desativar a Pick
Layers / Merge / Merge Down Effects / 3D Effects / Drop Shadow: 0 / 0 / 100 / 100 / Cor #000000
23- Ative a Layer <<Raster 2>> Layers / New Raster Layer
24- Preencha com a cor do Primeiro Plano Layers/ Load save Mask / Load Mask From Disk: Mask 2020
25- Layers / Duplicate Layers / Merge / Merge Group
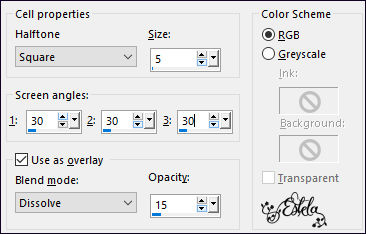
26- Effects / Artistic Effects / Halftone:
Blend Mode / Overlay
27- Effects / Image Effects / Seamless Tiling / Default Ative a Layer do topo
28- Ative o <<EF_Lilith_Texto>> Copie e Cole como nova layer Posicione
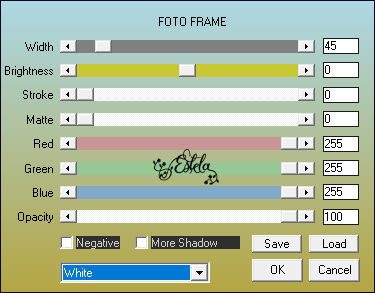
29- Image / Add Borders / Symmetric Marcado / 55 Pixels cor do Segundo Plano (#ffffff) Effects / Plugins / AAA Frames / Foto Frame:
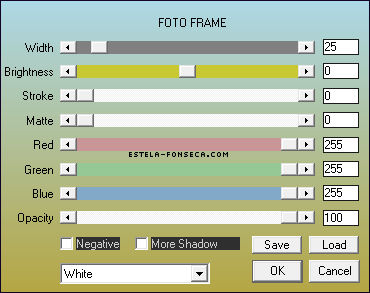
30- Selections / Select All Effects / Plugins / AAA Frames / Foto Frame:
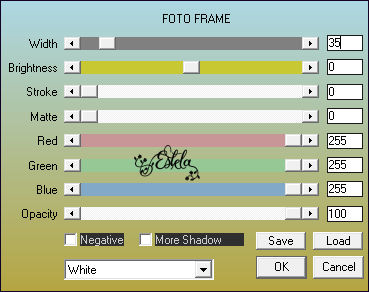
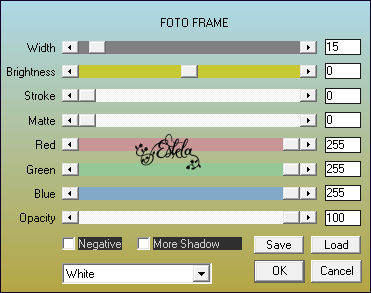
31- Effects / Plugins / AAA Frames / Foto Frame:
Effects / Plugins / AAA Frames / Foto Frame:
32- Selections / Modify / Contract 4 Pixels Image / Crop to Selection
33- Assine seu trabalho Image / Add Borders / Symmetric Marcado / 1 Pixel cor #000000 Salve como JPG
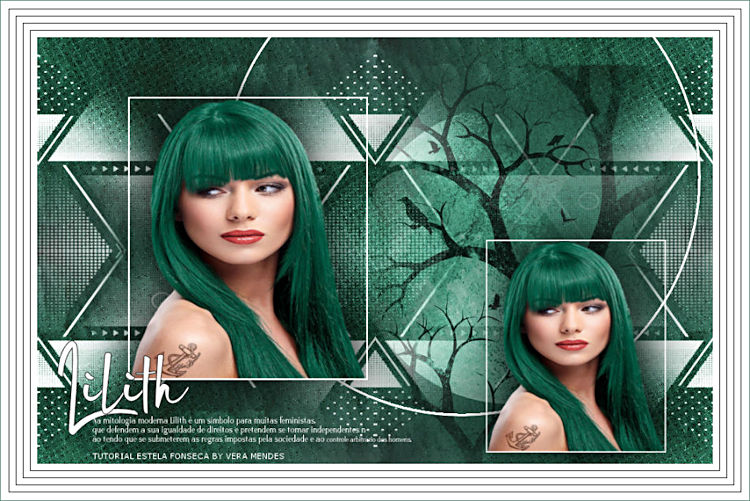
Versão 2 : Tubes de Luna (Paisagem) e de Yoka (Personagem)
Testado por Vera Mendes:
Versões de Pinuccia:
Versão de Clo:
Versão de Hillu:
Versão de Keetje:
©Tutorial criado por Estela Fonseca em
21/04/2021. |