 |
JEWEL
Agradeço às maravilhosas tradutoras: Pinuccia, Clo, Angela e Hillu.
Material Necessário:
Tube de Jewel https://ecrin-de-jewel.blogspot.com/ Masks de Narah https://ar.groups.yahoo.com/neo/groups/TUBESpack/info
♥ Agradeço por me permitir usar suas lindas criações (Mask e Tubes e afins) Não altere o nome nem remova a marca d'água. Não compartilhe em grupos ou ofereça-os em seus sites, blogs etc ... Seu uso nos tutoriais está sujeito a autorização dos autores. ♥ Plugins Utilizados: <I.C.NET Software> Filters Unlimited 2.0 / &<Bkg Designer sf10 II> Flaming Pear / Flood DSB Flux / Linear Transmission & Electrosphere <I.C.NET Software> Filters Unlimited 2.0 / Buttons & Frames <I.C.NET Software> Filters Unlimited 2.0 / Paper Texture
** Importados para o Unlimited 2
Preparação: Abra o tube no PSP, Duplique e feche o original Abra as Masks no PSP e Minimize.
1- Primeiro Plano cor #534169 / Segundo Plano cor #e0dfda
Gradiente estilo <<Linear>> Angle: 45 / Repeats: 5
2- Abra a layer <<Alpha-Jewel>> Duplique e feche a original Trabalharemos na cópia! Preencha esta layer com o Gradiente.
3- Effects / Plugins / <I.C.NET Software> Filters Unlimited 2.0 / &<Bkg Designer sf10 II> / DIS Warp (vertical)
Layers / Duplicate
4- Effects / Plugins / <I.C.NET Software> Filters Unlimited 2.0 / &<Bkg Designer sf10 II> FH PatchWork
Blend Mode / Overlay Layers / Merge / Merge Down
5- Selections / Load / Save Selection / Load Selection from Alpha Chennel: Seleção #1
Selections / Promote selection to layer Adjust / Blur / Gaussian Blur : Radius: 35
6- Effects / Plugins / Flaming Pear / Flood
Effects / Illuminations Effects / Sunburst
Effects / 3D Effects / Chisel
Mantenha a seleção
7- Abra o tube de Jewel (duplique e feche o original) Remova a assinatura da cópia Copie e Cole como nova layer Image / Resize / 70%... Resize All Layers ... Desmarcado Posicione o tube sobre a seleção , como você preferir Selections / Invert Delete no Teclado Selections / Select None Adjust / Sharpness / Sharpen
8- Ative o <<Texto>> Copie e Cole como nova layer Posicione no quadro como no exemplo. Effects / 3D Effects / Drop Shadow: 1 / 1 / 100 / 1 / Cor (#ffffff) Layers / Merge / Merge Down ( 2 Vezes) Effects / 3D Effects / Drop Shadow: 1 / 1 / 100 / 1 / Cor (#ffffff)
9- Ative a Layer do Fundo (Raster 1) Layers / New Raster Layer Preencha com a cor branca Layers / New Mask Layer / From Image:
Layers / Merge / Merge Group Effects / 3D Effects / Drop Shadow: 0 / 0 / 60 / 30 / Cor #000000
10- Ative a Layer do topo Selections / Load / Save Selection / Load Selection from Alpha Chennel: Seleção #2
Layers / New Raster Layer Primeiro Plano cor #534169 / Segundo Plano cor #e0dfda
Gradiente <<Linear>> Angle 45 / Repeats 0. Como segue:
Preencha a seleção com o Gradiente Selections / Select None
11- Effects / 3D Effects / Drop Shadow: 0 / 0 / 60 / 30 / Cor #000000 Layers / Duplicate Image / Resize / 70%... Resize All Layers ... Desmarcado Pick Tool (K) Posição X (512,00) Posição Y (130,00) Tecla "M" para sair da Pick Tool.
12- Layers / Duplicate Image / Resize / 70%... Resize All Layers ... Desmarcado Pick Tool (K) Posição X (410,00) Posição Y (439,00) Tecla "M" para sair da Pick Tool.
Layers / New Raster Layer Selections / Load / Save Selection / Load Selection from Alpha Chennel: Seleção #3
Preencha com o Gradiente (está na memória)
13- Effects / Texture Effects / weave (Weave color cor escura e Gap Color cor clara)
Selections / Select None Effects / 3D Effects / Drop Shadow: -25 /- 25 / 100 / 1 / Cor #000000 Effects / Image Effects / Offset: 25/-25/ Custom Transparente
14- Ative a Segunda layer à partir da layer do Fundo, como segue:
Layers / New Raster Layer Selections / Load save selection / Load selection from Alpha Channel: Selection #4
Preencha com o mesmo gradiente Selections / Select None Effects / 3D Effects / Drop Shadow: 0 / 0 / 60 / 30 / Cor #000000
15- Effects / Plugins / DSB Flux / Linear Transmission
Effects / Image Effects / Seamless Tiling / Mirror Ghost
Blend Mode / Overlay
16- Ative a Layer do fundo Layers / New Raster Layer Effeects / Plugins / Dsb Flux / Electrosphere
Blend Mode / Soft Light Nota: Você pode colorir para combinar suas cores.
17- Ative a Layer do topo Layers / New Raster Layer Selections / Load save selection / Load selection from Alpha Channel: Selection #5
Preencha com a cor do primeiro plano Selections / Select None Effects / 3D Effects / Drop Shadow: 10 / 10 / 100 / 1 cor #000000 Layers / Merge / Merge Visible
18- Image / Add Borders / Symmetric Marcado / 3 Pixels cor #ffffff Image / Add Borders / Symmetric Marcado / 50 Pixels cor #c487d1 Ative a Varinha Mágica e selecione esta borda de 50 Pixels
19- Effects / Plugins /<I.C.NET Software> Filters Unlimited 2.0 / Buttons & Frames / 3D Glass Frame 3
Mantenha a seleção! Effects / Plugins / <I.C.NET Software> Filters Unlimited 2.0 / Buttons & Frames / Rectangular Button
20- Effects / Plugins / < I.C.NET Software> Filters Unlimited 2.0 / Paper Texture / Papyrus
Selections / Invert Effects / 3D Effects / Drop Shadow: 0 / 0 / 60 / 30 / Cor #000000 Selections / Select None
21- Assine seu trabalho Layers / Merge / Merge All Salve como JPG
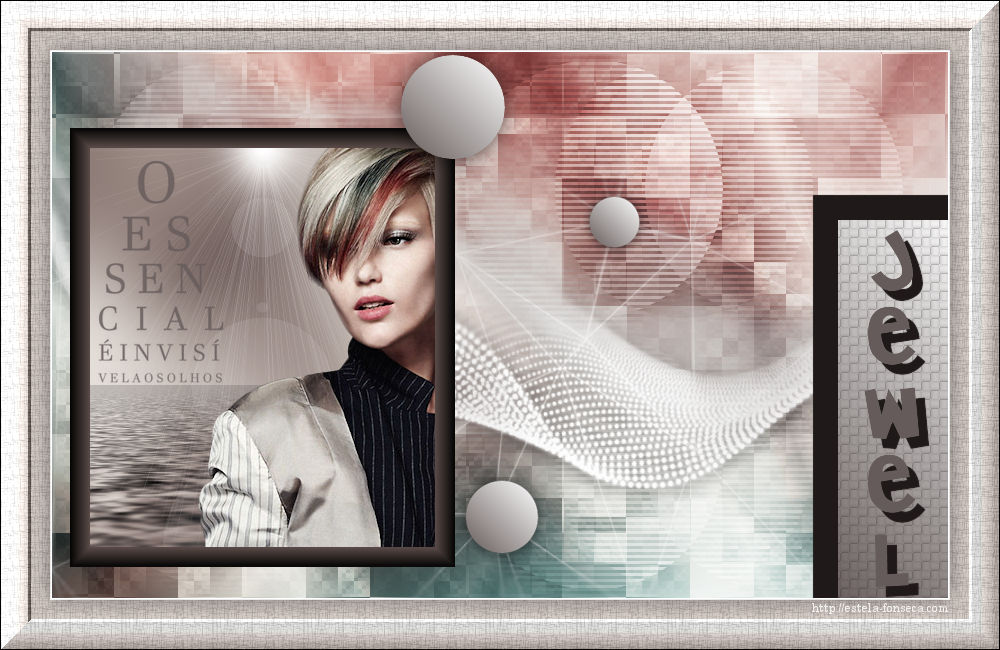
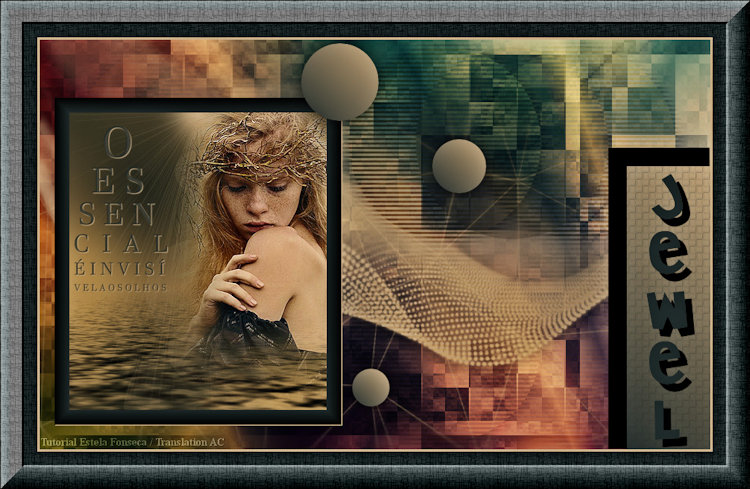
Versão 2: Tube de Jewel
Testado e Revisado por Vera Mendes:
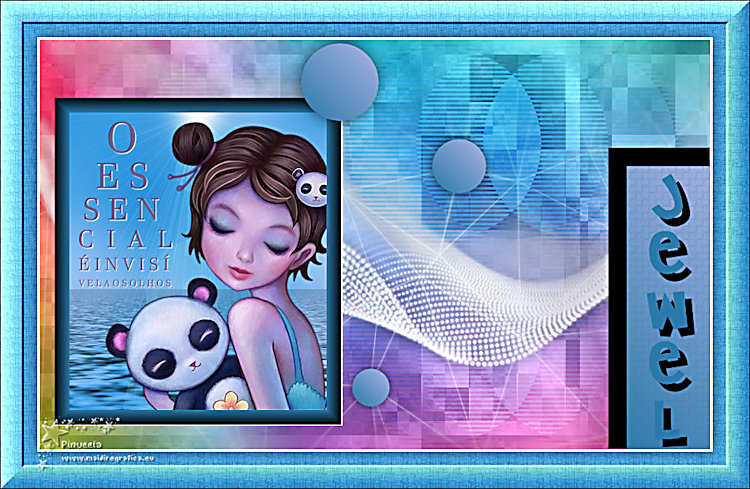
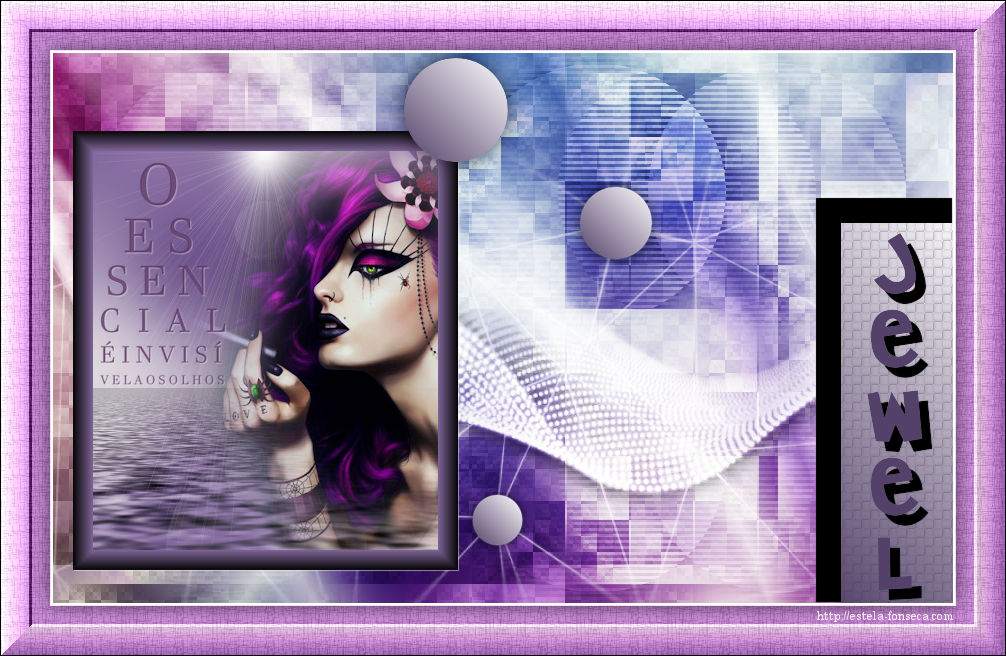
Versão de Pinuccia:
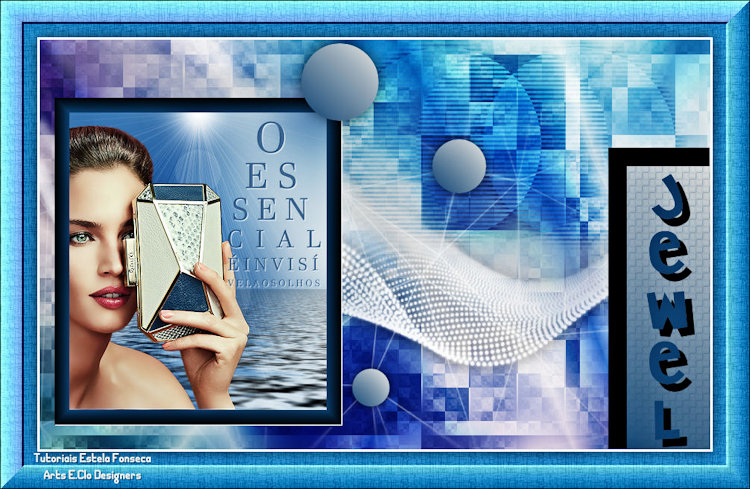
Versão de Clo
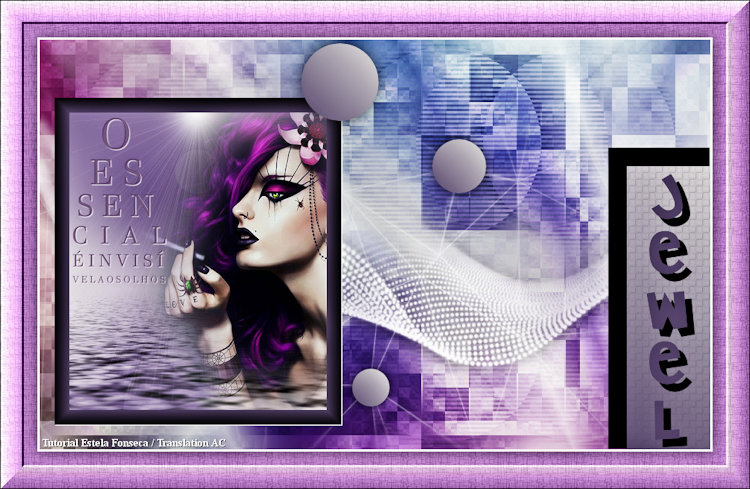
Versões de Angela:
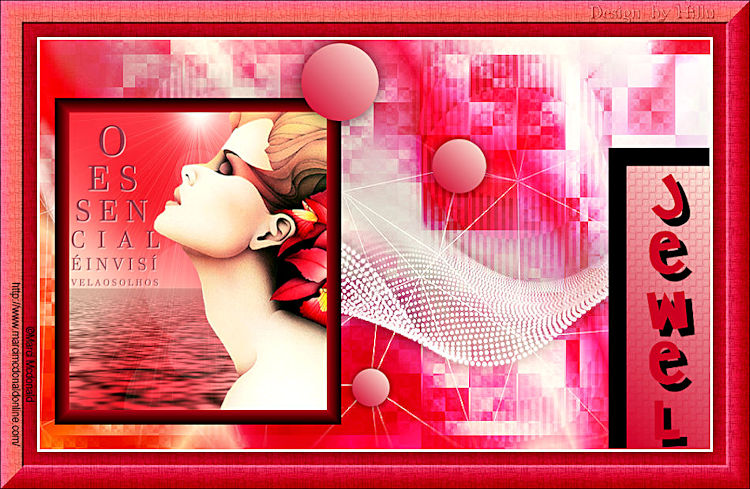
Versão de Hillu:
©Tutorial criado por Estela Fonseca em
25/05/2020. |