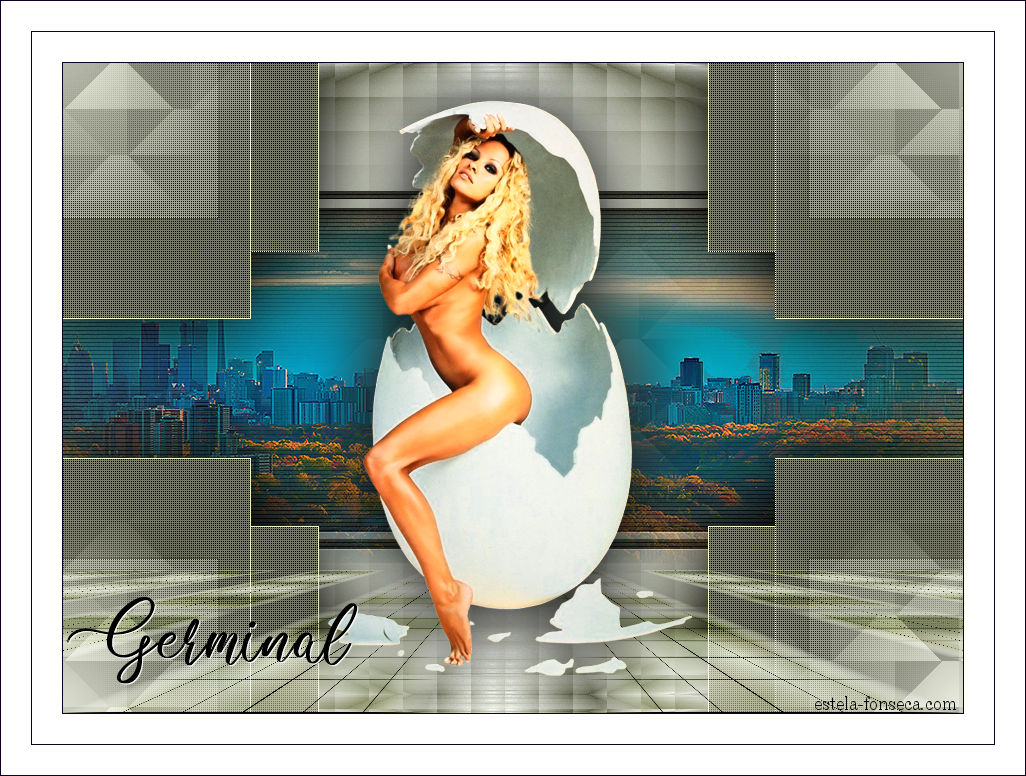
 |
GERMINALTubes de Nicole (Personagem) seu site: AQUI. Tube de Luna (Paisagem)
♥ Agradeço por me permitir usar suas lindas criações (Mask e Tubes e afins) Não altere o nome nem remova a marca d'água. Não compartilhe em grupos ou ofereça-os em seus sites, blogs etc ... Seu uso nos tutoriais está sujeito a autorização dos autores. ♥
Plugins Utilizados: Richard Rosenman / Scanlines Lens Effects / Refractor 2** Filters Factory Gallery B / Button Deluxe** Simple / Half Wrap , Zoom Out and Flip** Toadies / Ommandown** MuRas Meister / Perspective Tiling Two Moon / CutGlass** AP(01) Innovations / Lines-Silverlining Nik Software / Color Efex Pro 3
** Importados para o Unlimited 2
Preparação: Abra os tubes no PSP, duplique e feche os originais.
Coloque no Primeiro Plano a cor #6a6c57 / e no segundo Plano a cor #f1f4ed
1- Abra a layer <<Alfa-Germinal>> Duplique e feche a original Trabalhe na cópia... lembrando que essa layer contém seleções em canal alfa.
2- Preencha com a cor #6a6c57 Effects / Plugins / Richard Rosenman / Scanlines
3- Selections / Load Save selection / Load selection from alpha channel: Selection #1
Coloque no Primeiro Plano a cor #6a6c57 / e no segundo Plano a cor #f1f4ed
4- Gradiente <<Sunburt>> Configurado como segue:
Layers / New Raster Layer
5- Preencha a seleção com o Gradiente Effects / Plugins / MuRa's Meister / Perspective Tiling / Default
6- Selections / Select None Layers / Duplicate
6- Image / Mirror / Mirror Vertical Layers / Merge / Merge Down
7- Effects / Edge Effects / Enhance More Effects / 3D Effects / Drop Shadow: 0 / 0 / 100 / 100 / #000000
8- Effects / Plugins /<I.C.NET Software> Filters / Unlimited 2 / Lens Effects / Refractor 2 / Default
Selections / Load Save selection / Load selection from alpha channel: Selection #2
9- Layers / New Raster Layer Preencha com o mesmo gradiente
10- Effects / Plugins / <I.C.NET Software> Filters Unlimited 2 / Filters Factory Gallery B / Button Deluxe / Default
Selections / Select None
11- Effects /Edge Effects / Enhance Objects / Align / Center in Canvas
12- Layers / Duplicate Image / Free Rotate :
13- Layers / Arrange / Move Down Ative a Layer do Topo
14- Layers / Merge / Merge Down Effects / Plugins / <I.C.NET Software> Filters Unlimited 2 / Simple / Half Wrap
15- Layers / Duplicate Effects / Plugins / <I.C.NET Software> Filters Unlimited 2 / Simple / Zoom Out and Flip
16- Selections / Load Save selection / Load selection from alpha channel: Selection #3
Copie
17- Selections / Select None Effects / Plugins / <I.C.NET Software> Filters Unlimited 2 / Toadies / Ommadown
18- Effects / MuRas Meister / Perspective Tiling
Blend Mode / Hard Light
19- Cole como nova layer (a imagem copiada está na memória) Effects / Image Effects / Seamless Tiling / Default
20- Adjust / Blur / Gaussian Blur / Radius 50 Effects / Plugins / <I.C.NET Software> Filters Unlimited 2 /Two Moon / CutGlass / Default
21- Layers / Arrange / Move Down Ative a Layer <<Copy of Raster 3>>
22- Effects / Plugins / AP(01) Innovations / Lines-Silverlining:
Effects / 3D Effects / Drop Shadow: 0 / 0 / 100 / 100 / Cor #000000
23- Ative o <<tube da paisagem>> Copie e Cole como nova layer Layers / Arrange / Move Down
24- Ative a Layer do Topo Maximize o Tube de Maryse ... Copie e Cole como nova layer
25- Image / Resize / 65% ... Resize All Layers ... Desmarcado Effects / 3D Effects / Drop Shadow: 0 / 0 / 50 / 30 / #000000
26- Image / Add Borders / Symmetric Marcado / 1 Pixel cor preta (#000000) Effects / Plugins / Nik Software / Color Efex Pro 3 / Polarization
27- Image / Add Borders / Symmetric Marcado / 30 Pixels cor branca (#ffffff) Image / Add Borders / Symmetric Marcado / 1 Pixel cor preta (#000000) Image / Add Borders / Symmetric Marcado / 30 Pixels cor branca (#ffffff)
28- Ative o <<Texto>> Copie e Cole como nova layer Posicione à gosto!
29- Adicione a sua assinatura ou a sua marca d'água. Image / Add Borders / Symmetric Marcado / 1 Pixel cor preta (#000000) Salve como JPG
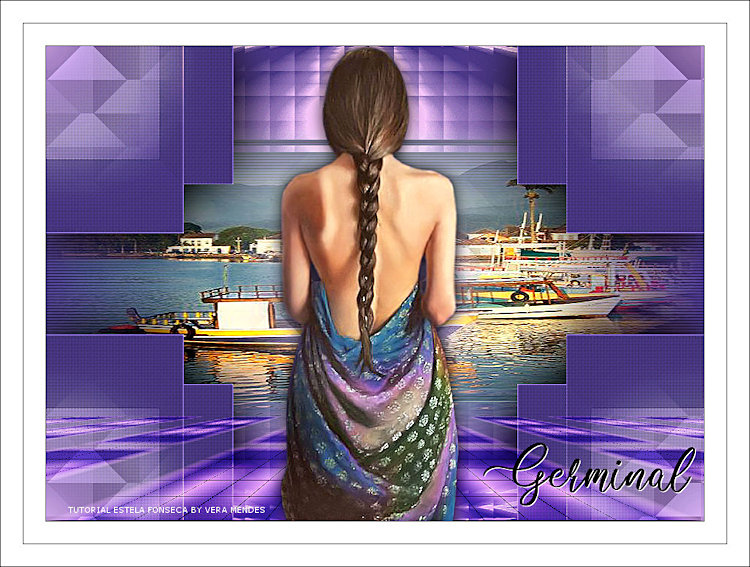
Versão 2 : Tubes de <<franiemargot>> Paisagem e <<Nicole>> Personagem.
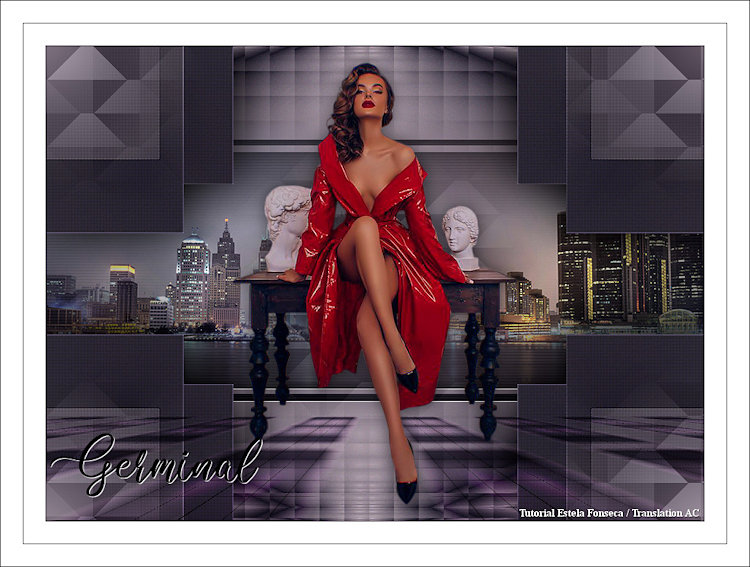
Testado e Revisado por Vera Mendes:
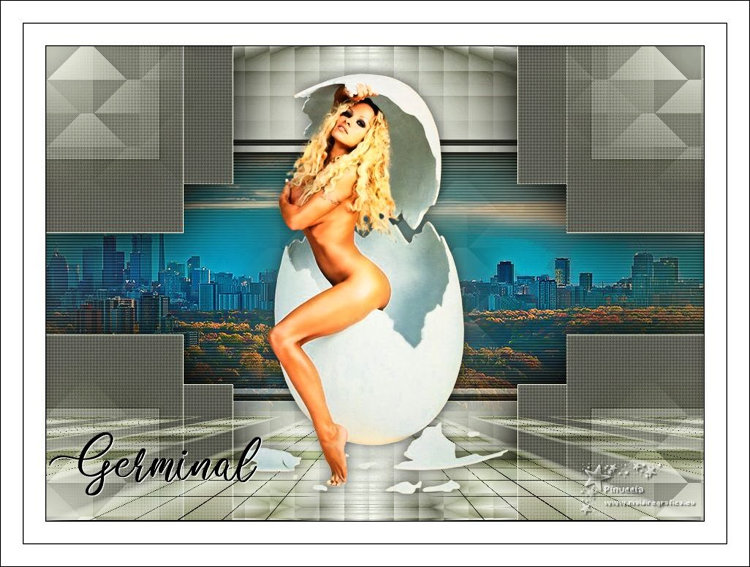
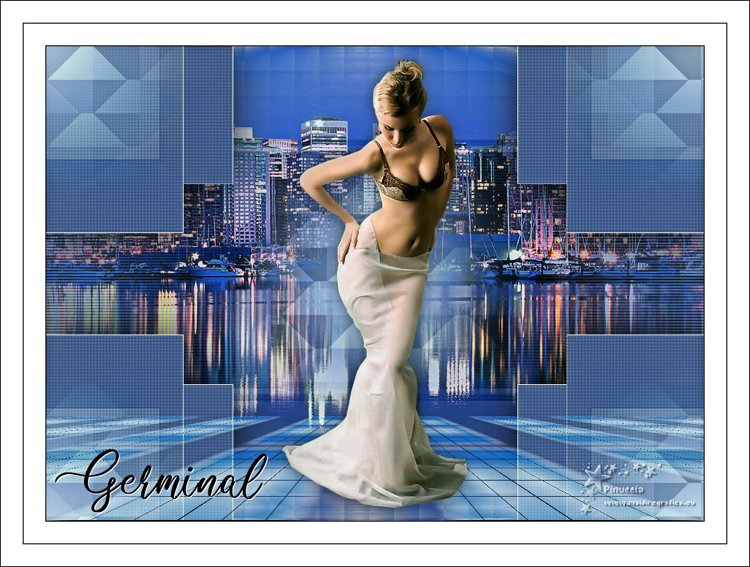
Versões de Pinuccia:
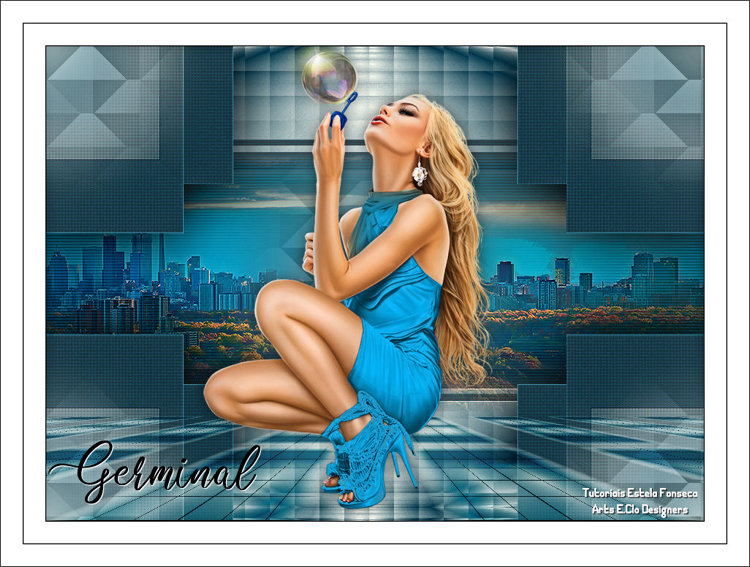
Versão de Clo:
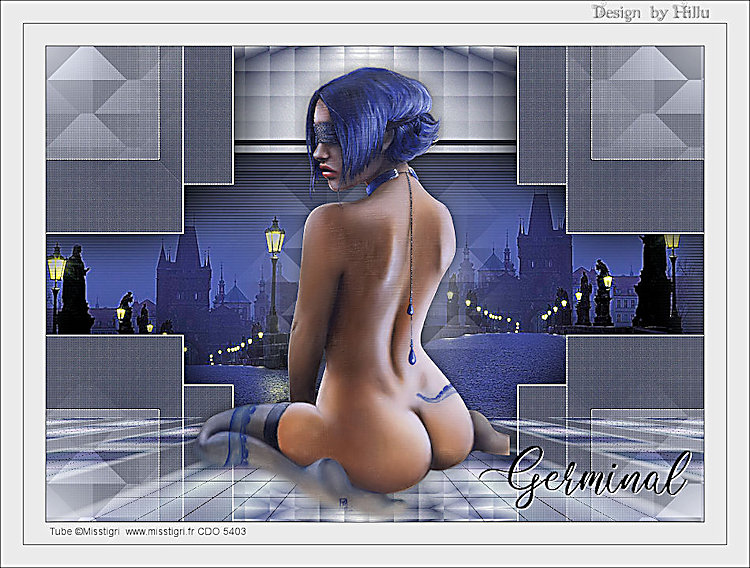
Versão de Hillu:
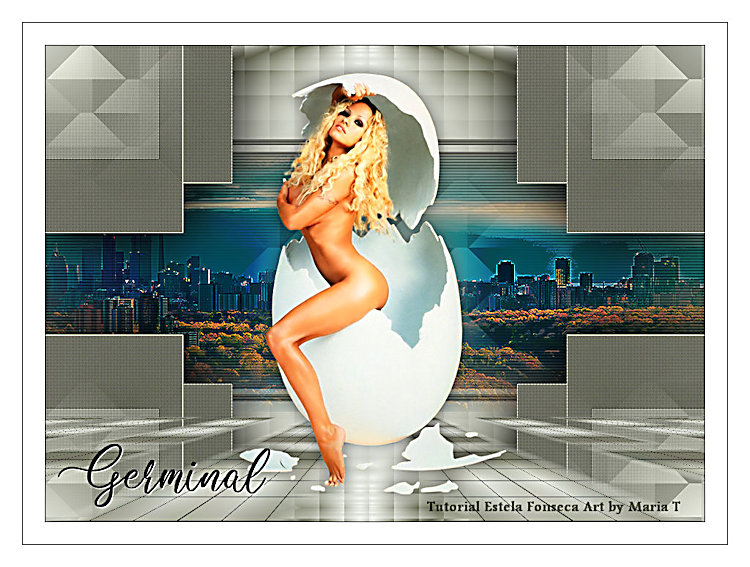
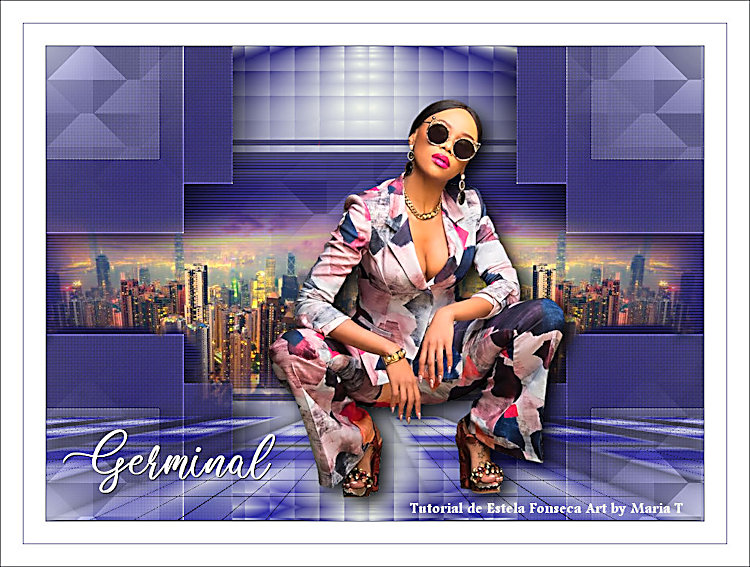
Versões de Maria T:
Versão de Angela:
©Tutorial criado por Estela Fonseca em
29/03/2021. |


