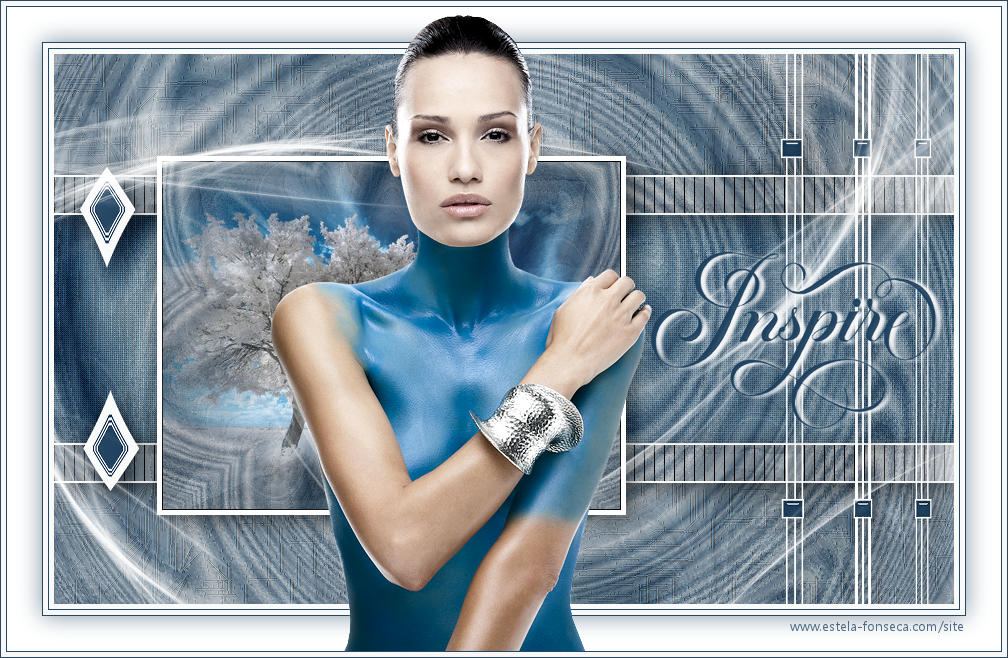
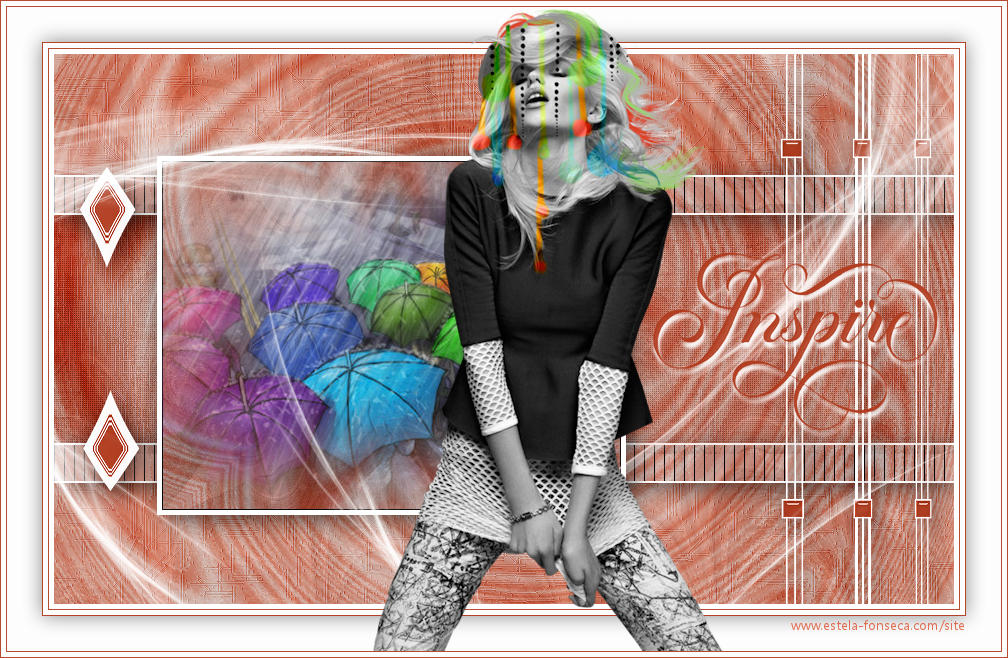
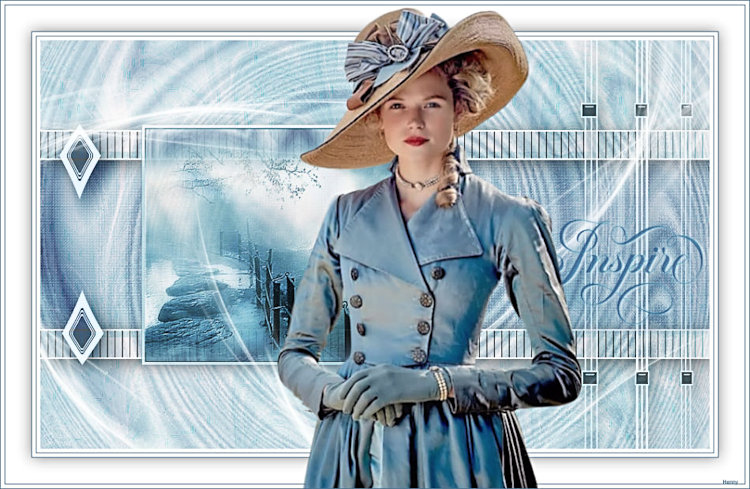
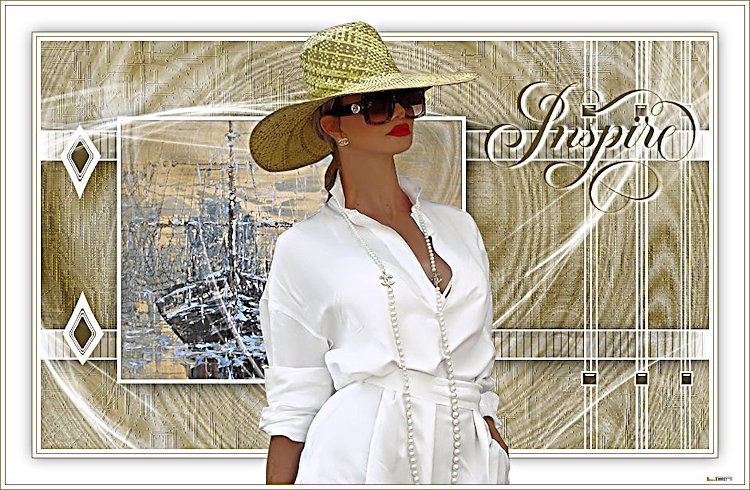
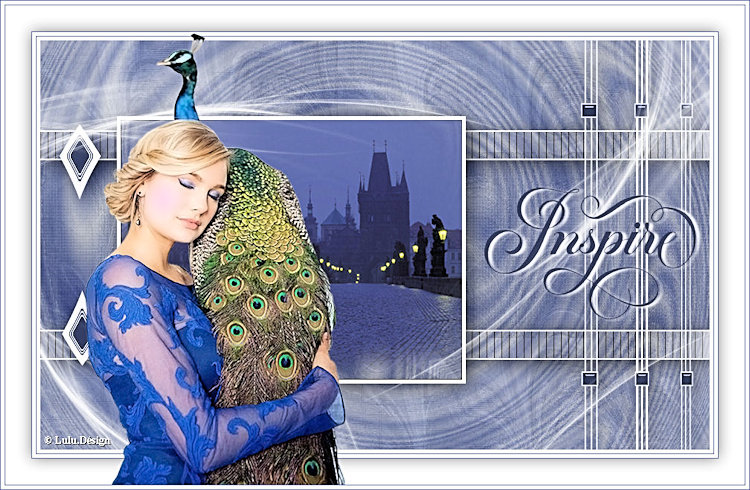
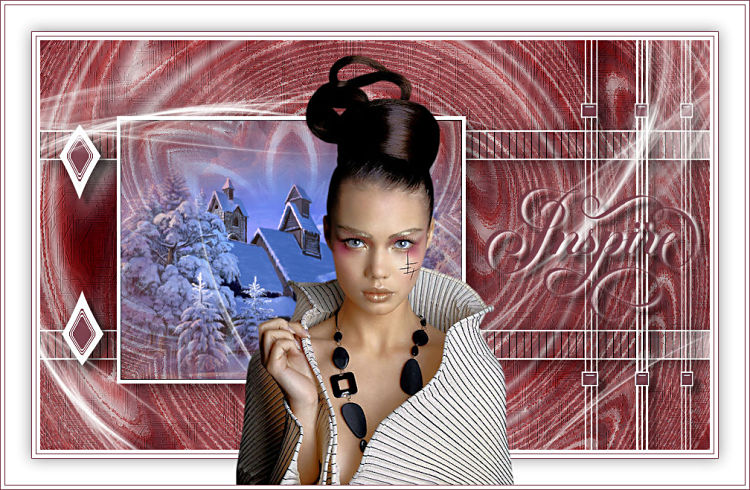
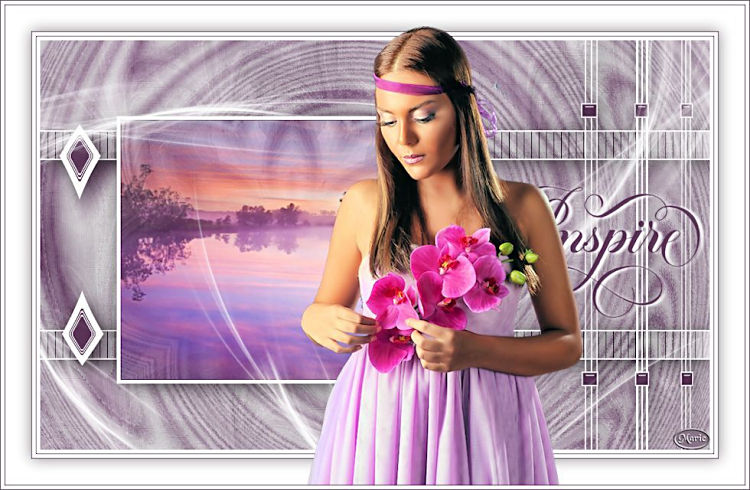
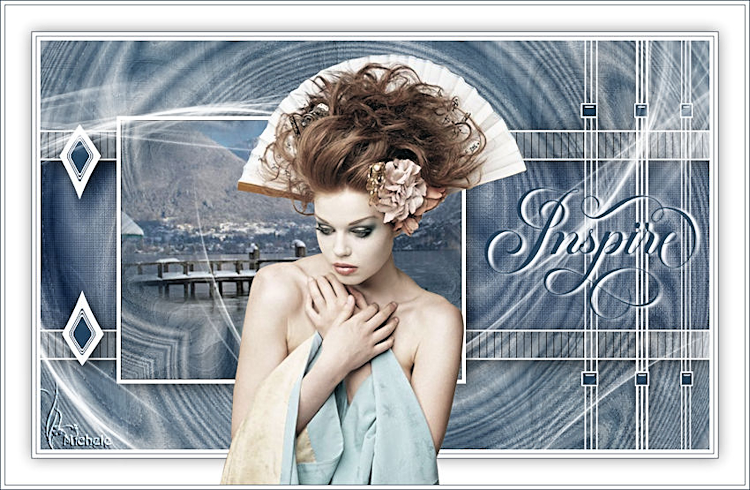
INSPIRE


Agradeço as tradutoras.
Material Necessário:
Tube de Nocole. Seu site AQUI.
Mask de Narah. Seu Grupo AQUI.
Demais materiais de Estela Fonseca
Agradeço a todas as artistas que gentilmente cederam seus tubes e Masks tornando possível
a execução deste trabalho.
Plugins Utilizados:VM Natural / Splash!...
Distortion Filters / Whirl
Unlimited / Paper Textures
AP-Inovations / Lines-Silverlining
Preparação:
Abra os tubes no PSP, duplique e feche os originais.
Abra a Mask no PSP e Minimize.
01- Abra uma imagem transparente de 900 x 550 pixels
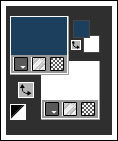
Foreground cor escura do tube / Background cor branca ou uma cor clara do tube
Minhas Cores: #1d405e e #ffffff
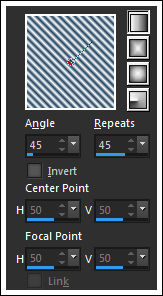
Gradiente <<Linear>> Angle e Repeats 45
Preencha a layer com o Gradiente
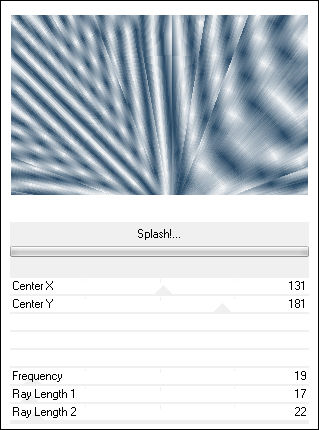
02- Effects / Plugins / VM Natural / Splash!...
Effects / Edge Effects / Enhance
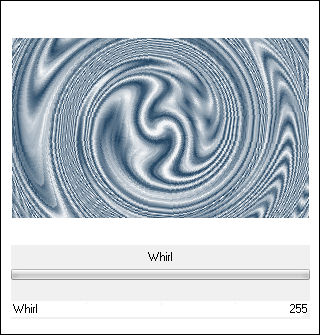
03- Effects / Plugins / Distortion Filters / Whirl
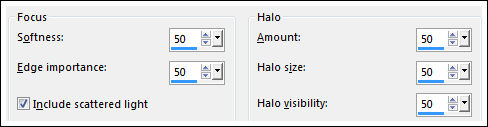
Adjust / Softnes / Soft Focus
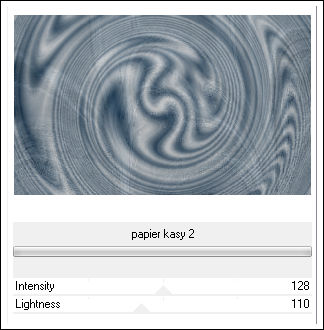
04- Effects / Plugins / Unlimited / Paper Textures / Papier kasy 2
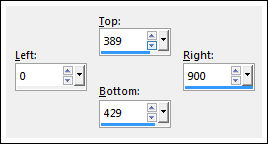
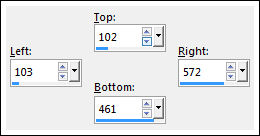
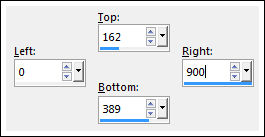
Selection Tool (S) / Custom Selection:
Selections / Promote Selection To Layer
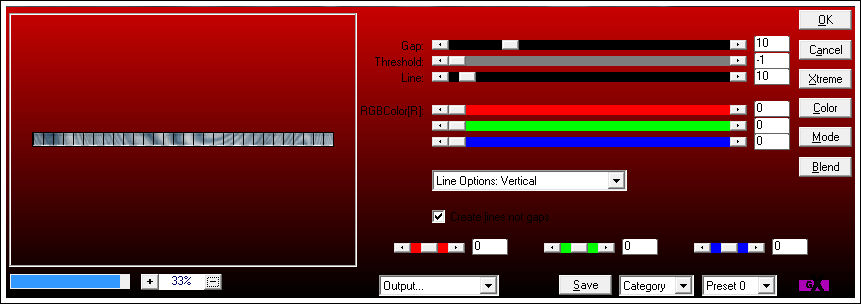
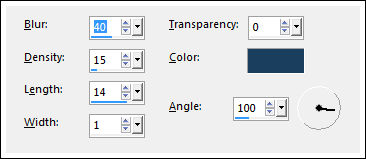
05- Effects / Plugins / AP-Inovations / Lines-Silverlining:
Layers / New Raster Layer
Preencha com a cor do Segundo Plano
Selections / Modify / Contract 2 Pixels
Delete no Teclado
Selections / Select None
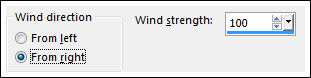
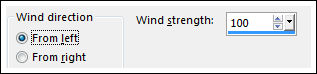
06- Effects / Distortion Effects / Winds
Effects / Distortion Effects / Winds
Layers / Merge / Merge Down
07- Layers / Duplicate
Image / Mirror / Mirror Vertical
Layers / Merge / Merge Down
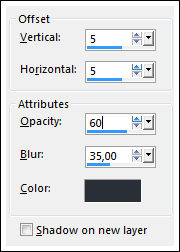
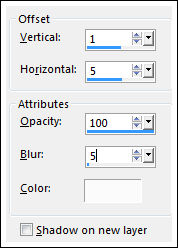
08- Effects / 3D Effects / Drop Shadow: Cor #000000
09- Ative a Layer <<Raster 1>>
Selection Tool (S) / Custom Selection:
Selections / Promote Selection to Layer
Layers / Arrange / Bring to top
10- Layers / New Raster Layers
Preencha com a cor do segundo plano
Selections / Modify / Contract 5 pixels
Delete no teclado
Mantenha a seleção
Layers / Merge / Merge Down
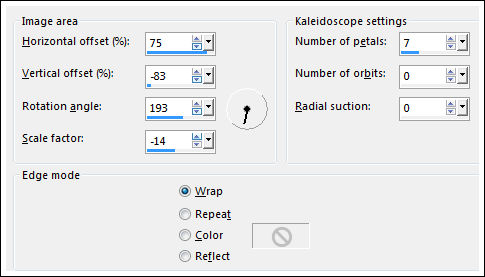
11- Effects / Reflection Effects / Kaleidoscope
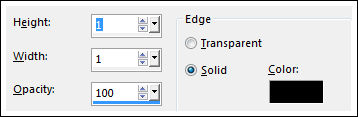
Effects / 3D Effects / Buttonize:
12- Abra o tube <<arvore>> Copie e Cole como nova layer
Posicione sobre a seleção
Selections / Invert
Delete no Teclado
Selections / Select None
Layers / Merge / Merge Down
Effects / 3D Effects / Drop Shadow: Cor #000000
13- Ative a Layer <<Raster 1>>
Layers / Duplicate
Adjust / Blur / Gaussian Blur / Radius 35
Effects / Texture Effects / Straw Wall
Blend Mode / Soft Light
14- Ative o <<Deco1>> Copie e Cole como nova layer
Layers / Arrange / Move Up
Effects / Distortion Effects / Punch: 100
Effects / 3D Effects / Drop Shadow: Cor #000000
15- Ative a Layer do Topo
Layers / New Raster Layer
Preencha com a cor do Segundo Plano
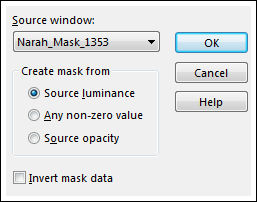
Layers / New Mask Layer / From Image:Narah_Mask_1353
Layers / Merge / Merge Group
16- Ative o Texto Copie e cole como nova layer
Pick Tool (K) Posição de X: 580,00/ Posição de Y: 158,00
Effects / 3D Effects / Drop Shadow:
Layers / Duplicate
17- Ative a segunda layer à partir da layer do Fundo
Selections / Custom Selection:
Selections / Select None
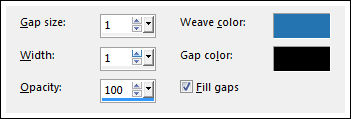
Effects / Texture Effects / Weaver:
18- Image / Add Borders / Symmetric Marcado / 5 Pixels cor do Segundo Plano
Image / Add Borders / Symmetric Marcado / 1 Pixel cor do Primeiro Plano
Image / Add Borders / Symmetric Marcado / 5 Pixels cor do Segundo Plano
Image / Add Borders / Symmetric Marcado / 1 Pixel cor do Primeiro Plano
Selections / Select All
Image / Add Borders / Symmetric Marcado / 35 Pixels cor do Segundo Plano
Effects / 3D Effects / Drop Shadow: 0 / 0 / 45 / 30 / #000000
Selections / Select None
19- Ative o tube << nicole-portrait16-2013>> Copie e Cole como nova layer
Image / Resize / 55%... Resize All Layers ... Desmarcado
Posicione como desejar
Adjust / One Stop Foto Fix
20- Image / Add Borders / Symmetric Marcado / 1 Pixel cor do Primeiro Plano
Image / Add Borders / Symmetric Marcado / 5 Pixels cor do Segundo Plano
Image / Add Borders / Symmetric Marcado / 1 Pixel cor do Primeiro Plano
21- Assine seu trabalho
Layers / Merge / Merge All
Salve como jpeg.
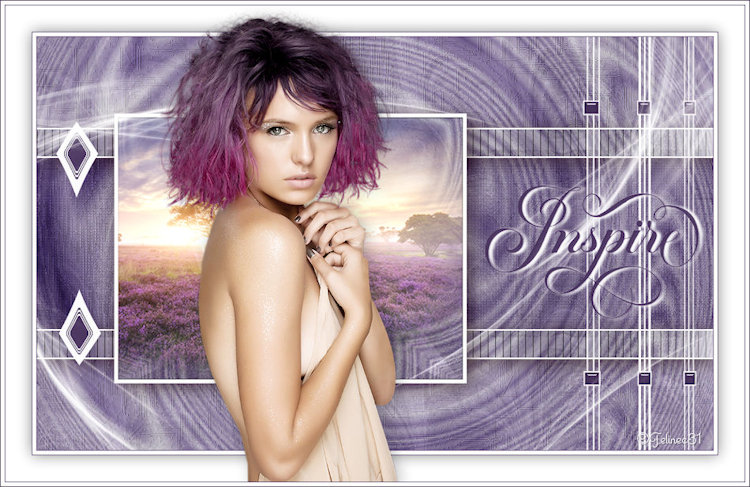
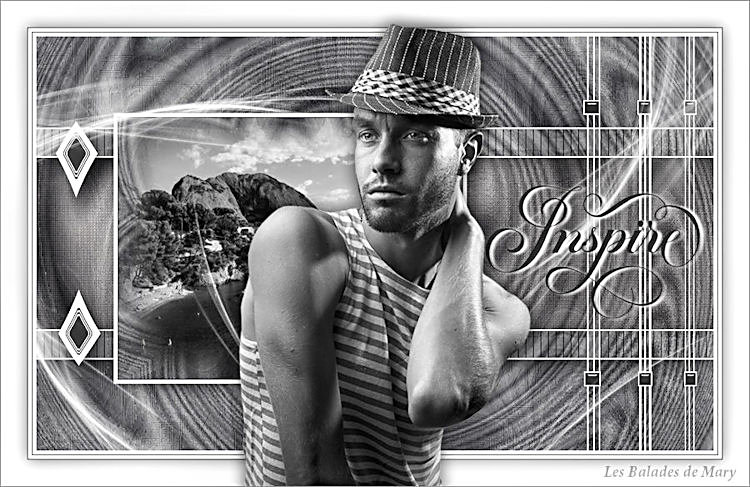
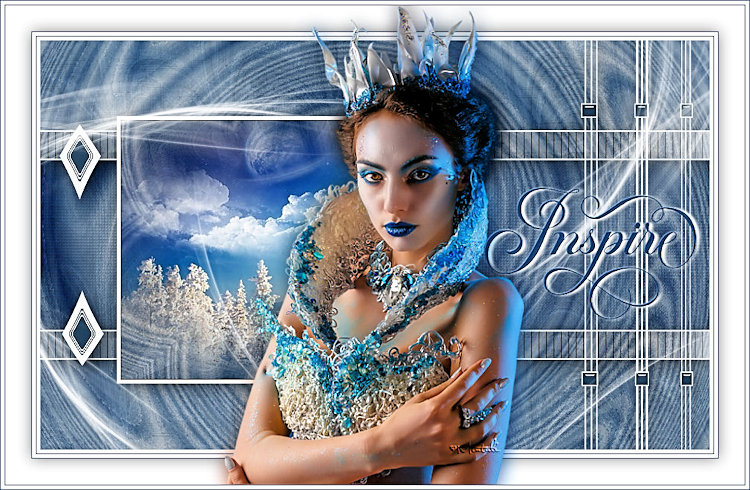
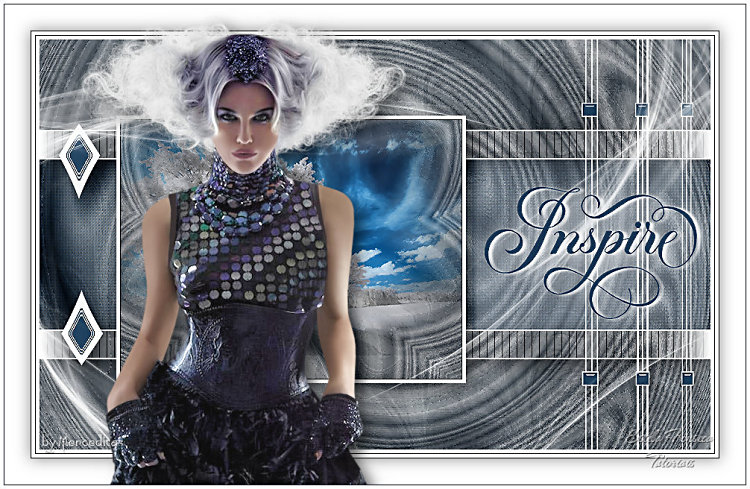
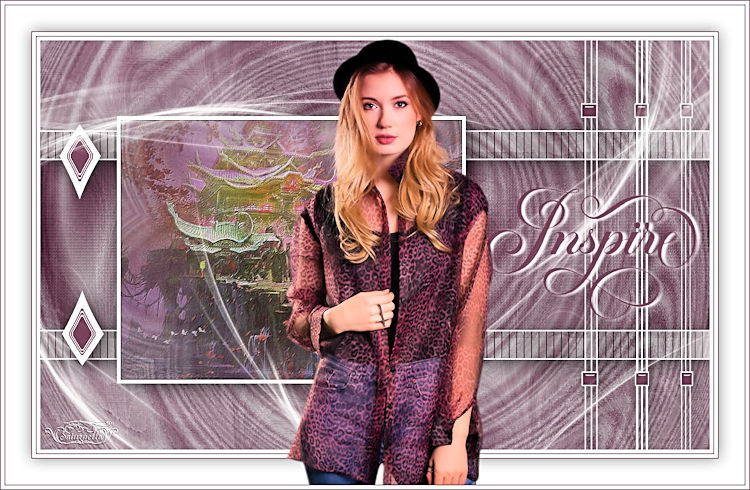
Outra Versão com tube de Nicole:
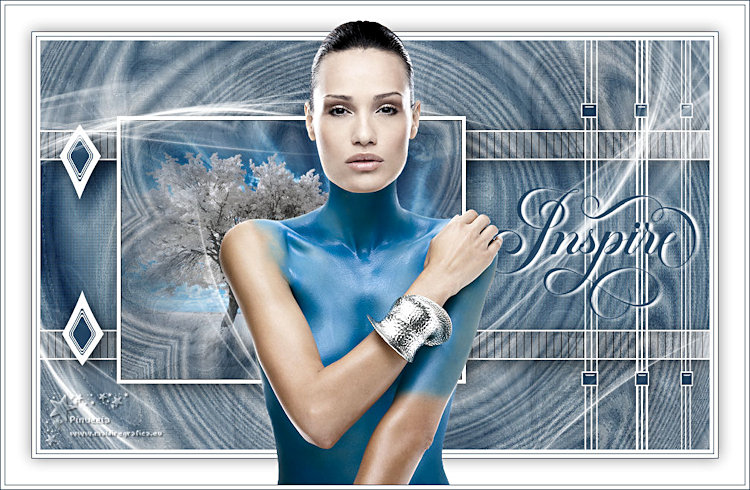
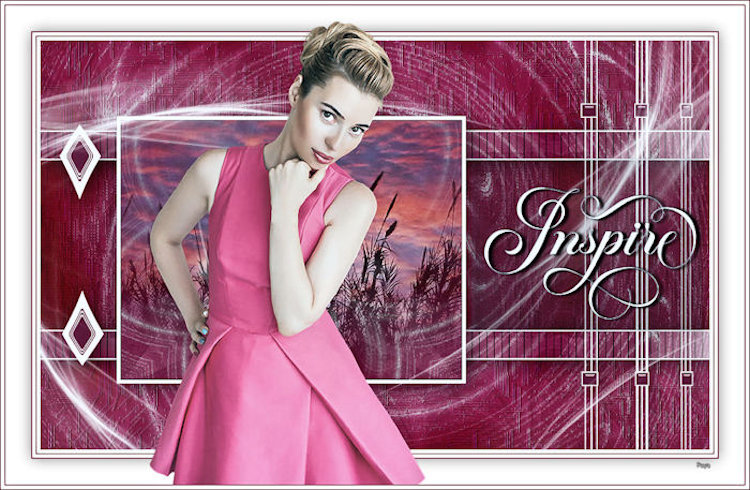
Pinuccia:
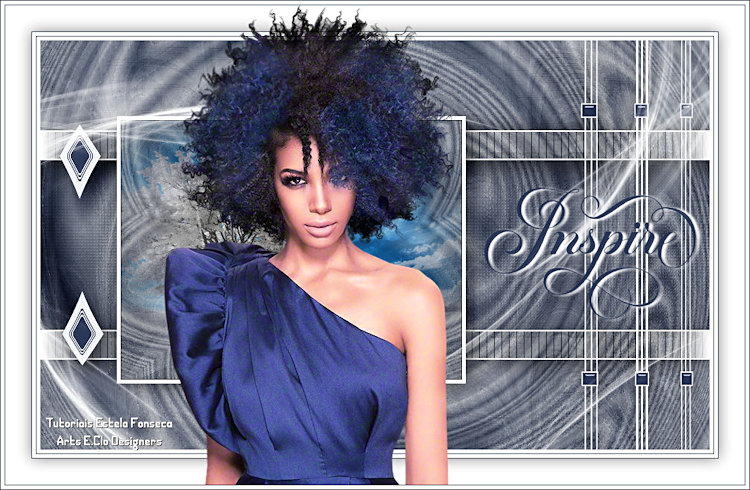
Clo:
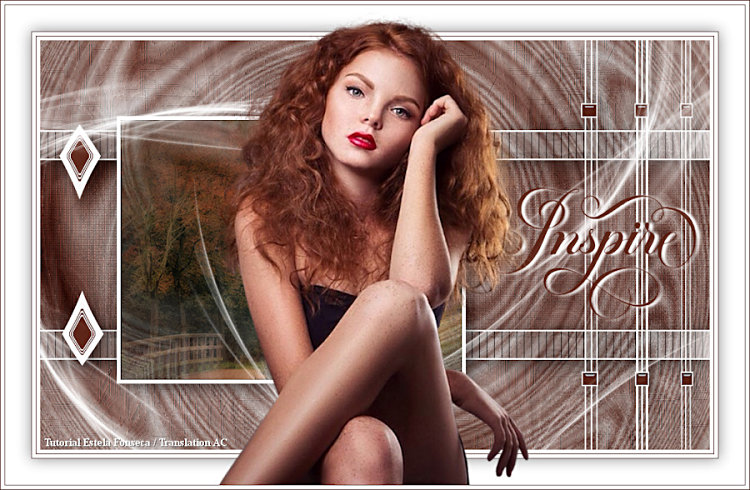
AngelaC:
Hillu:
Alyciane:
Carmen:
Daniella:
Felinec31:
Feya:
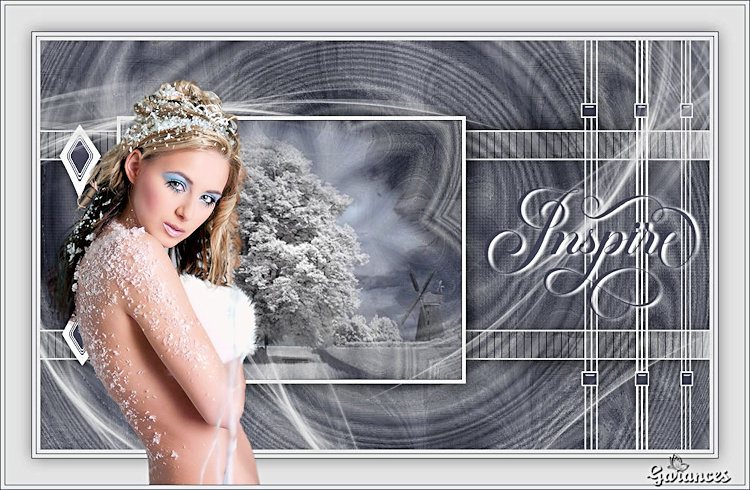
Garances:
Hennys:
Henry:
Lien:
Lulu Designs:
Mamy Annick50:
Marie:
Mary (LBDM):
Mentali (Claudia):
Merceditas:
Michele:
Saturnella:
© 2019-Tutorial criado por Estela Fonseca.
Não alterar nem repassar sem autorização.