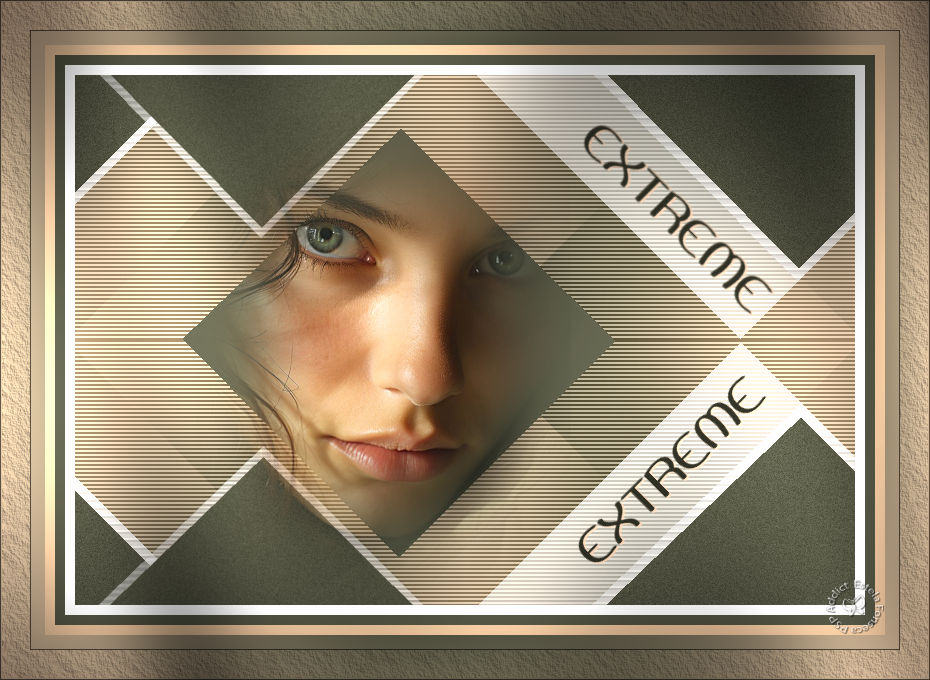
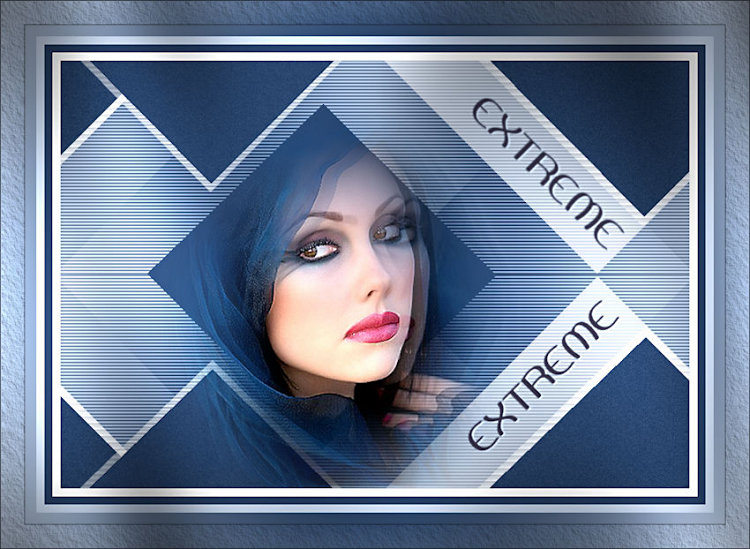
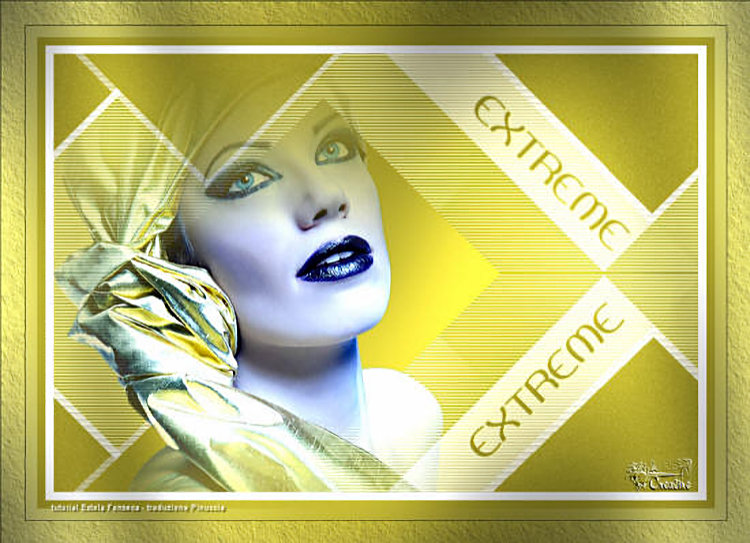
EXTREME
Agradeço as Tradutoras:


Tutorial Criado no PaintShop Pro 2022 Ultimate.
Material Necessário:
O tube utilizado neste trabalho é de Karinne Dreams.
Plugins Utilizados:
Mehdi / Sorting Tiles
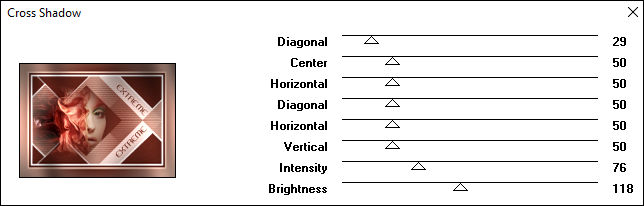
Graphic Plus / Vertical Mirror e Cross Shadow
VanDerLee / UnPlugged X
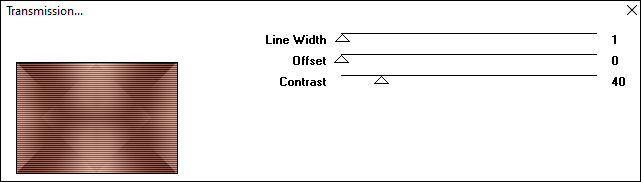
VM Extravaganza / Transmission
Simple / Half Wrap
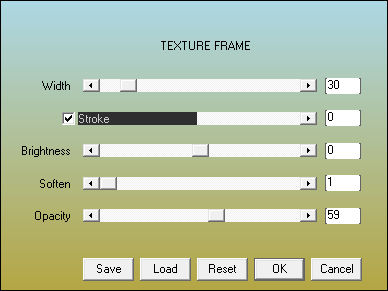
AAA Frames / Texture Frame
Preparação:
Abra o tube no PSP, duplique e feche o original.
Copie a Seleção para a pasta de seleções do PSP.
Cores do Tutorial:
1. Primeiro Plano cor #e6bfad e Segundo Plano cor #511f17
Forme no Primeiro Plano um Gradiente Sunburst / Repeats 1
2. Abra uma imagem de 800 x 550 pixels transparente
Preencha com o Gradiente
4. Adjust / Blur / Gaussian Blur / Radius 50 ( 2 vezes)
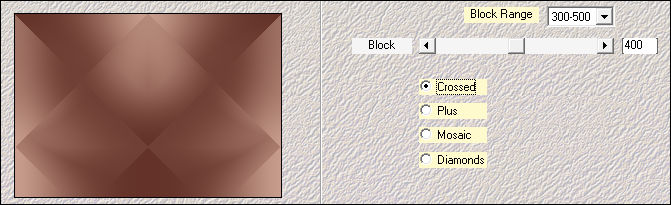
Effects / Plugins / Mehdi / Sorting Tiles
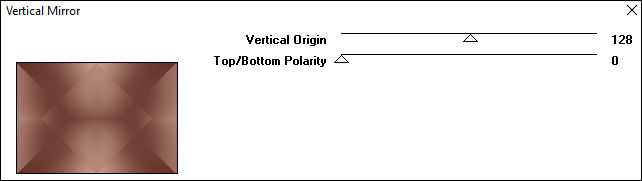
6. Effects / Plugins / Graphic Plus / Vertical Mirror:
Layers / New Raster Layer
7- Effects / Plugins / VanDerLee / UnPlugged X: 45º Rectangle
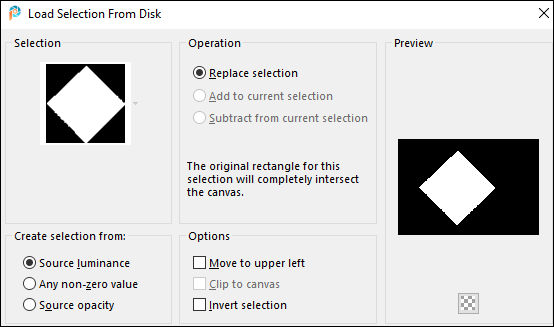
Selections / Load save selection / Load select from disk: EF-Extreme
8- Selections / Promote Selection to Layer
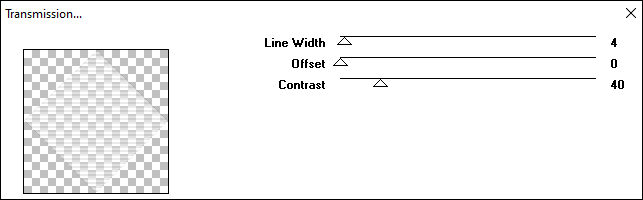
Effects / Plugins / VM Extravaganza / Transmission: 4 / 0 / 40
9- Selections / Modify / Contract 10 Pixels
Preencha a seleção com a cor do Segundo Plano
10- Adjust / Add Remove Noise / Add Noise:
Selections / Select None
11- Layers / Duplicate
Image / Resize / 80% (resize all layers desmarcado)
12- Effects / Image Effects / Offset: 250 / 0 / Custom / Transparente
Ative a Layer do Fundo
13- Effects / Plugins / VM Extravaganza / Transmission: 1 / 0 / 40
Layers / Merge / Merge Visible
14- Effects / Plugins / Simple / Half Wrap
Layers / New Raster Layer
15- Selections / Load save selection / Load select from disk: Extreme
Preencha a seleção com a cor do Segundo Plano
16- Selections / Select None
Layers / Merge / Merge Down
17- Selections / Select All
Selections / Modify / Contract 10 Pixels
Image / Crop to Selection
18- Abra o tube << k@rine_ dreams _Misted_Face_479_Mai09>>
Copie e cole como nova layer
Image / Resize / 80% (resize all layers desmarcado)
19- Ative a Ferramenta "Pick Tool (K)" Mode: Scale / Position X: -101,00 / Position Y: 63,00
Para desativar a Ferramenta Letra "M" do Teclado
20- Adjust / Sharpness / Sharpen
Ative o Texto, copie e cole como nova layer
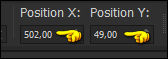
21- Ative a Ferramenta "Pick Tool (K)" Mode: Scale / Position X: 502,00 / Position Y: 49,00
Para desativar a Ferramenta Letra "M" do Teclado
Effects / 3D Effects / Drop Shadow: 1 / 2 / 100 / 1/ Cor 1
22- Image / Add Borders / Symmetric Marcado / 10 pixels cor #FFFFFF
Image / Add Borders / Symmetric Marcado / 10 pixels cor Segundo Plano
Image / Add Borders / Symmetric Marcado / 10 pixels cor Primeiro Plano
23-Image / Add Borders / Symmetric Marcado / 45 pixels cor #ffffff
Ative a Varinha Mágica (Feather e Tolerance = 0) selecione a borda externa
Preencha com o Gradiente do começo:
24- Selections / Select None
Effects / Plugins / Graphics Plus / Cross Shadow:
25- Effects / Plugins / AAA Frames / Texture Frame:
Assine seu trabalho
Layers / Merge / Merge all
Salve como Jpg
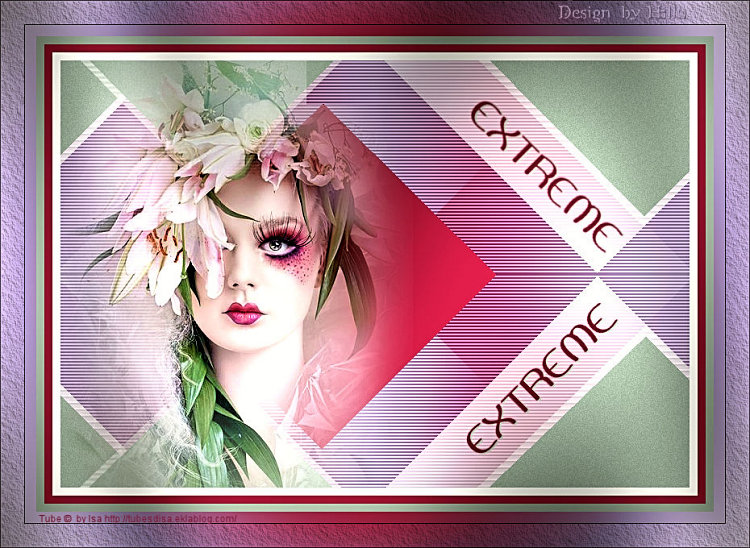
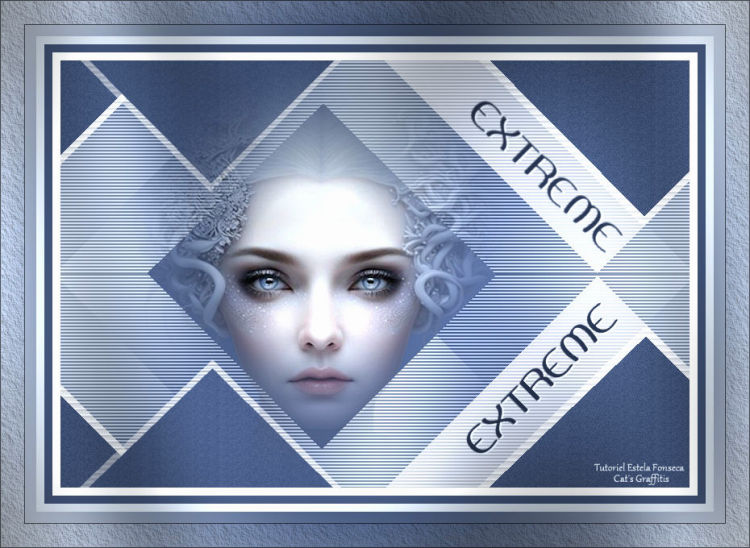
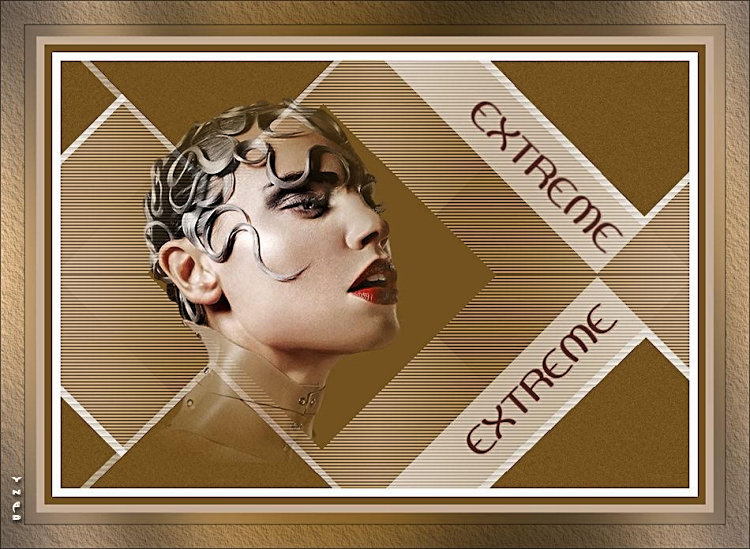
Versão com tube Próprio:
Pinuccia:
Clo:
Hillu:
Angel Star:
Biquinho:
Cat's Graffitis:
Chris:
Colybrix:
Damas:
Dany:
Di@ne:
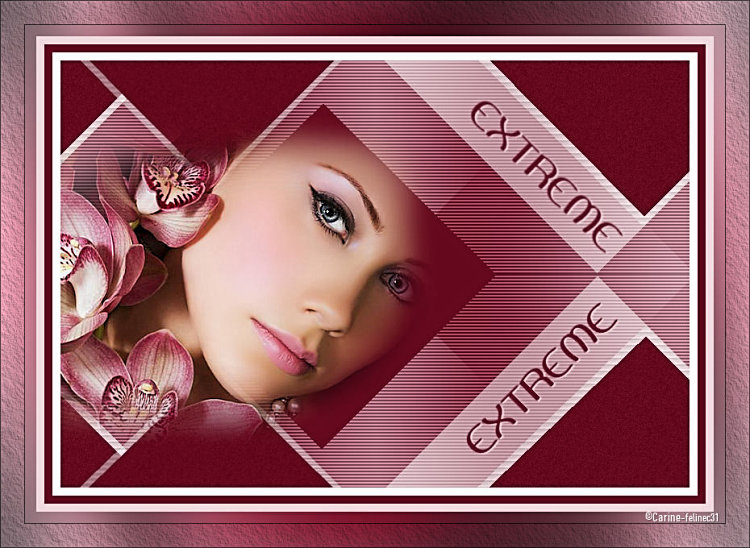
Felinec31 (Carine):
Garances:
Irene:
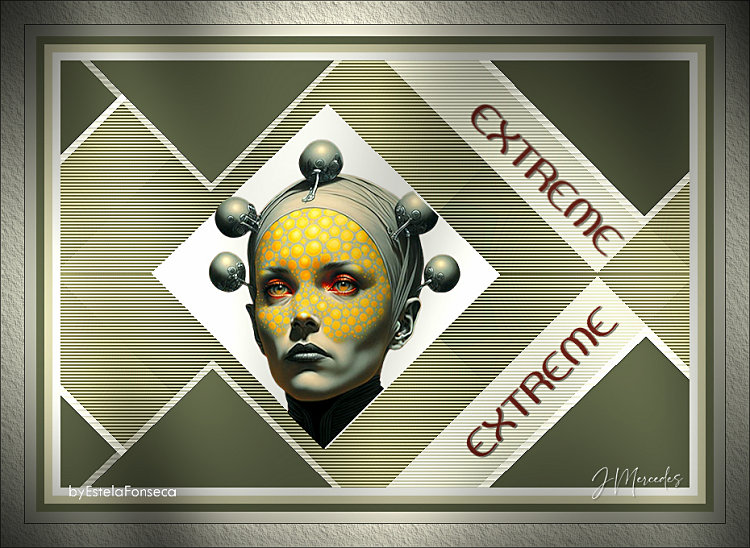
JMercedes:
Kika:
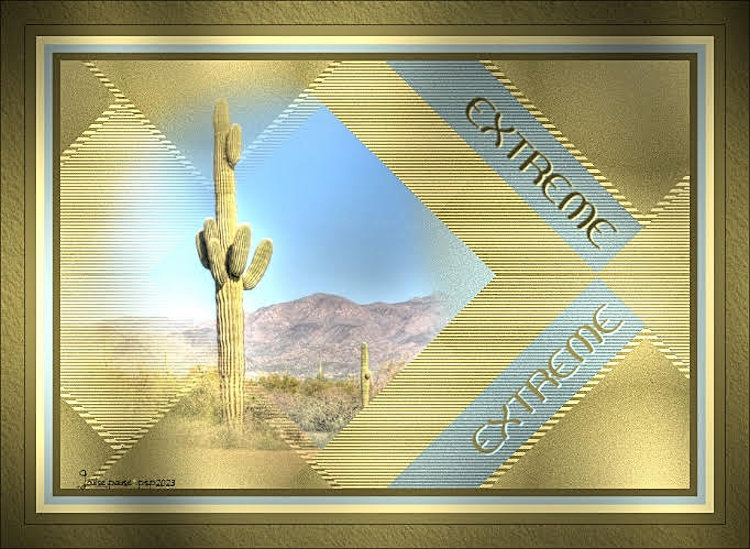
Louise:
??
Maisa:
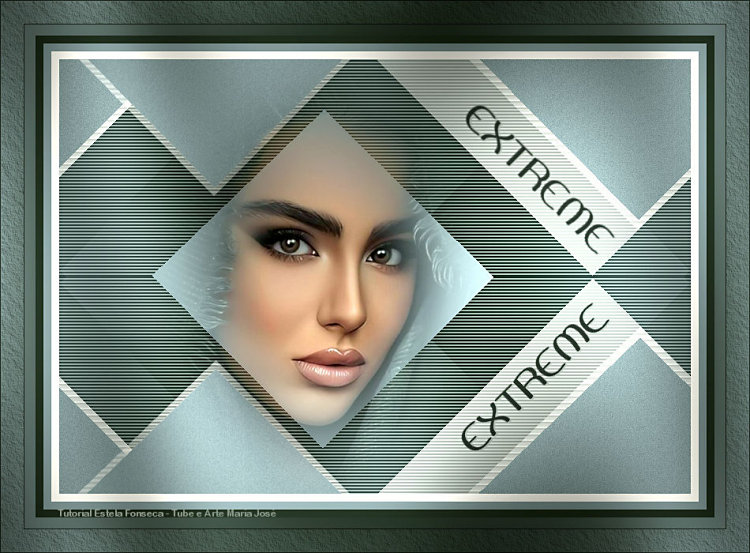
Maria José:
Michounette:
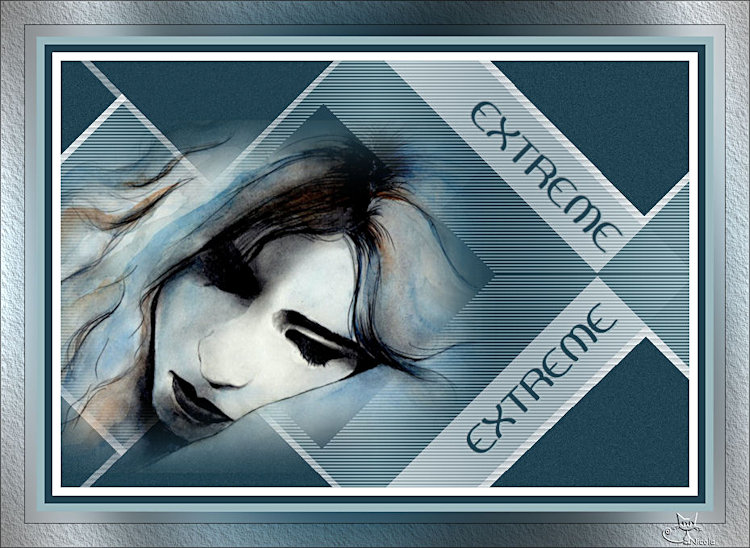
Nicole:
Violine:


©Tutorial criado por Estela Fonseca em 06/09/2023.
Não alterar nem repassar sem autorização.