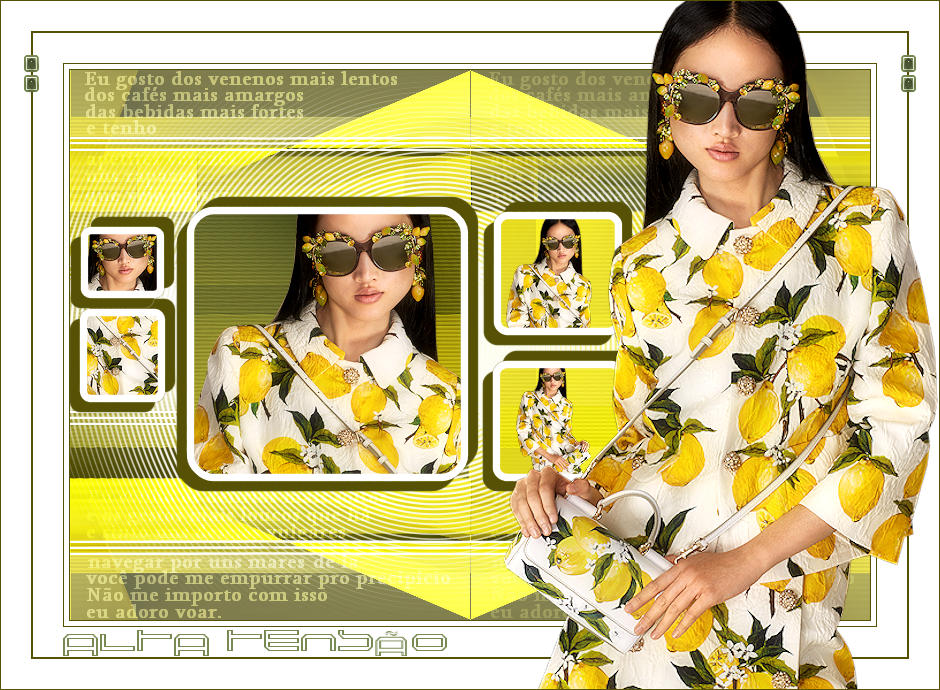
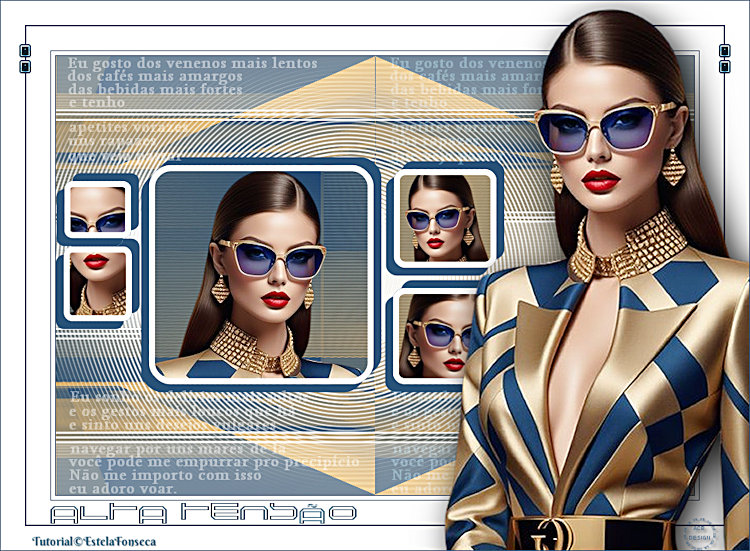
ALTA TENSÃO
TRADUÇÕES:


Agradeço as tradutoras...
Material Necessário:
O tube utilizado aqui é de Karine Dreams: Seu Blog, AQUI.
Texto da poesia "Alta Tensão" de Bruna Lombarde.
**
**
Plugins Utilizados:
VanDerLee / UnPlugged-X / Defocus
Filters Factory Gallery D / Mirror It**
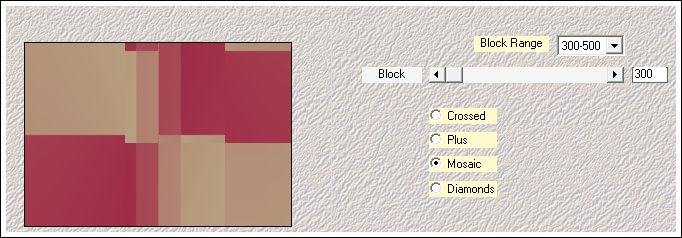
Mehdi / Sorting Tiles
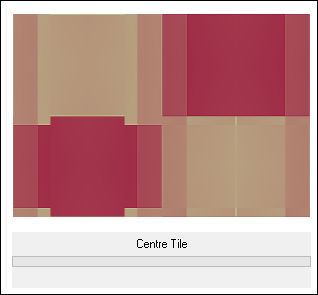
Simple / Centre Tile e Left Right Wrap**
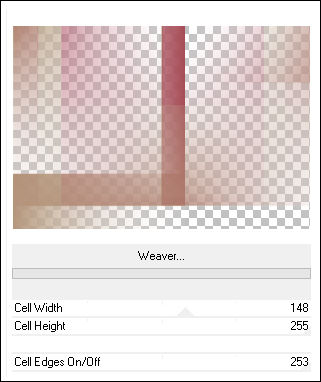
Toadies / Weaver**
Carolaine and Sensibilety / CS-HLines
Mura's Meister / Perspective Tiling
** Plugins Importados para o Unlimited 2
Preparação:
Abra o tube no PSP, duplique e feche o original.
Copie as seleções para a pasta de seleções do PSP.
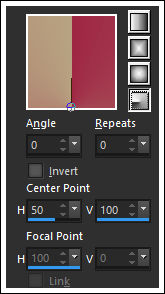
Primeiro Plano cor #9f2845 / Segundo Plano cor #b7a381
Gradiente <<Radial>>
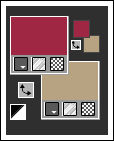
01-Abra uma nova imagem transparente de 800 x 550 pixel
Preencha com o Gradiente
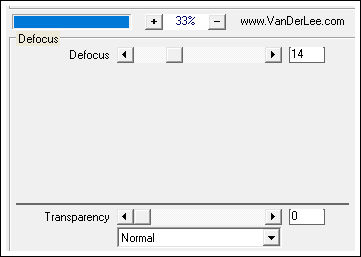
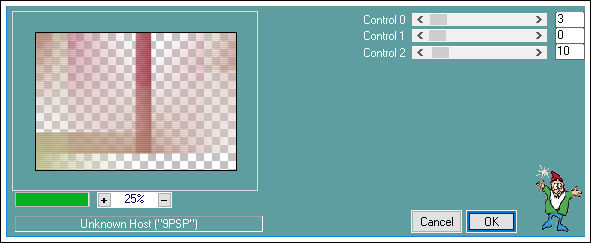
Effects / Plugins / VanDerLee / UnPlugged-X / Defocus
02- Layers / Duplicate
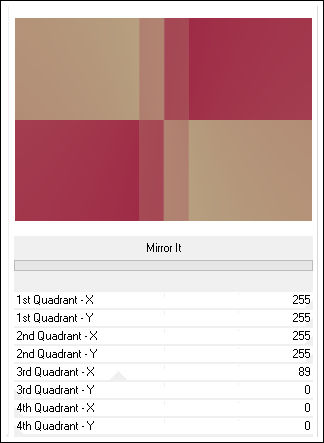
Effects / Plugins / Filters Factory Gallery D / Mirror It
03- Effects / Plugins / mehdi / Sorting Tiles
Effects / Edge Effects / Enhance
Effects / Plugins / Simple / Centre Tile
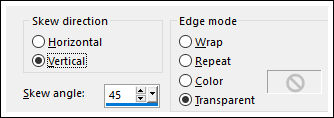
04- Effects / Geometric Effects / Skew
Effects / Plugins / Toadies / Weaver
Effects / Plugins / Carolaine and Sensibilety / CS-HLines
Layers / Merge / Merge Visible
05- Layers / Duplicate
Effects / Geometric Effects / Perspective Horizontal:
Image / Mirror / Mirror Horizontal
Effects / Geometric Effects / Perspective Horizontal:Mesmos valores de antes.
Layers / Merge / Merge Visible
06- Layers / Duplicate
Blend Mode / Overlay
Layers / Merge / Merge Visible
07- Layers / Duplicate
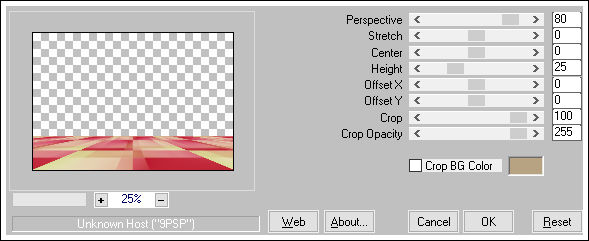
Effects / Plugins / Mura's Meister / Perspective Tiling
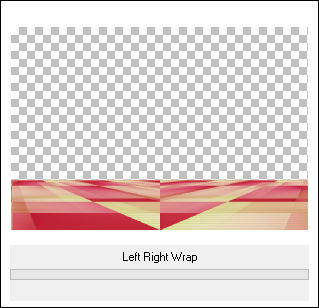
Effects / Plugins / Simple / Left Right Wrap
Layers / Duplicate
Image / Mirror / Mirror Vertical
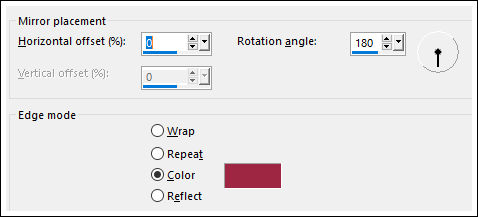
Effects / Reflection Effects / Rotating Mirror:
08- Ative a Ferramenta <<Magic Wand>> Configure como segue:
Clique no centro da layer
Delete no teclado 7 ou 8 vezes
Selections / Select None
09- Ative o <<Deco-1>> Copie e Cole como nova layer
Não Mova!
10- Ative o <<Deco-2>> Copie e Cole como nova layer
Ferramenta Pick Tool (K) Posição de X e de Y configurado como segue:
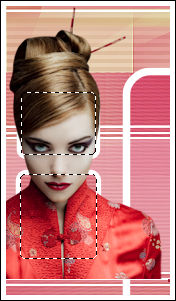
11- Selections / Load save selection / Load selection from disk: Alta_Tensão_1_EF
Ative a Layer <<Merged>>
Selections / Promote Selection to Layer
Layers / Arrange / Bring to top
12- Abra o tube da personagem (de Karine) copie e cole como nova layer
Image / Resize / 50% (resize all layers desmarcado)
Image / Resize / 70% (resize all layers desmarcado)
Posicione sobre a seleção como segue:
Selections / Invert
Delete no teclado
Selections / Select None
Layers / Merge / Merge Down
13- Ative a Layer <<Merged>>
Selections / Load save selection / Load selection from disk: Alta_Tensão_2_EF
Selections / Promote Selection to Layer
Layers / Arrange / Bring to top
Cole como nova layer (o tube ainda está na memória)
Posicione sobre a seleção
Selections / Invert
Delete no teclado
Selections / Select None
Layers / Merge / Merge Down
14- Ative a Layer <<Merged>>
Selections / Load save selection / Load selection from disk: Alta_Tensão_3_EF
Selections / Promote Selection to Layer
Layers / Arrange / Bring to top
Copie e cole como nova layer ( o tube continua na memória)
Image / Resize / 40%... Resize All Layers ... Desmarcado
Adjust / Sharpness / Sharpen
Posicione sobre a seleção
Selections / Invert
Delete no teclado
Selections / Select None
Layers / Merge / Merge Down
15- Ative a Layer <<Merged>>
Selections / Load save selection / Load selection from disk: Alta_Tensão_4_EF
Selections / Promote Selection to Layer
Layers / Arrange / Bring to top
Cole como nova layer (o tube continua na memória)
Image / Resize / 20%... Resize All Layers ... Desmarcado
Adjust / Sharpness / Sharpen
Posicione sobre a seleção
Selections / Invert
Delete no teclado
Selections / Select None
Layers / Merge / Merge Down
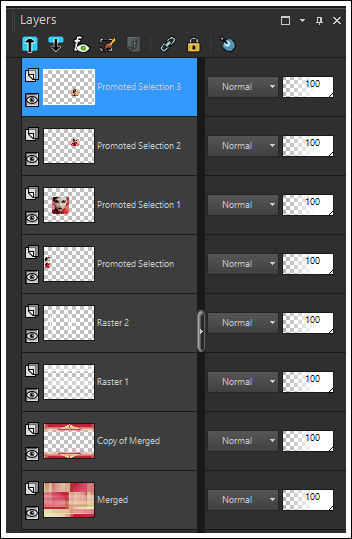
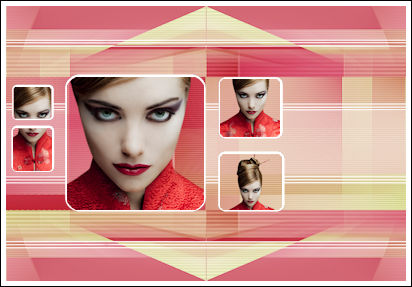
16- Resultado:
Layers / Merge / Merge Down ( 3 vezes)
Layers / Arrange / Move Down
Ative a Layer do Topo
Layers / Merge / Merge Down
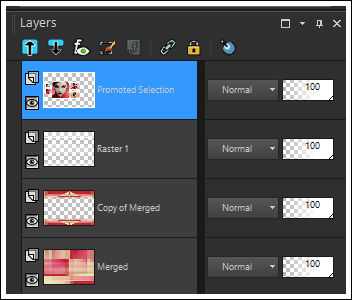
Sua palete de Layers, agora:
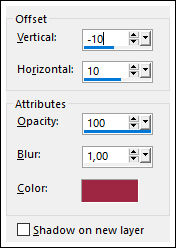
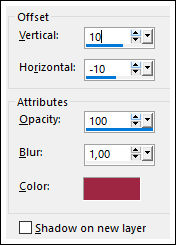
17- Effects / 3D Effects / Drop Shadow: Cor do Primeiro Plano
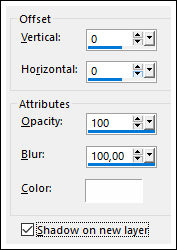
Effects / 3D Effects / Drop Shadow: Cor Branco
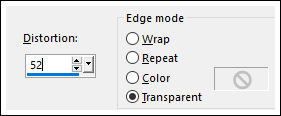
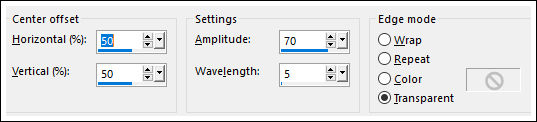
18- Effects / Distortion Effects / Ripple
Layers / Arrange / Move Down
Ative o <<Texto>> Copie e cole como nova layer
Layers / Arrange / Move Up
Blend Mode / Soft Light (ou outro)
19- Image / Add Borders / Symmetric Marcado / 1 Pixel cor do Primeiro Plano
Image / Add Borders / Symmetric Marcado / 5 Pixels cor branca
Image / Add Borders / Symmetric Marcado / 1 Pixel cor do Primeiro Plano
Image / Add Borders / Symmetric Marcado / 30 Pixels cor branca
Image / Add Borders / Symmetric Marcado / 2 Pixel cor do Primeiro Plano
Image / Add Borders / Symmetric Marcado / 30 Pixels cor branca
20- Ative o tube <<Deco-3>> Copie e Cole como nova Layer
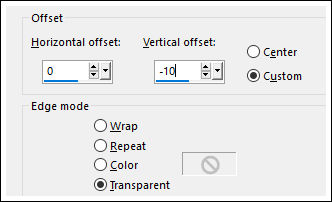
Effects /Image Effects / Offset:
Abra o tube da personagem copie e cole como nova layer
Image / Resize / 85%... Resize All Layers ... Desmarcado
Posicione à direita
Aplique uma sombra se achar necessário.
21- Assine seu trabalho
Image / Add Borders / Symmetric Marcado / 1 Pixel cor do Primeiro Plano
Salve como jpg.
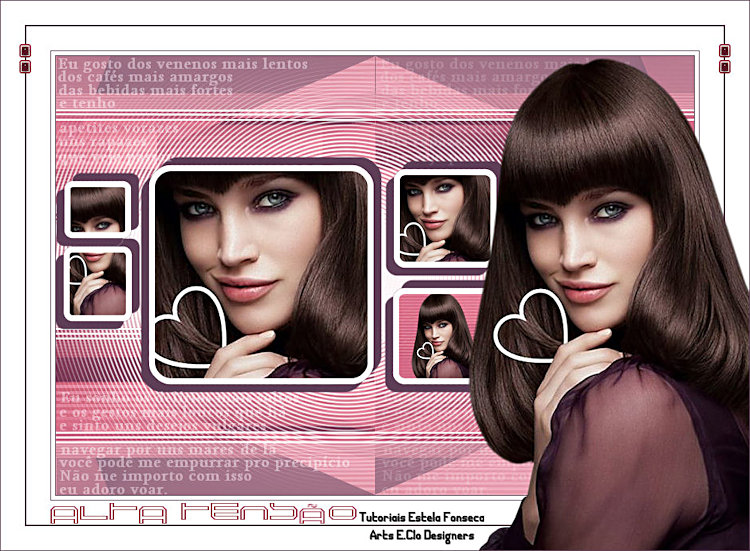
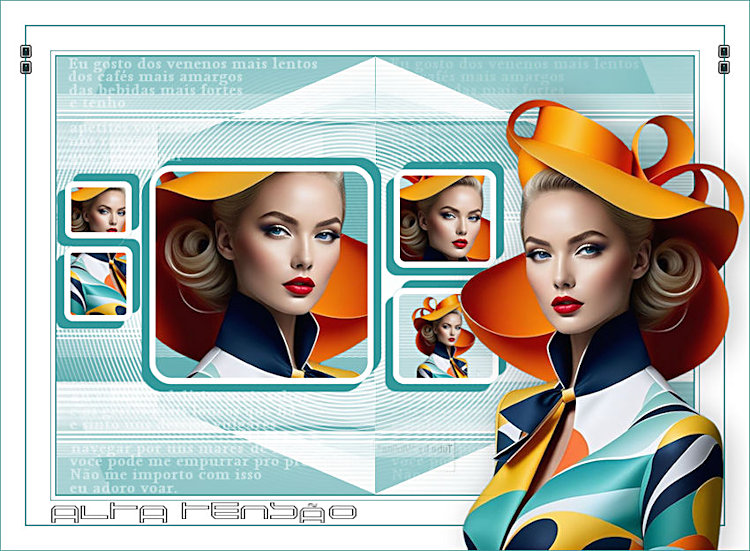
Versão com tube de Sylvie Erwan:
Clo:
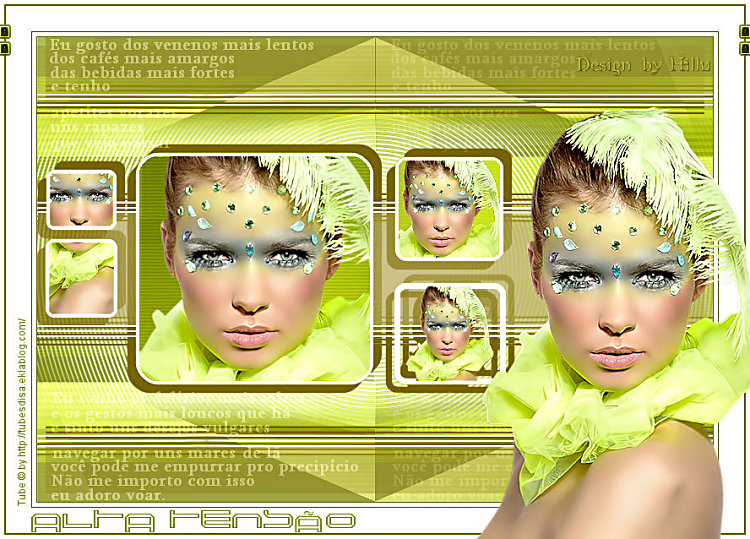
Hillu:
Angel Star:
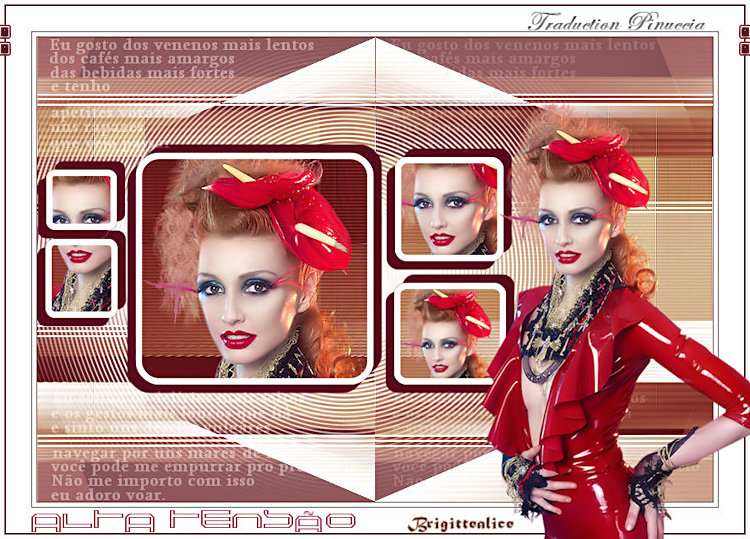
Brigittealice:
Chris:
Liliana:
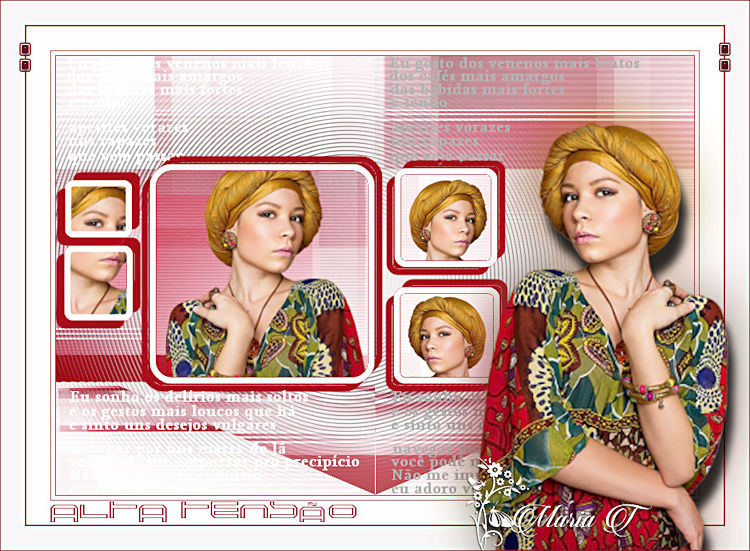
MariaT:
Merceditas:
Pia:
Rugiada:
Violine:


©Tutorial criado por Estela Fonseca em 22/10/2018.
Não alterar nem repassar sem autorização.