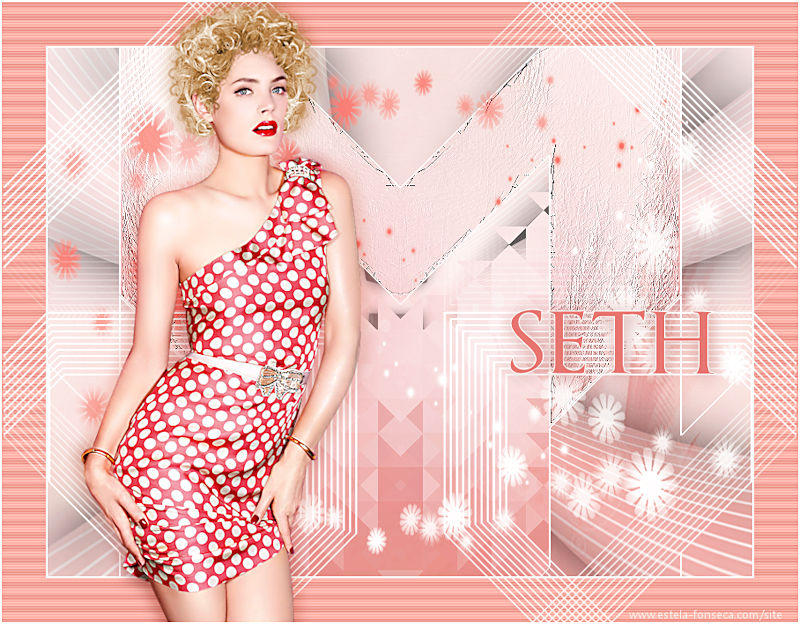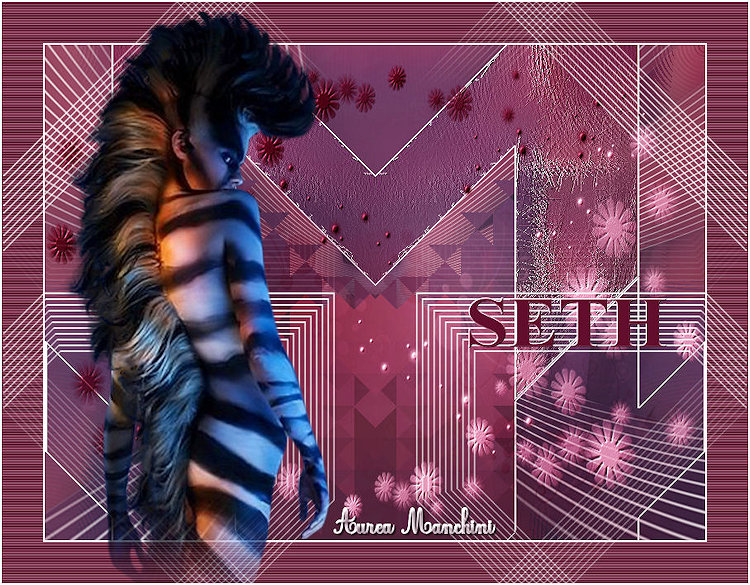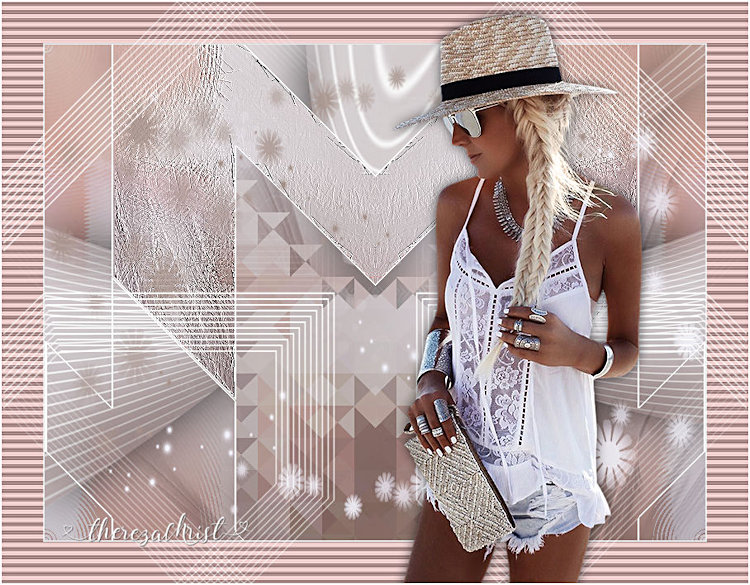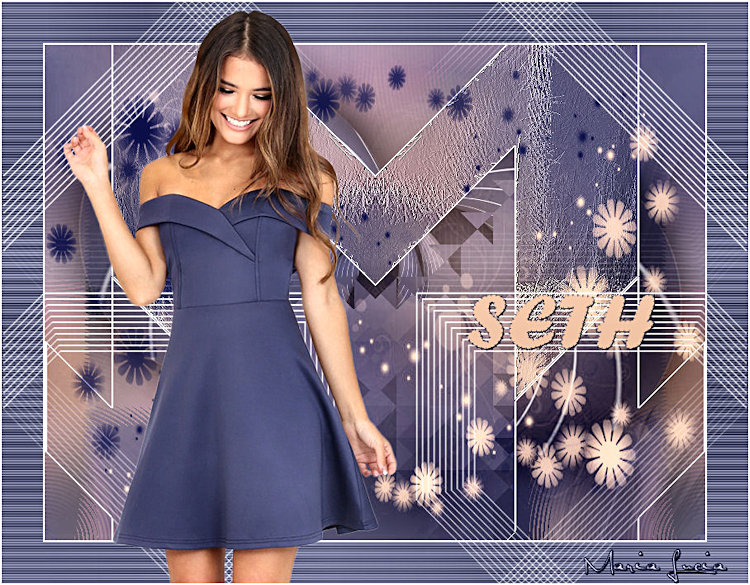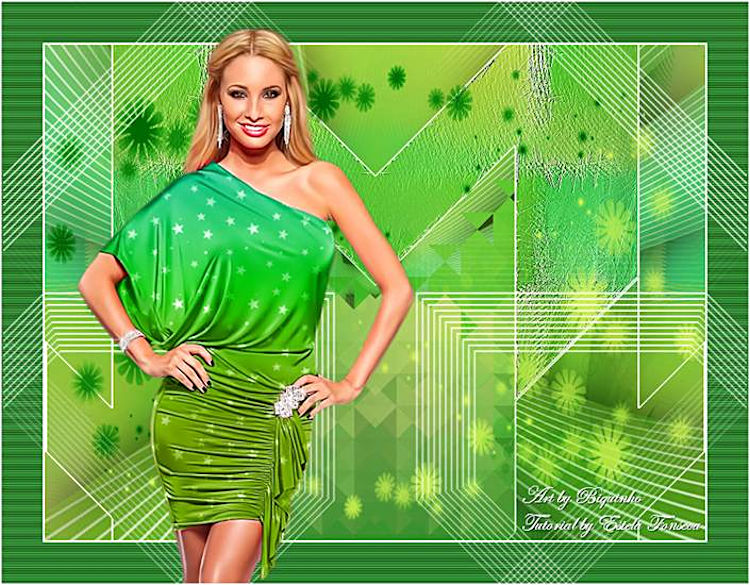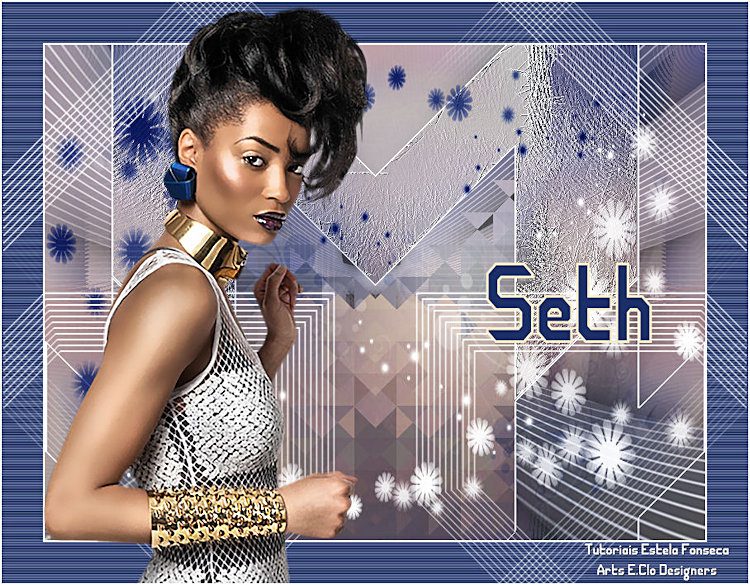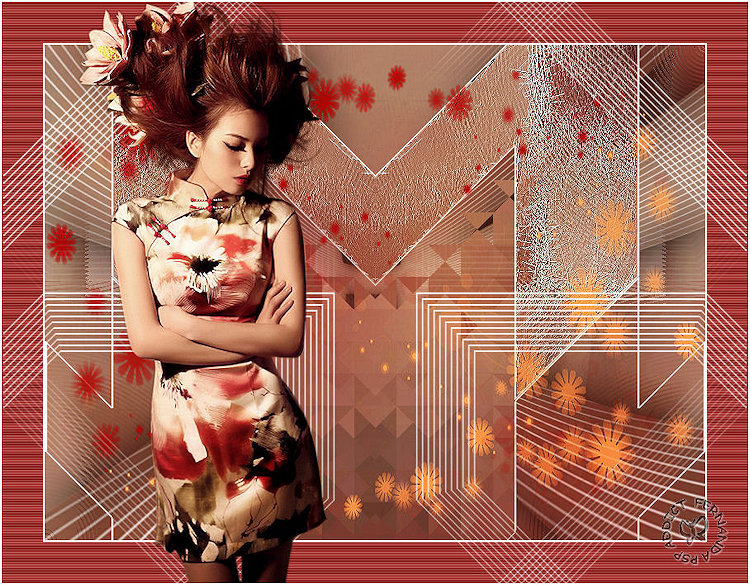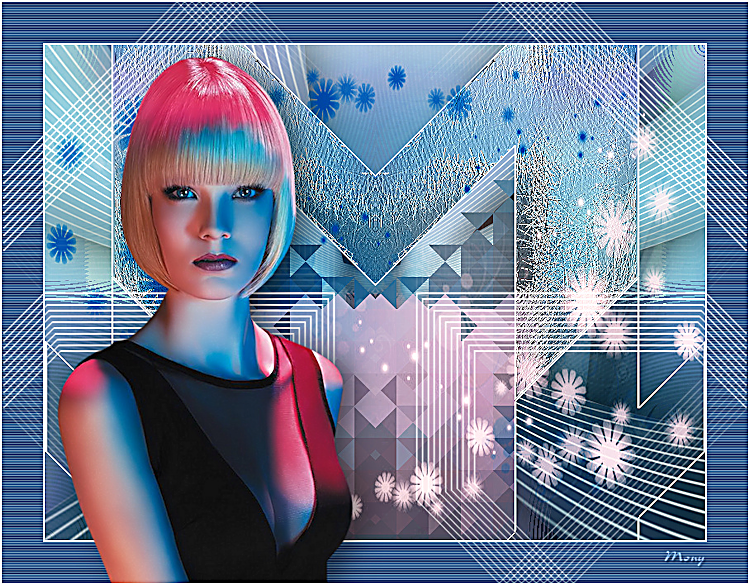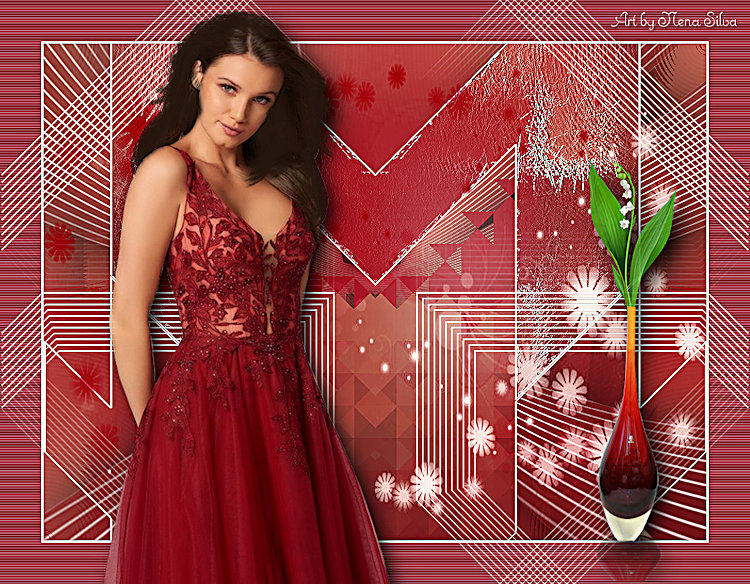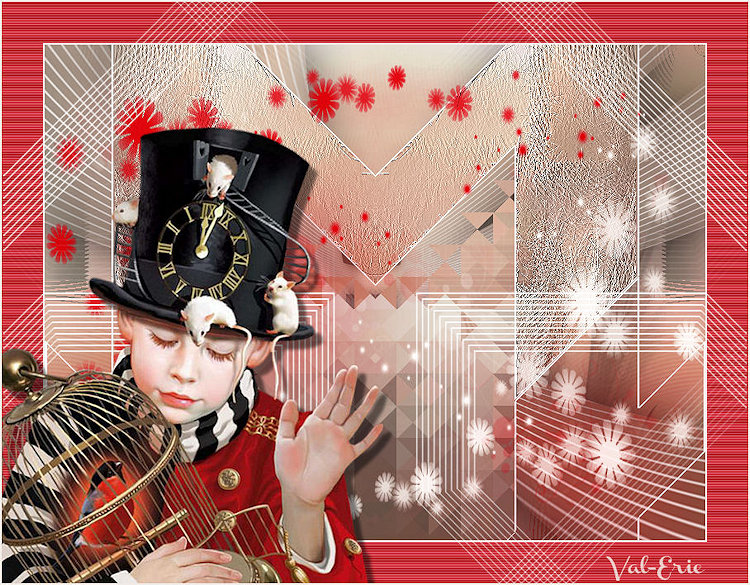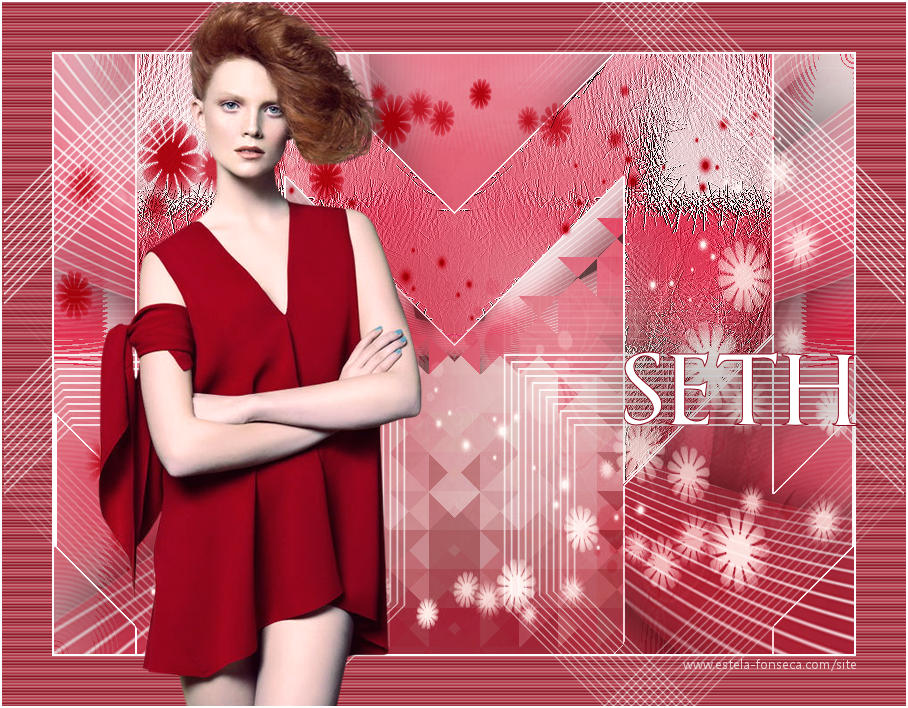
SETH
Tutorial traduzido para o italiano por Clô:
Obrigada Pinuccia por sua tradução!!!
Download Materials:
Tube by Colobrix
Mask by Narah, group : AQUI
Plugins:
Mehdi / Sorting Tiles
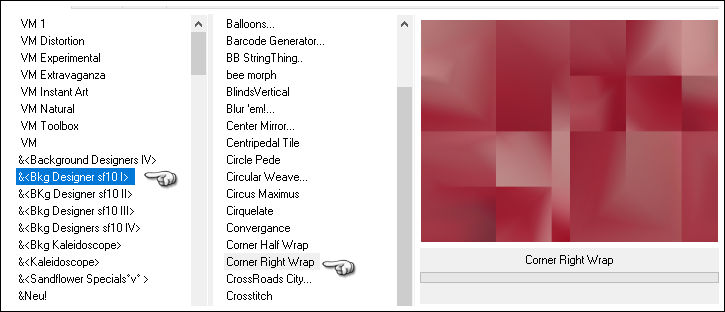
<I.C.NET Software> Filters Unlimited 2 / &<Bkg Designer sf10 I>
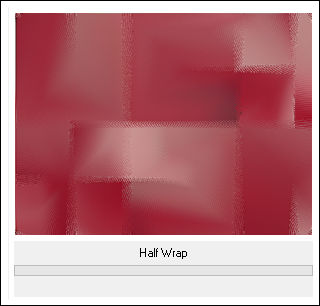
<I.C.NET Software> Filters Unlimited 2 / Simple / Half Wrap
AP Lines / Lines-Silverlining
Flaming Pear / Flexify 2
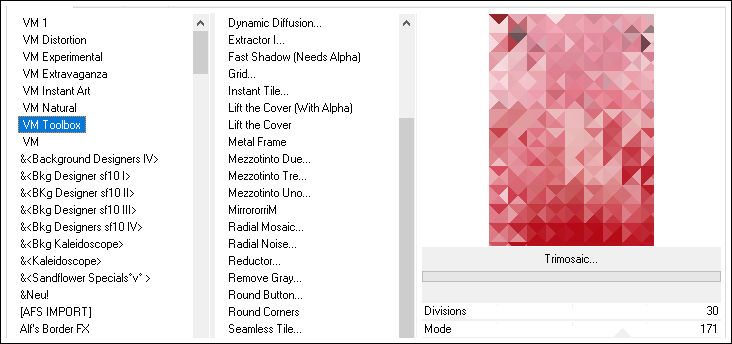
<I.C.NET Software> Filters Unlimited 2 / VM Toolbox / Trimosaic...
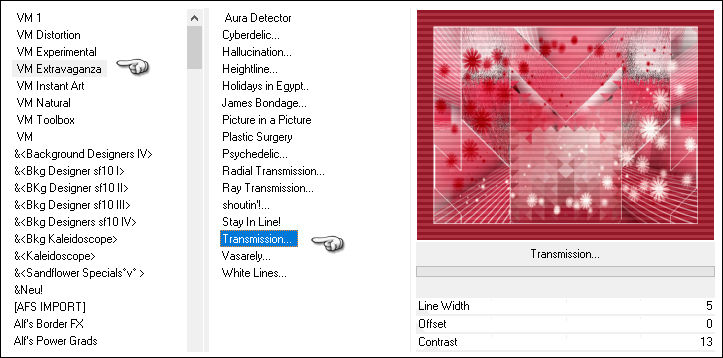
<I.C.NET Software> Filters Unlimited / VM Extravaganza/ Transmission...
Preparation:
Open tubes in PSP, duplicate and close the originals.
Erase the watermark.
Open the Mask in PSP and Minimize.
1- Open a new transparent image 800/600 pixels
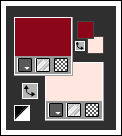
Foreground #8c071b
Background #ffe6df
Fill the layer with foreground color
Selections / Select All
2- Open the tube <<bLSwWWnahh9SWV4ganYP7cUHsOA >> Copy and Paste into selection
Note: Don't forget erase the watermark
Selections / Select None
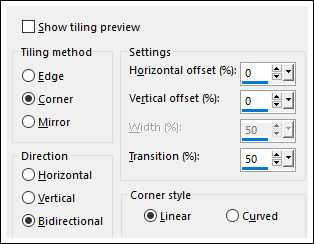
3- Effects / Image Effects / Seamless Tiling / Default
Adjust / Blur / Radial Blur:
Adjust / Blur / Gaussian Blur / Radius 25
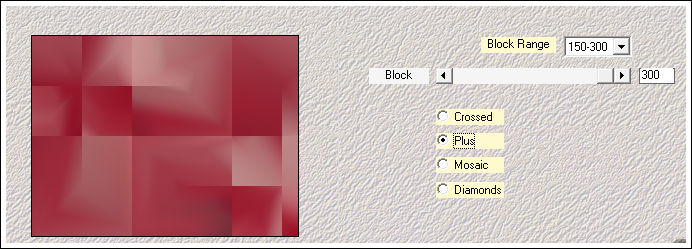
Effects / Plugins / Mehdi / Sorting Tiles
4- Effects / Plugins / <I.C.NET Software> Filters Unlimited 2 / &<Bkg Designer sf10 I>
Effects / Distortion Effects / Ripple
5- Effects / Plugins / <I.C.NET Software> Filters Unlimited 2 / Simple / Half Wrap
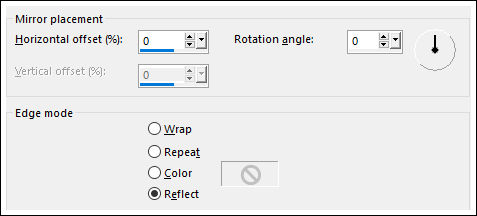
Effects / Reflection Effects / Rotating Mirror / Default
6- Open the <<Deco-Seth>> Copy and Paste as New Layer
Blend Mode / Overlay
Lower the opacity if necessary
Layers / Merge / Merge Visible
7- Open the <<Seth-Deco-1>> Copy and Paste as New Layer
With Magic Wand, select the inside of the "Deco"
Activate the bottom Layer
Selections / Promote Select to Layer
Adjust / Blur / Gaussian Blur / Radius 25
9- Effects / Plugins / AP Lines / Lines-Silverlining
Selections / Select None
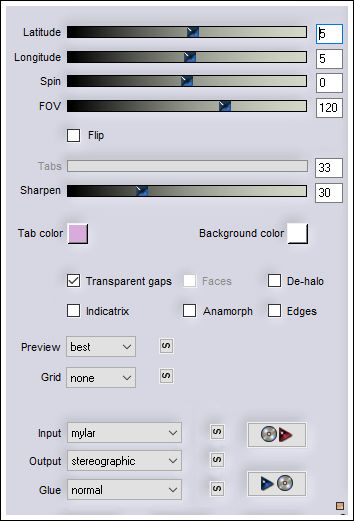
10- Effects / Plugins / Flaming Pear / Flexify 2
Effects / 3D Effects / Drop Shadow: 0 / 0 / 100 / 100 / #000000
11- Activate the Top Layer
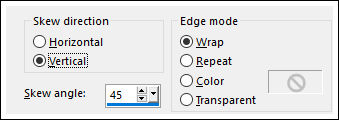
Effects / Geometric Effects / Skew
Effects / Reflection Effects / Rotating Mirror
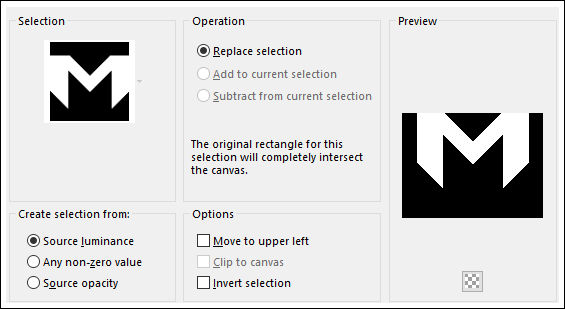
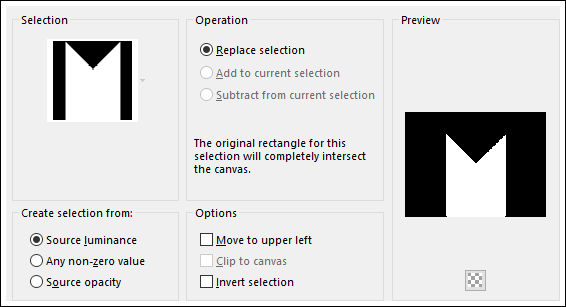
12- Selections / Load save Selections / Load selection From Disk: EF_Sel_Seth
Activate the bottom Layer
Selections / Promote Selection to Layer
Layers / Arrange / Bring to top
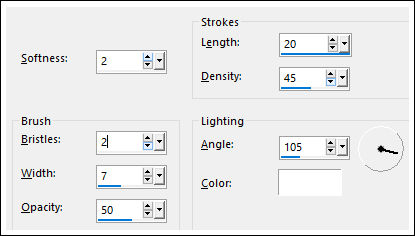
Effects / Art Média Effects / Brush Strokes:
Selections / Select None
13- Selections / Load save Selections / Load selection From Disk: EF_Sel_Seth_1
Activate the bottom Layer <<Merged>>
Selections / Promote Select to Layer
Layers / Arrange / Bring to Top
14- Effects / Plugins / <I.C.NET Software> Filters Unlimited 2 / VM Toolbox / Trimosaic...
Selections / Select None
Layers / Merge / Merge Down
15- Effects / Reflection Effects / Rotating Mirror
Layers / New Raster Layer
Fill with the Background color
Open the Mask <<Narah_Mask_1240>> Minimize
Layers / Merge / Merge Group
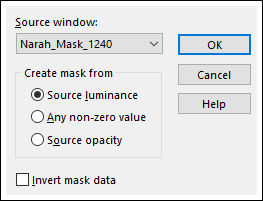
16- Apply the mask
Layers / Merge / Merge Group
16- Maximize Mask <<Narah_Mask_1240>>
Image / Mirror / Mirror Horizontal
Image / Mirror / Mirror Vertical
Minimize
Layers / New Raster Layer
Fill with the Foreground Color
Apply the mask
Layers / Merge / Merge Group
Layers / Merge / Merge Down
Layers / Duplicate
Blend Mode / Hard Light
17- Image / Add borders / symmetric / 2 pixels color #ffffff.
Image / Add Borders / Symmetric / 50 pixels Foreground Color
With Magic Wand, select the 50 pixels border
Effects / Plugins / <I.C.NET Software> Filters Unlimited / VM Extravaganza/ Transmission...
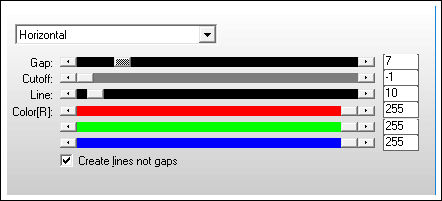
Effects / Texture Effects / Blinds:
Selections / Select None
18- Open the <<Seth-Deco-2>> Copy and Paste as New Layer
Open the tube <<bLSwWWnahh9SWV4ganYP7cUHsOA >> Copy and Paste as New Layer
move to the desired position
Image / Add borders / symmetric / 2 pixels color #ffffff.
Put your watermark and save as JPG.
Versão com tube de Tocha
©Tutorial criado por Estela Fonseca em 2018.
Não alterar nem repassar sem autorização.

