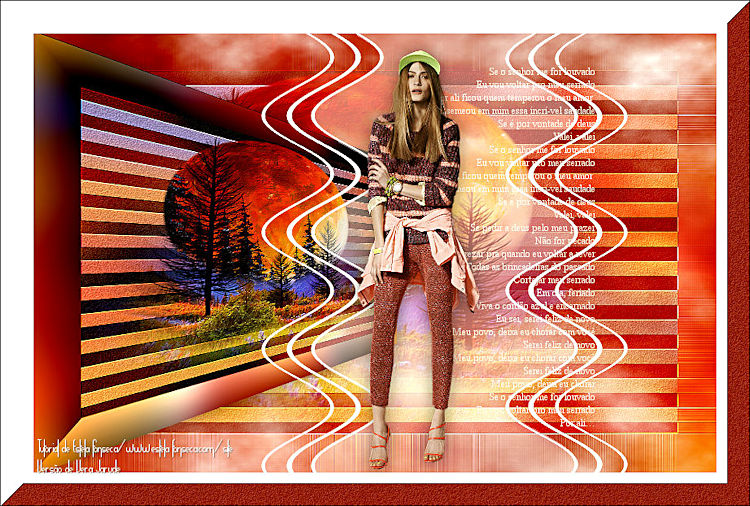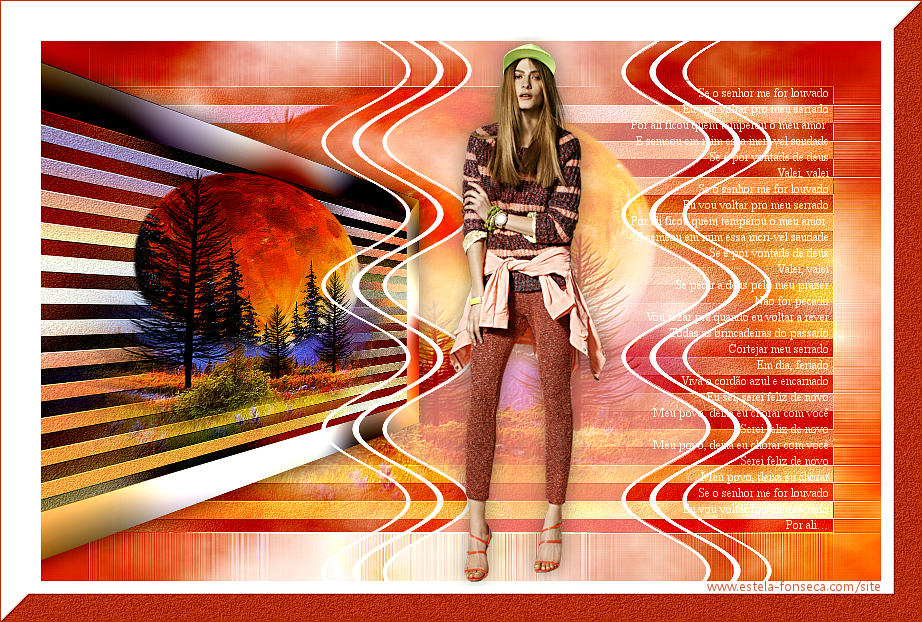
SERRADO

Agradeço as Tradutoras Clo e Pinuccia.
Material Necessário:
Tube de Nicole , seu site , AQUI.
Tube de Cal
Texto da Música (Serrado) de Djavan
Plugins Utilizados:
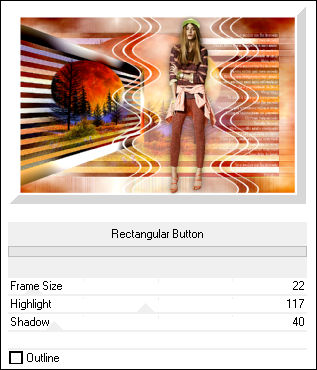
Unlimited 2.0 /Buttons&Frames e Rectangular Button
Visual Manipulation / Transmission
FM Tile Tools / Blend Emboss
Medhi / Weaver
Mura's meister / Cloud
AAA Filters / Custom
Preparação:
Abra os tubes no PSP, duplique e feche os originais. Remova a marca d'água apenas das cópias.
Copie a seleção para a pasta de seleções do PSP.
Primeiro Plano Cor #bb2b00
Segundo Plano cor #ffffff
01- Abra uma imagem transparente de 850 / 550 pixels
Selections / Select All.
02- Abra o tube de Paisagem / copie e cole na seleção.
Selections / Select None
03- Effects / Image Effects / Seamless Tiling / Default
Adjust / Blur / Gaussian Blur / Radius 30
Layers / Merge / Merge All
Layers / Promote Background Layer
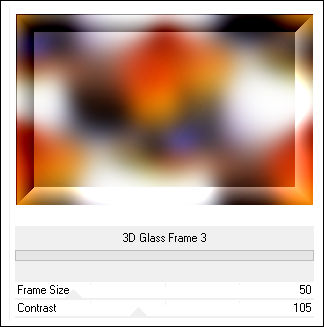
04- Effects /Plugins / Unlimited 2.0 /Buttons&Frames / 3D Glass Frame3: 50/105
Ferramenta Selection Tool / Rectangle / Custom Selection

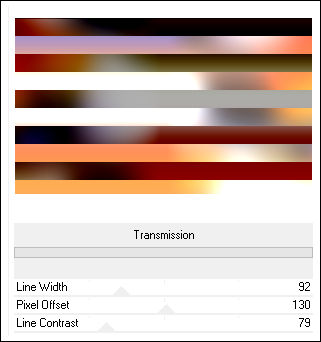
05- Effects / Plugins / Visual Manipulation / Transmission
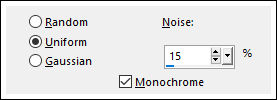
Adjust / Add Remove Noise / Add Noise:
06- Abra o tube de Paisagem, copie e cole na seleção.
Effects /Plugin / FM Tile Tools / Blend Emboss /Default
Selections / Select None
07- Layers / Duplicate
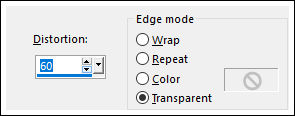
Effects / geometric Effects / Perspective Horizontal / 60 / Transparente
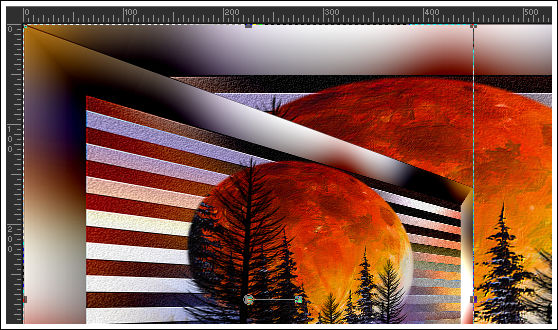
08- Ative a Ferramenta <<pick Tool>> e reduza à metade, veja imagem abaixo:
Effects / 3D Effects / Drop Shadow: 0/0/40/30/cor #000000
Ative a Layer do Fundo
Ferramenta Selection Tool / Rectangle / Custom Selection
Selections / Invert
09- Effects / Plugins / Medhi / Weaver
Effects / Edge Effects / Enhance More
Selections / Select None
10- Layers / New Raster Layer
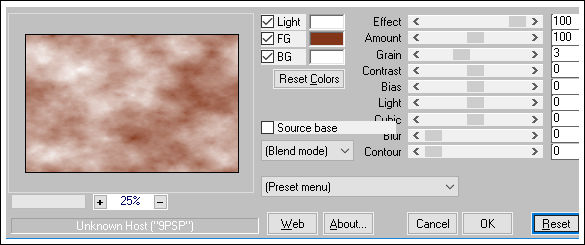
Effects / Plugins / Mura's meister / Cloud.
Blend Mode / Hard Light
11- Ative a Layer do topo
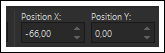
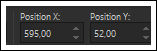
Ferramenta Pick Tool (K) / Mode Scale. Posição de X e de Y como segue:
12- Ative o tube <<Deco-1>> Copie e cole como nova layer
Ative o <<texto>> Copie e Cole como Nova Layer
Posicione
Opacidade 48%
Layers / Arrange / Move Down
Layers / Duplicate
Blend Mode / Overlay
13- Ative a Layer do topo
Abra o tube <<Nicole-Femme-102 >> Copie e Cole como nova layer
Image / Resize / 50%... Resize All Layers... Desmarcado
Posicione como na imagem final
Adjust / Sharpness / Sharpen
Effects / 3D Effects / Drop Shadow: 0/0/40/30/cor #000000
14- Image / Add Borders / Symmetric Marcado / 35 pixels Cor #ffffff
Effects / Plugins / AAA Filters / Custom / Landscape
15- Effects / Plugins / Unlimited 2 / Buttons & Frames / Rectangular Button
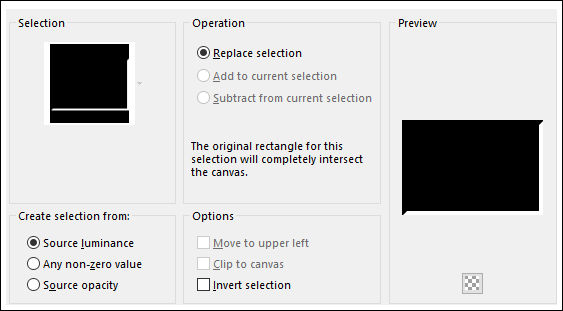
Selections / Load save selection / Load selection from disk: EF_Sel_Serrado
Preencha a seleção com uma cor do Primeiro Plano (#bb2b00)
Adjust / Add Remove Noise / Add Noise:
16- Effects /Plugins / FM Tile Tools / Blend Emboss /Default
Selections / Select None
Image / Add Borders / Symmetric Marcado / 01 pixels Cor #bb2b00
Coloque a sua marca d'água
Layers / Merge / Merge All
Salve como Jpg.
FIM
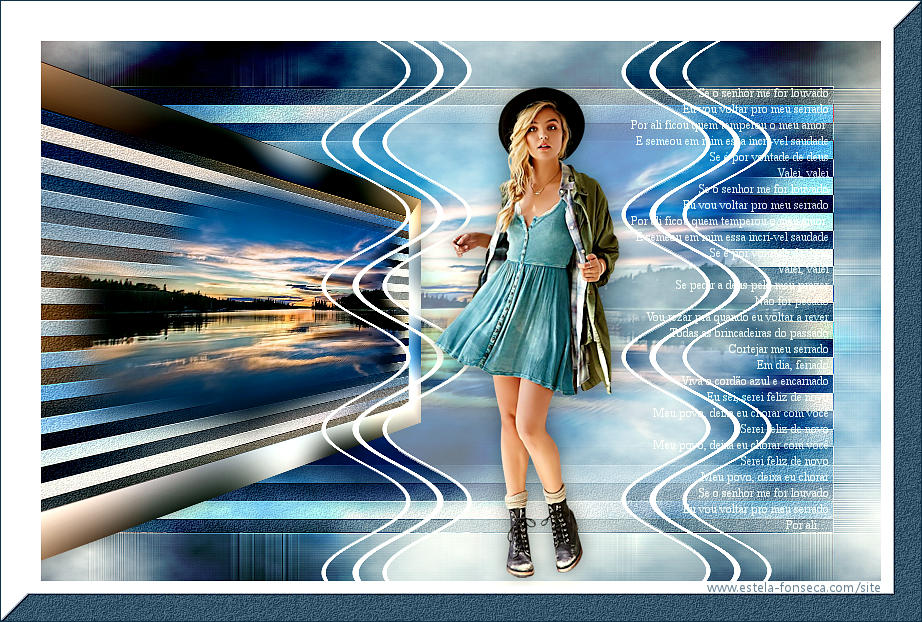
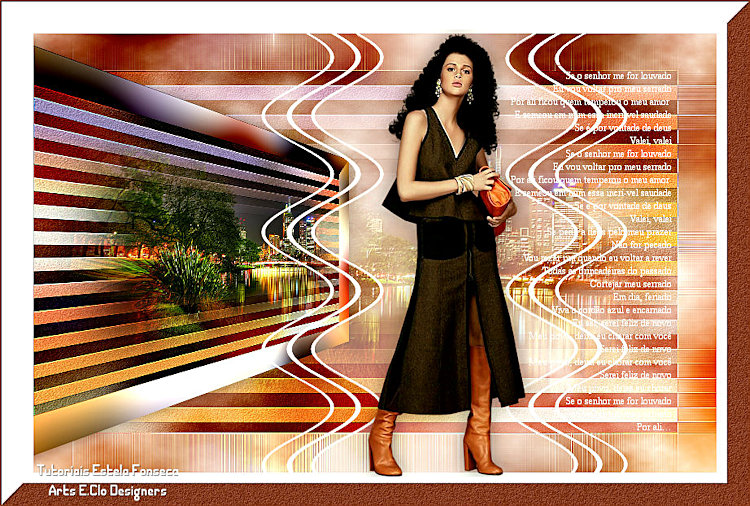
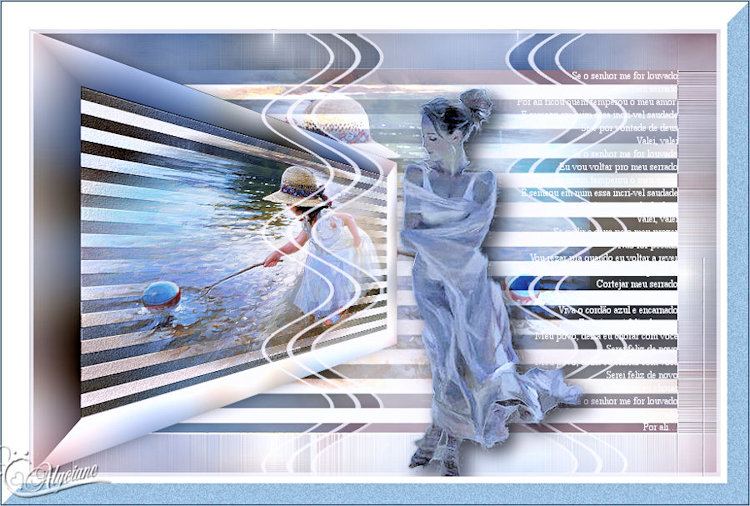
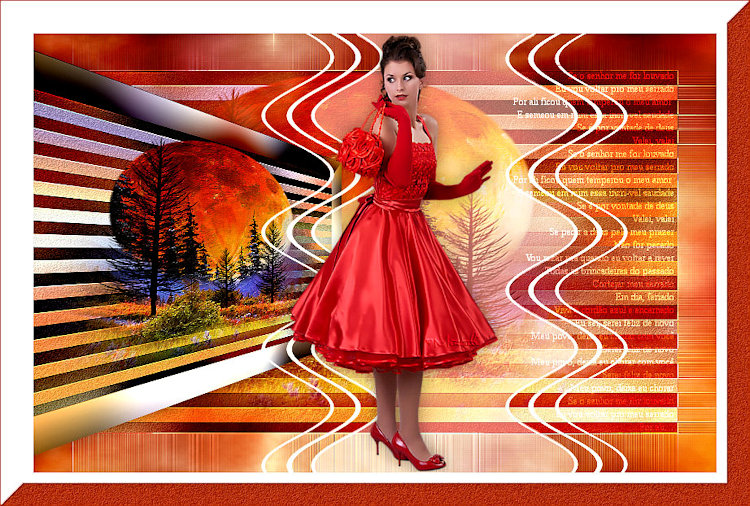
Versão com tubes de Nena Silva (Paisagem) e de Marise (Personagem):
Clo:
Alyciane:
Claudia (Mentali):
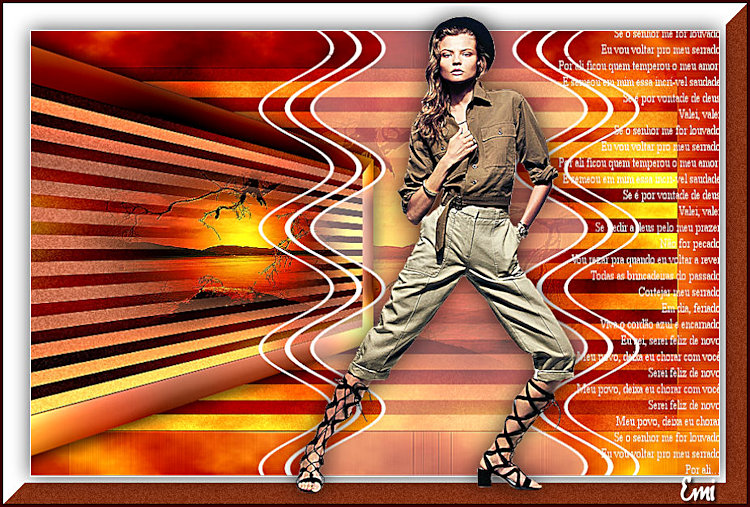
Emi:
Garances:
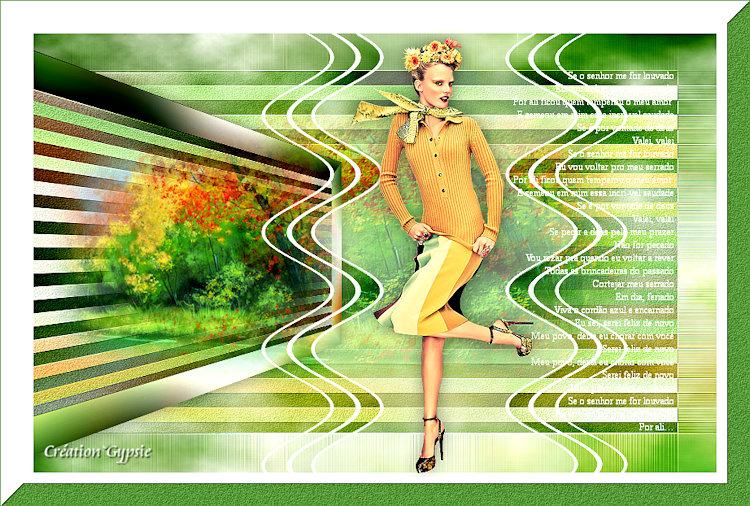
Gypsie:
Jaja:
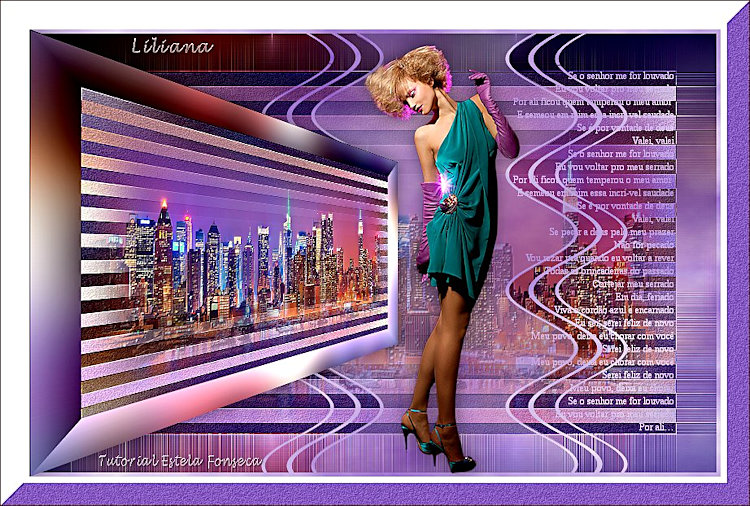
Liliana:
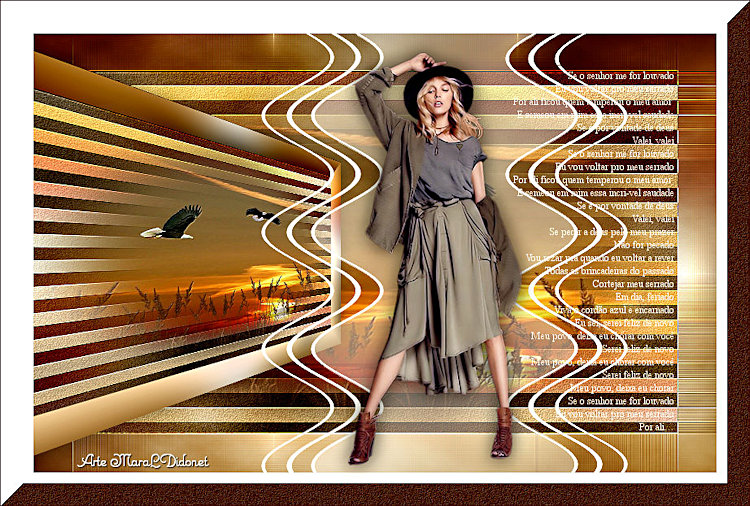
Mara Didinet:
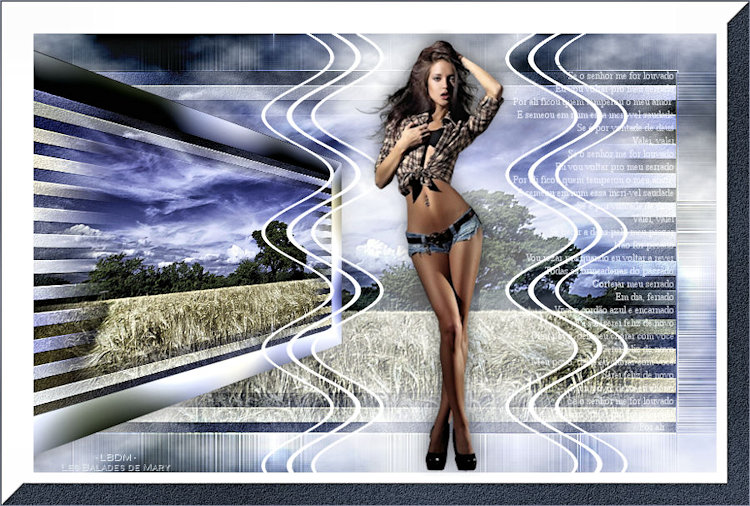
Mary:
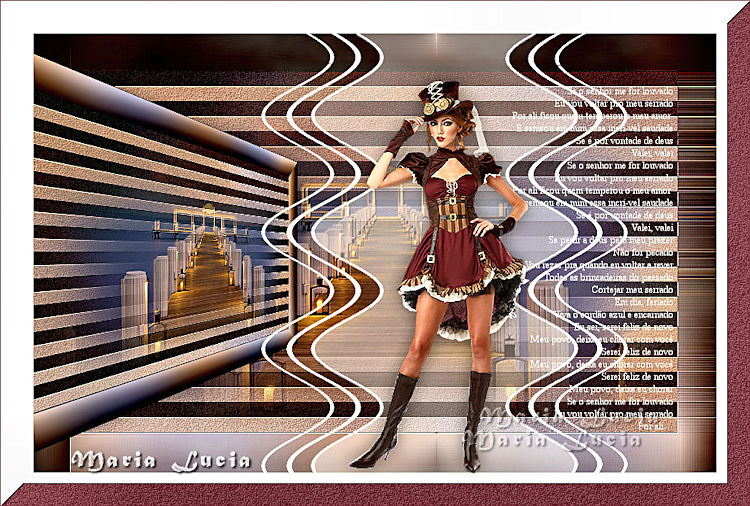
Maria Lúcia:
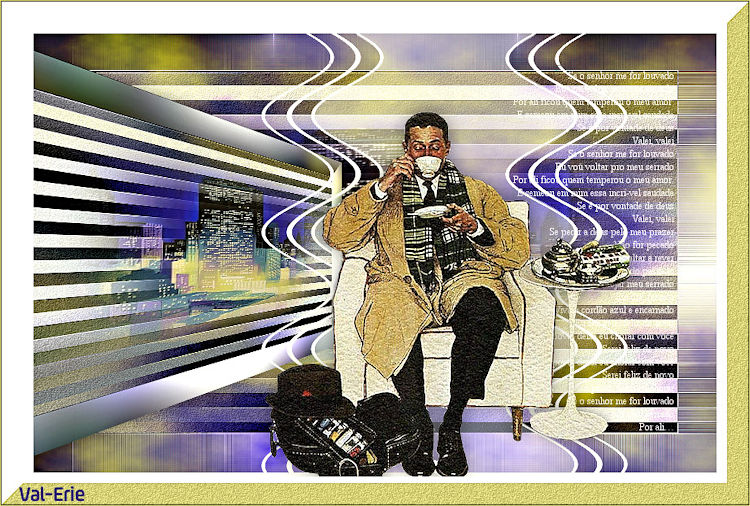
Val-Erie:
Vera Jarude:
© Tutorial criado por Estela Fonseca em Setembro de 2009.
Não alterar nem repassar sem autorização.