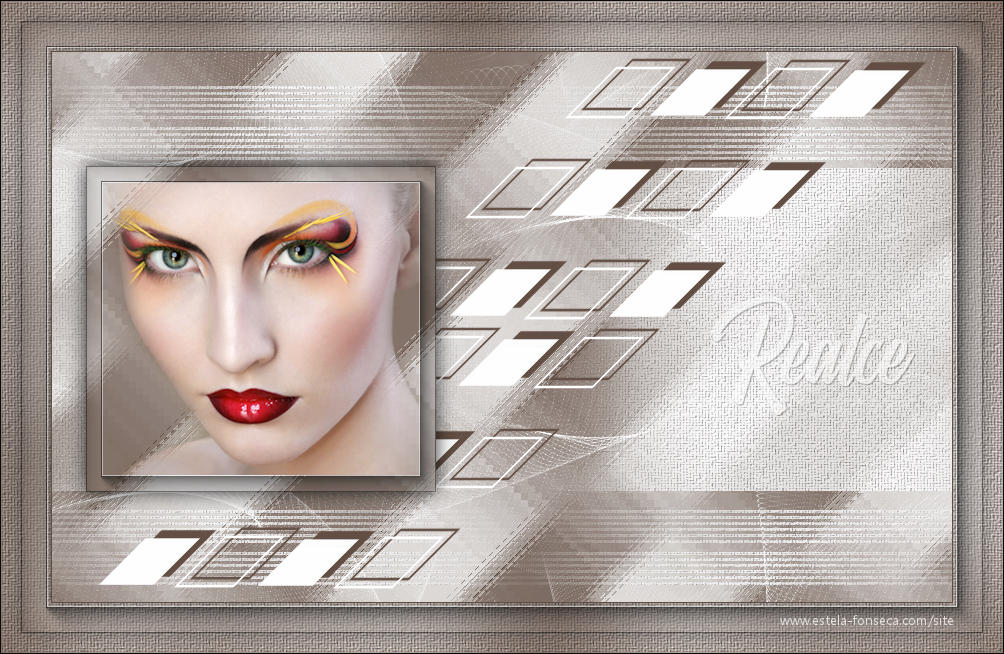
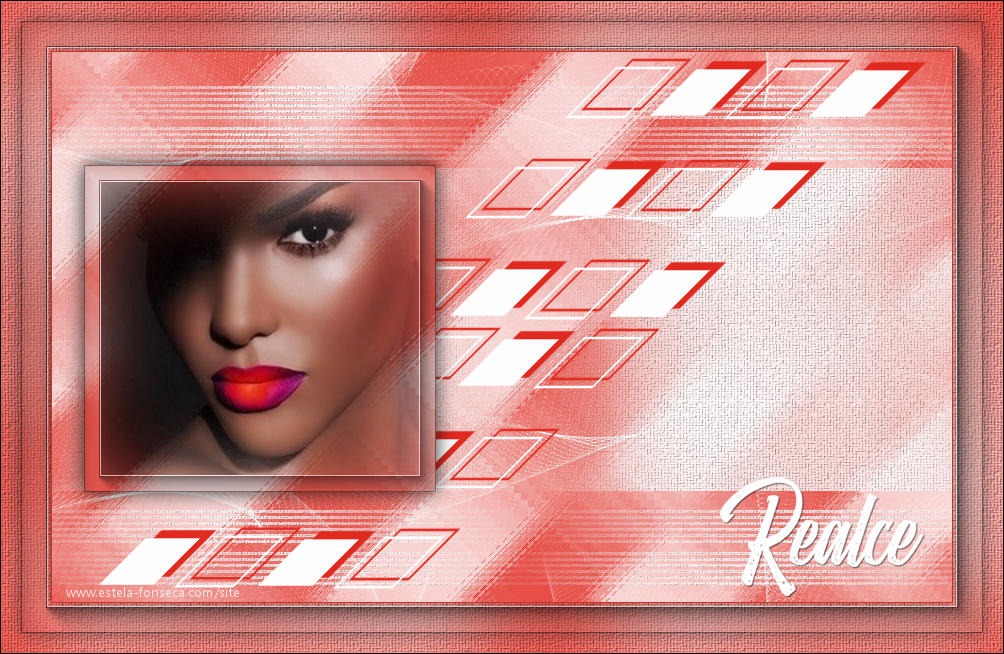
REALCE
TRADUÇÕES:

Meu especial agradecimento as tradutoras Pinuccia e Clo.
Material Necessário:
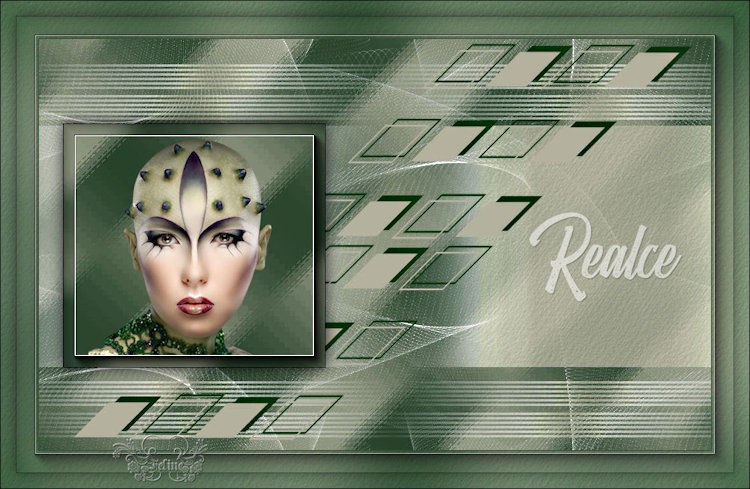
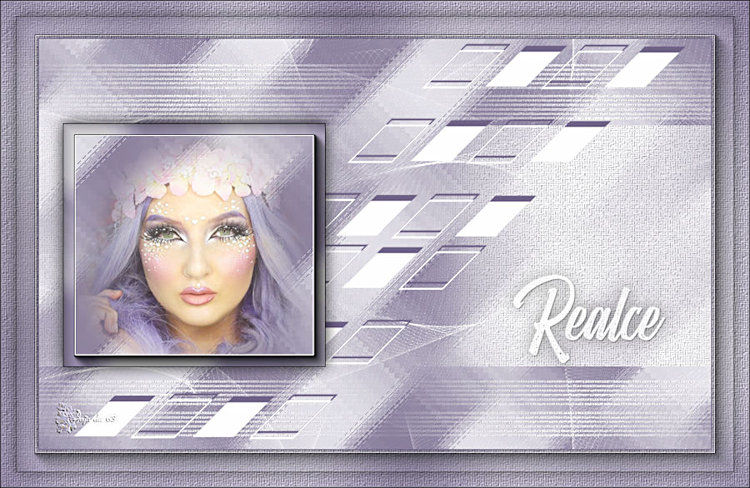
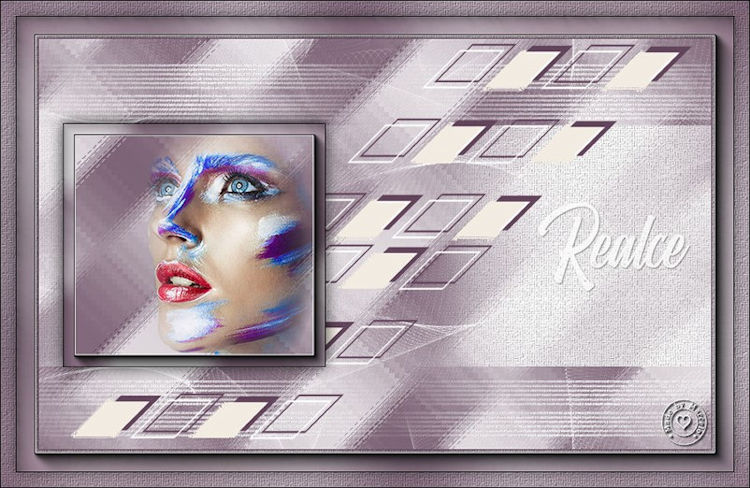
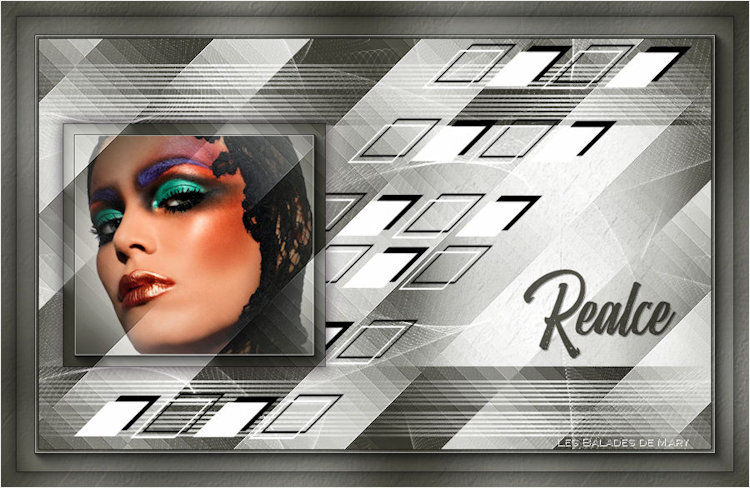
O tube utilizado nesse tutorial é de Mary.
♥
Agradeço as artistas por me permitirem usar suas lindas criações (Mask e Tubes e afins).
Não é permitido que altere o nome nem que remova a marca d'água ou o logo do Original.
♥
Plugins Utilizados:
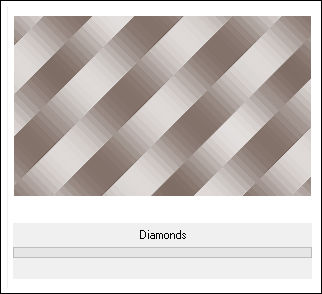
Simple / Diamonds
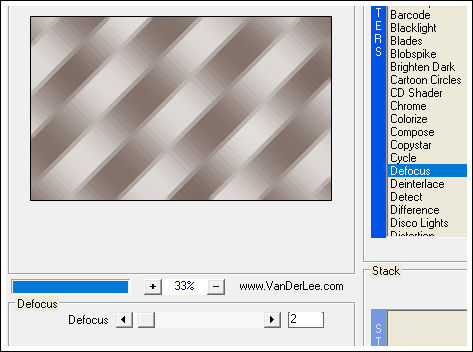
VanDerLee / UnPlugged X / Defocus
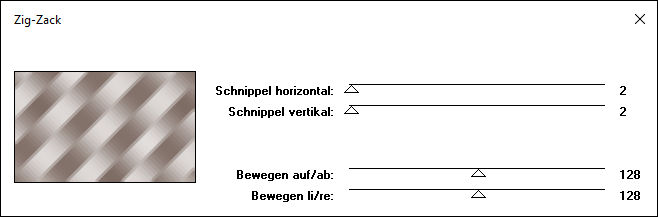
Kiwi's / Zig Zack
AAA Frames / Foto Frame
Preparação:
Abra o tube no PSP, Duplique e feche o original.
Abra a Mask no Psp e Minimize
01- Abra uma imagem transparente de 900 x 550 pixels.
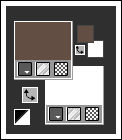
Escolha duas cores do tube para primeiro e segundo plano, minhas cores:
Primeiro Plano cor #634e44
Segundo Plano cor #FFFFFF
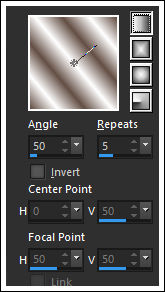
Gradiente estilo <<Linear>> Configurado como segue:
Preencha a layer com o Gradiente
02- Effects / Distortion Effects / Pixelate
Effects / Edge Effects / Enhance
Effects / Plugins / <I.C.NET Software> Filters Unlimited 2 / Simple / Diamonds
03- Effects / Plugins / VanDerLee / Defocus
Effects / Plugins / Kiwi's / Zig Zack ( 2 vezes)
04- Abra o <<Deco-1>> Copie e Cole como nova layer
Layers / New Raster Layer
Preencha a layer com a cor do Segundo Plano
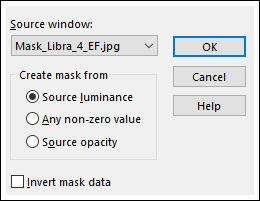
Layers / New mask layer / From image: Mask_libra_4_EF
Layers / Merge / Merge group
05- Ative a layer do Fundo
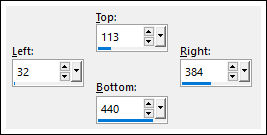
Selection Tool (S) / Custom Selection
Layers / Promote Selection to Layer
Layers / Arrange / Bring to top
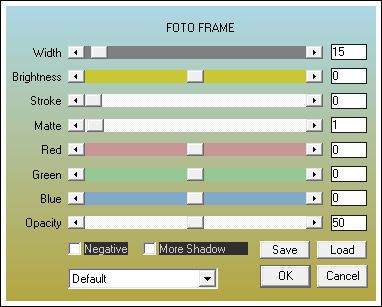
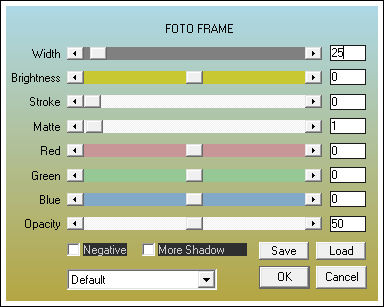
06- Effects / Plugins / AAA Frames / Foto Frame
Selections / Modify / Contract 17 pixels
07- Ative o tube << Mary 0612-57 >> Copie e cole como nova layer
Image / Resize / 70%... Resize All Layers ... Desmarcado
Posicione sobre a seleção
Selections / Invert
Delete no teclado
Selections / Select None
Layers / Merge / Merge Down
08- Effects / 3D Effects / Drop shadow: 0 / 0 /80 / 30,00 / Cor #000000
09- Ative a Layer da Mask <<Group Raster 3>>
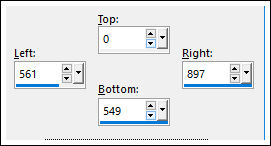
Selections Tools (S) / Custom Selection:
Edit / Cut ( a imagem cortada ficará gravada na memória)
Selections / Select None
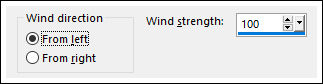
10- Effects / Distortion / Effects / Wind:
Effects / Distortion / Effects / Wind:
Cole como nova layer
11- Effects / 3D Effects / Drop Shadow: -8 /8 / 100 / 1,00 / Cor do Primeiro Plano
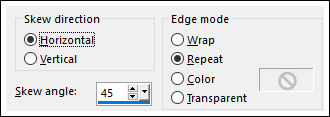
Effects / Geometric Effects / Skew
Ative a layer da Mask << Group Raster 3>>
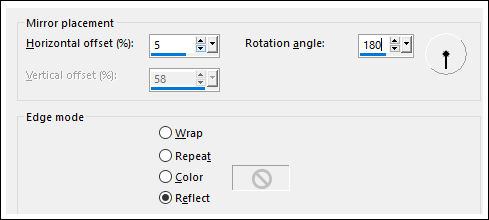
12- Effects / Reflection Effects / Rotating Mirror
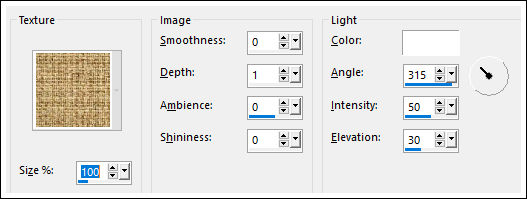
Effects / Texture Effects / Texture
Opacidade 80
13- Image / Add Borders / Symmetric Marcado / 1 pixel cor do Primeiro Plano
Copie
Selections / Select All
Image / Add Borders / Symmetric Marcado / 50 pixels cor # ffffff
Selections / Invert
Cole na seleção.
Adjust / Blur / Gaussian Blur / Radius 50
14- Effects / Texture Effects / Texture
Selections / Invert
Effects / 3D Effects / Drop Shadow: 0 / 0 / 50 / 30,00 / #000000
Selections / Select All
Selections / Modify / Contract 20 pixels
15- Effects / Plugins / AAA Frame / Foto Frame:
Effects / 3D Effects / Drop Shadow: 0 / 0 / 50 / 30,00 / #000000
16- Selections / Select None
Abra o tube <<Texto>> Copie e Cole como nova layer
Posicione
Opacidade 53
Image / Add Borders / Symmetric Marcado / 1 pixel cor #000000
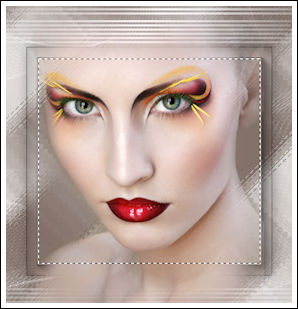
17- Assine seu trabalho
Layers / Merge / Merge All.
Salve como jpeg.
FIM
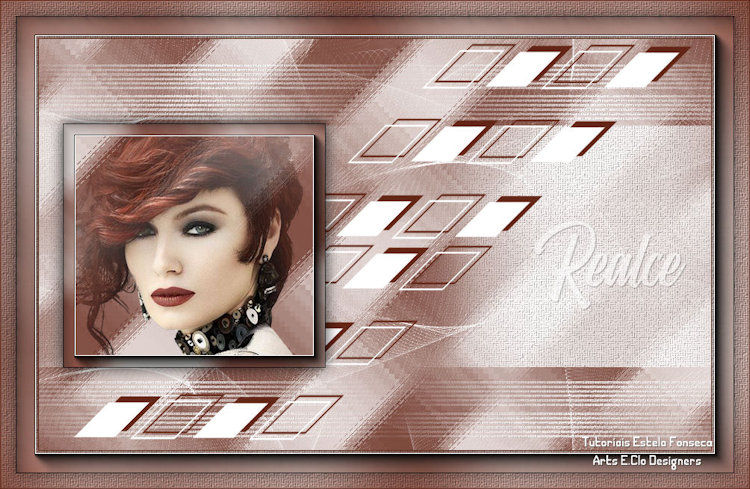
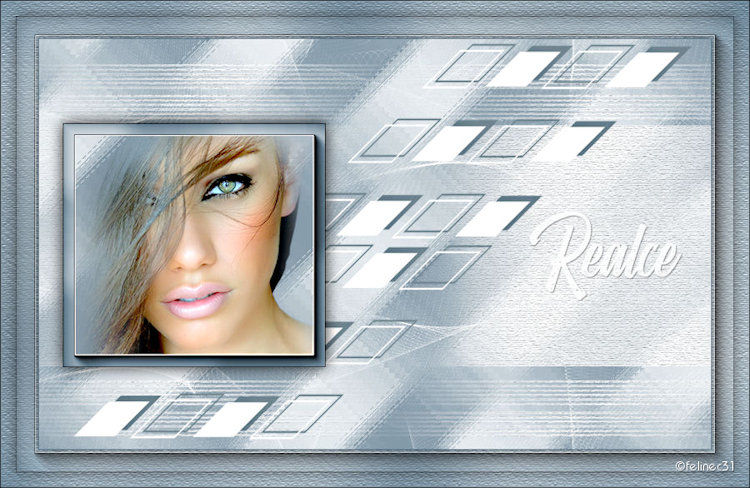
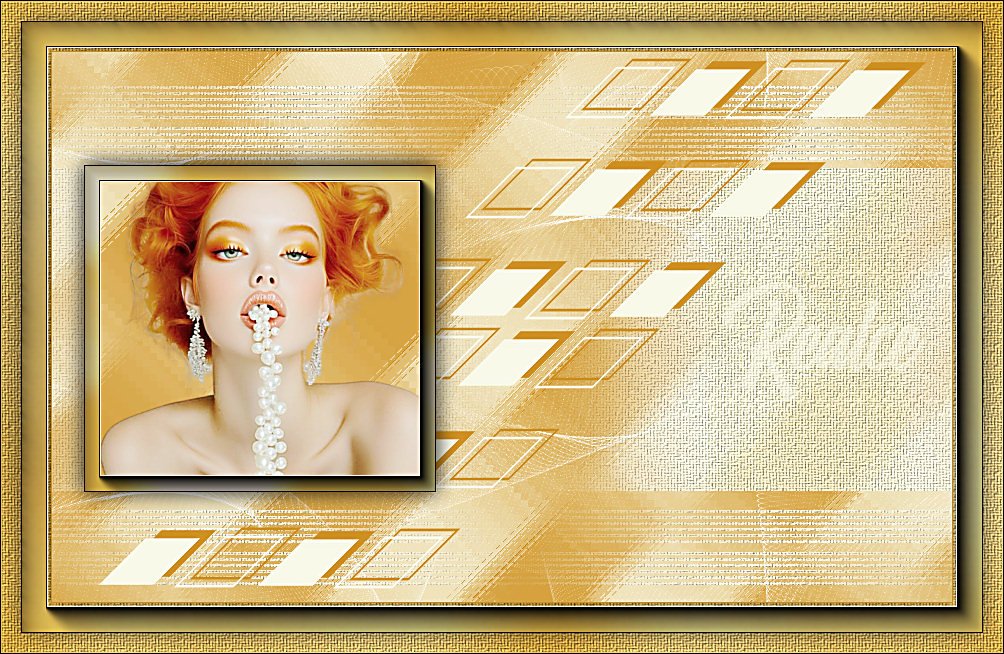
Versão com tube de LB Tubes:
Clo:
Pinuccia:
Carine:
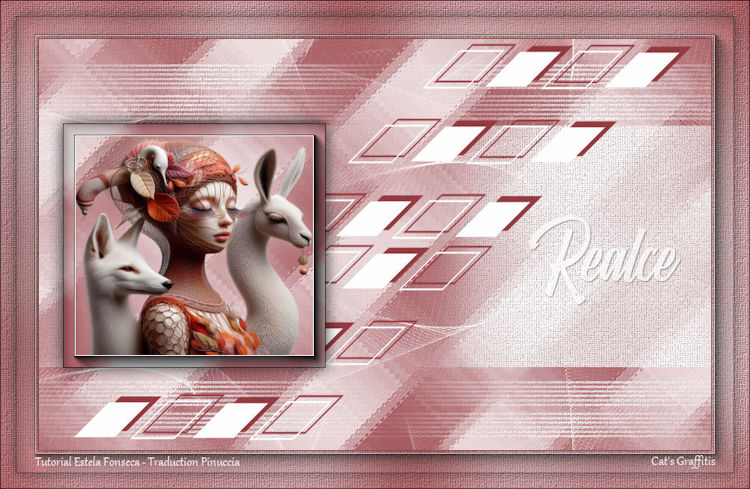
Cat's Graffitis:
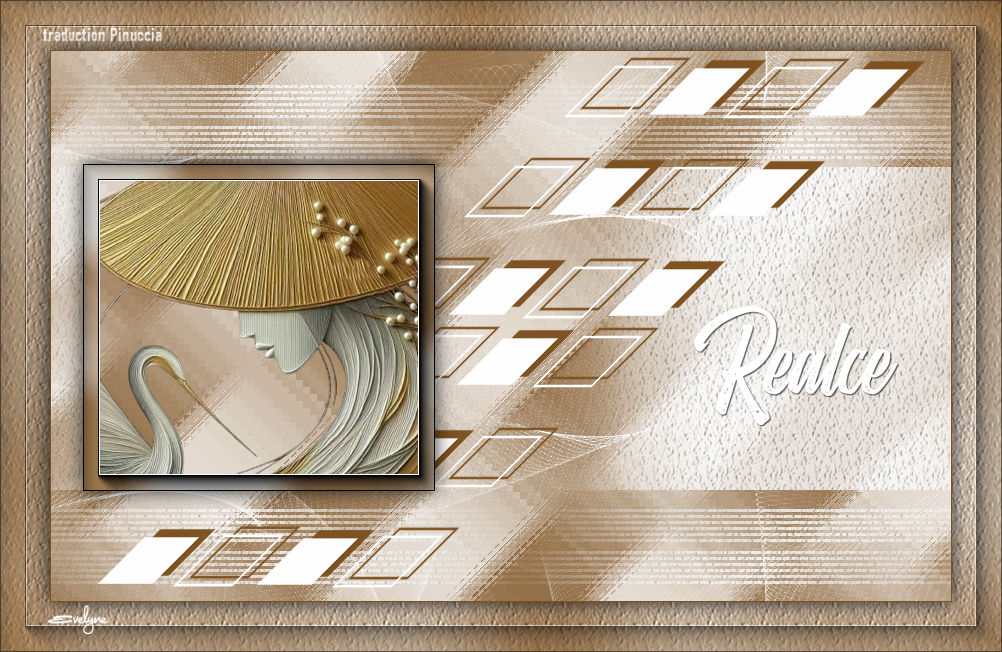
Evelyne:
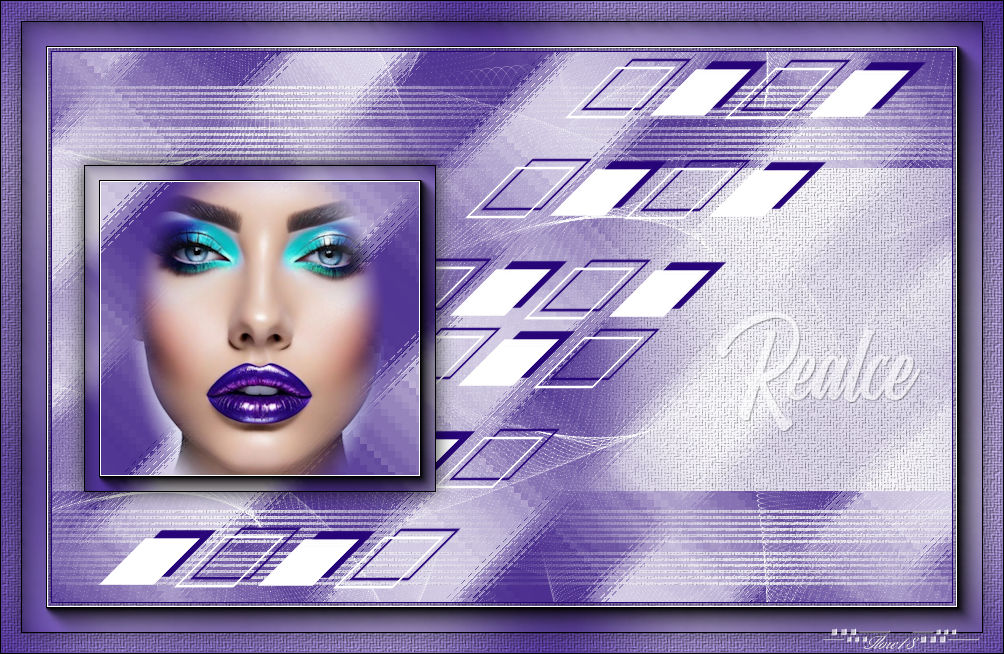
Flore18:
Jaque Argentin:
Liliana:
Madeleine:
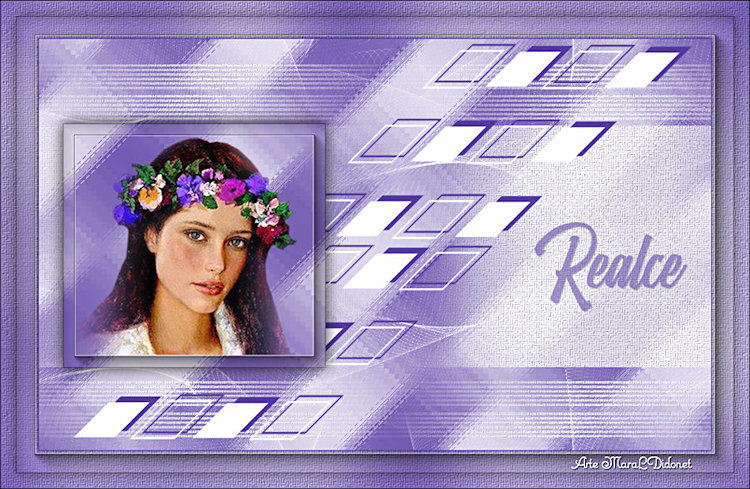
MaraLDidinet:
Marcelo:
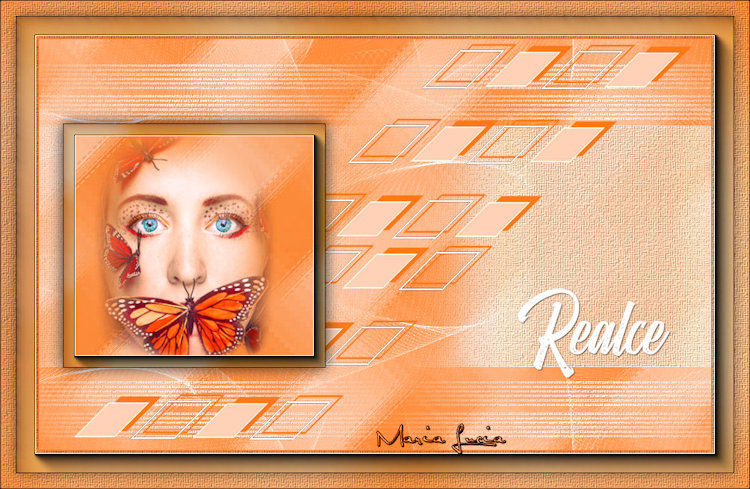
Maria Lúcia:
Maria José:
Marión:
Mary:
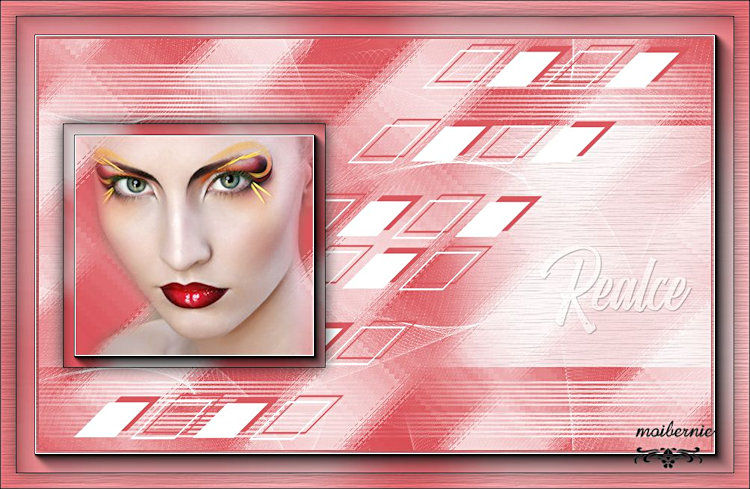
Moibernie:
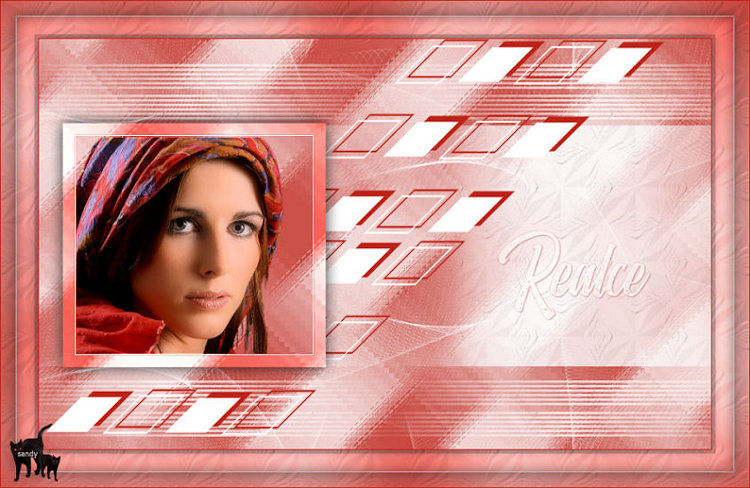
Sandy:
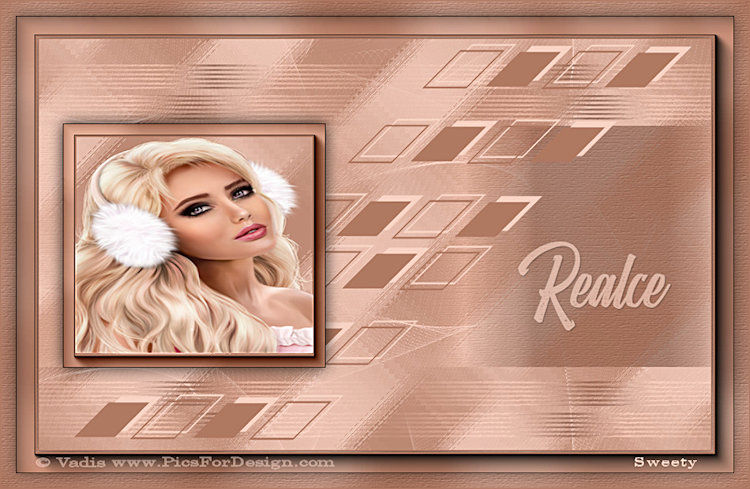
Sweety:
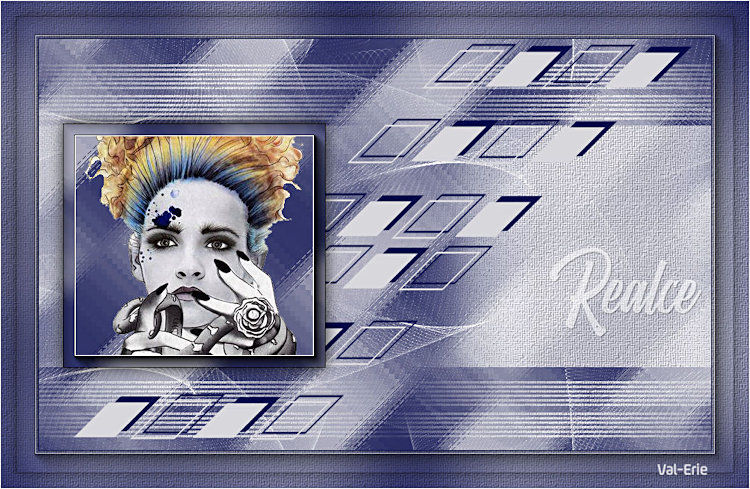
Val-Erie:
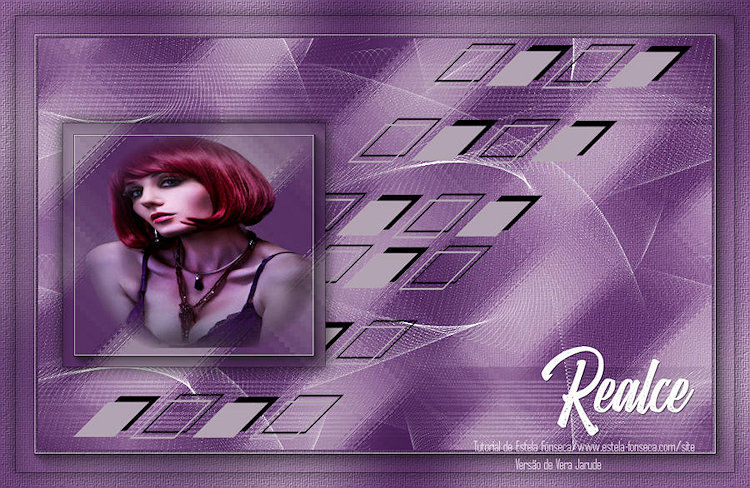
Vera Jarude:
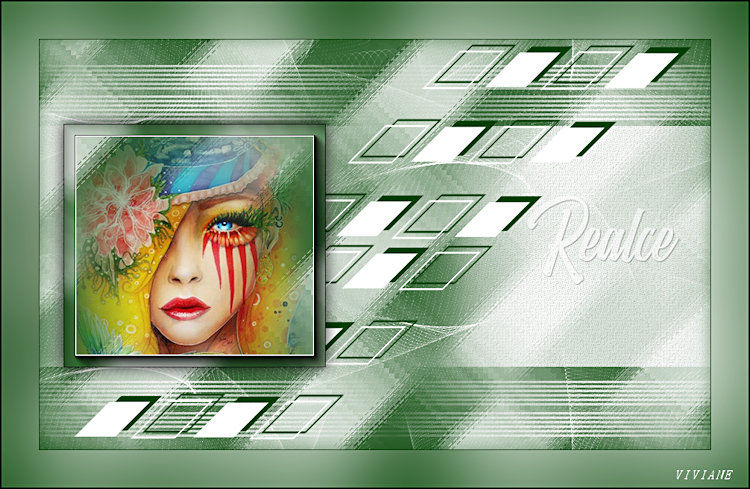
Viviane:


©Tutorial criado por Estela Fonseca em 01/07/2012.
Não alterar nem repassar sem autorização.