logic


Agradeço as Tradutoras: Pinuccia e Clo.
Material Necessário:
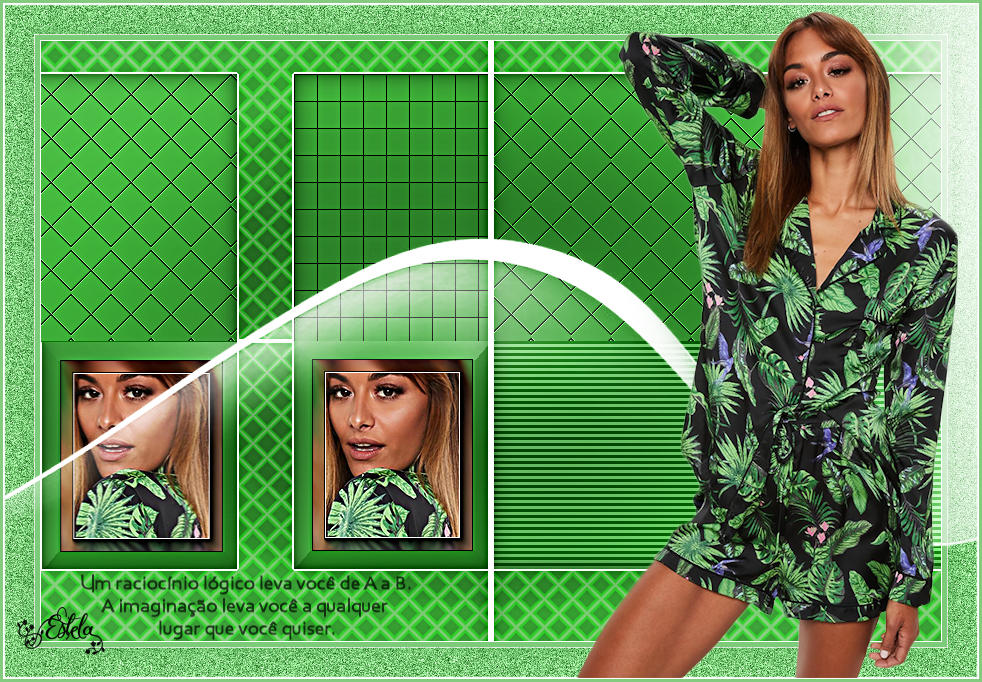
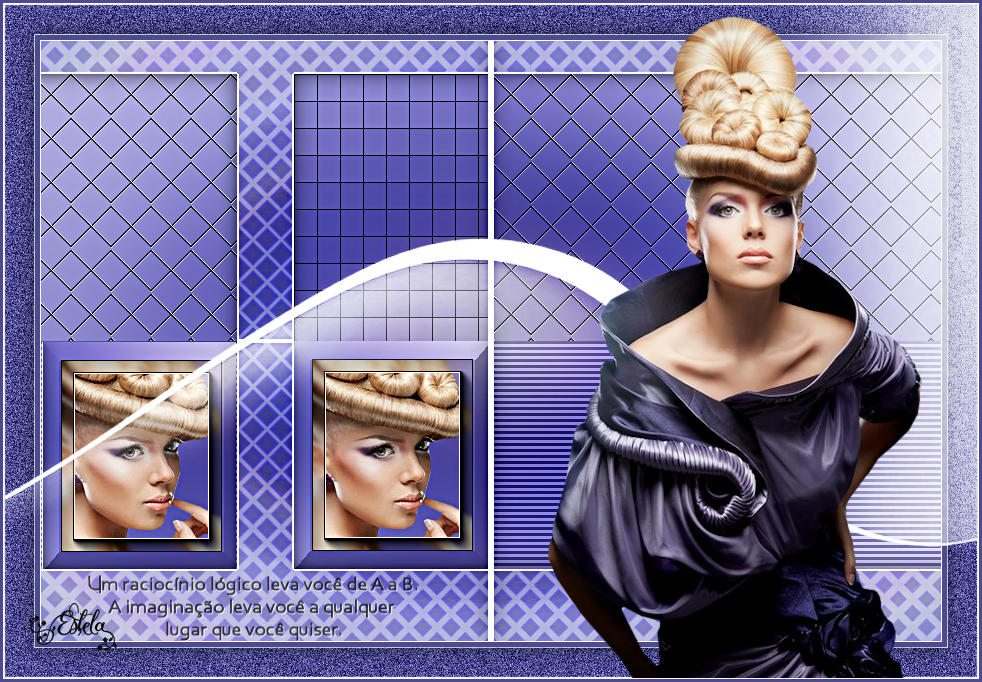
Os tubes utilizados neste trabalho são de Verlaine.
♥
Agradeço as artistas por me permitirem usar suas lindas criações (Mask e Tubes e afins).
Não é permitido que altere o nome nem que remova a marca d'água ou o logo do Original.
♥
Plugins Utilizados:
VM Extravaganza / Transmission...**
Tramages / Quilt**
Toadies / *Sucking Toad* Bevel I e Picasso's Last Word **
AAA Frames / Foto Frame
Simple / Half Wrap**
Xero / Clarity
Preparação:
Abra os tubes no PSP, duplique e feche os originais.
Não esqueça de remover a marca d'água das cópias dos tubes.
Copie a seleção para a pasta de seleções do PSP.
Primeiro Plano cor #4c4b91
Segundo Plano cor #ffffff
01- Abra o <<Fundo-Logic>> Duplique e feche o original
Colorize se trabalha com cores diferentes.
Adjust / One Step / Photo Fix
Effects / Artistic Effects / Halftone
02- Selections / Load save selection / Load selection from disk: Logic-1-EF
Selections / Promote selection to layer
Layers / New Raster Layer
Preencha com a cor do Segundo Plano (#ffffff)
Selections / Modify / Contract 2 pixels
Delete no teclado
Selections / Select None
Layers / Merge / Merge Down
03- Ative a Layer do Fundo
Selection Tool (S) / Custom Selection:
Selections / Promote Selection to Layer
Adjust / Blur / Gaussian Blur / Radius 50
Effects / Plugins / VM Extravaganza / Transmission...
Selections / Select None
04- Ative a Laye do Fundo
Selection Tool (S) / Custom Selection:
Selections / Promote Selection to Layer
Adjust / Blur / Gaussian Blur / Radius 50
Effects / Plugins / Tramages / Quilt
05- Ative a Laye do Fundo
Selection Tool (S) / Custom Selection:
Selections / Promote Selection to Layer
Adjust / Blur / Gaussian Blur / Radius 50
Effects / Plugins / Toadies / *Sucking Toad* Bevel I...
Selections / Modify / Contract 18
Layers / Arrange / Move Up ( 2 vezes)
06- Ative o tube << VERLAINE B 108>> Copie e Cole como nova layer
Posicione o tube sobre a seleção... como segue:
Selections / Invert
Delete no teclado
Selections / Invert
Layers / Merge / Merge Down
Effects / Plugins / AAA Frames / Foto Frame
Selections / Select None
07- Ative a Layer do Fundo
Selection Tool (S) / Custom Selection:
Selections / Promote Selection to Layer
Adjust / Blur / Gaussian Blur / Radius 50
Effects / Plugins / Toadies / Picasso's Last Word...
Selections / Select None
08- Ative a Layer do Topo
Effects / 3D Effects / Drop Shadow: 0 / 0 / 60 / 30 / Cor #000000
Layers / Merge / Merge Visible
09- Effects / Plugins / Simple / Half Wrap
Selection Tool (S) / Custom Selection:
Layers / New Raster Layer
Preencha com a cor branca (#ffffff)
Selections / Select None
Effects / 3D Effects / Drop Shadow, mesmas configurações de antes.
Layers / Merge / Merge Down
10- Effects / Plugins / Xero / Clarity:
Image / Add Borders / Symmetric Marcado / 1 pixel cor do Segundo Plano (#ffffff)
Image / Add Borders / Symmetric Marcado / 5 pixels cor do Primeiro Plano
Image / Add Borders / Symmetric Marcado / 1 pixel cor do Segundo Plano (#ffffff)
Image / Add Borders / Symmetric Marcado / 30 pixels cor do Primeiro Plano
11- Ative a Varinha mágica e selecione a borda
Adjust / Add Remove Noise / Add Noise: Gaussian / 50 / Monochrome
Selections / Invert
Effects / 3D Effects / Drop Shadow: 0 / 0 / 60 / 30 / Cor #000000
Selections / Select None
12- Abra o tube <<Deco-1 >> Copie e cole como nova layer
Layers / Duplicate
Blend Mode / Overlay
13- Ative a Layer do Fundo
Selection Tool (S) / Custom Selection
Selections / Promote Selection to Layer
Selections / Select None
Ferramenta <<Pick Tool>> Configure os valores de Posição de X (37,00) e de Y (338,00):
14- Ative a Layer do topo
Abra o tube << VERLAINE B 107 >> Copie e Cole como nova layer
Image / Resize / 97%... Resize All Layers ... Desmarcado
Posicione
15- Ative o tube << Texto >> Copie e Cole como nova layer
Posicione
Effects / 3D Effects / Drop Shadow: 1 / 1 / 100 / 1,00 / #ffffff
Assine seu Trabalho
16- Image / Add Borders / Symmetric Marcado / 1 pixel cor do Segundo Plano (#ffffff)
Image / Add Borders / Symmetric Marcado / 5 pixels cor do Primeiro Plano
Salve como JPG.
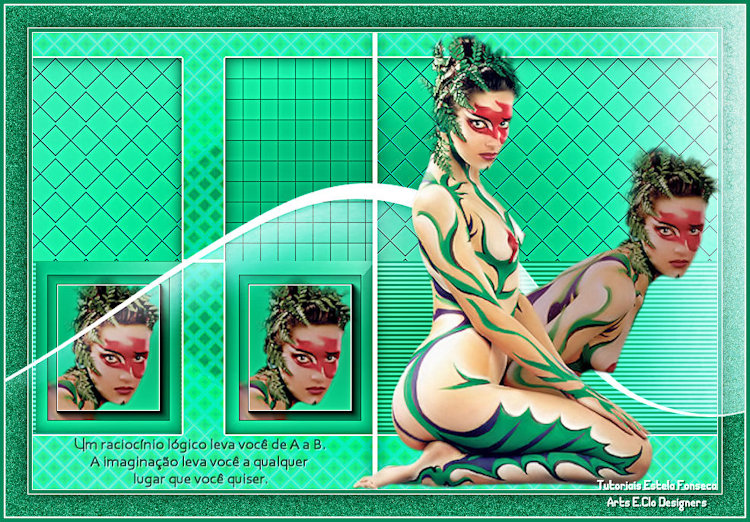
Versão com tube de Malackatube:
Clo:
Pinuccia:
Hillu:
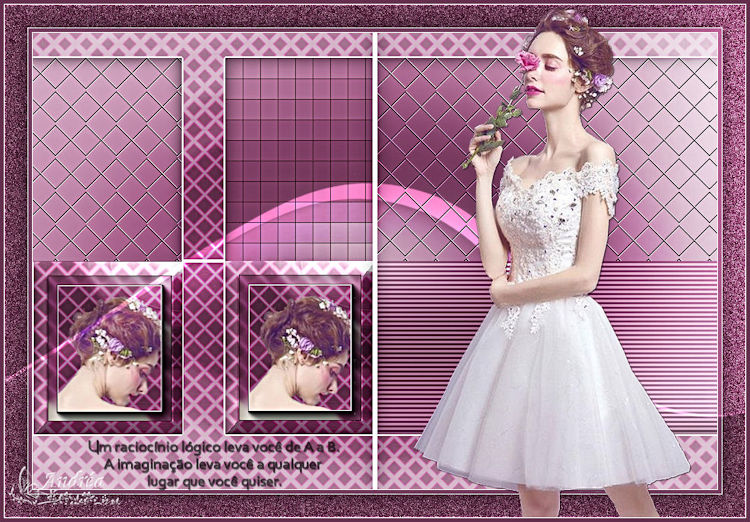
Andréa:
Bernadette:
Jaja:
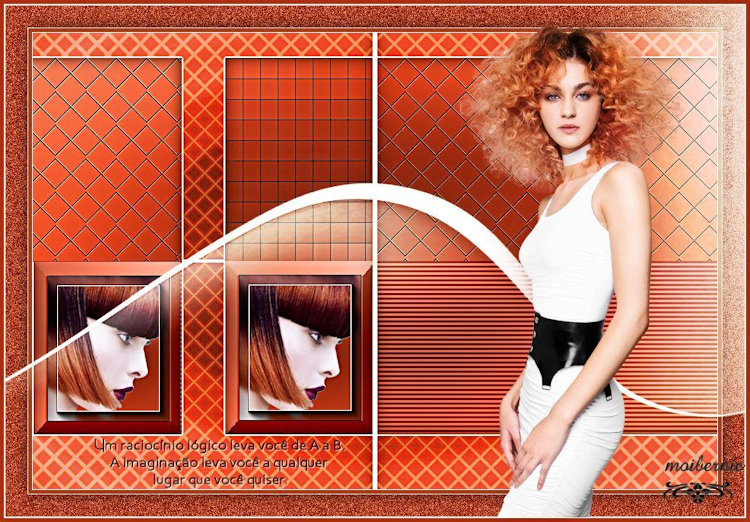
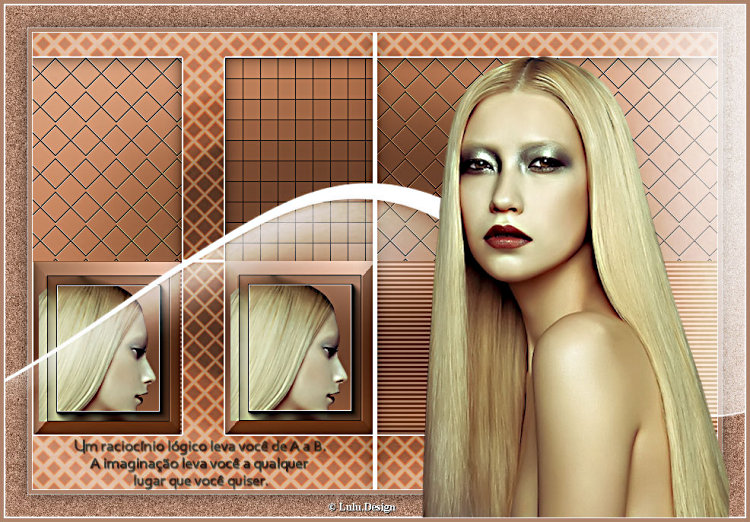
Lulu:
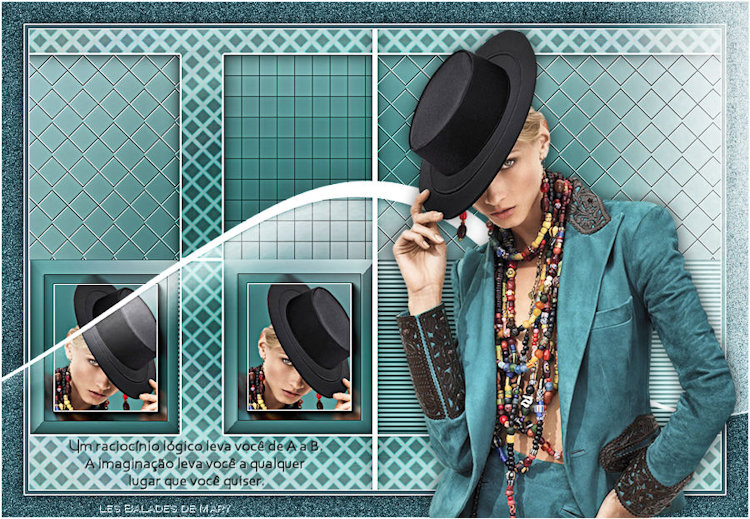
Mary:
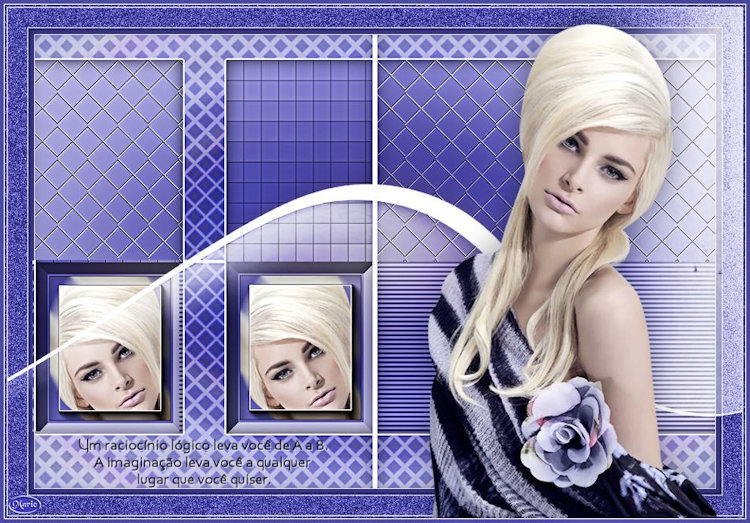
Marie:
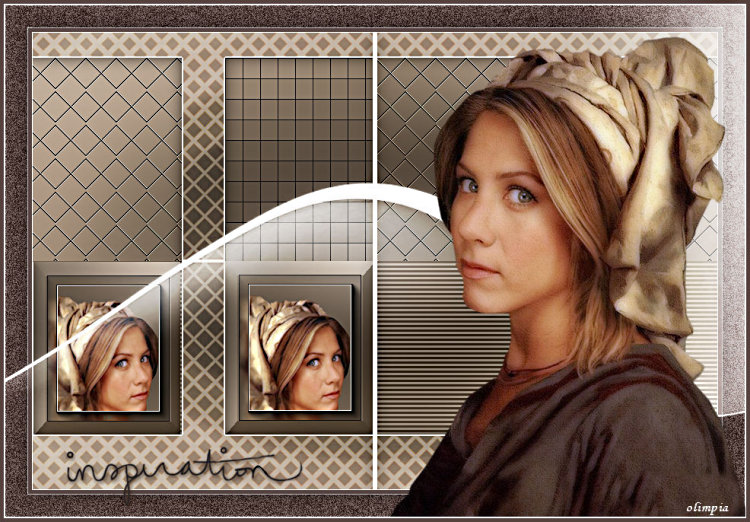
Olimpia:
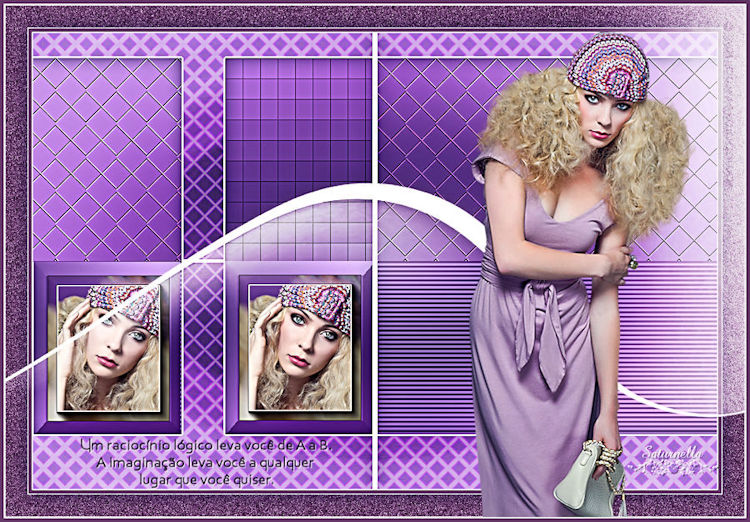
Saturnella:
©Tutorial criado por Estela Fonseca em 2013.
Não alterar nem repassar sem autorização.