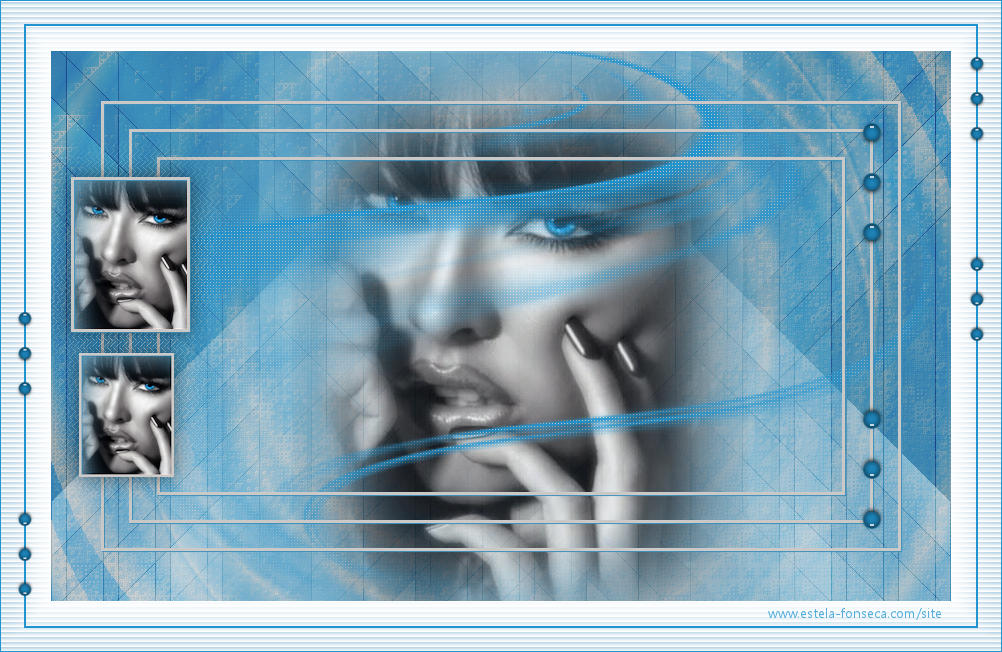
GYPSY

Agradeço às tradutoras: Pinuccia e Clo.
Material Necessário:
Tube de Mentali.
A Mask é de Narah, seu grupo, AQUI.
Obrigada Mentali e Narah por seus lindos trabalhos.
♥
Agradeço as artistas por me permitirem usar suas lindas criações (Mask e Tubes e afins).
Não é permitido que altere o nome nem que remova a marca d'água ou o logo do Original.
♥
Plugins Utilizados:
VanDerLee / Unplugged X / Radial Waves
Deformation / Sierpenski's Mirror**
Alien Skin Eye Candy 5 / Impact / Glass
Toadies / PlainMosaicBlur**
AP Lines / Lines - Silverlining
** Importados para o Unlimited
Preparação:
Abra o tube , duplique e feche o original.
Abra a Mask no PSP e Minimize.
Copie a seleção para a pasta de seleções do PSP.
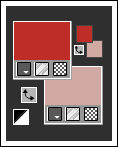
1- Abra uma imagem transparente de 900 /550 pixels.
Escolha duas cores do tube uma escura para primeiro plano e uma clara para segundo plano
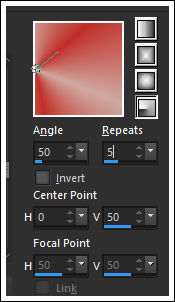
Gradiente <<Radial>> Configurado como segue:
Preencha a imagem com o Gradiente
2- Layers / Duplicate
Image / Mirror / Mirror Horizontal
Image / Mirror / Mirror Vertical
Opacidade / 50
Layers / Merge / Merge Visible
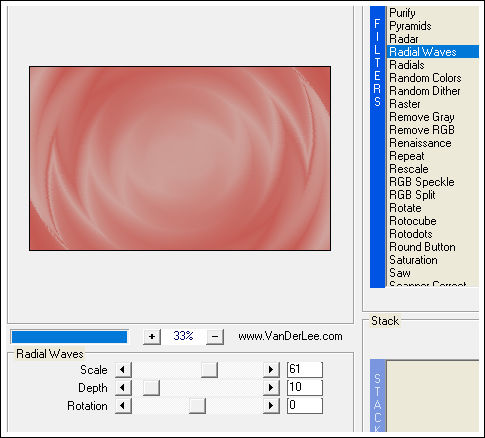
3- Effects / Plugins / VanDerLee / Unplugged X / Radial Waves
Layers / Duplicate
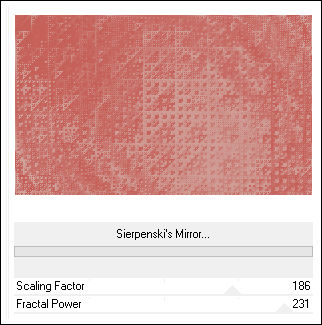
Effects / Plugins / Deformation / Sierpenski's Mirror
Opacidade 48
Layers / Merge / Merge Visible
4- Layers / New Raster Layer
Desfaça o Gradiente
Preencha com a cor do Primeiro Plano
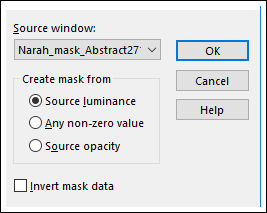
Layers / New mask layer / From image: Narah_mask_Abstract271
Layers / Merge / Merge Group
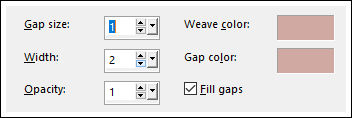
Effects / Texture Effects / Weave: Weave Color e Gap Color cor do Segundo Plano
5- Ative o tube <<mentali-misted1680>> Copie e Cole como Nova Layer
Layers / Arrange / Move Down
Opacidade 83
Layers / Duplicate
Ative a Layer <<Raster 1>>
Effects / Image Effects / Seamless Tiling / Default
Adjust / Blur / Gaussian Blur / Radius 30
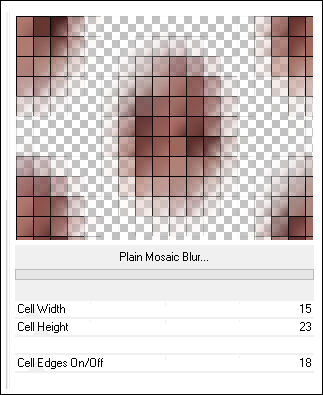
Effects / Plugins / Toadies / Plain Mosaic Blur
Blend Mode / Overlay
Opacidade 50
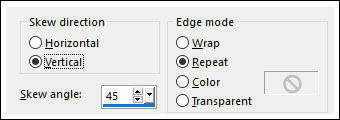
6- Effects / Geometric Effects / Skew
Layers / Duplicate
Image / Mirror / Mirror Horizontal
7- Ative a Layer do Topo
Layers / New Raster Layer
Selections / Select All
Selections / Modify / Contract 50 pixels
Preencha com a cor do Segundo Plano
Selections / Modify / Contract 3 pixels
Delete no teclado
8- Selections / Modify / Contract 25 pixels
Preencha com a cor do Segundo Plano
Selections / Modify / Contract 3 pixels
Delete no teclado
9- Selections / Modify / Contract 25 pixels
Preencha com a cor do Segundo Plano
Selections / Modify / Contract 3 pixels
Delete no teclado
Selections / Select None
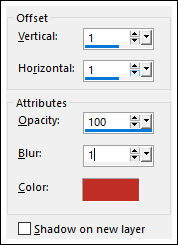
10- Effects / 3D Effects / Drop Shadow: Cor do Primeiro Plano
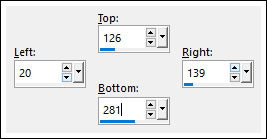
11- Ferramenta <<Selection Tool>> Custom Selection:
Layers / New Raster Layer
Preencha a seleção com a cor do Segundo Plano
Selections / Modify / Contract 3 pixels
Delete no Teclado
Ative a Layer do Fundo <<Merged>>
Selections / Promote Selection to Layer
Layers / Arrange / Bring to top
12- Abra o tube <<Mentali-Mysted_2680>>
Copie e cole como nova layer
Image / Resize / 50%... Resize All Layers ... Desmarcado
Posicione sobre a seleção
Selections / Invert
Delete
Selection / Select None
Layers / Merge / Merge Down ( 2 vezes)
13- Layers / Duplicate
Image / Resize / 80%... Resize All Layers ... Desmarcado
Adjust / Sharpness / Sharpen
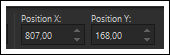
Ferramenta <<Pick Tool>> Posição de X+ 30,00 / Y= 303,00, como segue:
Layers / Merge / Merge Down
14- Layers / Duplicate
Ative a Layer <<Raster 3>>
Adjust / Blur / Gaussian Blur / Radius 30
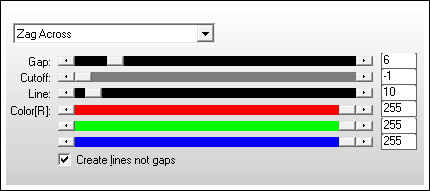
Effects / Plugins / AP Lines / Lines - Silverlining / Zag Across
15- Ative a Layer do Topo
Effects / 3D Effects / Drop Shadow: 0 / 0 / 50 / 30 / #000000
Layers / New Raster Layer
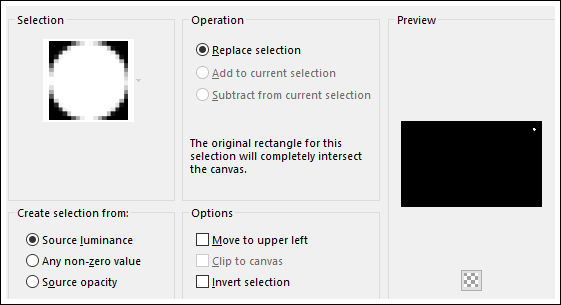
Selections / Load save selection / Load selection from disk: EF_Sel_Sentimental
Preencha a seleção com a cor do Primeiro Plano
Effects / Plugins / Alien Skin Eye Candy 5 / Impact / Glass / Preset Clear
Selections / Select None
Posicione:
16- Layers / Duplicate
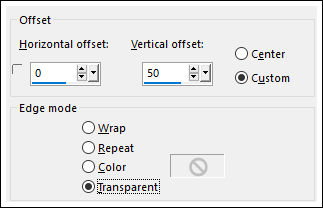
Effects / Image Effects / Offset: 0 / 50 / Custom / Transparente (Marcados)
17- Layers / Duplicate
Effects / Image Effects / Offset: 0 / 50 / Custom / Transparente (Marcados)
Layers / Merge / Merge Down (2 vezes)
Layers / Duplicate
Image / Mirror / Mirror Vertical
Layers / Merge / Merge Down
Copie e Cole como nova imagem
Minimize
18- Image / Add Borders / Symmetric Marcado / 50 pixels cor #ffffff
Layers / Duplicate
Selections / Select All
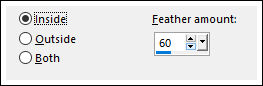
Selections / Modify / Contract / Inside, Outside Feather.. como segue:
Delete no Teclado
Selections / Select None
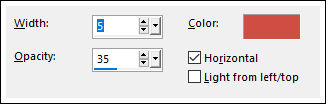
19- Effects / Texture Effects / Blinds:
Layers / Merge / Merge Visible
20- Layers / New Raster Layer
Selections / Select All
Selections / Modify / Contract 23 pixels
Preencha com a cor do Primeiro Plano
Selections / Modify / Contract 2 pixels
Delete no teclado
Selections / Select None
21- Ative a Image minimizada no ponto 17
Copie e Cole como nova layer
Image / Resize / 70%... Resize All Layer ... Desmarcado
Posicione:
Layers / Duplicate
Posicione:
22- Image / Add Borders / Symmetric Marcado / 1 pixel cor do Primeiro Plano
Adjust / One Step Foto Fix ( opcional)
Assine seu trabalho
Salve como Jpg.
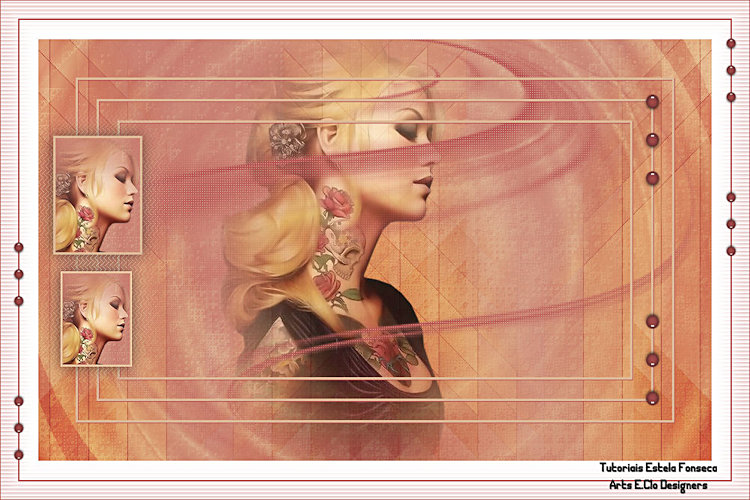
Versão com tube de LB Tubes:
Clo:
Brigitte Alice:
Biquinho:
Colybrix:
Garances:
Gypsie:
Jaque Argentin:
Mary:
Mentali:
Maria José:
Mony:
Val-Erie:
Vera Jarude:
©2012 - Tutorial criado por Estela Fonseca.
Não alterar nem repassar sem autorização.