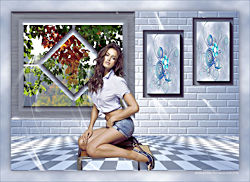
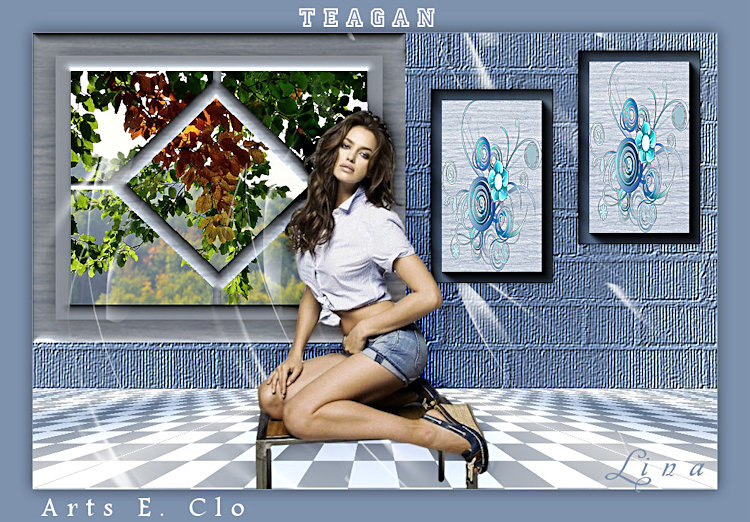
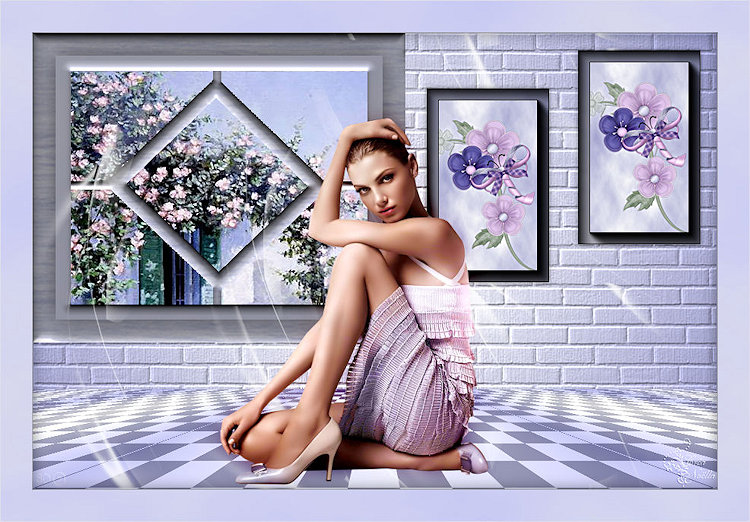
TEAGAN
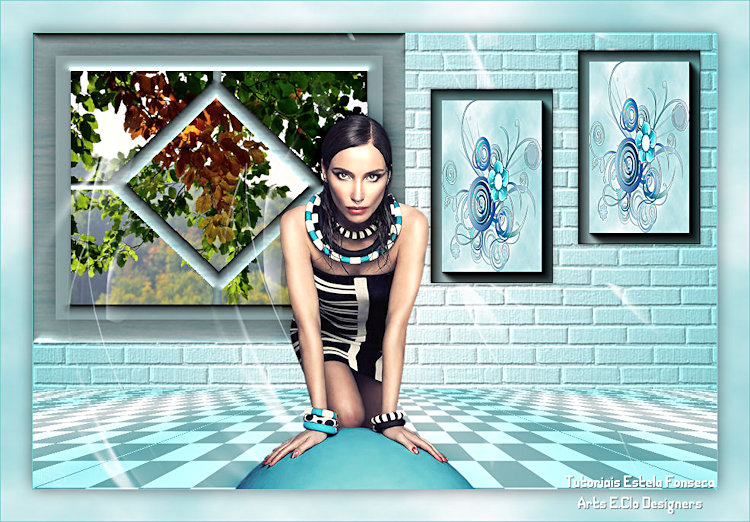
Agradeço as maravilhosas tradutoras: Pinuccia e Clo.
Material Necessário:
Tube de Graphics Sabine Mask de GB Imagem de Google
** *É proibido retirar a marca d'água dos tubes fornecidos, distribuir ou modifica-los, afim de respeitar o trabalho dos autores. **
Layout Tools / Contrast Checkers Unlimited 2 / Render AAA Frame / Foto Frame Xero / Clarity
Preparação: Abra os tubes no PSP, duplique e feche os originais. Abra a Mask no PSP e Minimize Copie a seleção para a pasta de Seleções do PSP
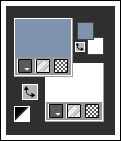
Segundo Plano cor #FFFFFF
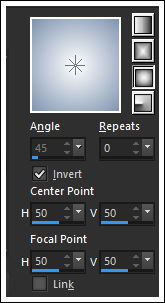
01- Abra uma imagem transparente de 900 / 600 pixels Gradiente <<Sunburst>>
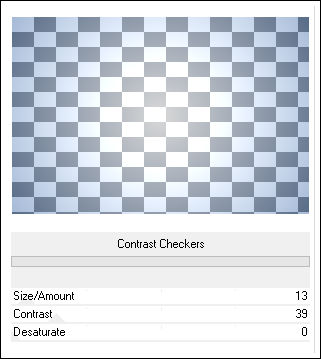
Preencha com o gradiente Layers / Duplicate Effects / Plugins / Layout Tools / Contrast Checkers:
02- Effects /Plugins / Mura's Meister / Perspective Tiling:
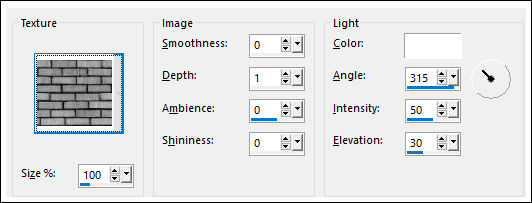
Ative a Layer do Fundo Effects / Texture Effects / Texture / Tex. Bricks:
Layers / Merge / Merge Visible
03- Layers / New raster layer
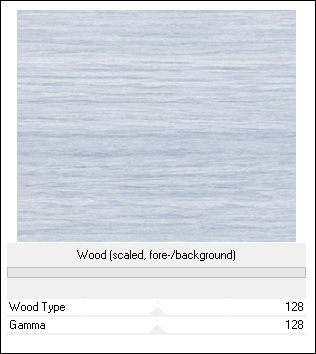
Preencha a seleção com o Gradiente Effects / Plugins / Unlimited 2 / Render / Wood (scaled, fore-/background)
Selections / Modify / Contract 30 pixels Adjust / Blur / Gaussian Blur / Radius 30
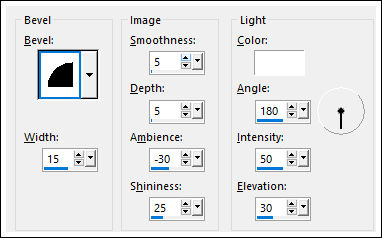
04- Effects / 3D Effects / Drop Shadow: 0 / 0 / 50 / 48 /#000000 Selections / Modify / Contract 20 pixels Delete no teclado Selections / Select None Effects / 3D Effects / Inner Bevel
05- Ative a Layer <<Merged>> Layers / New Raster Layer Selections / Load save selection / Load selection from disk: EF-Reagan
Preencha com o Gradiente Effects / Plugins / Unlimited 2 / Render / Wood (scaled, fore-/background)
Selections / Modify / Contract 20 pixels Delete no teclado Selections / Select None
06- Effects / 3D Effects / Inner Bevel
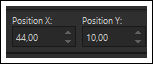
Ative a Ferramenta <<pick tool (K)>> Posicione como segue:
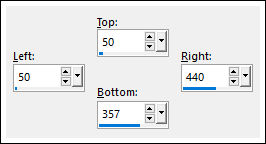
07- Ative a Layer do Topo Layers / Merge / Merge Down Layers / New Raster Layer Layers / Arrange / Move Down Selection Tool (S) / Custom Selection
08- Abra a Imagem <<leaves-2786408_960_720 >> Copie e Cole na seleção Selections / Select None Adjust / Sharpness Sharpen Layers / Arrange / Move Down
09- Ative a Layer do topo Layers / New Raster Layer Preencha com a cor do Segundo Plano (#FFFFFF) Abra a Mask <<Mask_03_GB_2018 >> Minimize Layers / New Mask Layer / From Image:
Layers / Merge / Merge Group Image / Mirror / Mirror Horizontal
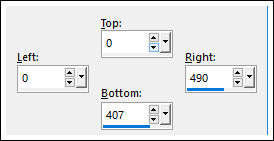
10- Ative a Layer <<Merged>> Ative a Ferramenta Selection Tool / Clique em Custom Selection e configure:
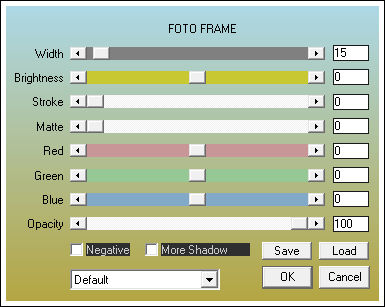
Selections / Promote Selection to Layer Effects / Plugins / AAA Frame / Foto Frame ( 2 vezes)
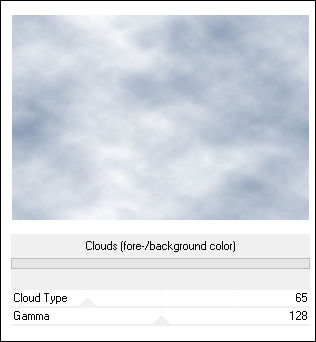
11- Selections / Modify / Contract 16 pixels Effects / Plugins / Unlimited 2 / Render / Cloud / Default Mantenha a Seleção
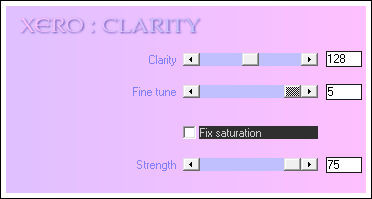
12- Ative o tube <<graphsabine_design256 >> Copie e Cole na seleção Effects / Plugins / Xero / Clarity
Adjust / Sharpness / Sharpen Selections / Select None
Posicione à esquerda Layers / Merge /Merge Down Effects / 3D Effects / Drop Shadow: 0 / 0 / 50 / 10 / #000000 Layers / Arrange / Bring to top
14- Abra o tube <<woman_1030_franiemargot >> Copie e Cole Como Nova Layer Image / Resize / 80%... Resize All Layers ... Desmarcado Image / Mirror / Mirror Horizontal Posicione à esquerda
Ative a Layer <<Raster 3>> Adjust / Blur / Gaussian Blur / Radius 15 Blend Mode / Burn (Ou Outro)
16- Image / Add Borders / Symmetric Marcado / 1 pixel cor #828fa2 Selections / Select All Image / Add Borders / Symmetric Marcado / 40 pixels cor #dce6f6 Adicione uma borda simétrica de 1 pixel cor #0404b3
17- Effects / Plugins / Unlimited 2 / Render / Clouds (fire-/background color)
Selections / Invert Effects / 3D Effects / Drop Shadow: 0 / 0 / 50 / 30 / #000000 Image / Add Borders / Symmetric Marcado / 1 pixel cor #828fa2
18- Assine seu trabalho e salve como jpg.
Versão com tubes de CibiBijoux (Personagem) Tube de Maryse (Cavalo) e Nicole (Deco) e Imagem do Google
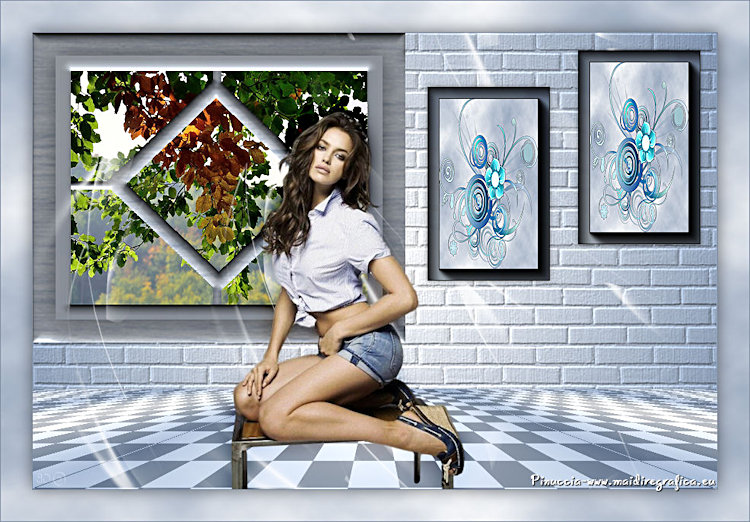
Pinuccia:
Clo:
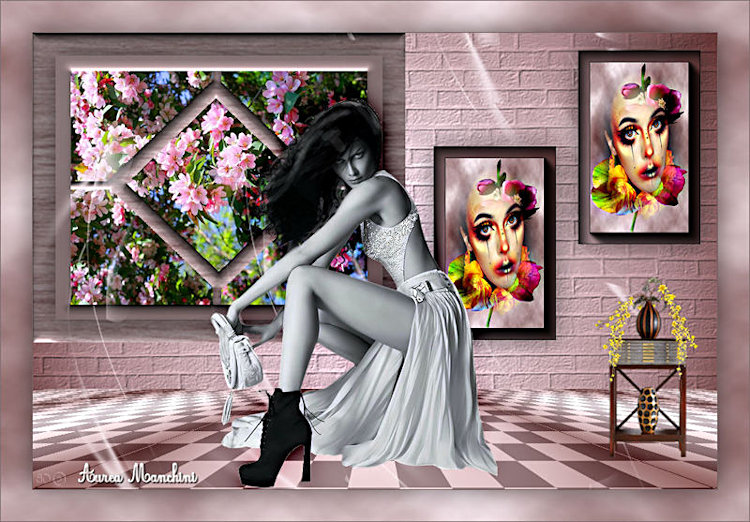
Aurea Manchini:
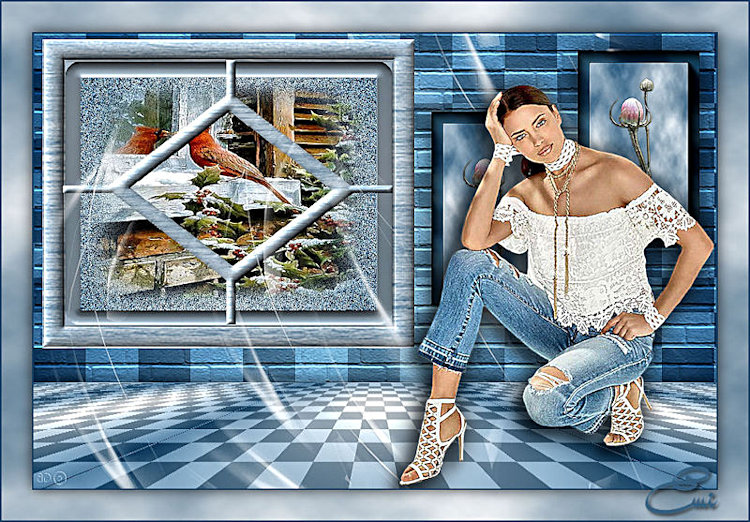
Emi:
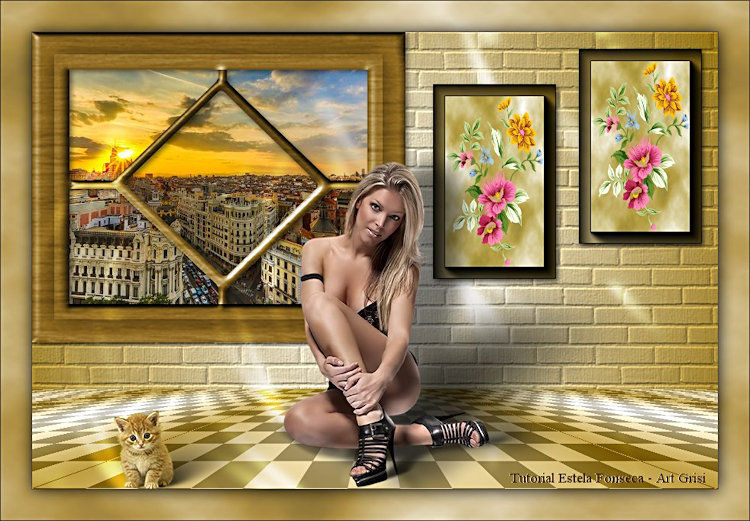
Grisi:
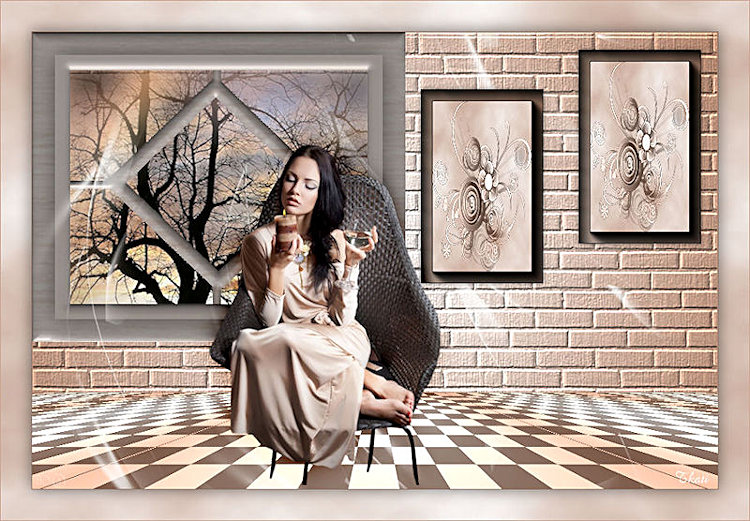
Chati:
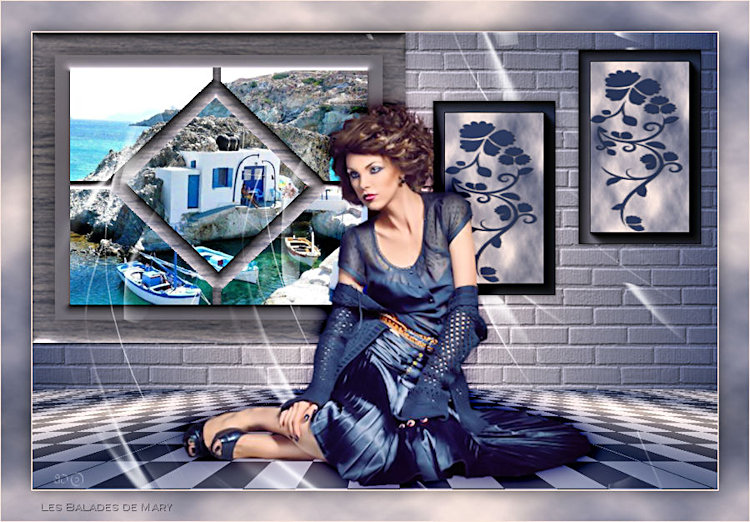
LBDM:
Lina:
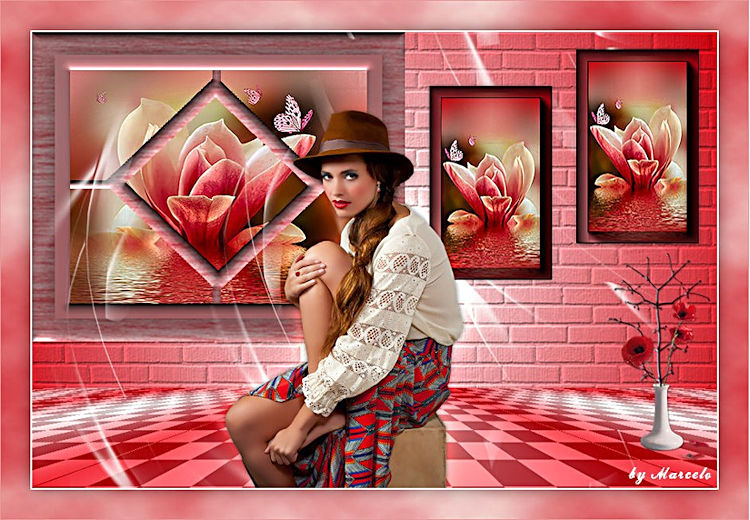
Marcelo:
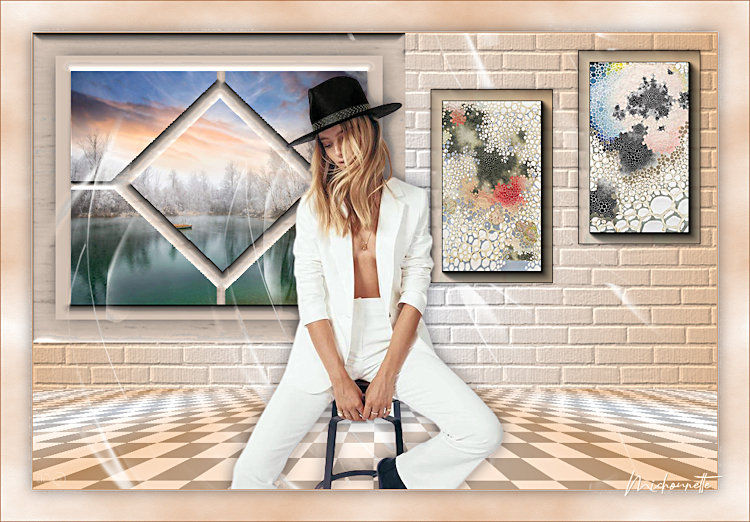
Michounette:
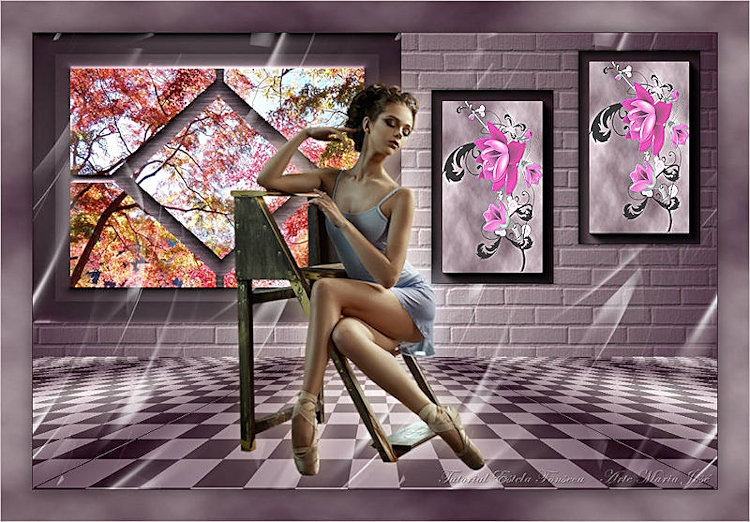
Maria José:
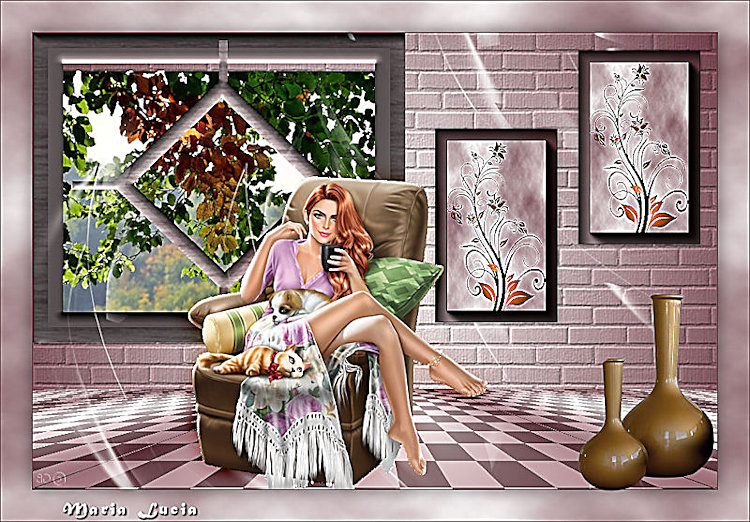
Maria Lúcia:
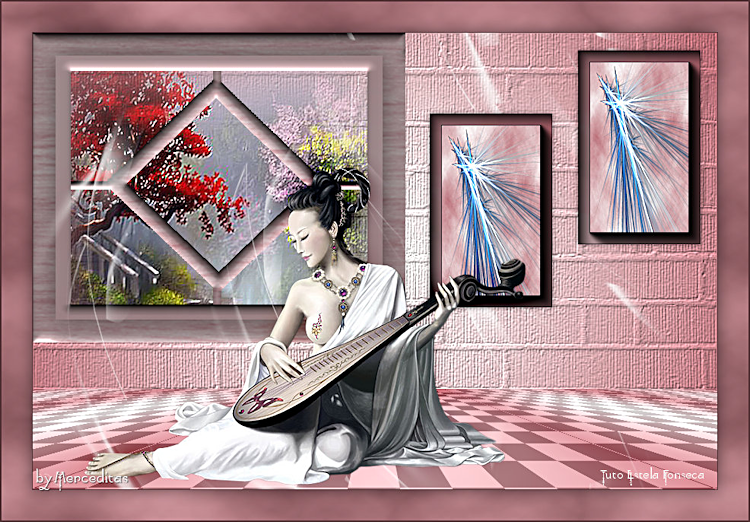
Merceditas:
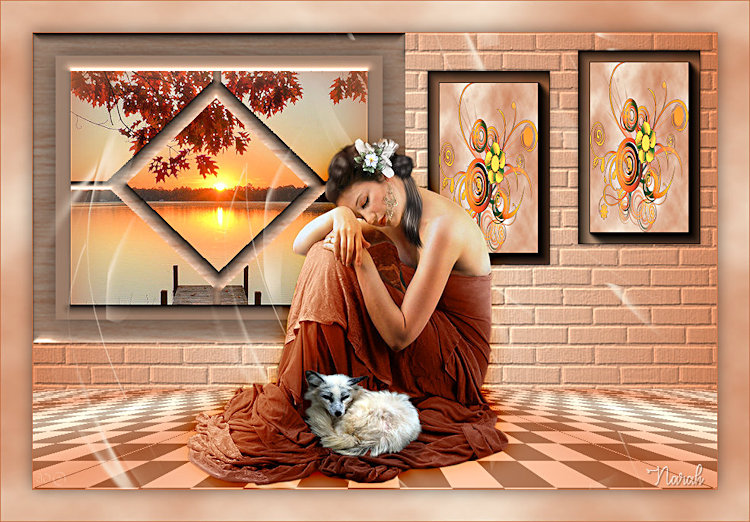
Narah:
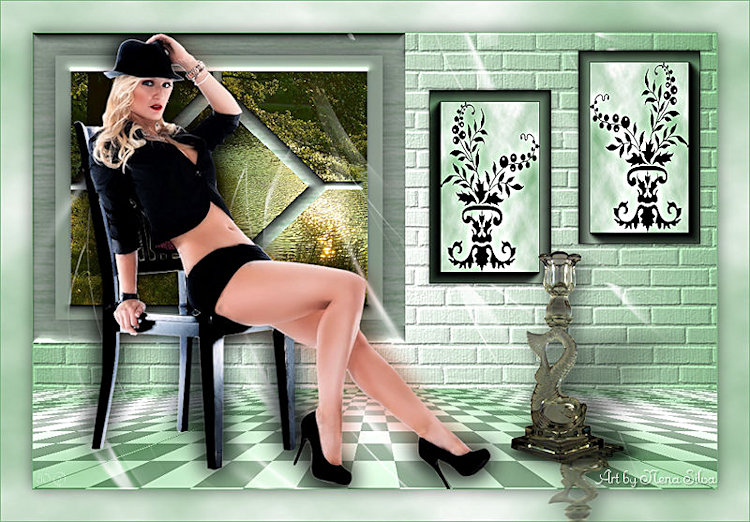
Nena Silva:
Noella:
Rossella:
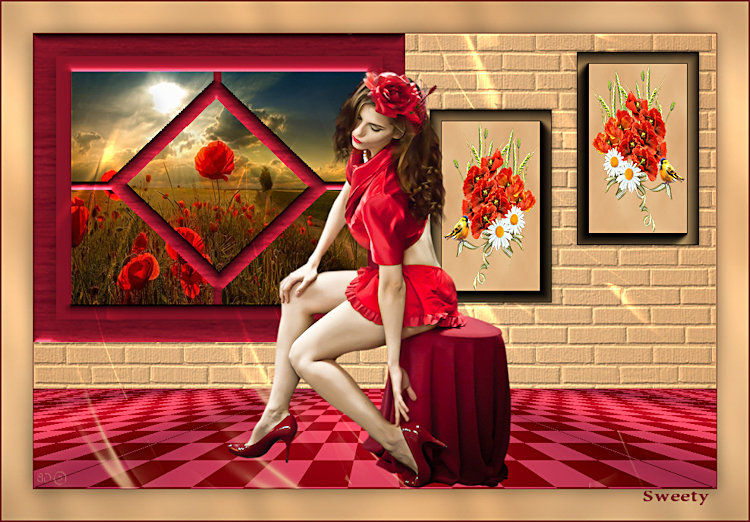
Sweety:
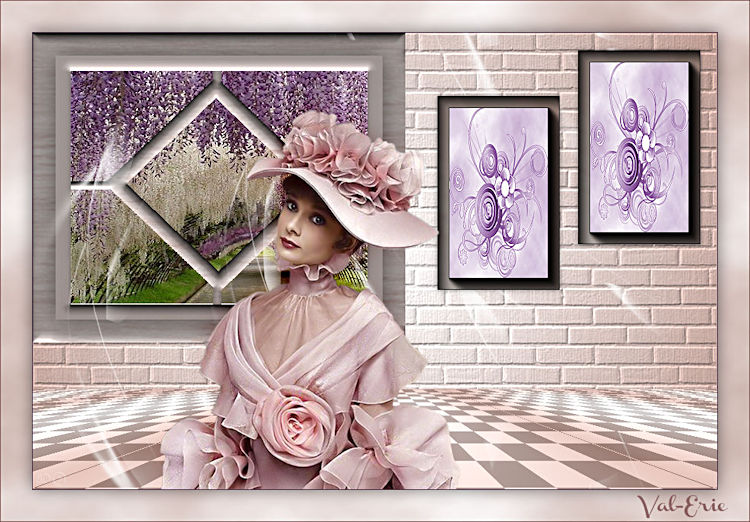
Val-Erie:
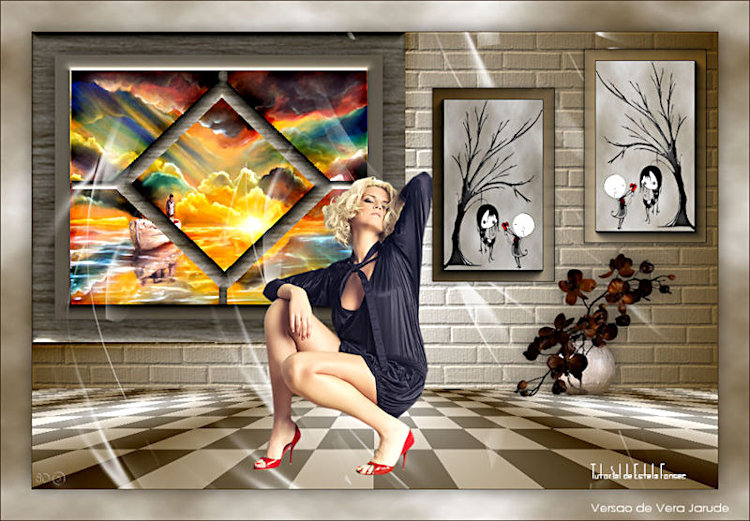
Vera Jarude:
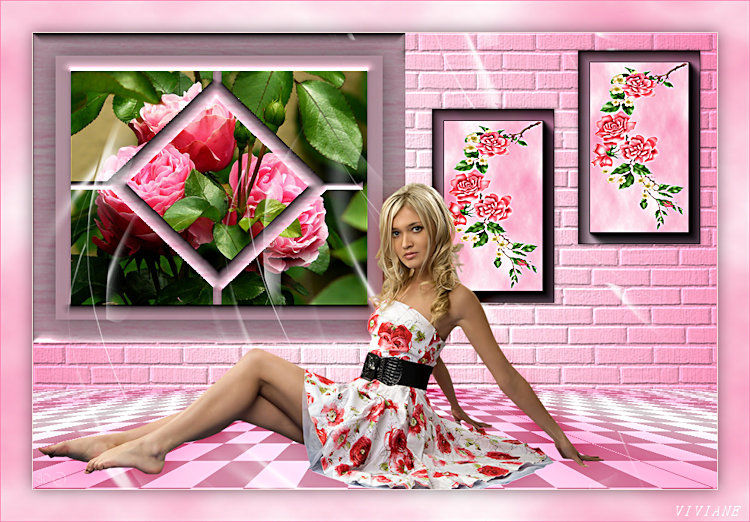
Viviane:
Zenyra:
© Tutorial criado por por Estela Fonseca em 2017. |