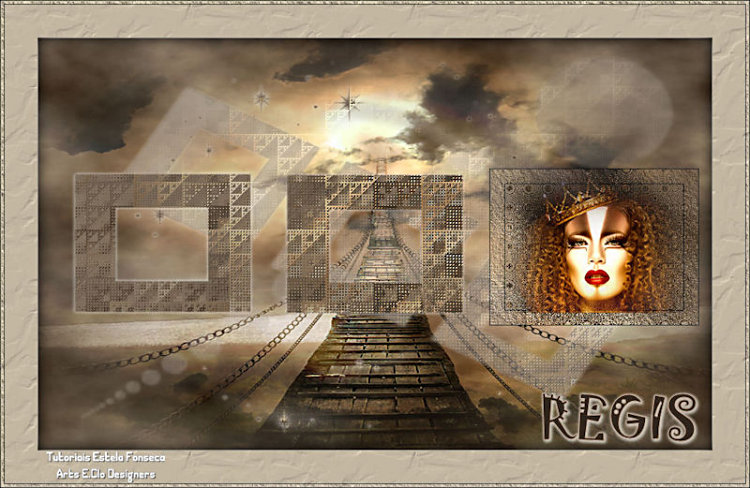
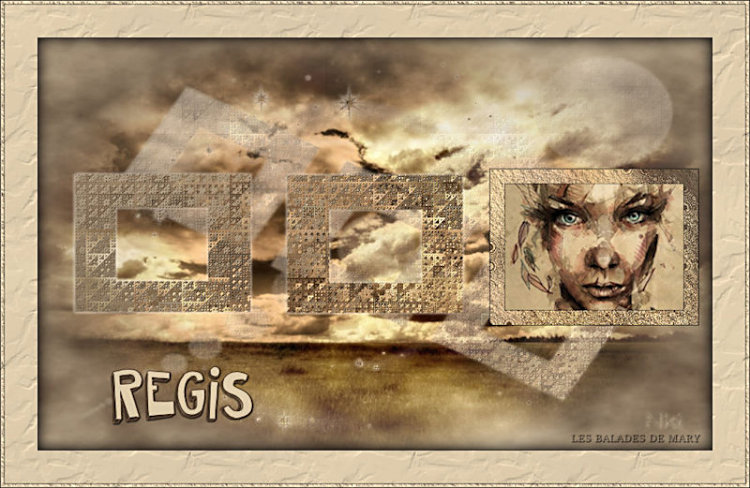
REGIS
Agradeço as maravilhosas tradutoras: Clo. Harmi, Pinuccia e Keetje.
Material Necessário:
Os tubes utilizados nesse trabalho pertencem a Kikirou A mask é de Nikita Versão 2 - Tubes de Nicole.
** Agradeço por me permitir usar suas lindas criações (Mask e Tubes e afins) Não altere o nome nem remova a marca d'água. **
Plugins utilizados: Muras Meister / Clouds Filter Factory Galery C / Sierpenski's Mirror Tramages / Cirquelate... AAA Frame / Texture Frame
Preparação: Abra os tubes no PSP, duplique e feche os originais.
1-Abra uma imagem transparente de 900 / 550 pixels
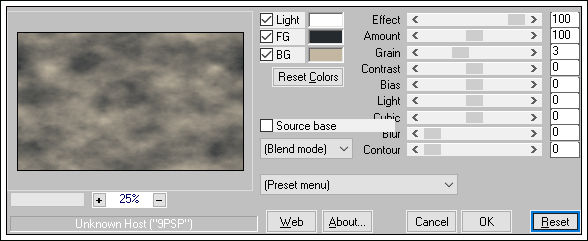
2- Primeiro Plano cor #252a2f / Segundo Plano cor #c3b7a2 Effects / Plugins / Muras Meister / Clouds
Layers / New Raster Layer Selections / Select All
3-Ative o tube <<kikirou1321_mist_landscape>> Copie e Cole na seleção Selections / Select None Blend Mode / Overlay Layers / Merge / Merge Visible
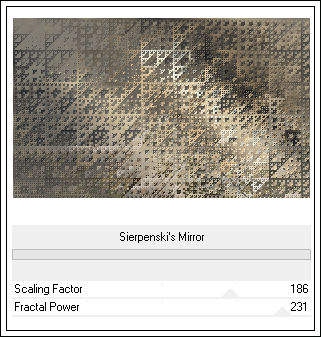
4- Layers / Duplicate Effects / Plugins / <I.C.NET Software> Filters Unlimited 2/ Filter Factory Galery C / Sierpenski's Mirror
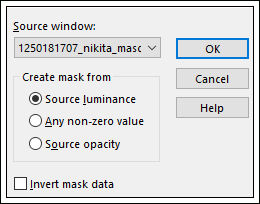
5- Abra a Mask <<1250181707_nikita_masques >> Minimize Layers / New Mask Layer / From Image:
Layers / Merge / Merge Group
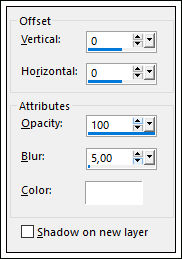
6- Effects / 3D Effects / drop Shadow: Cor #ffffff
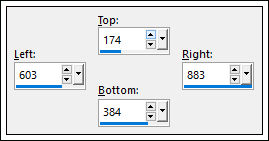
7- Layers / Merge / Merge Visible Selection Tool(S) / Rectangle
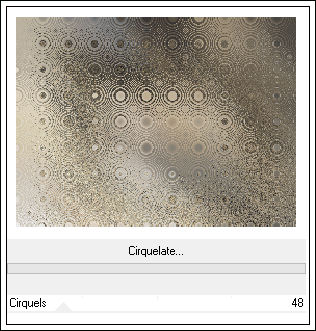
Effects / Plugin / <I.C.NET Software> Filters Unlimited 2 / Tramages / Cirquelate...
Selections / Promote Selection to Layer
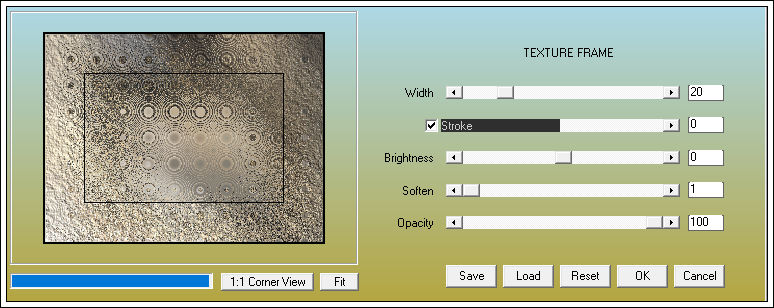
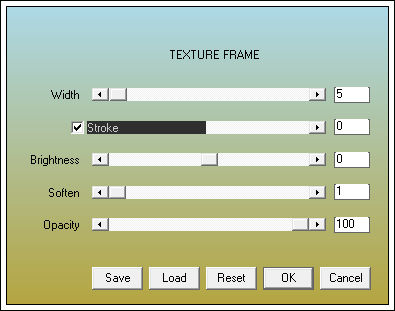
8- Effects / Plugins / AAA Frame / Texture Frame:
Selections / Select None
9- Abra o tube << kikirou1079_mist_face>> Copie e Cole como Nova Layer Image / Resize / 60% ... Resize All Layers ... Desmarcado Image / Resize / 90%... Resize All Layers ... Desmarcado
10- Posicione sobre a Frame da direita Adjust / One Step Foto Fix Image / Add Borders / Symmetric Marcado / 1 pixel cor #ffffff
11- Image / Add Borders / Symmetric Marcado / 50 pixels cor #e4e3d9
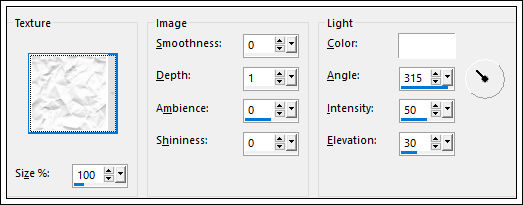
12- Selecione essa borda com a <<Varinha Mágica>> Effects / Texture Effects / Texture: Text. crumpled
13- Effects / 3D Effects / Drop Shadow: 0 / 0 / 100 / 30,00 / #000000 Selections / Select None Layers / Merge / Merge Visible
14- Effects / Plugins / AAA Frame / Texture Frame:
15- Ative o texto <<Regis>> Copie e Cole como Nova Layer Posicione Effects / 3D Effects / Drop Shadow: 1 / 1 / 100 / 5,00 / #eae9de Assine seu trabalho Layers / Merge / Merge All Salve como jpg.
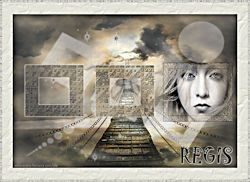
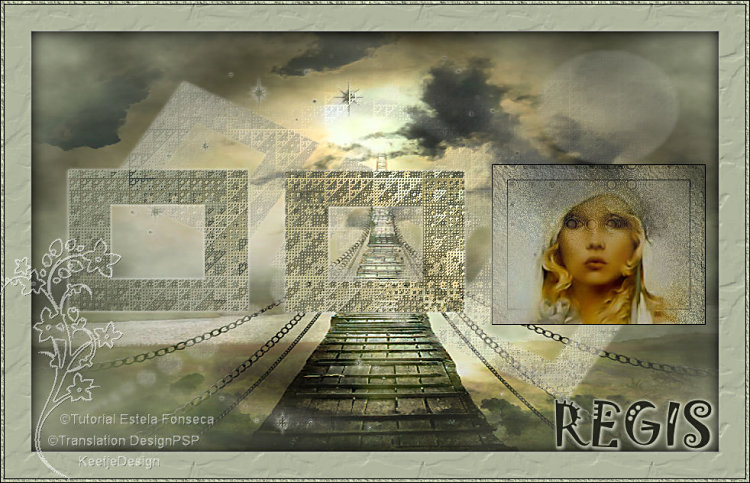
Outra versão com tubes de Nicole:
Versão de Clo:
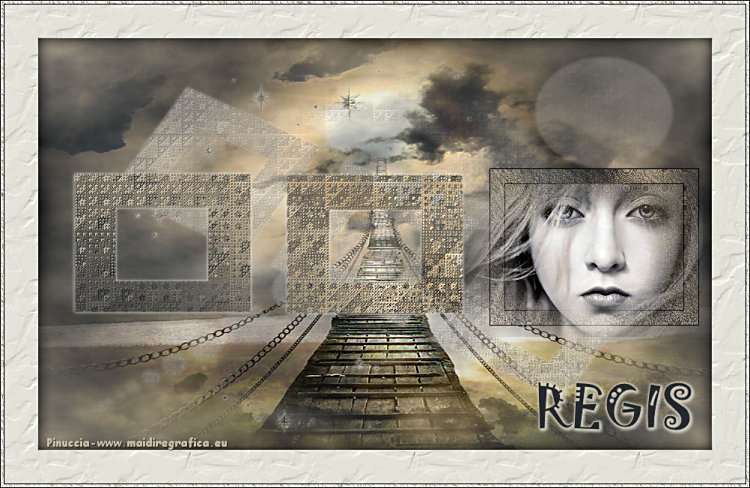
Pinuccia:
Versão de Keetje:
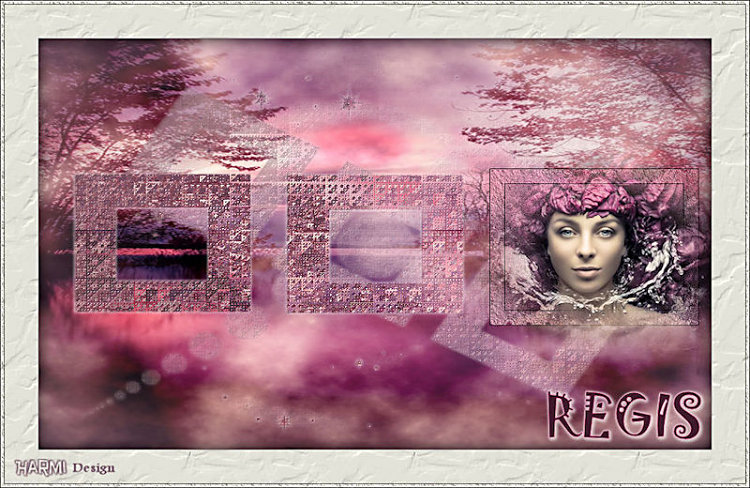
Versões de Harmi:
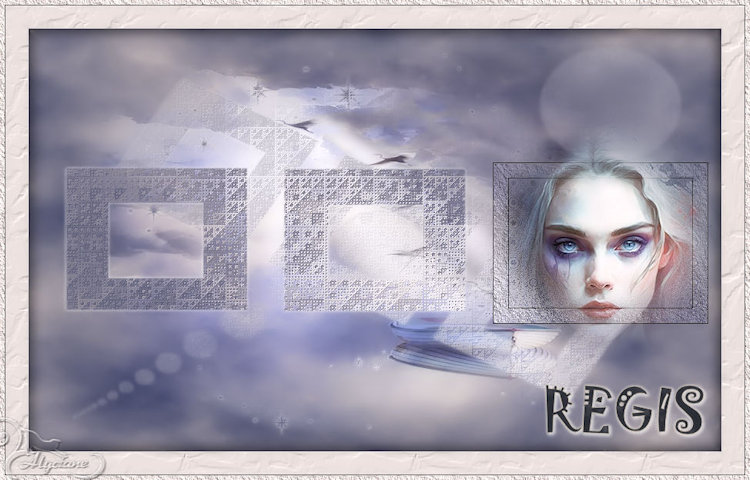
Alyciane:
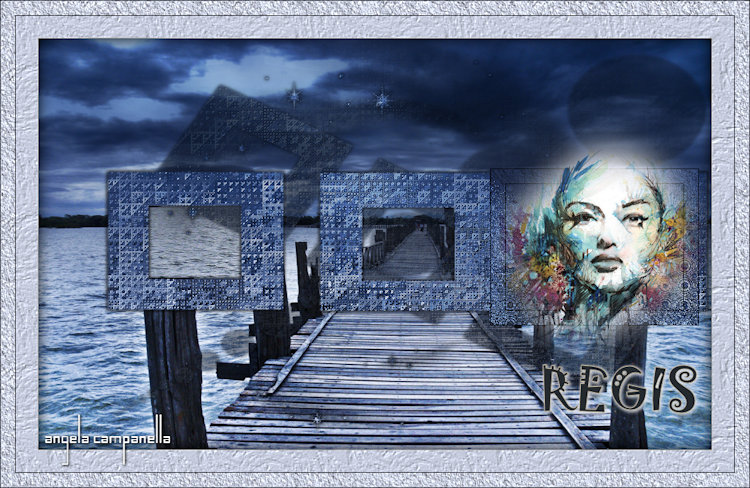
Angela Campanella:
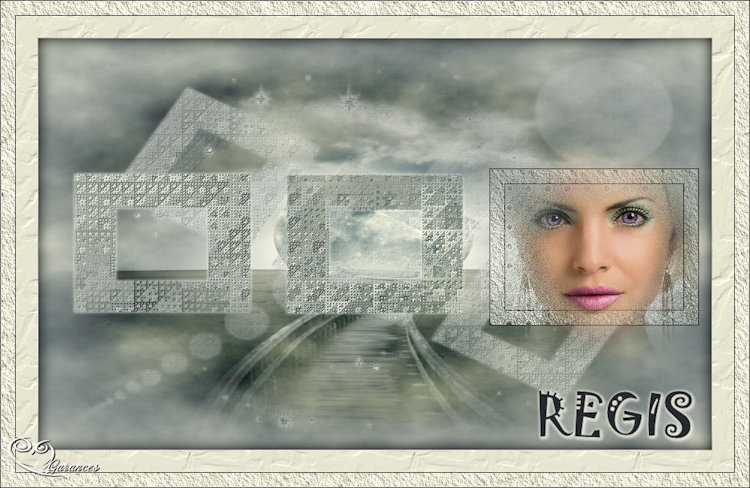
Garances:
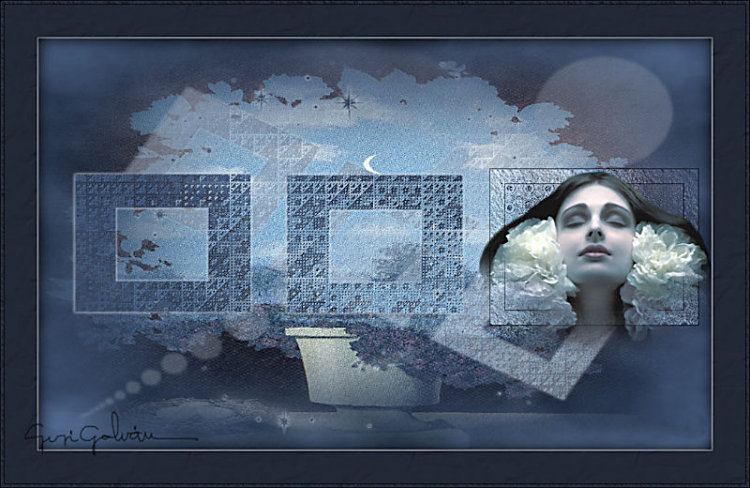
Gigi Galván:
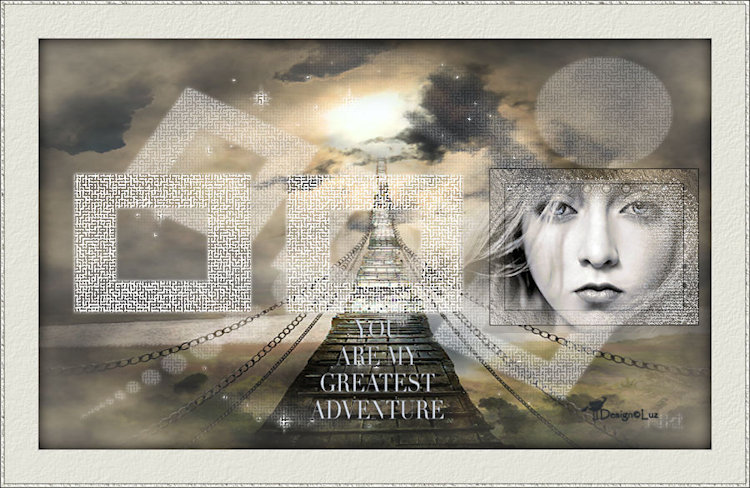
Luz:
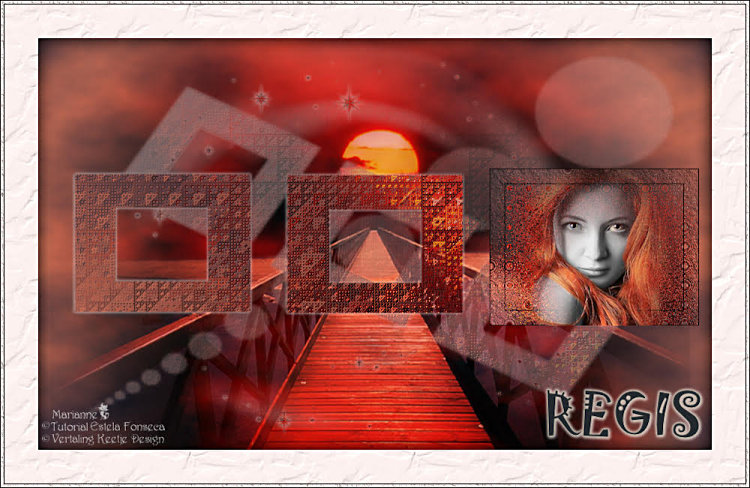
Marianne:
Mary:
Tutorial criado por Estela Fonseca em 21/10/2017. |