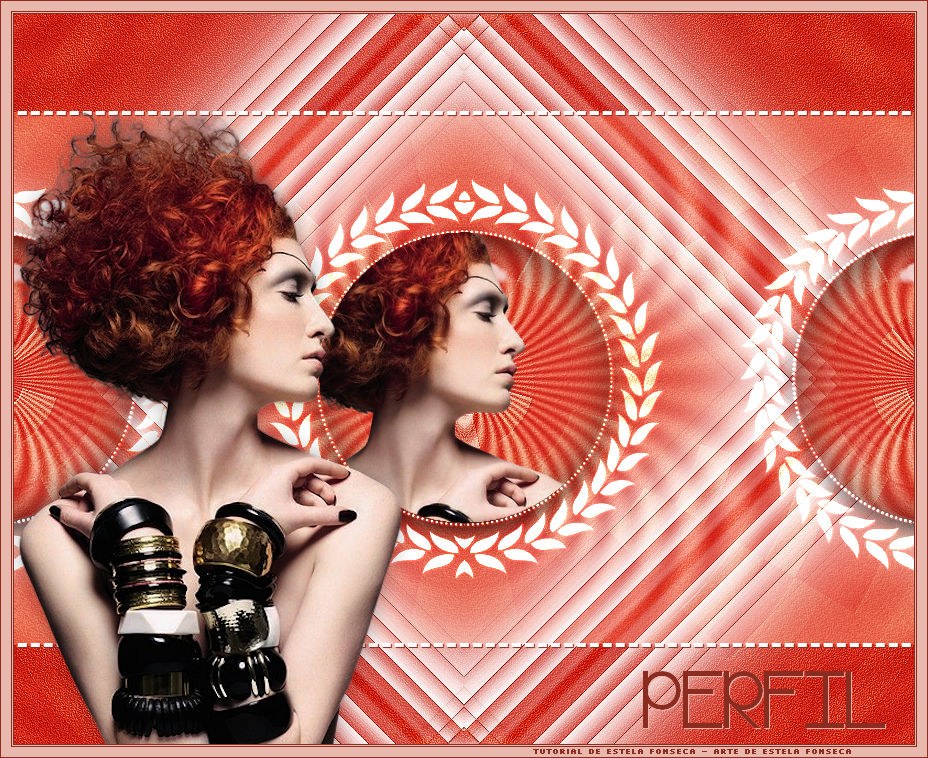
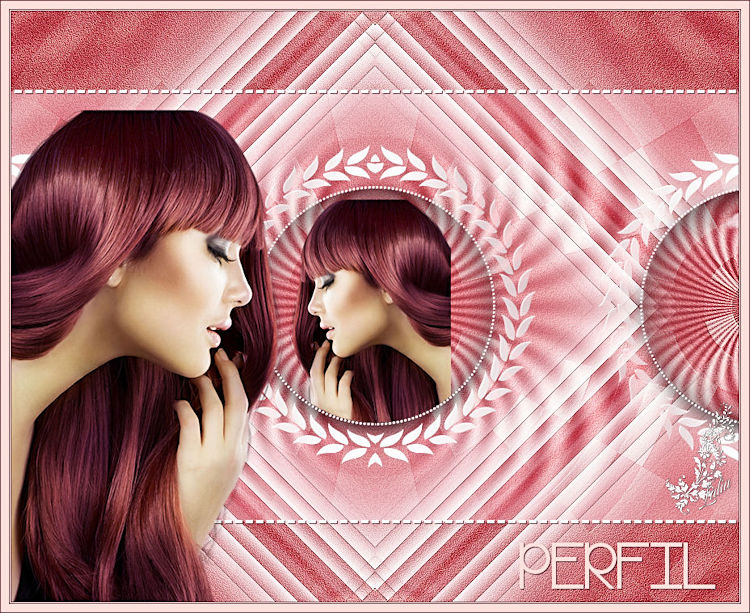
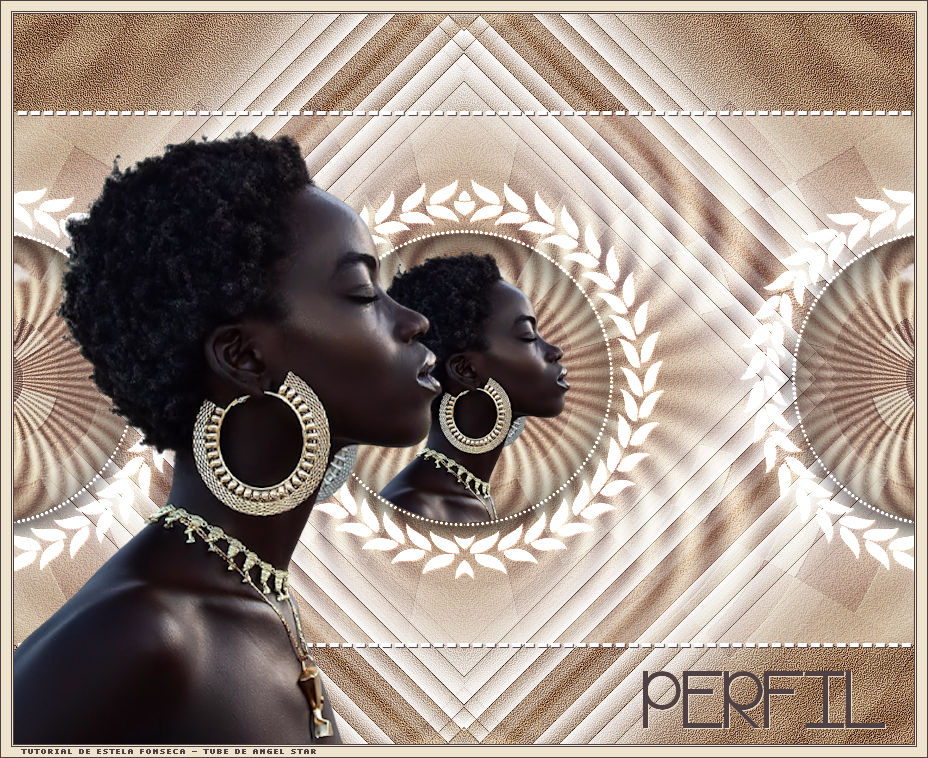
 PERFIL
Agradeço as tradutoras: Clo, Pinuccia e Hillu.
Material Necessário:
Tube de Angel Star (Agradeço) ♥ Agradeço as artistas por me permitirem usar suas lindas criações (Mask e Tubes e afins). Não é permitido que altere o nome nem que remova a marca d'água ou o logo do Original. ♥ Plugins Utilizados: Medhi / Wavy lab Pixelate / Sector Mosaic Simple / Top Left Mirror
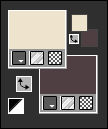
Abra o material no PSP, duplique e feche o original. Copie as seleções para a pasta de seleções do PSP
1-Abra uma imagem transparente de 900 x 730 pixels Escolha duas cores do tube , clara para o foreground e escura para o background.
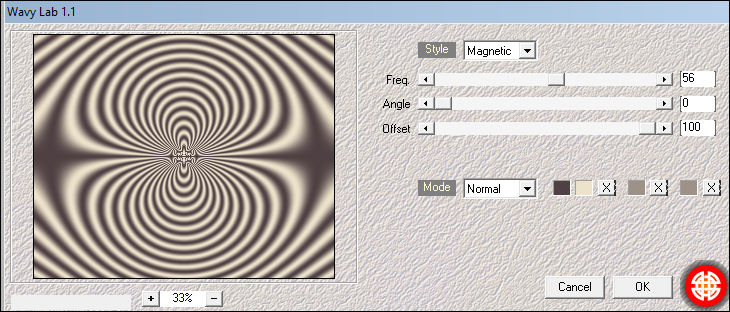
2- Effects / Plugins / Medhi / Wavy lab 1.1:
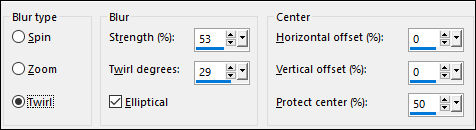
3-Adjust / Blur / Radial Blur:
3- Layers / Duplicate Image / Mirror
4- Blend Mode / Overlay Layers / Merge / Merge Down
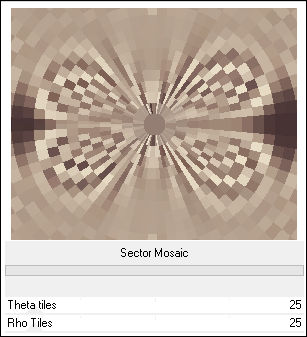
5- Layers / Duplicate Effects / Plugins / Filters Unlimited 2.0 / Pixelate / Sector Mosaic: 25 /25
5- Blend Mode / Hard Light Opacidade / 55
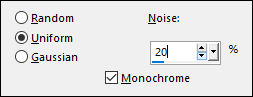
6- Adjust / Add Remove Noise / Add Noise: 20 / Monochrome / Uniforme
Effects / Plugins / FM Tile Tools / Blend Emboss / Default
7- Effects / Reflection Effects / Rotating Mirror / Default Layers / Merge / Merge Down
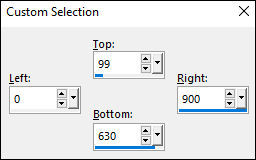
8- Selections Tool (S ) / Custom Selection
Selections / Invert Selections / Promote Selection To Layer
9- Selections / Select None Blend Mode / Multiply Effects / Edge Effects / Enhance
10- Abra o <<EF-Perfil_Deco_1>> Copie e cole como nova layer Effects / Plugins / Simple / Top Left Mirror Effects / Edge Effects / Enhance
11- Layers / Merge / Merge Visible Selections / Load save selections / Load selection from disk: EF_Perfil Selections / Promote Selection to Layer
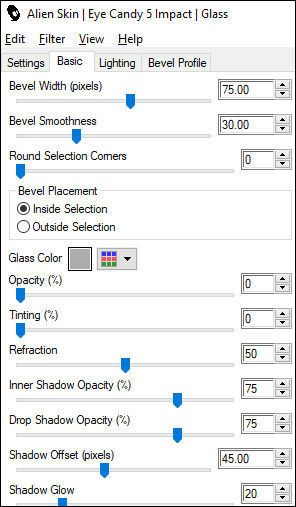
12- Effects / Plugins / Alien Skin Eye Candy 5 / Impact / Glass:
Selections / Select None
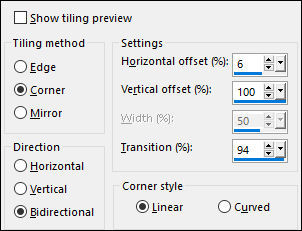
13- Effects / Image Effects / Seamless Tiling:
Effecrs / Reflection Effects / Rotating Mirror / Default Adjust / Sharpness / Sharpen
14- Abra o <<EF-Perfil_Deco_2>> Copie e cole como nova layer Blend Mode / Dodge Effects / 3D Effects / Drop Shadow: 1 / 1 / 100 / 1 / Cor do Background
17- Abra o <<EF-Perfil_Deco_3>> Copie e cole como nova layer Effects / 3D Effects / Drop Shadow: 1 / 1 / 100 / 1 / Cor do Background
18- Selections / Load save selection / Load selection from disk: EF-Perfil_2 Abra o tube da personagem copie e cole como nova layer
19- Image / Resize / 50%... Resize All Layers ... Desmarcado Posicione o tube na seleção .... Delete no teclado Selections / Select None
20- Copie novamente o tube e cole como nova layer Image / Resize / 85%... Resize All Layers ... Desmarcado Posicione à esquerda
21- Selections / Load save selection / Load selection from disk: EF-Perfil_3 Preencha com a cor do background Effects / 3D Effects / Drop Shadow: 1 / 1 / 100 / 1 / Cor do foreground
22- Selections / Select None Image / Add Borders / Symmetric Marcado / 1 Pixel cor escura Image / Add Borders / Symmetric Marcado / 1 Pixel cor clara Image / Add Borders / Symmetric Marcado / 1 Pixel cor escura
23- Image / Add Borders / Symmetric Marcado / 10 Pixels cor clara Image / Add Borders / Symmetric Marcado / 1 Pixel cor escura Assine seu trabalho e Salve como jpg.
Versão:Tube de Angel Star
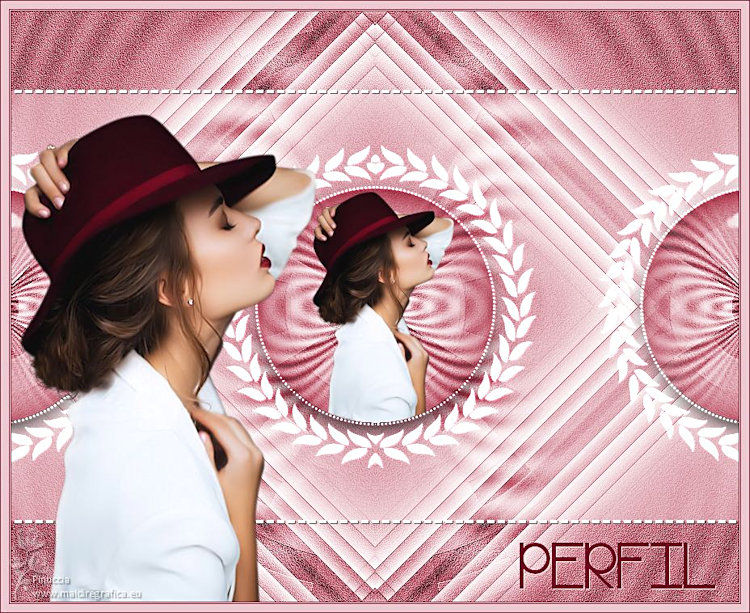
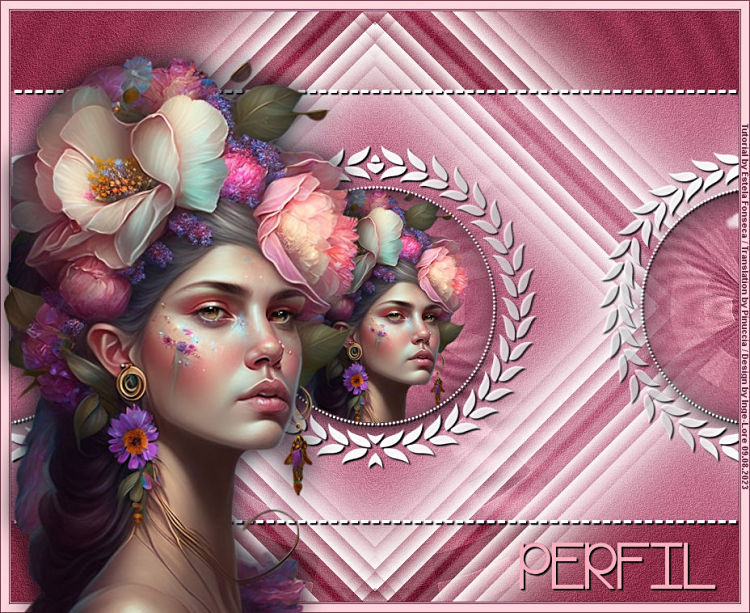
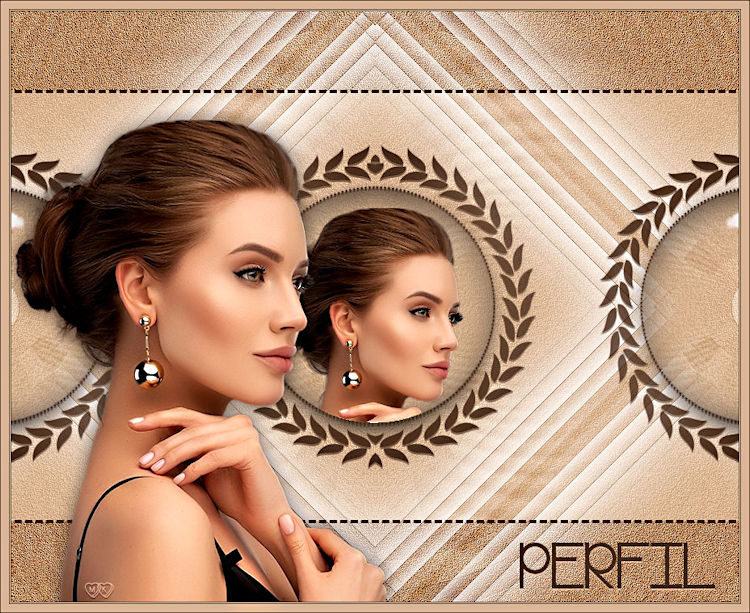
Clo:
Pinuccia:
Hillu:
Alyciane:
Andréa:
Angel Star:
Carine:
Cat's Graffiti's:
Cookies:
Csizane:
Daniele:
Dany:
Emi:
Evelyne:
Garances:
Gisa RJ:
Inge-Lore
Jolsci:
Julie:
Kamelius:
Kata Kiss:
Kika:
Lady Bird:
Lecture33:
Lidia Signelli:
Ligia:
Liliana:
Lynnette:
Maisa:
Majo:
Margarida:
Margit:
Maria José:
MariaJ Viaboni:
Marika:
Michounette:
Milena:
Nena Silva:
NnPn:
Pia:
Sonia Mello:
Stella:
Sweety:
Trudy:
Viviane:
Tutorial criado por Estela Fonseca em 22/03/2012. |