|
Material Necessário: Tube de Yoka (Personagem) Tube de Nicole (Floral) Imagem de Fundo de JHanna
Plugins Utilizados: VM Distortion / Vision Impossible* Kiwis / Zig Zack Simple / Zoom Out and Flip Xero / fritillary Mura's Seamless / Emboss at Alpha AAA Frame / Foto Frame Mura's meister / Copies
Preparação: Abra os tubes no PSP, Duplique e feche os originais. Copie as Seleções para a pasta de Seleções do PSP
Primeiro Plano cor #7a5c4d Segundo Plano cor #dfd2ce
01- Abra uma nova imagem transparente de 900 / 550 pixels Gradiente estilo Radial / Angle 135/ Repeats 3
02- Preencha a imagem transparente com o gradiente Adjust Blur / Gaussian Blur / Radius 40
03- Effects / Plugins / VM Distortion / Vision Impossible:
Effects / Edge Effects / Enhance More Effects / Edge Effects / Dilate
04- Effects / Plugins / Kiwis / Zig Zack
Layers / Duplicate Blend Mode / Overlay Layers / Merge / Merge Visible
05- Effects / Plugins / Simple / Zoom Out and Flip
Effects / Plugins / Xero / Fritillary
06- Layers / New Raster Layer Selections / Select All Preencha a Seleção com a cor do Segundo Plano Selections / Modify / Contract 10 pixels Delete no teclado
07- Selections / Modify / Contract 80 pixels Preencha com a cor do Segundo Plano Selections / Modify / Contract / 10 pixels Delete no teclado Selections / Select None
08- Effects / Plugins / Mura's Seamless / Emboss at Alpha
Effects / Geometric Effects / Skew
09- Selections / Load save Selection / Load Selection from disk: EF-CloserLook
Ative a Layer do Fundo <<Merged>> Selections / Promote Selection to layer Effects / Texture Effects / Mosaic Antique
Selections / Select None
10- Ative a Layer do Topo Layers / New Raster Layer Selections / Load Save Selection / Load Selection From Disk: EF-CloserLook-2
Abra << JHanna_161 background>> Copie e Cole na Seleção Selections / Select None Layers / Duplicate Blend Mode / Overlay
11- Selection Tool / Rectangle / Custom Selection:
Preencha a Seleção com o Gradiente
Abra o tube da Personagem Selecione o Rosto como segue:
Copie Volte para seu trabalho Cole na seleção
12- Effects / Plugins / AAA Frame / Foto Frame
Selections / Select None
13- Effects / Plugins / Mura's Meister / Copies
Layers / Duplicate Effects / Image Effects / Offset
Layers / Merge / Merge Down
14- Effects / 3D Effects / Drop shadow: Cor do Segundo Plano
Effects / Plugins / AP Lines / Lines Silverlining
15 - Image / Add Borders / Symmetric Marcado / 1 pixel cor #000000 Selections / Select All Image / Add Borders / Symmetric Marcado / 50 pixels cor #ffffff Selections / Invert Abra a imagem <<JHanna_161 background >> Copie e Cole na Seleção
16- Effects / Plugins / Penta Com / Jeans / Default Image / Mirror / Mirror Horizontal Effects / Plugins / Penta Com / Jeans / Default Selections / Select None
17- Abra o <Texto>> Copie e Cole como nova layer Copie o tube << nicole-fleur4-2012>> e cole como nova layer Image / Resize / 60%... Resize All Layers ... Desmarcado Image / Resize / 90%... Resize All Layers ... Desmarcado Posicione Adjust / Sharpness / Sharpen Adjust / One Step Foto Fix (Opcional)
18- Layers / Merge / Merge All (Flatten) Effects / Plugins / AAA Frame / Foto Frame
Assine e salve como jpg.
Versão com tubes de Aclis (personagem) e de Clamatis (Floral) e imagem de Google:
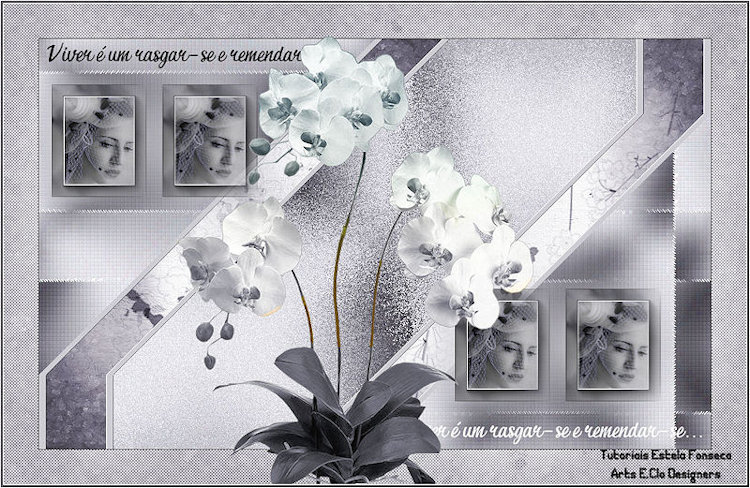
Versão de Clo:
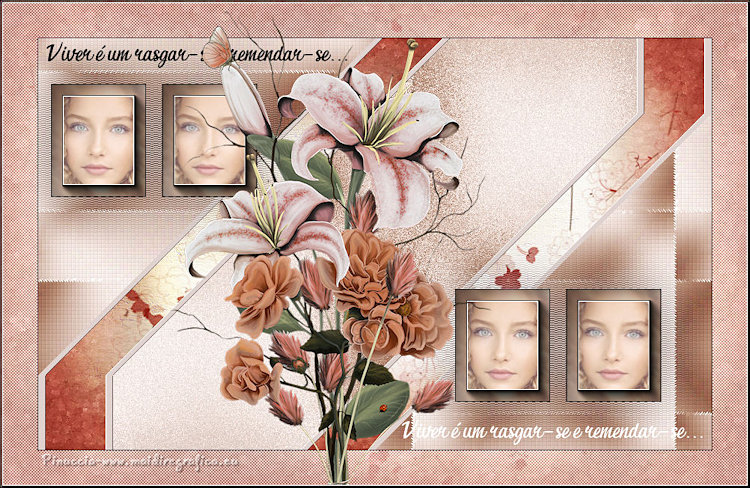
Versão de Pinuccia:
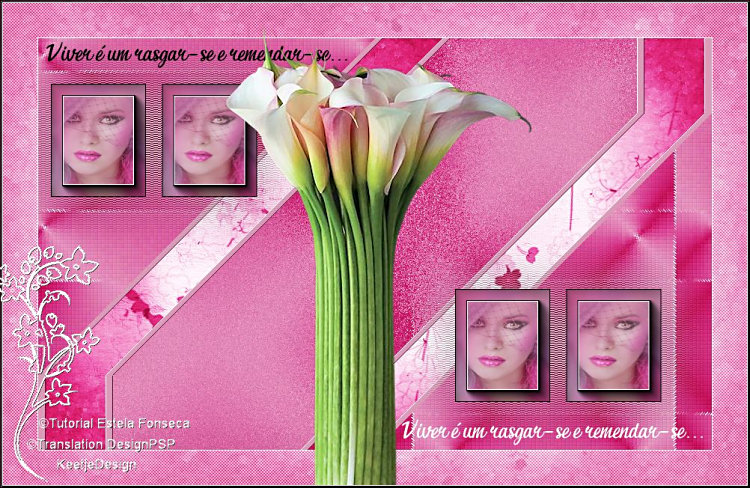
Versão de Keetje:
©2017. Tutorial criado por Estela Fonseca. |


