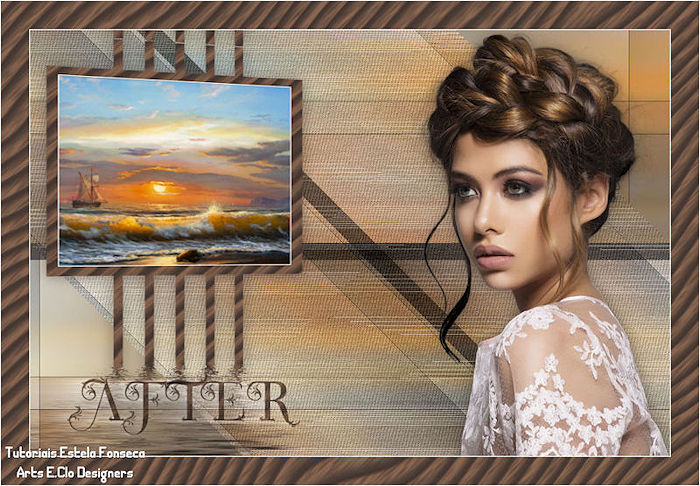
AFTER
Agradeço as tradutoras.
Material Necessário:
Tube de Ysa Imagem do Google ♥ Agradeço as artistas por me permitirem usar suas lindas criações (Mask e Tubes e afins). Não é permitido que altere o nome nem que remova a marca d'água ou o logo do Original. ♥ Plugins utilizados: <I.C.NET Software>Filters Unlimited 2/Tile&Mirror <I.C.NET Software>Filters Unlimited 2/Photo Aging DSB Flux / Linear Transmission Flaming Pear / Flood Alien Skin Eye Candy 5 /Texture
Preparação: Abra o tube e a imagem no PSP, duplique e feche os originais.
1- Abra uma imagem transparente de 900 / 600 pixels. Selections / Select All
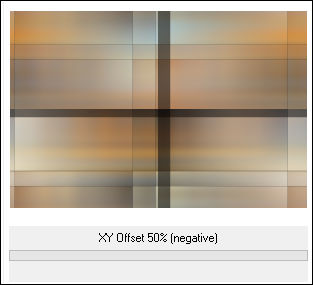
2- Abra a imagem <<Fundo After>> Copie e Cole na Seleção Selections / Select None Nota: Se trabalha com outras cores, colorize neste ponto. Effects / Plugins /<I.C.NET Software>Filters Unlimited 2/Tile&Mirror /XY Offset 50%(negative)
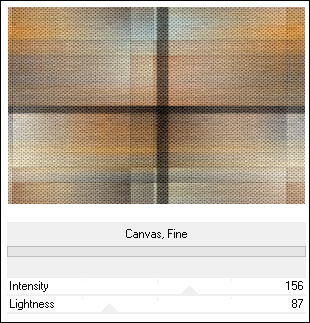
Layers / Duplicate Effects / Plugins /<I.C.NET Software>Filters Unlimited 2/Photo Aging /Paper Texture:
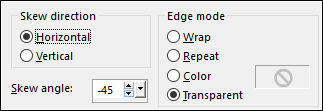
Effects / Geometric Effects / Skew:
3- Ative a Varinha Mágica (Feather e Tolerance 0) Selecione os cantos , transparentes: Layers / New Raster Layer Preencha com a cor branca (#FFFFFF) Selections / Select None
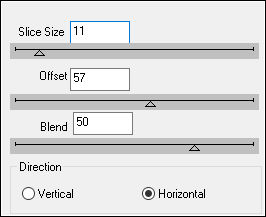
4- Effects / Plugins / DSB Flux / Linear Transmission
Effects / Edge Effects / Enhance
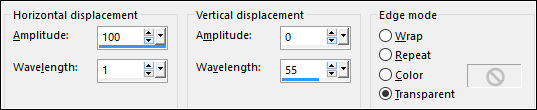
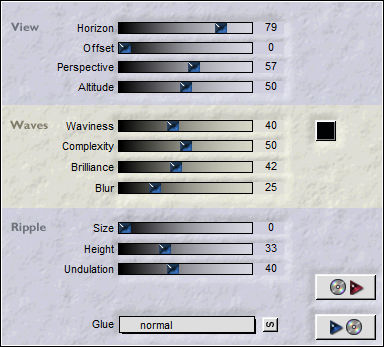
5- Effects / Distortion Effects / Wave:
6 - Effects / Geometric Effects / Skew (como antes) Blend Mode / Screen ( ou outro) Opacidade 40
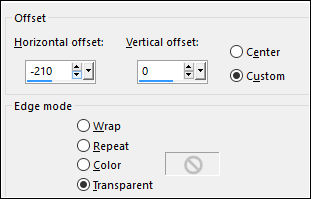
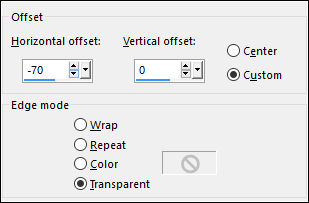
7- Abra o tube <<Deco1>> Copie e Cole como nova layer Effects / Image Effects / Offset:
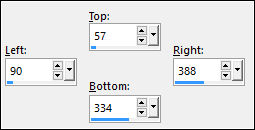
Effects / Plugin / Alien Skin Eye Candy 5 /Texture / Wood / Ebony Nota: Colorize se necessário! Selections Tool (S) / Rectangle / Custom Selection:
Layers / New Raster Layer Abra o tube <<oil-painting-sailboat-sea.jpg>> Copie e Cole na seleção
8- Layers / New Raster Layer Preencha com a cor branca Selections / Modify / Contract 1 pixel Delete no teclado Selections / Select None Layers / Merge / Merge Down ( 2 vezes)
9- Effects / 3D effects / Drop Shadow: 0 / 0 / 60 / 30 / #4a3b35 10- Ative a Terceira Layer à partir da Layer do topo Abra o tube <<Deco-2>> Copie e Cole como Nova Layer Blend Mode / Overlay Opacidade 79
11- Ative a Layer do Topo Effects / Geometric Effects / Perspective Horizontal:
Effects / Image Effects / Offset:
12- Effects / Plugins / Flaming Pear / Flood:
13- Abra o tube <<FV0128>> Copie e Cole Como Nova Layer Image / Resize / 80%... Resize all layers ... Desmarcado Posicione Effects / 3D effects / Drop Shadow: 0 / 0 / 60 / 30 / #4a3b35
14- Image / Add Borders / Symmetric Marcado / 1 pixel cor #ffffff Selections / Select All Image / Add Borders / Symmetric Marcado / 40 pixels cor #ffffff Effects / 3D effects / Drop Shadow: 0 / 0 / 60 / 30 / #000000 Selections / Invert Effects / Plugin / Alien Skin Eye Candy 5 /Texture / Wood / Ebony Selections / Select None
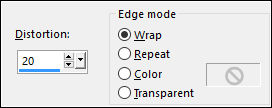
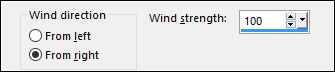
15- Abra o <<texto>> Copie e Cole como nova layer Posicione Effects / Plugin / Alien Skin Eye Candy 5 /Texture / Wood / Ebony Effects / 3D Effects / Drop Shadow: 1 / 1 / 100 / 5,00 / #ffffff Layers / Duplicate Ative a Layer do Meio Effects / Distortion Effects / Wind:
16- Coloque a sua assinatura Image / Add Borders / Symmetric Marcado / 1 pixel cor #ffffff Salve como JPG
Versão: Imagem do Google e tube de Nicole:
Versão de Clo:
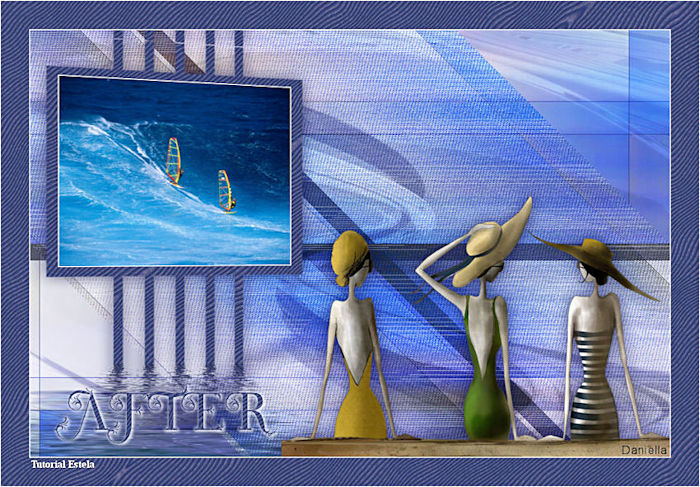
Daniella:
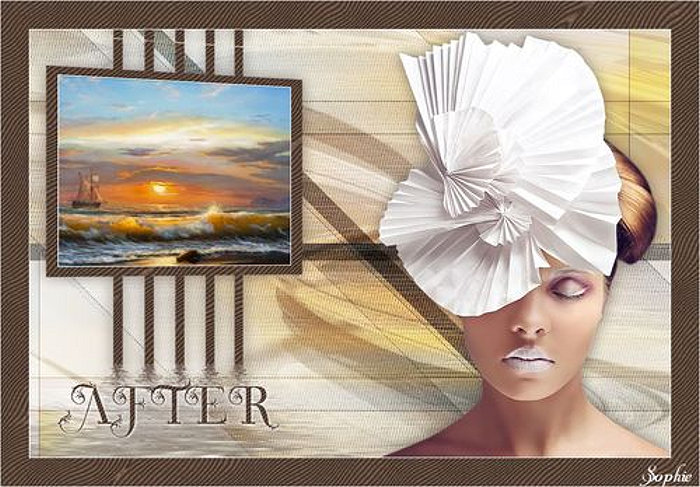
Versão de Sophie:
©2017. Tutorial criado por Estela Fonseca. |