GABRY
Tutorial original criado por ©Vérone - Original Aqui
Materiais Necessários:
Tube de AclisMask de Violette
Imagem de Google
Plugins Utilizados:
VM Distortion
VM Textures
Flaming Pear_Flood
VM Extravaganza
VM Natural
ETAPA 1 : O Fundo01- Escolha uma imagem cujas cores você goste
Copie
02- Abra uma nova imagem transparente de 900/600 pixels
Selections / Select All
Cole na seleção
Selections / Select None
Adjust / Blur / Gaussian Blur / Radius 50
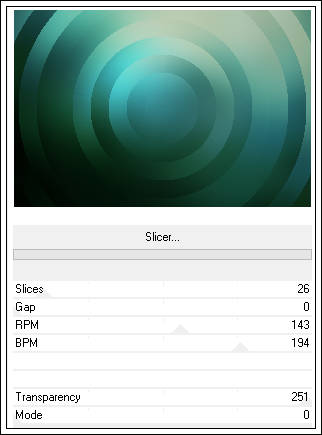
03- Effects / Plugin / VM Distortion / Slicer
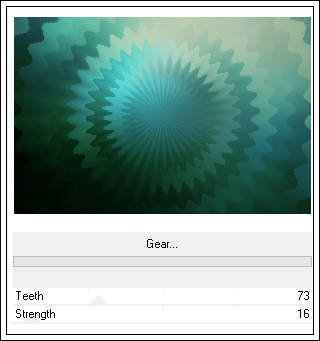
04- Effects / Plugin / VM Distortion / Gear
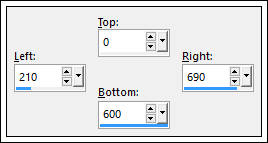
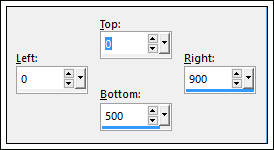
05- Ferramenta Selection Tool / Custom Selection
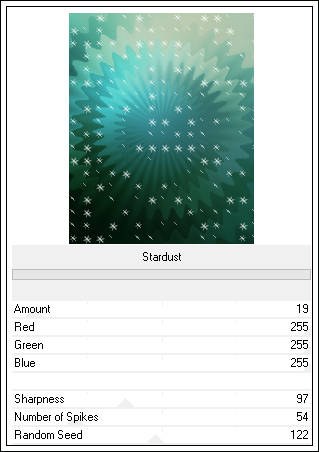
06- Effects / Plugin / VM Textures / Stardust
Selections / Select None
ETAPA 2 : A Mask
01- Layers / New Raster Layer
Preencha com a cor branca (#ffffff)
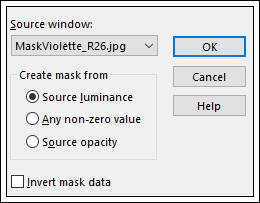
02- Layers / New Mask layer From Image:
Layers / Merge / Merge group
Blend Mode / Luminance
03- Layers / Merge / Merge Down04- Edit / Cut
(a imagem ficará gravada na memória)
05- Ferramenta Selection Tool / Custom Selection:
Cole na seleção
Selections / Select None
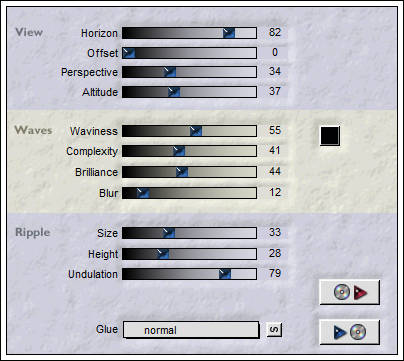
06- Effects / Plugin / Flaming Pear / Flood
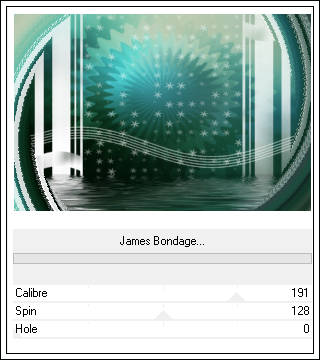
07- Effects / Plugin / VM Extravaganza / James Bondage
ETAPA 3 : A Personagem
Abra o tube da personagem, copie e coke como nova layer
Redimensione se necessário
Posicione
Aplique uma sombra de sua escolha
ETAPA 4 : A Borda
01- Ative a layer do fundo
Copie
02- Layers / Merge / Merge All
Image / Add Borders / Symmetric Marcado / 50 pixels cor de sua escolha
Selections / Select All
Selections / Modify / Contract 50 pixels
Selections / Invert
Selections / Modify / Contract 5 pixels
Cole na seleção
Adjust / Blur / Gaussian Blur / Radius 50
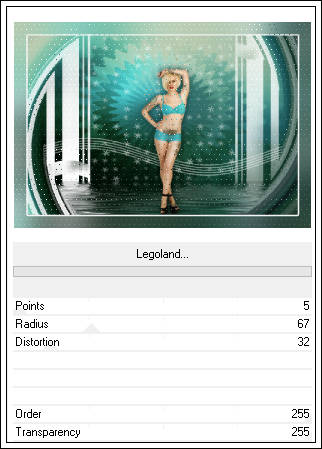
03- Effects / Plugin / VM Natural / Legoland
04- Selections / Invert
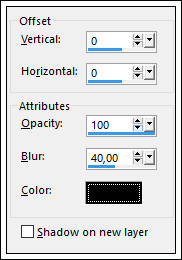
Effects / 3D Effects / Drop Shadow:
Selections / Select None
05- Coloque a sua assinatura
Layers / Merge / Merge All
Salve como jpg
©Tutorial Traduzido por Estela Fonseca 22/08/2016.
Obrigada Vérone por me permitir traduzir seu trabalho.