ORPHA
[ tutorial de @nn TDstudio 2018 ]

O tutorial traduzido no Corel Paint shop Pro X9.
Material Necessário:
tubes: "Maxyran_03_05_09_ Woman5_small.pspimage" , seu grupo:
https://tech.groups.yahoo.com/group/Maxyran_Top_Tubes/
@nn_230510_45rectangle_orpha_tdstudio.pspimage"
image: image_orpha_001.jpg
Fonte: DANUBE_.TTF
Gradientes: @nn_120410_GR_027_tdstudio.PspGradient, @nn_120410_GR_028_tdstudio.PspGradient
Selections: "@nn_220510_Selection002_Orpha_tdstudio.PspSelection"
"@nn_220510_Selection001_Orpha_tdstudio.PspSelection"
Preset Eye candy 5: Impact - Glass: @nn_230510_Orpha_EC5_Glass.f1s
Plugins Utilizados:
Alien Skin Eye Candy 5 / Impact
Richard Rosenman / Solid Border
Toadies **
Mura's Seamless
VanderLee / unplugged X
Ulead Effects / particle
** Importado para o Unlimited 2
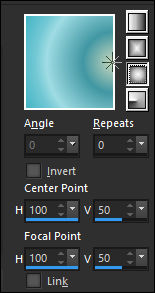
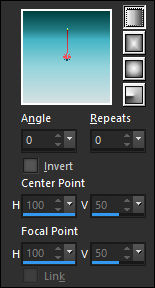
Preparação:Primeiro Plano Gradiente (@nn_120410_GR_028_tdstudio) com as seguintes configurações.
Segundo Plano Gradiente (@nn_120410_GR_027_tdstudio) com as seguintes configurações.
Se você trabalha com cores diferentes, sinta-se à vontade para alterar a opacidade e o modo de mesclagem
das camadas, colorir se necessário!!!
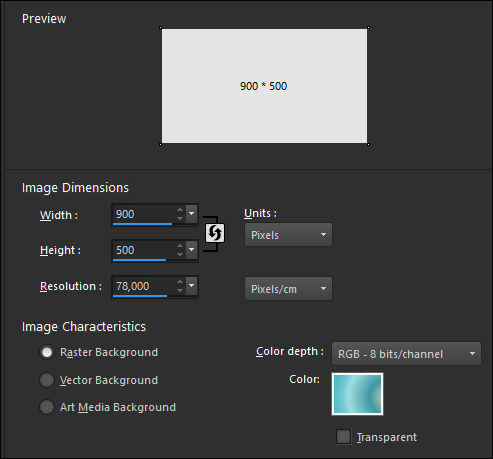
01- Abra uma nova imagem de 900/500 Pixels
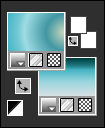
Clique em <<color>> e escolha o gradiente do Primeiro Plano.
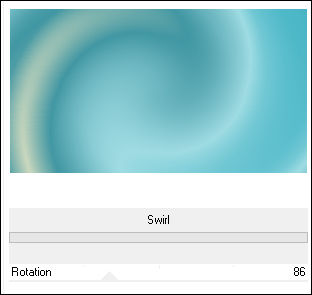
02- Effects / Plugins / Unlimited 2.0 / Distortion Filters / Swirl:
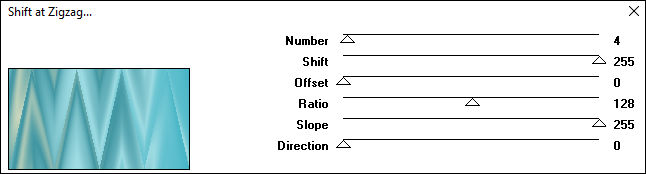
03- Effects / Plugins / Mura's Seamless / Shift at Zigzag:
04- Effects / Plugins / Unlimited 2.0 / Tile & Mirror / Seamless blend (vert.)
05- Adjust / Blur / Gaussian Blur / Radius: 5
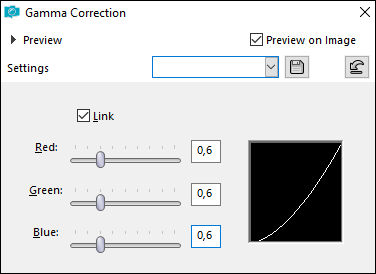
que em <<shift + G>> para ativar <<gamma correction>>
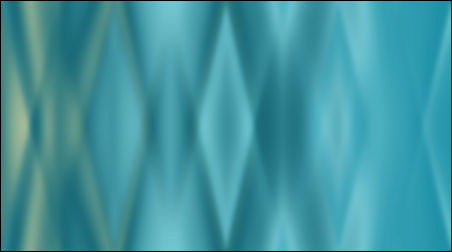
06- Resultado:
07- Window / Duplicate e Minimize (para o background) continue na imagem original. (Opcional)
08 Layers / New Raster Layer
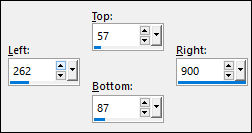
Selection Tool (S) / Custom Selection:
09- Preencha com o Gradiente do Segundo Plano
Selections / Select None
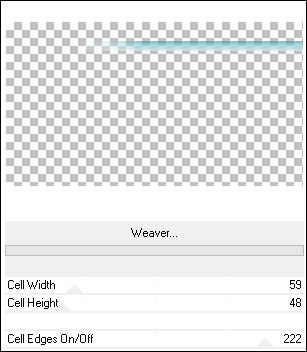
Effects / Plugins / Unlimited 2.0 / Toadies / Weaver:
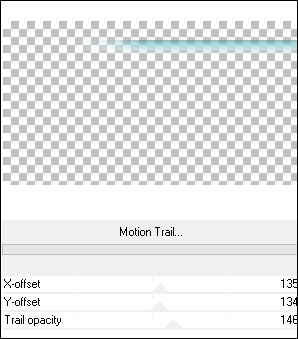
10- Effects / Plugins / Unlimited 2.0 / Toadies / Motion Trail:
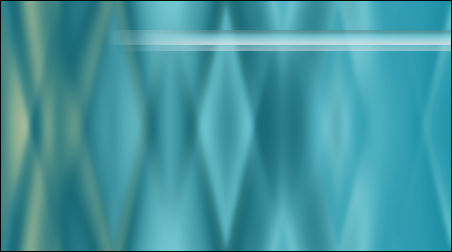
11- Resultado:
12- Layers / Duplicate
Image / Mirror / Mirror Horizontal
Effects / Distortion Effects / Wave:
13- Resultado:
14- Layers / Merge / Merge Down
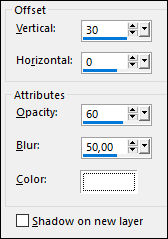
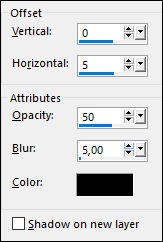
Effects / 3D Effects / Drop Shadow: Cor Branca (#ffffff)
15- Layers / New Raster Layer
Preencha com o Gradiente do Primeiro Plano
Effects / Plugins / Vanderlee / Unplugged X / 45 Rectangle / Cor branca
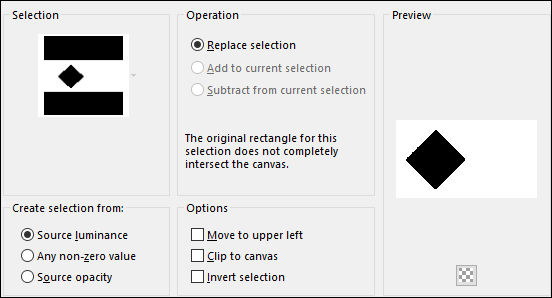
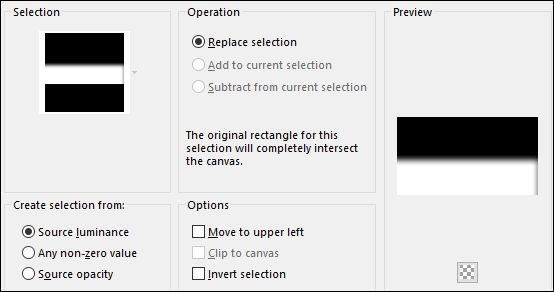
16- Ative <<Magic Wand Tool>> e Configure como segue:
17- Selecione a figura branca
18- Selections / Invert
Delete no Teclado
Selections / Invert
Selections / Modify / Contract / 50 Pixels
18- Delete no Teclado
Selections / Select None
Effects / Plugins / Unlimited 2.0 / Toadies / Motion Trail / Default
Ative a imagem <<image_orpha_001.jpg>>
(Se usar outra imagem redimensione para 1206x374)
Copie e Cole como nova layer
Selections / Load/Save Selection / Load Selection from Disk: (@nn_220510_Selection001_Orpha_tdstudio)
19- Delete no Teclado
Selections / Select None
Layers / Arrange / Move Down
Ative a Layer do topo
20- Layers /Merge / Merge Down
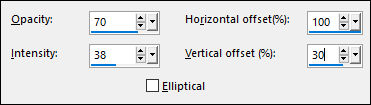
Effects / Reflection Effects / Feedback:
21- Effects / 3D Effects / Drop Shadow:Cor Preta
22- Layers / New Raster Layer
Selections / Load/Save Selection / Load Selection from Disk: (@nn_220510_Selection002_Orpha_tdstudio)
23- Preencha com o Gradiente do Segundo Plano
Selections / Select None
Adjust / Blur / Gaussian Blur / Radius 30
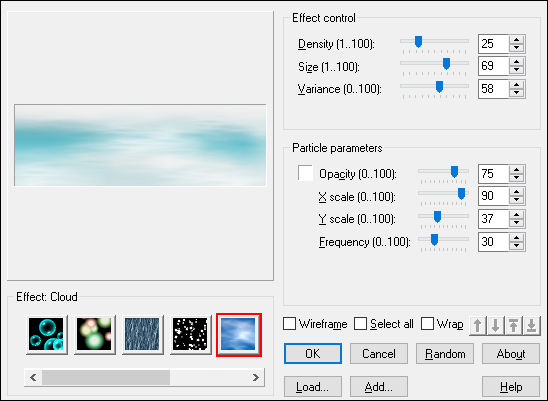
Effects / Plugins / Ulead Effects / Particle
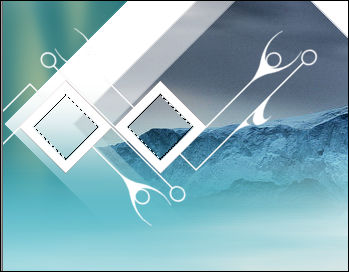
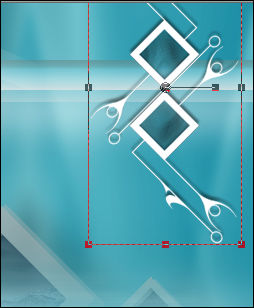
24- Ative << @nn_230510_45rectangle_orpha_tdstudio.pspimage>> Copie e Cole como nova layer
Posicione como no exemplo

24- Ative Activate the Magic Wand Tool configurado como segue:
Clique no centro dos dois pequenos quadrados, como segue:
25- Selections / Modify / Expand / 4 pixels
Layers / New Raster Layer
Ative a imagem <<image_orpha_001.jpg>> Copie e Cole na seleção!
Effects / Texture Effects / Soft Plastic: Cor branca
Selections / Select None
26- Adjust / Hue and Saturation / Colorize:
27- Layers / Arrange / Move Down
Ative a Layer do Topo
Layers / Merge / Merge Down
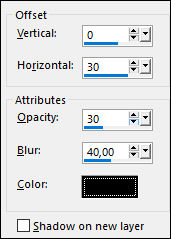
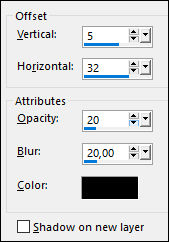
Effects / 3D Effects / Drop Shadow: Cor Preta
28- Layers / Duplicate
Image / Resize / 75%... Resize All Layers ... Desmarcado
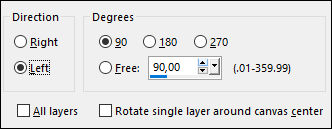
29- Image / Free Rotate:
30- Posicione no canto superior direito:
31- Ative a Ferramenta de Texto << Text Tool >> e Configure como segue:
32- Digite <<orpha>> clique em <<apply>>
33- Layers / Convert to Raster Layer
34- Effects / Plugins / Alien Skin Eye Candy 5 / Impact / Glass / preset @nn_230510_Orpha_EC5_Glass.f1s:
Mova o Texto e posicione como no modelo.
35- Ative o tube <<Maxyran_03_05_09_ Woman5_small.pspimage>> Copie e Cole como nova layer
Arraste para baixo e para a direita.
36- Effects / 3D Effects / Drop Shadow: Cor Preta
37- Layers / Merge / Merge All (Flatten)
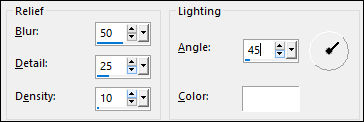
Effects / Plugins / Richard Rosenman / Solid Border: Cor branca
Adicione a sua marca d'água ou seu nome
Layers / Merge / Merge All (Flatten)
Salve como JPG.
©Tutorial traduzido por Estela Fonseca em 09/10/2019.
Não alterar nem repassar sem autorização.