JOYCE
[ tutorial de @nn TDstudio 2019 ]

O tutorial traduzido no Corel Paint Shop Pro X9.
Material Necessário:
Tubes de @nn pata tdstudio2.0
Plugins Utilizados:
Flaming Pear / Flood
Mehdi / Sorting Tiles
VM Experimental
Vanderlee / Unplugged X
Preparação:
Copie as seleções , brushes , Script (Restricted) para as respectivas pastas do PSP.
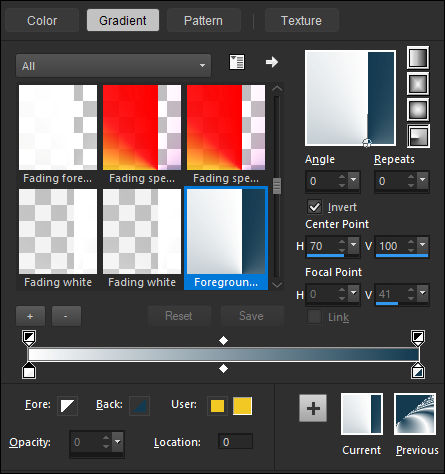
Primeiro Plano cor branca (#ffffff) / Segundo Plano cor #143a4f.
Gradinete <<Radial >> Configurado como segue:
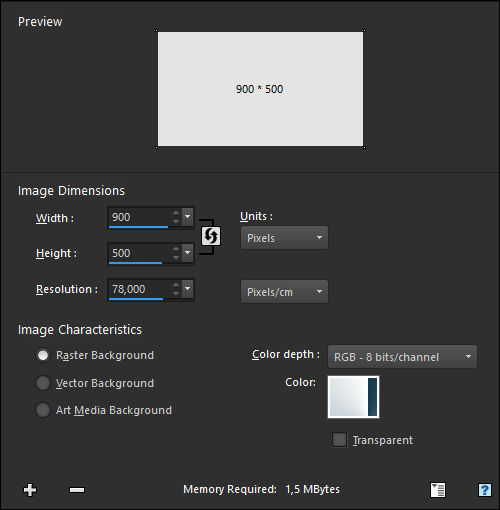
01- Abra uma nova imagem de 900/500 Pixels
Clique com o Botão direito do Mouse na Cor
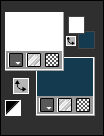
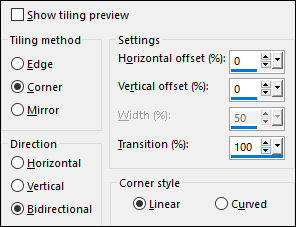
02- Effects / Image Effects / Seamless tiling:
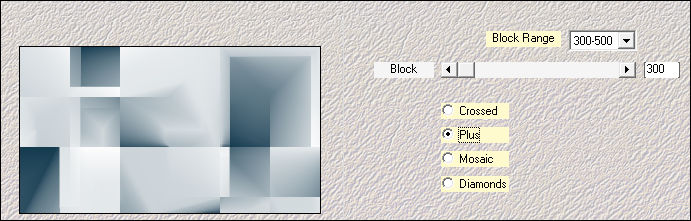
Effects / Plugins / Mehdi / Sorting Tiles:
03- Effects / Texture Effects / Fur:
Layers / New Raster Layer
Altere o Gradiente do Primeiro Plano para a cor Branca
Preencha a Layer com a cor do Primeiro Plano
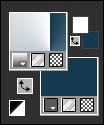
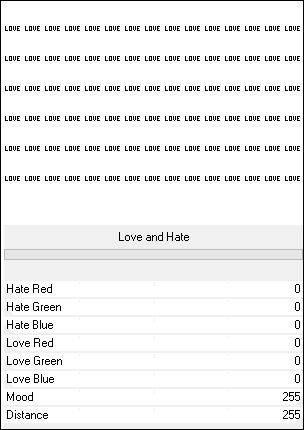
04- Effects / Plugins / VM Experimental / Love and hate:
Opacidade / 100%Blend Mode / Soft Light
05- Layers / New Raster Layer
Selections / Load/Save Selection / Load Selection From Disk:@nn_201218_Selectie_001_Joyce_tdstudio20
Preencha com a cor do Primeiro PlanoSelections / Modify / Contract / 50 Pixels
Ative <<hetzwanenmeer.jpg>> Copie / Cole na Seleção!
Mantenha a Seleção!!!
06- Layers / New Raster Layer
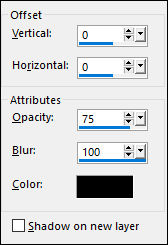
Effects / 3D Effects / Cutout: Cor #000000
Selections / Deselect All
Layers / Merge / Merge Down
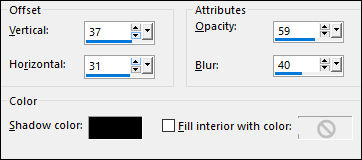
Effects / 3D Effects / Drop shadow :
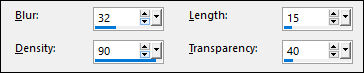
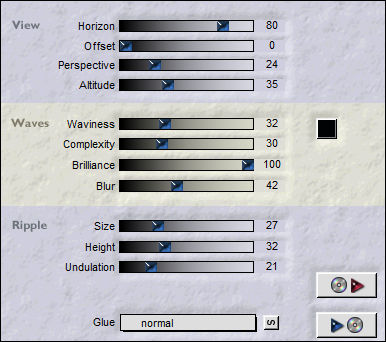
Layers / Merge / Merge Visible07- Effects / Plugins / Flaming pear / Flood:
Copie !
Cole Como Nova Imagem e Minimize a Cópia
Continue no seu trabalho Original
Adjust / Blur / Gaussian Blur / Radius: 100
08- Layers / New Raster Layer
Preencha com a cor do Segundo Plano
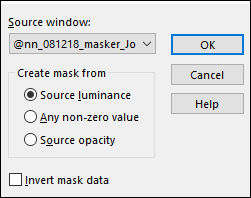
Layers / New Mask Layer / From Image:
Layers / Merge / Merge GroupOpacidade / 100%
Blend Mode / Soft Light
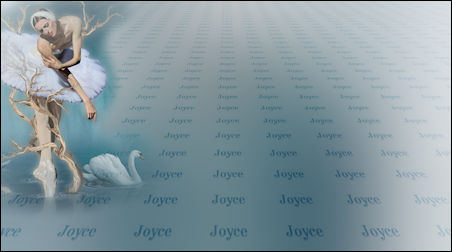
09- Ative <<@nn_191218_misted_ballerina_Joyce_tdstudio2.0.pspimage>>
Copie e Cole como nova layer
Posicione como segue:
Layers / DuplicateImage / Mirror / Mirror horizontal
Layers / Merge / Merge Down
Opacidade / 100%
Blend Mode / Soft Light
Ative a imagem minimizada
Copie e Cole como nova layer no trabalho original
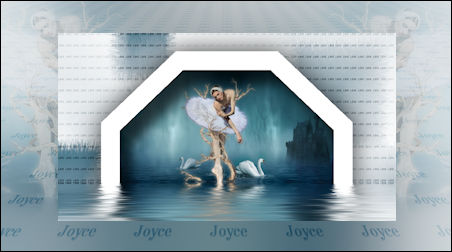
Image / Resize / 75% ... Resize All Layers ... Desmarcado
Resultado:
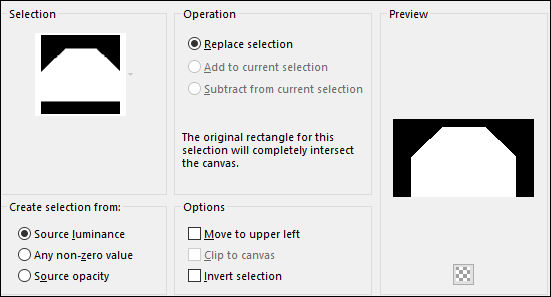
10- Selections / Load/Save Selection / Load Selection From Disk:@nn_201218_Selectie_001_Joyce_tdstudio20Selections / Invert
Delete no Teclado
Selections / Invert !!!
Layers / New Raster LayerPreencha com a cor do Primeiro Plano
Selections / Modify / Contract 25 Pixels
Delete no Teclado
Mantenha a seleção!!!!!
Layers / New Raster Layer
Effects / 3D Effects / Cutout (Como antes)
Selections / Select None
Layers / Merge / Merge Down
Effects / 3D Effects / Drop Shadow (Como antes)
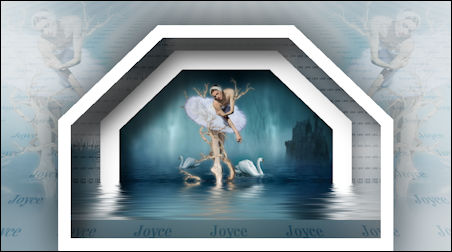
Layers / Merge / Merge Visible
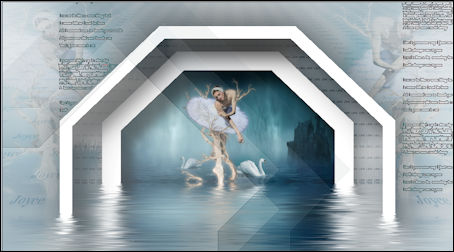
Resultado:
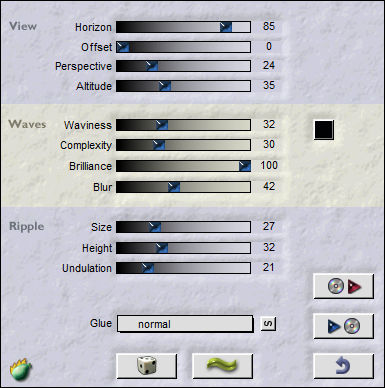
11- Effects / Plugins / Flaming Pear / Flood:
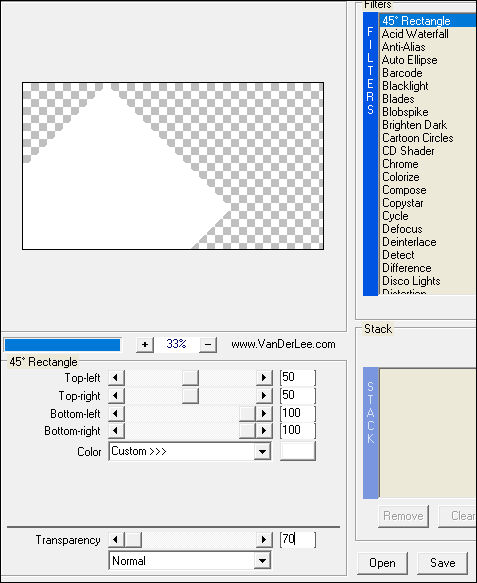
Layers / New Raster Layer12- Effects / Plugins / Vanderlee / Unplugged X:
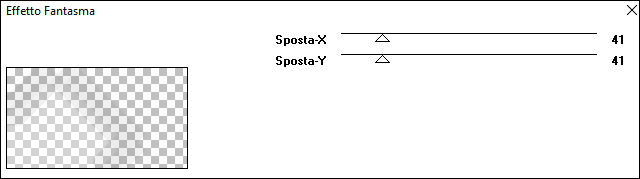
13- Effects / Plugins / It@lian Editors Effect / Effetto Fantasma: 41/41
Effects / Edge Effects / Enhance
14- Layers / New Raster Layer
Paint Brush (B) <<@nn_201218_brush_001_Joyce_tdstudio2.0>>
Carimbe com a cor do Primeiro Plano como segue:
Ative o SCRIPT e selecione o script como segue:
Para rodar o script selecionado clique na seta azul
15- Adicione a sua marca d'água ou seu nome
Salve como JPG.
©Tutorial traduzido por Estela Fonseca em 25/10/2019.
Não alterar nem repassar sem autorização.