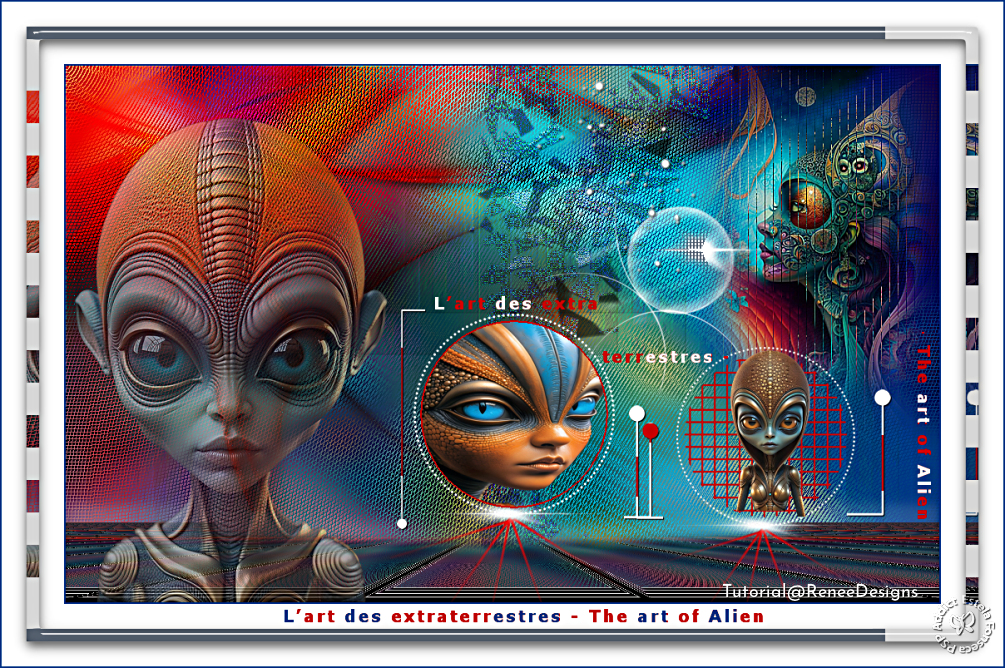
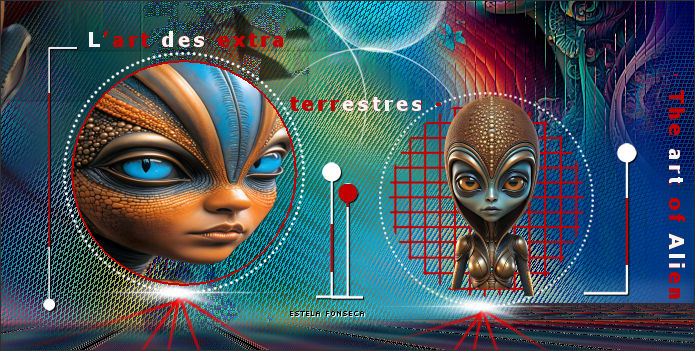
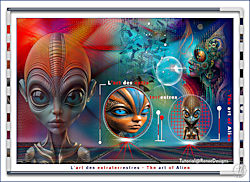
THE ART OF ALIEN
Tutorial de Renée Graphic , original, Aqui.
O tutorial foi traduzido na versão Corel Paint shop Pro 2022 Ultimate, mas ele pode ser feito com outras versões.
Materiais Necessários:
Tubes de Renée...
ATENÇÃO:
Aviso de Renée*
Se for sua intenção compartilhar esses tubes ou essas lições em grupo, peça permissão ao proprietário.
O tube não pode ser enviado sem a aula. Por favor, não faça alterações no tube, pois este tube foi feito apenas paraesta lição.
É proibido compartilhar este tutorial sem link para a lição original.
Muito obrigado Renée.
Eles estão a disposição em seu site: AQUI.
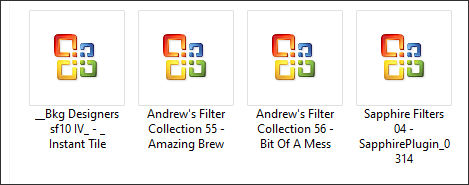
PLUGINS
Atenção
Lembrete Se você usar o Filter Unlimited 2.3, de Renée, ele consiste em 3 pastas
Dê uma olhada nas pastas antes de adicionar uma predefinição.
PLUGINS
Filtres APAlien Skin EyeCandy 5
Simple
Toadies
namesuppressed softener
Alien Skin Xenofex 2
AAA filtres
Mura’s MeisterL & K’s
Carolaine & Sensibility
Você pode encontrar esses filtros no site de RENÈE.
As cores podem diferir significativamente dependendo da versão do Psp utilizado.
L’art des extraterrestres - A Arte de Alien
Primeiro Plano cor 1 – Plano de Fundo cor 2
1. Abra a imagem de fundo "Fond-Art-of-Alien" – Promote background layer ... Raster 1
2. Effects - Plugins - Filters Unlimited 2.0 - Sapphire Filters 04 - SapphirePlugin_0314...Use as configurações padrão.3. Effects - Plugins – FM Tile Tools – Saturation Emboss - Configurações Padrão.
4. Layers - New raster layer
5. Selections – Load/Save selection – Load selection from disk: The-art-of-Alien-16. Ferramenta Flood Fill Tool - Preencha a seleção com a cor 1 (3 ou 4 cliques)
Selections - Select None
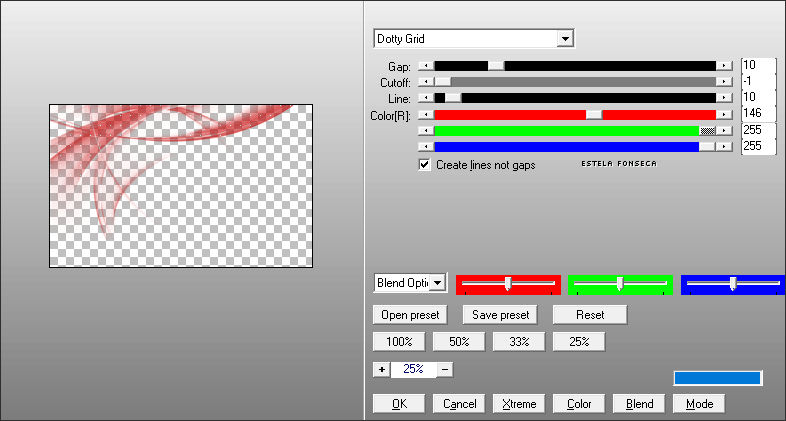
7. Effects - Plugins - AP[Lines] Lines – Silverlining:
Selections – Select All - Selections - Float
7. Selections - Modify - Contract - 16 Pixels
Delete no TecladoSelections - Select None
8. Blend Mode - Overlay
9. Effects - Plugins - Alien Skin Eye Candy 5 – Impact – Perspective Shadow – Preset : Drop Shadow Lowest
Coloque no Primeiro Plano cor 2 – Plano de Fundo cor 3
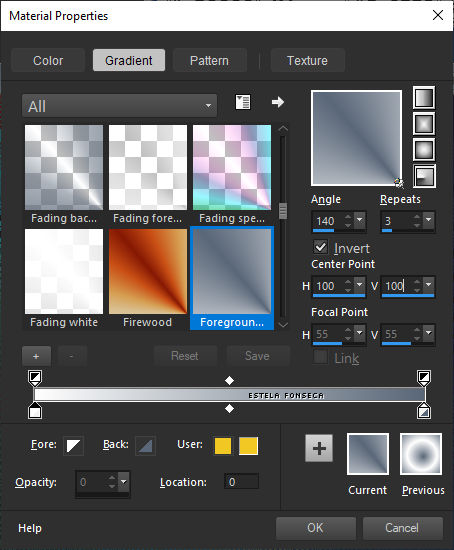
Forme no Primeiro Plano um Gradiente estilo Radial , configurado como segue:
10. Layers - New Raster Layer
11. Ferramenta Flood Fill Tool – Preencha com o gradiente
12. Layers – Duplicate
13. Image - Mirror - Mirror Horizontal
14. Bend Mode - OverlayReduza a opacidade ... 55%
15. Layers - Merge - Merge Down
16. Effects - Plugins - Filters Unlimited 2.0 - &<Bkg Designers sf10 IV> - @ Instant Tile:: 224 /116
17. Effects - Plugins – Simple – Pizza Slice Mirror
Edit - Repeat Pizza Slice Mirror
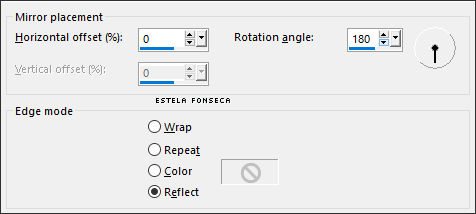
18. Effects - Reflection Effects - Rotating Mirror:
19. Effects - Plugins - Filters Unlimited 2.0 - Andrew's Filter Collection 56 - Bit Of A Mess...Use as configurações padrão.
20. Effects - Plugins – Toadies – What are you 20/20
Blend Mode - OverlayReduza a opacidade à 55%
20. Effects - User defined filter - Emboss 3 - Use as configurações padrão.
21. Abra o tube: "The-art-of-Alien-Image 1" - Copie e Cole como nova layer22. Ferramenta Pick Tool: (K) Position X (761,00) - Position Y (-29,00) - Pressione a tecla "M" para desativar a Pick Tool.
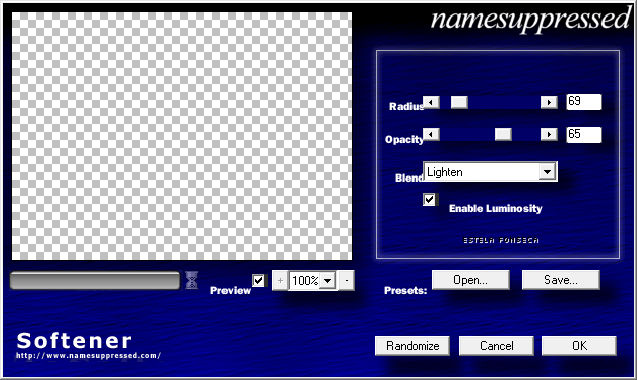
23. Effects - Plugins – namesuppressed – Softener- use as seguintes configurações:(Você não vai conseguir ver o efeito do filtro, isso é normal.)
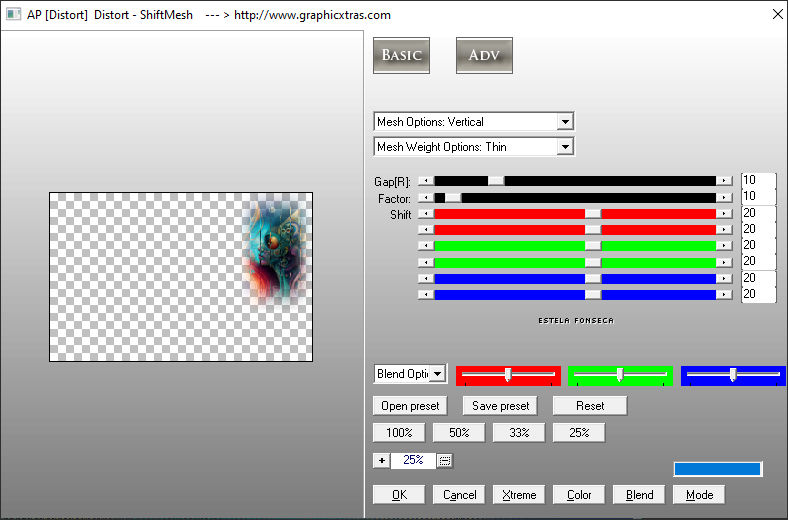
24. Effects - Plugins - AP[Distort] - Distort - ShiftMesh - Use as seguintes configurações:
25. Adjust - Sharpness - Sharpen More
26. Layers - New Raster Layer
27. Selections – Load/Save selection – Load selection from disk: The-art-of-Alien-2
28. Coloque no Primeiro Plano a cor 3
Ferramenta Flood Fill Tool – Opacidade 50 % – Preencha a seleção coma cor 3
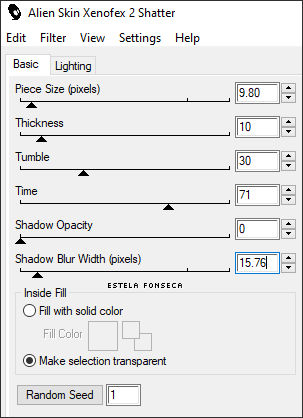
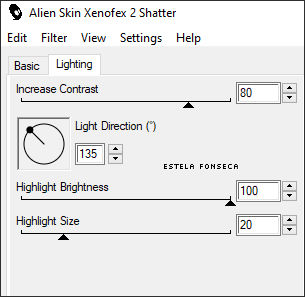
29. Effects-Plugins – Alien Skin Xenofex 2- Shatter use the following settings
Selections / Select None
30. Effects - Plugins - Filters Unlimited 2.0 - Andrew's Filter Collection 55 - Amazing Brew...Configurações Padrão.
31. Blend Mode - Hard Light - Reduza a opacidade à 69%
Ative a Layer do Fundo (Raster 1)
32. Selections – Load/Save selection – Load selection from disk: The-art-of-Alien-3
33. Selections – Promote selection to layer
34. Layers - Arrange - Bring to Top
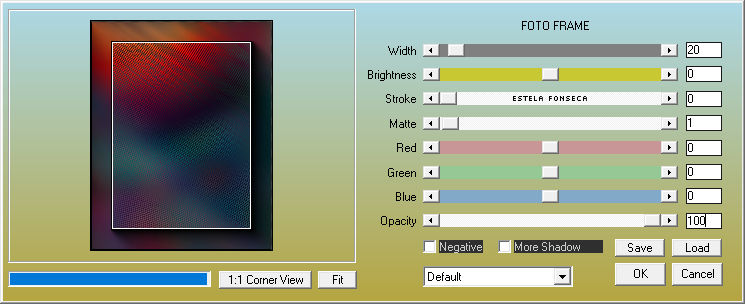
35. Effects - Plugins – AAA Frame – Foto Frame:
Effects - Plugins – AAA Frame – Foto Frame: width em 15
Effects - Plugins – AAA Frame – Foto Frame: width em 10.
Effects - Plugins – AAA Frame – Foto Frame: width em 5.
Selections - Select None
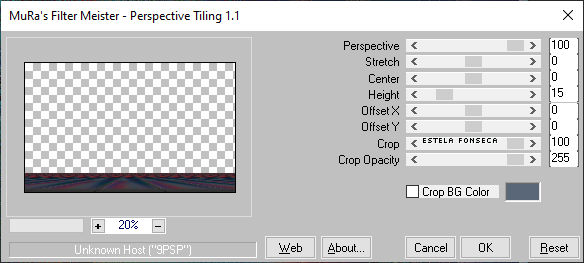
36. Effects - Plugins – MuRa's Meister – Perspective Tiling:
36. Selections – Load/Save selection – Load selection from disk: The-art-of-Alien-4
Delete 2 vezesSelections - Select None
37. Effects - 3D Effects - Drop Shadow: – 21/ 0 /15 /20 Cor #FFFFFF
38. Layers - New Raster Layer
39. Selections – Load/Save selection – Load selection from disk: The-art-of-Alien-5
40. Coloque no Primeiro Plano a cor 2
Flood Fill Tool – Opacidade 100% - Preencha com a cor 2 ( 2 cliques)Selections - Select None
41. Layers - New Raster Layer
42. Selections – Load/Save selection – Load selection from disk: The-art-of-Alien-6
43. Ferramenta Flood Fill Tool – Preencha com a cor 2 (um ou dois cliques)
Selections / Select None
Primeiro Plano cor 2 (branco) - Plano de fundo cor 1
(O efeito de cor é criado pela cor do Fundo.)
44. Effects - Plugins – L & K’s – Katharina: 4/0
45. Layers - New Raster Layer
46. Selections – Load/Save selection – Load selection from disk: The-art-of-Alien-7
47. Flood Fill Tool – Preencha com a cor 1 (clique quantas vezes achar necessário))
Selections / Select None
48. Effects- 3D Effects - Drop Shadow with these settings: 1/1/100/1 - Cor #000000
49. Abra o tube ‘’The-art-of-Alien-Image 2’’ - Copie e cole como nova layer
50. Ferramenta Pick Tool: (K) Position X (388,00) - Position Y (298,00) - Pressione a tecla "M" para desativar a Pick Tool.
51. Layers – Duplicate
52. Image - Resize - 89% - Resize all layers... Desmarcado.
53. Ferramenta Pick Tool: (K) Position X (708,00) - Position Y (338,00) - Pressione a tecla "M" para desativar a Pick Tool.
54. Layers - New Raster Layer
55. Selections – Load/Save selection – Load selection from disk: The-art-of-Alien-8
56. Flood Fill Tool – Preencha com a cor 1
57. Selections - Modify - Contract 2 pixels
Delete no Teclado
58. Abra o tube: ‘’Renee-TUBES-The- art-of-alien-9’’ ( ou outro de sua escolha)
Copie e cole na seleção
Selections - Select None
59. Layers - New Raster Layer
60. Selections – Load/Save selection – Load selection from disk: The-art-of-Alien-961. Flood Fill Tool– Preencha com a cor 1 (3 ou 4 cliques)
Selections / Select None
62. Abra o tube ‘’ Renee-TUBES-The- art-of-alien-5’’
Image - Resize - 20% - Resize All Layers - Mercado
Copie e cole como nova layerPosicione como na imagem final
63. Ative um tube de sua escolha (Para Renée ) Image - Resize - 60% - Resize All Layers - Marcado
Copie e cole como nova layer e Posicione à esquerda. (Veja a imagem final)
Renée reduziu a opacidade em 57%.
64. Abra o tube: "The-art-of-Alien-Image 3" - Copie e Cole como nova layerMova para a direita e posicione como na imagem final
65. Abra o tube "The art of Alien-titre" - Copie e Cole como nova layer – Move para a direita como segue:
66. Image - Add Borders - Symmetric Marcado
2 Pixels Cor- 4
30 Pixels Cor 2
15 Pixels Cor 3
30 Pixels Cor 2
2 Pixels Cor 4
67. Ative a Magic Wand – Tolerance em 0 e Feather em 0 e selecione a borda de 15 Pixels68. Effects - Plugins – Carolaine & Sensibility – CS-Linear -H : 200/25/0
O Resultado desse efeito pode variar , portanto não há problema.
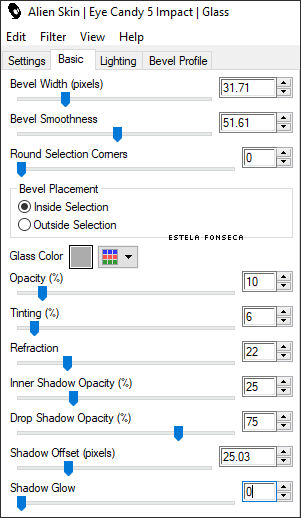
69. Effects - Plugins - Alien Skin Eye Candy 5 – Impact - Glass:
Selections / Select None
70. Abra o tube "titre" – Copie e cole como nova layer - posicione como na imagem final.
Adiione a Marca d'água de Renée e a sua marca d'água ou assinatura.
71. Layers- Merge - Merge All ( flatten)
72. Image - Resize - 1005 Pixels width - Resize All Layers - MarcadoSalve como JPG.
©Tutorial traduzido por Estela Fonseca em 24/05/2024.
Não alterar nem repassar sem autorização.
