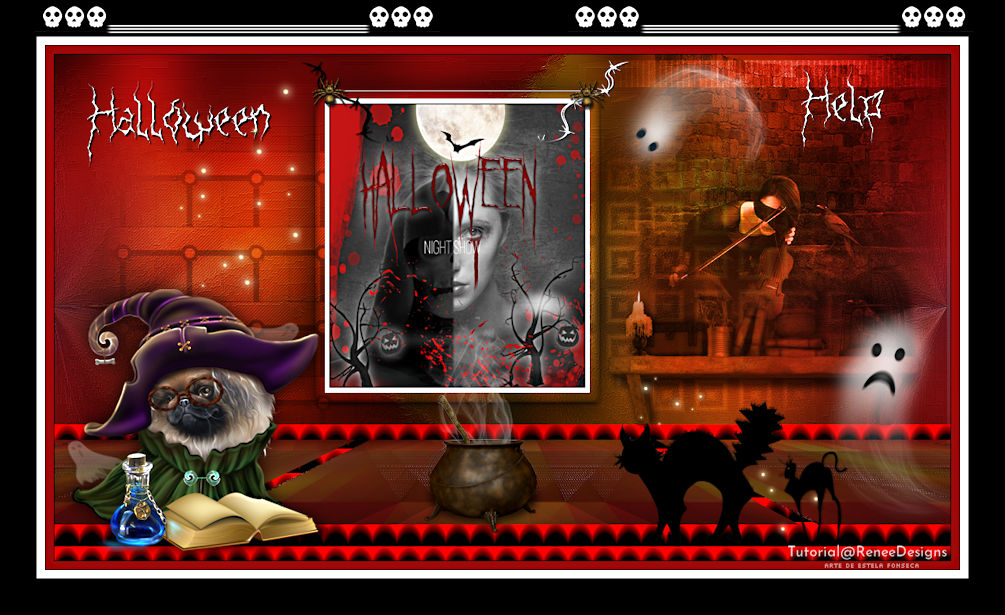
help halloween 2022
Tutorial de Renée Graphic , original, Aqui.
O tutorial foi traduzido na versão Corel Paint shop Pro 2021 Ultimate, mas ele pode ser feito com outras versões.
Tubes de Renée
ATENÇÃO:
Não compartilhe os tubes de Renée em sites ou blog ...etc
Eles estão a disposição em seu site: AQUI.
Minha Página de Plugins: AQUI
Plugins:
Simple / Pizza Slice Mirror
Filters Unlimited 2.0 / &<Background Designers IV>
Kiwis Oelfilter / 3,5 Promille
Medhi / Sorting Tiles
Carolaine &Sensibilty / CS-LDots
[AFS IMPORT] / sqborder e win_071
Mura’s Meister / Perspective Tiling
Flaming Pear / Ornament
Xero / Cubism e Clarity
Photo Effex / Scanlines
Alien Skin EyeCandy 5 / Impact
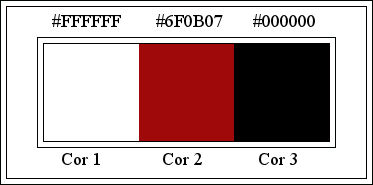
Cores:
Primeiro Plano cor Nº 1 / Segundo Plano cor Nº 2
1. Abra o arquivo «Fond-Help-Halloween-2022» Promote Background Layer (Raster 1)
2. Effects / Plugins / Simple / Pizza Slice Mirror
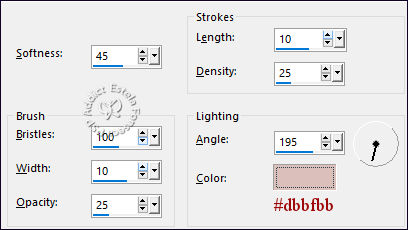
3. Effects / Art Media / Brush Strokes :
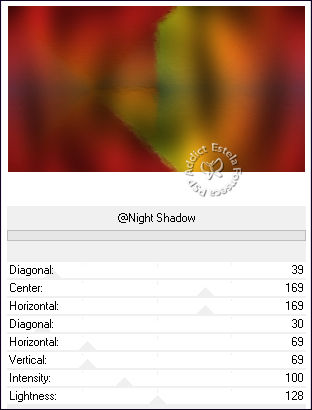
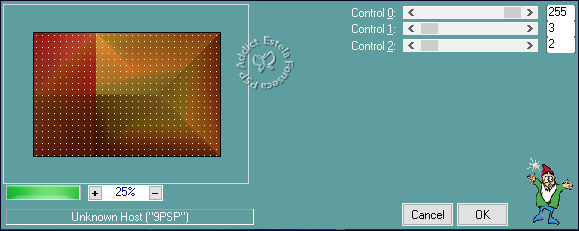
4. Effects / Plugins / Filters Unlimited 2.0 / &<Background Designers IV> /@Night Shadow
5. Layers / Duplicate
6. Effects / Plugins / Filters Unlimited 2.0 / Kiwis Oelfilter / 3,5 Promille / Default
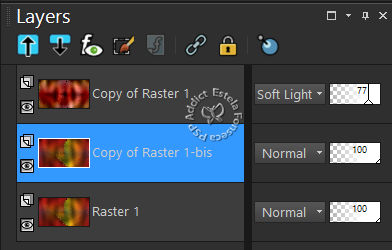
7. Blend Mode / Soft Light ... Opacidade / 77%
Ative a Layer «Raster 1»
8. Layers / Duplicate (Renomeie «Copy of Raster 1- bis »)
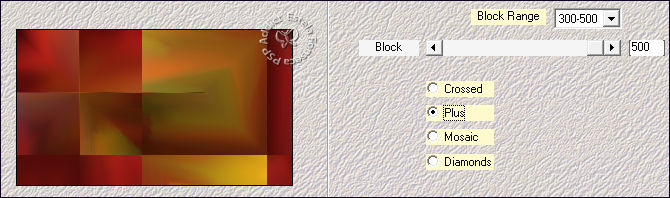
9. Layers / Arrange / Bring to top10. Effects / Plugins / Medhi / Sorting Tiles
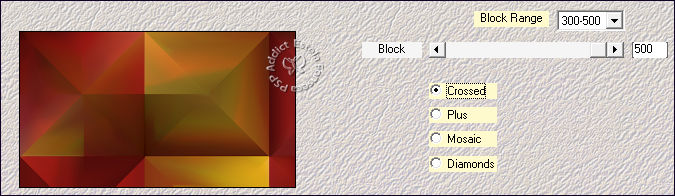
11. Effects / Plugins / Medhi / Sorting Tiles
12. Selections / Load save selection / Load selection from disk: «Help-Halloween-2022-1»13. Effects / Plugins / Carolaine &Sensibilty / CS-LDots
Mantenha a seleção!!!!
14. Effects / Image Effects / Seamless Tiling
Selevctions / Select None
Effects / Image Effects / Seamless Tiling
15. Image / Resize / 85 % ... Resize All Layers ... Desmarcado
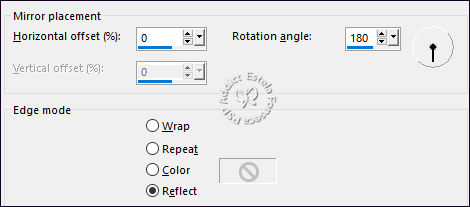
16. Effects / Reflection Effects / Rotating Mirror
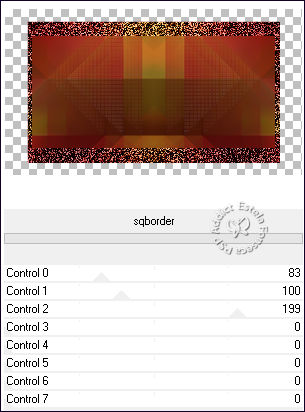
17. Effects / Plugins / Filters Unlimited 2.0 / [AFS IMPORT] / sqborder
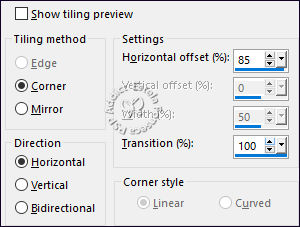
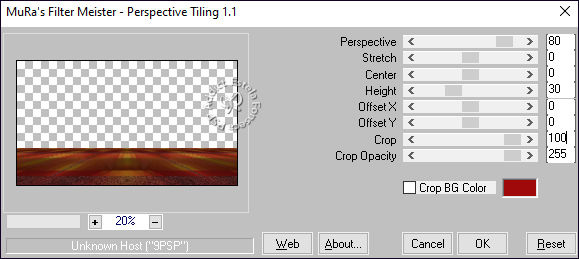
18. Effects / Plugins / MuRa’s Meister / Perspective Tiling
19. Selections / Load save selection / Load selection from disk: «Help-Halloween-2022-2»
20. Selections / Promote Selection to layer
21. Effects / Plugins / Filters Unlimited 2.0 / [AFS IMPORT] / win_071 / DefaultSelections / Select None
22. Effects / 3D Effects / Drop Shadow: 0/0/65/24 Cor #000000
Ative a Layer logo abaixo «Copy of Raster 1-bis»
23. Selections / Load save selection / Load selection from disk: «Help-Halloween-2022-3»Delete no Teclado ... 5 toques
Selections / Select None
Ative a Layer «Copy of Raster 1»
24. Effects / Plugins / Flaming Pear / Ornament
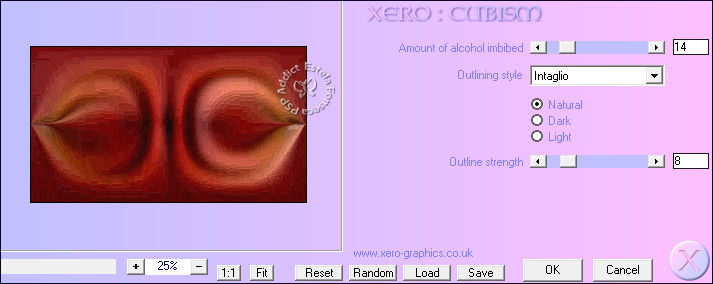
Repita uma segunda vez25. Effects / Plugins / Xero / Cubism
26. Effects / Edge Effects / Enhance
Ative a Layer do TOPO27. Ative «Help-Halloween-2022-Image1» Copie e Cole como nova layer
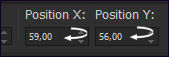
28. Pick Tool (K) «POSIÇÂO X: 59 / POSIÇÃO Y: 56» / Letra «M» para desativar a Pick Tool
29. Effects / Plugins / Xero / Clarity / Default
30. Ative «A.Devil-tube» Copie e Cole como nova layer
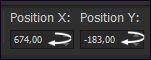
31. Pick Tool (K) «POSIÇÂO X: 674 / POSIÇÂO Y: -183» / Letra «M» para desativar a Pick Tool
32. Blend Mode / Luminance ... Opacidade / 85
33. Selection Tool (S) Rectangle / Custom Selection: (na layer desse tube)
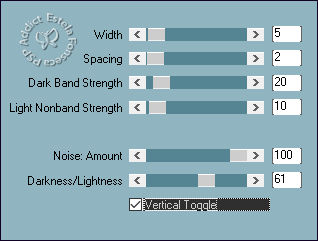
34. Effects / Plugins / Photo Effex / Scanlines
35. Ative o tube «Halloween-2022-Image 2»
36. Copie e Cole como nova layer 1 ou mais imagens fantasmas / Coloque ao seu gosto
Deixe esta imagem de lado por enquanto, vamos precisar dela mais tardeAtive a Pasta «Affiche»
37. Abra «Affiche-Halloween2022» vamos trabalhar nela
Na layer « Raster 2» (deste tube)
38. Effects / 3D Effects / Drop Shadow: 0/0/75/32 / Cor #000000
39. Ative «femme-Halloween» Copie e Cole como nova layer ( ou outra de sua escolhaNão Mova!
40. Layers / Load save mask / Load Mask from disk: «20/20»
Layers / Merge / Merge Group
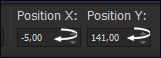
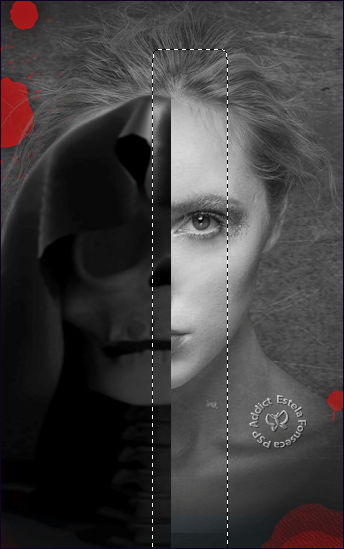
41. Ative «Affiche-Demi-Visage» Copie e Cole como nova layerPick Tool (K) «POSIÇÂO X: -5 / POSIÇÂO Y: 141» / Letra «M» para desativar a Pick Tool
42. Selection Tool (S) Rectangle - Father 5 Faça uma seleção como segue:
Delete no Teclado
Selections / Select None
43. Ative «Affiche-arbres» Copie e Cole como nova layer
Posicione como na imagem final
44. Effects / 3D Effects / Drop Shadow: 0/0/75/32 Cor Branca
45. Ative «Affiche-Lune» Copie e Cole como nova layerPosicione no alto, como na imagem final.
46. Layers / New Raster Layer
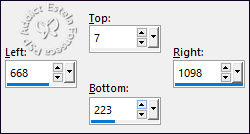
47. Selections / Load save selection / Load selection from disk: «Help-Halloween-2022-4»
48. Preencha com a cor No 2
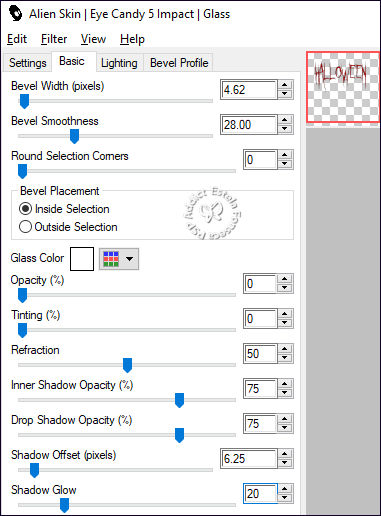
49. Effects / Plugins/ Alien Skin EyeCandy 5 / Impact / Glass
Selections / Select None
50. Effects / 3D Effects / Drop Shadow: 0/0/75/32 Cor Branca
51. Layers / New Raster Layer
52. Selections / Load save selection / Load selection from disk: «Help-Halloween-2022-5»
53. Preencha com a cor branca
Selections / Select None
54. Layers / New Raster Layer
55. Selections / Load save selection / Load selection from disk: «Help-Halloween-2022-6»
56. Preencha com a cor branca (2 cliques)
Selections / Select None
57. Ative «Affiche-sang» Copie e Cole como nova layerColoque a gota de sangue sob o olho (veja o modelo)
58. Layers / Arrange / Move Down
Tudo está no lugar?
59. Image / Add Borders / Symmetric Marcado / 2 Pixels Cor #000000
60. Image / Add Borders / Symmetric Marcado / 10 Pixels Cor #ffffff
61. Effects / Plugins / Xero / Clarity / DefaultCopie
Ative o trabalho reservado ...
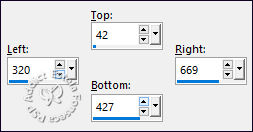
62. Selection Tool (S) Rectangle / Custom Selection
63. Layers / New Raster Layer64. Effects / 3D Effects / Drop Shadow: 0/0/100/100 / Cor #000000
65. Effects / Plugins / Alien Skin EyeCandy 5 / Impact / Glass / (está na memória)66. Selections / Modify / Contract / 12 Pixels
67. Cole na seleção ( a imagem copiada está na memória)
Selections / Select None
68. Ative «Help-Halloween-2022-Image3» Copie e Cole como nova layer ...Posicione na borda superior do quadro:
69. Ative a Fonte , Tamanho 72 escreva o texto « Halloween e Help» Cor branca
70. Effects / 3D Effects / Drop Shadow: 1/1/100/1 / Cor #000000
Posicione os dois textos à gosto.71. Ative «Help-Halloween-2022-Image5» Copie e Cole como nova layer
Posicione à gosto
Decore seu trabalho com tubes de sua escolha.
72. Image / Add Borders / Symmetric Marcado / 1 Pixel cor #000000
Image / Add Borders / Symmetric Marcado / 10 Pixels Cor No 2
Image / Add Borders / Symmetric Marcado / 1 Pixel cor #000000Image / Add Borders / Symmetric Marcado / 10 Pixels Cor branca
Image / Add Borders / Symmetric Marcado / 45 Pixels Cor #000000
73.Ative o tube «Bordure-Halloween» Copie e Cole como nova layerPosicione
74. Coloque a assinatura de Renée e a sua
75. Layers / Merge / Merge All (Flatten)
76. Image / Resize / 1005 Pixels de largura... Resize All Layers ... MarcadoSalve como JPG.
Versão 2: Tube de Riet (Personagem) Tube de Jeanne (Personagem 2) Tubes de Renée...
©Tutorial traduzido por Estela Fonseca em 13/10/2022.
Não alterar nem repassar sem autorização.