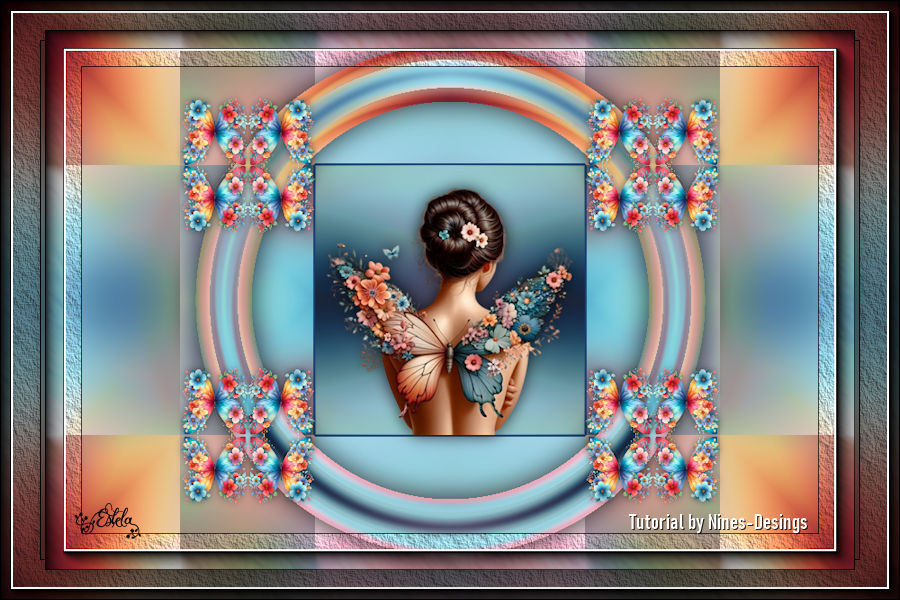
MARIPOSAS COLORES
Tutorial de ©Nines-Designs (Angeles Cenarriaga) - Criado em 22/07/2025.
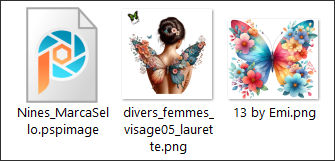
Materiais Necessários:
Plugins:Mehdi/Sorting Tiles/Plus
Simple/Top Left Mirror
Simple/Zoom 0ut and Flip
Mura's Meister/Pole Transform
AAA Frame/Texture Frame
AAA Frame/Foto Frame
Abra os tubes no PSP, duplique e feche os originais.
Sempre trabalhe com as cópias.
1- Abra uma nova imagem transparente de 900 x 600 px.
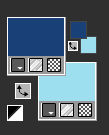
2- Primeiro Plano cor #1b4078 / Plano de Fundo cor #9cdeee
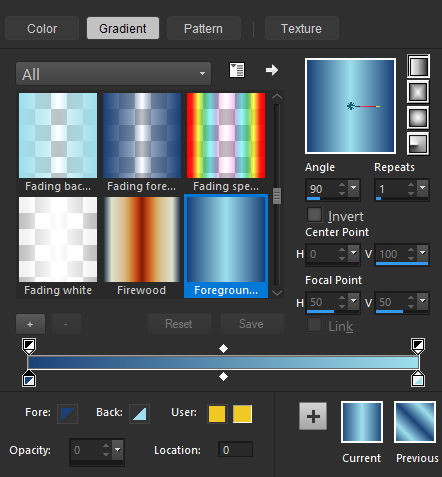
Forme no Primeiro Plano um Gradiente Linear angle 90/Repeats 1
Preencha a layer com este gradiente
3- Selections / Select All
4- Ative e copie: 13 @ by Emi ... Cole na seleção
Selections / Select None
5- Effects / Image Effects / Seamless Tiling / Default
6.- Adjust / Blur/Gaussian Blur/Radius 30
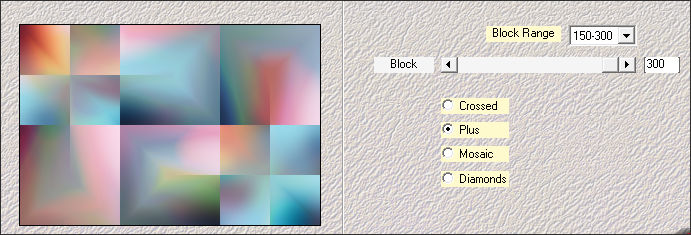
7- Effects / Plugins /Medhi/Sorting Tiles:
8- Effects / Plugins / Simple/Top Left Mirror
9- Layers / DuplicateContinue nesta layer
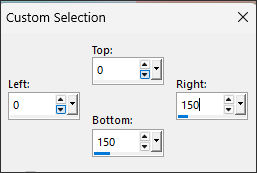
10- Selections (S) Rectangle / Custom Selection:
11- Selections / Promote selection to Layer
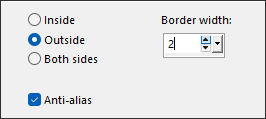
12- Selections / Modify / Selection select Borders:
13- Preencha com a cor #1b4078
Selections / Select None
14- Ative e Copie: divers_femmes_visage05_laurette... Cole como nova layer
Image / Resize / 50%... Resize All Layers ... Desmarcado
Image / Resize / 80%... Resize All Layers ... Desmarcado
Posicione como segue...
15-Effects / 3D Effects / Drop Shadow: 0/0/50/25 Cor #000000
16- Ative a Layer "Copy of Raster 1"...
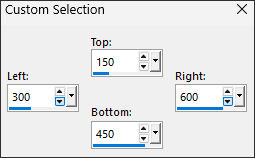
17- Selection (S) Rectangle / Custom Selection:
18- Selections / Promote selection to layer
19- Ative e Copie: 13 @ by Emi ... Cole na seleçãoSelections / Select None
20- Effects / 3D Effects / Drop Shadow: 0/0/50/25 Cor #000000
21- Effects / Plugins / Simple/Top Left Mirror
22- Effects / Plugins / Simple/Zoom 0ut and Flip
23- Ative a Layer (Copy of Raster 1)
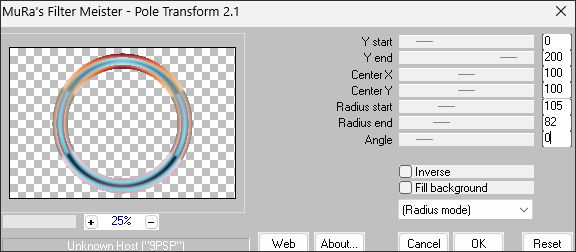
24- Effects / Plugins / MuRa's Meister/Pole Transform:
25- Effects / 3D Effects / Drop Shadow: 0/0/80/45 Cor #000000
26- Layers / Merge / Merge Visible
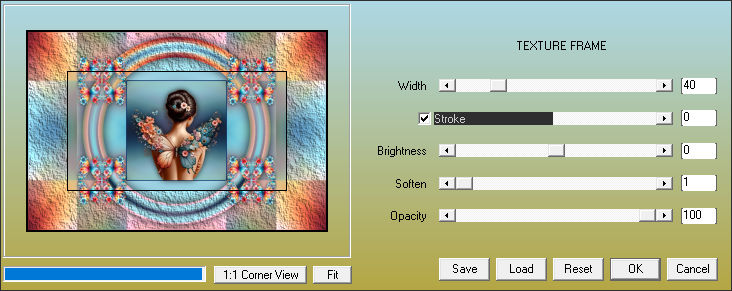
27- Effects / Plugins / AAA Frame/ Texture Frame:
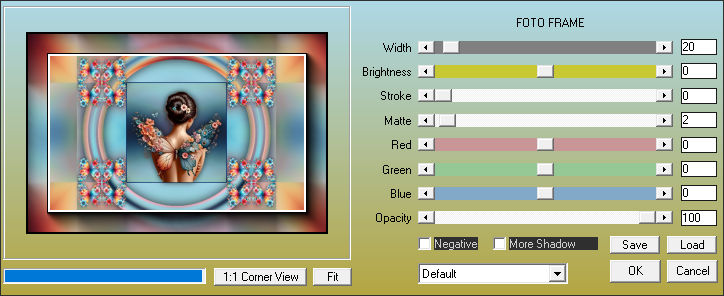
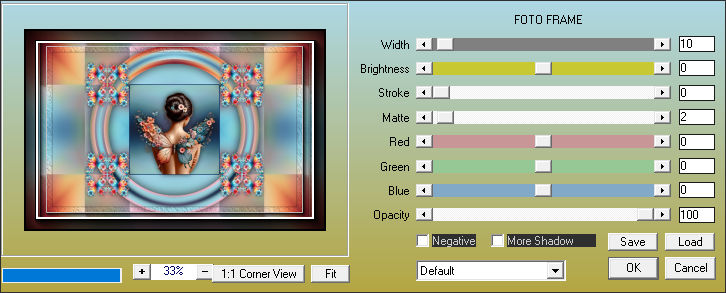
28- Effects / Plugins / AAA Frame/Foto Frame:
29- Copie!!! (vai ficar gravado na memória)
30- Image / Resize / 90% ... Resize All Layers ... Desmarcado
31- Ative a Varinha Mágica e clique na parte transparente para selecionar
32- Cole na seleção
33- Adjust / Blur/Gaussian Blur/Radius 30
34- Effects / Plugins / AAA Frame/Texture Frame:40/0/01/100/Stroke selecionado
35- Effects / Plugins / AAA Frame/Foto Frame:
36- Selections / Invert
37- Effects / 3D Effects / Drop Shadow: 0/0/80/45 Cor #000000
Selections / Select None
38- Coloque a marca d'água de Nines
Coloque sua assinatura ou sua marca d'água
39- Layers / Merge / Merge All (Flatten)
Salve como JPG.
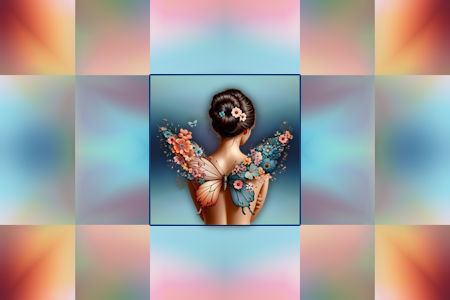
Versão com tubes de EF (Pinterest)
©Tutorial criado por Nines e Traduzido por Estela Fonseca em 05/03/2026.
Não alterar nem repassar sem autorização.