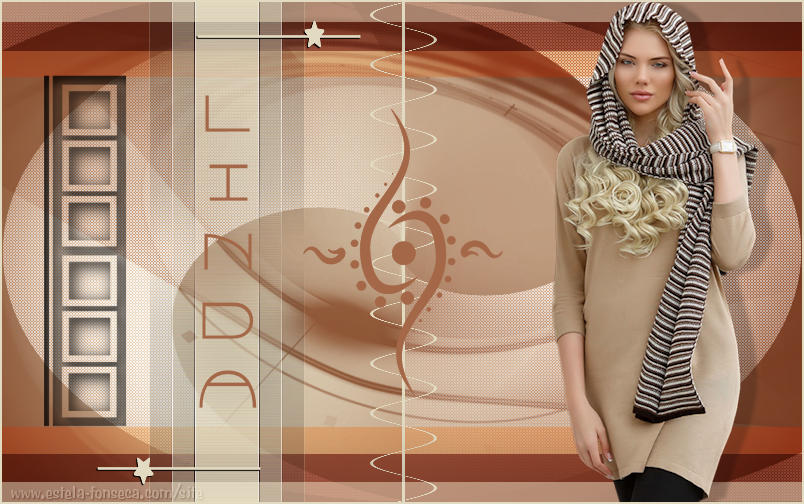
LINDA
Tutorial de ©Monaliza, original, AQUI.
Tutorial traduzido no PSP X8, mas pode ser feito com outras versões.
Material Necessário:
Tube de K@rine Dreams. Ela compartilha seus tubes AQUI
Mask de LF
Plugins Utilizados:
Visual Manipulation - X-MirrorAlphaWorks - Radial FadeOut
AP 01[Innovations] - Lines - SilverLining
Plugins - Mock - Windo
VanDerLee - Unplugged X
Preparação:
Abra o tube e a mask no PSP, duplique e feche os originais.Copie as seleções para a pasta de seleções do PSP
Abra os brushes no PSP e Export como Custom Brushes ( File - Export - Custom Brush)
Note: Ao trabalhar com Cores diferentes, jogue com o Blend Modee/ou Opacidades a seu critério!
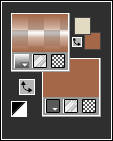
Primeiro Plano Cor #a46848
Segundo Plano Cor #e2dac1
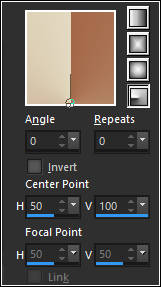
Gradiente Fore-Background (Corel_06_029) / Estilo: Radial
01- Abra uma Nova imagem transparente de 800/500 pixels
Preencha com o Gradiente
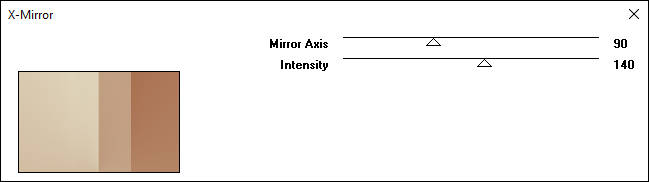
02- Effects / Plugins / Visual Manipulation / X-Mirror
Adjust / Blur / Radial Blur
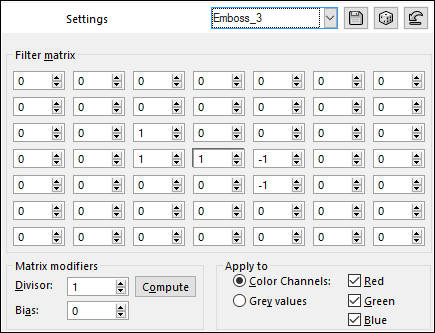
03- Effects / User Defined Filter / Emboss_3
04- Layers / New Raster Layer
Preencha com a cor do Primeiro Plano
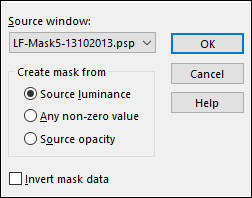
Layers /New Mask Layer / From Image: LF-Mask5-13102013
Layers / Merge / Merge Group
Blend Mode / Multiply (ou outro)05- Layers / New Raster Layer
Selections / Load/Save Selection / Load Selection From Disk:mz_sel_linda1
Preencha a Seleção com a cor do Primeiro Plano
Selections / Select None
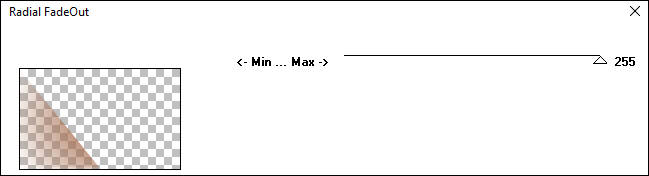
06- Effects / Plugins / AlphaWorks / Radial FadeOut
07- Effects / Distortion Effects / Polar Coordinates
Layers / Duplicate
Image / Mirror / Mirror Horizontal ( Image - Mirror)
Image / Mirror / Mirror Vertical ( Image - Flip)
Layers / Merge / Merge Down
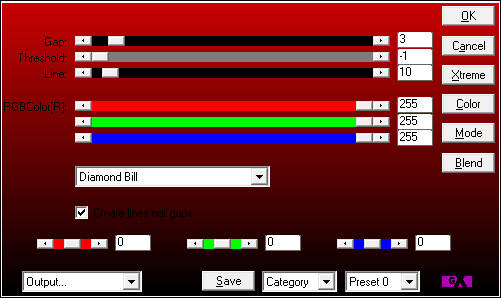
08- Effects / Plugins / AP 01[Innovations] / Lines - SilverLining
Blend Mode / Screen ( Ou outro)09- Layers / New Raster Layer
Selections / Load/Save Selection / Load Selection From Disk: mz_sel_linda2
Preencha a Seleção com a cor do Primeiro Plano
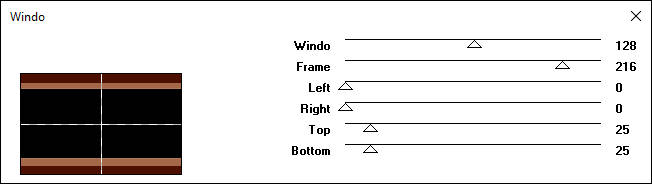
Effects / Plugins / Mock / Windo
Selections / Select None
Blend Mode / Hard LightOpacidade / 68
10- Layers / New Raster Layer
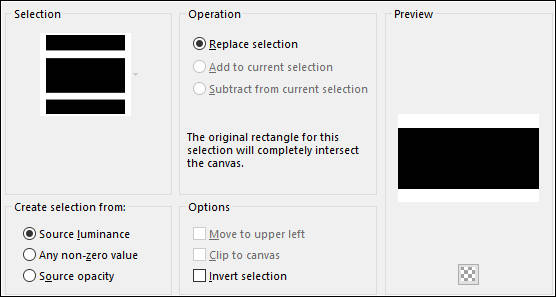
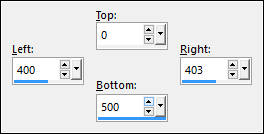
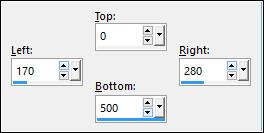
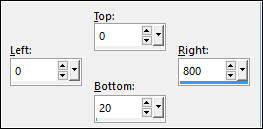
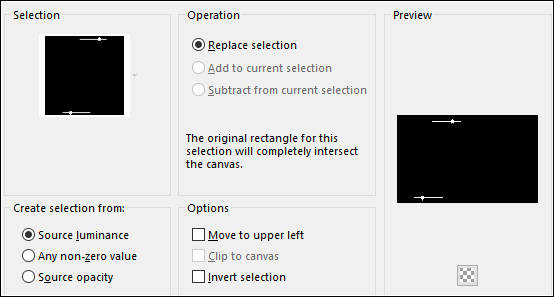
Selection Tool / Rectangle / Custom Selection:
Preencha a Seleção com a cor do Segundo Plano
Selections / Select None
Layers / Duplicate
Effects / Distortion Effects / Wave
Layers / Merge / Merge Down
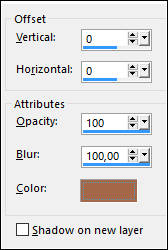
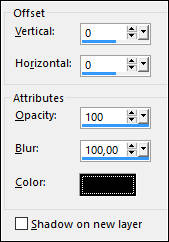
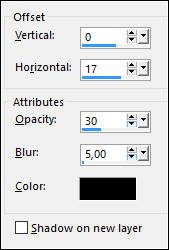
Effects / 3D Effects / Drop Shadow / Cor #a46848
11- Layers / New Raster Layer
Selection Tool / Rectangle / Custom Selection:
Forme no Segundo Plano um Gradiente <<Fading Background>> (Corel_06_025) / Estilo: Linear
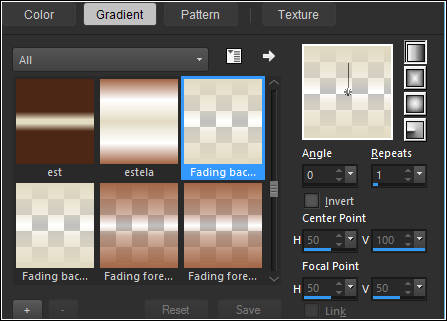
Preencha a Seleção com o Gradiente do Segundo Plano
Selections / Select None
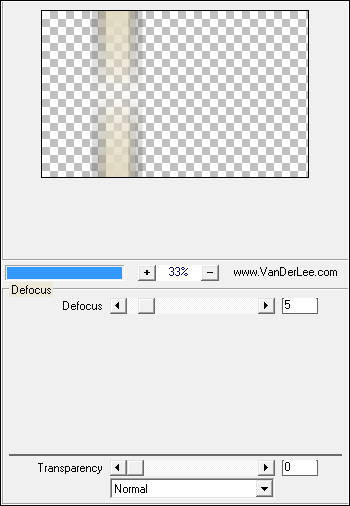
12- Effects / Plugins / VanDerLee / Unplugged X / Defocus
Effects / Edge Effects / Enhance More
13- Layers / New Raster LayerPaint Brush Tool / Brush <<LF-Brushpack4-2>> Rotation: 90
Carimbe com a cor do Primeiro Plano como segue:
14- Selections / Select All
Selections / Float
Selections / Defloat
Effects / 3D Effects / Cutout
Blend Mode / Hard LightSelections / Select None
15- Ative a Layer do topo
Layers / New Raster Layer
Paint Brush Tool <<LF-Brush pack 1-02>> Rotation: 90
Carimbe com a cor do Primeiro plano como segue:
16- Na Palete de Cores clique na seta de duplo sentido << Swap Materials>>
Observe que invertemos as cores.
17- Layers / New Raster Layer
Text Tool: Fonte: Capsule
Digite com letras Maiúsculas: LINDA
Layers / Convert to Raster Layer
Effects / 3D Effects / Drop Shadow: Cor #000000
18- Layers / New Raster Layer
Selection Tool / Rectangle / Custom Selection:
Preencha a Seleção com a cor clara (agora no Primeiro Plano)
Selections / Select None
Effects / 3D Effects / Drop Shadow / Cor #000000
Opacidade / 50
Layers / Duplicate
Image / Mirror / Mirror Vertical ( Image / Flip em Versões anteriores)19- Layers / New Raster Layer
Selections / Load/Save Selection / Load Selection From Disk: mz_sel_linda3
Preencha com a cor do Primeiro Plano
Selections / Select NoneEffects / 3D Effects / Drop Shadow: Cor #000000
20- Maximize Tube <<k@rine_ dreams _Pretty_Woman_3581_Septembre_2016>>Copie e Cole como nova layer
Image / Resize / 70% / Resize all Layers Desmarcado ( 2 vezes)
Mova para à DireitaEffects / 3D Effects / Drop Shadow - Cor #000000
21- Image / Add Borders / Symmetric Marcado / 2 pixels cor Clara
Adicione sua marca d'água ou Assinatura
Layers / Merge / Merge all (Flatten)
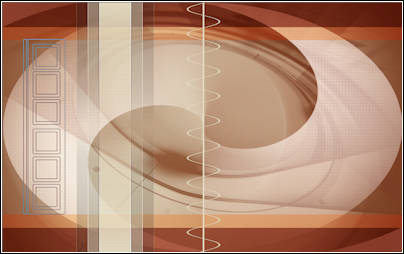
Salve como jpeg.
Versão com tube de Vió:
©Tutorial Traduzido por Estela Fonseca 20/02/2017.
Obrigada Monaliza por me permitir traduzir seus trabalhos.