LANA
Tutorial de ©Monaliza, original, AQUI.
Tutorial traduzido no PSP X9, mas pode ser feito com outras versões.
Material Necessário:
Os tubes usados neste tutorial são de Sylvie Erwan, seu blog aqui.
A mask é de Narah, seu grupo aqui.
Plugins Utilizados:Alien Skin Eye Candy 5 / Impact
AP [Lines] / Lines SilverLining
Carolaine and Sensibility / CS-LDots e CS-HLines
Mehdi / Sorting Tiles
Toadies / What are you?
VanDerLee / Unplugged-X
Visual Manipulation / X-Mirror
Preparação:Copie as seleções para a pasta de seleções do PSP
Dê dois cliques no preset Alien Skin para que sejam colocados automaticamente no plugin.
Abra os tubes, duplique e feche os originais
Abra a mask no PSP e minimize
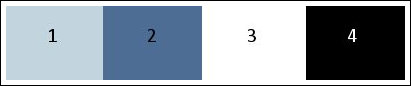
Cores:
01 - Coloque uma cor clara (1) no Foreground e uma cor escura (2) no Background
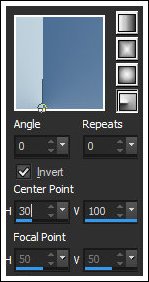
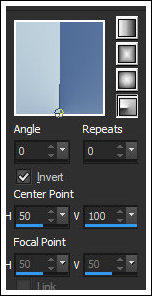
Prepare um Gradiente Radial:
Abra uma nova imagem transparente com 850 x 500px
Pinte com o gradiente
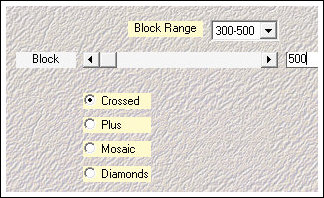
Effects / Plugins / Mehdi / Sorting Tiles
02 - Layers / duplicate
Blend Mode / Soft Light (ou outro)
Ative a layer Raster 1
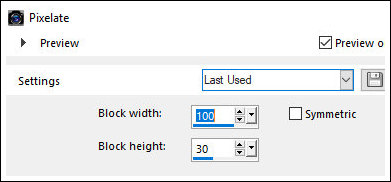
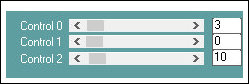
Effects / Distortion Effects / Pixelate
03 - Ative a layer <<Copy of Raster 1>>
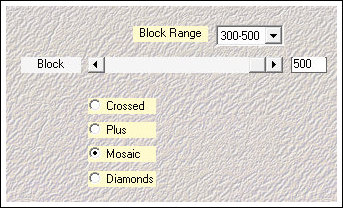
Effects / Plugins / Mehdi / Sorting Tiles
Effects / Plugins / Visual Manipulation / X-Mirror
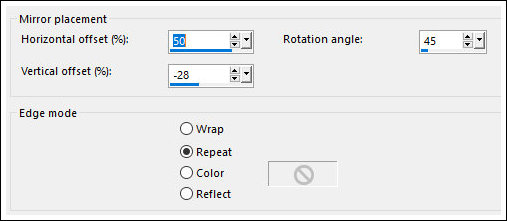
Effects / Reflections Effects / Rotating Mirror
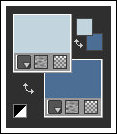
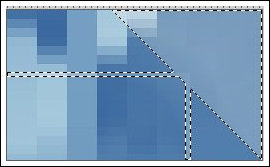
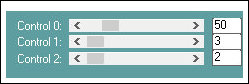
04 - Ative a Magic Wand e configure conforme o print:
Selecione o ângulo direito da imagem:
Selections / Promote selection to layer
Selections / Select None
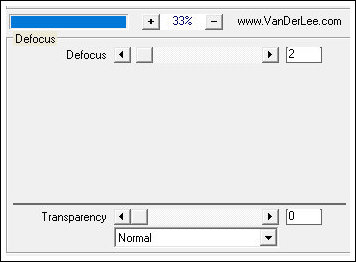
Effects / Plugins / VanDerLee / Unplugged_X / Defocus
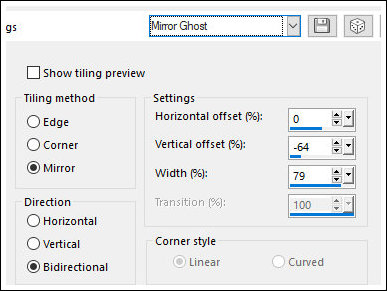
05 - Effects / Image Effects / Seamless Tiling / Mirror ghost
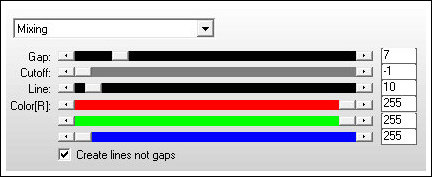
Effects / Plugins / AP [Lines] / Lines SilverLining
Blend Mode / Screen
Opacidade / 60 (ou a seu gosto)06 - Ativar a layer <<Copy of Raster 1>>
Selections / Load selection from disk / Selection <<mz_sel_lana>>
Selections / Promote selection to layer
Layers / Arrange / Bring to top
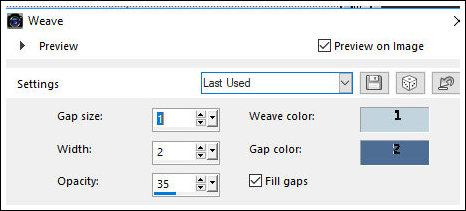
Effects / Texture Effects / Weave
Selections /Select None
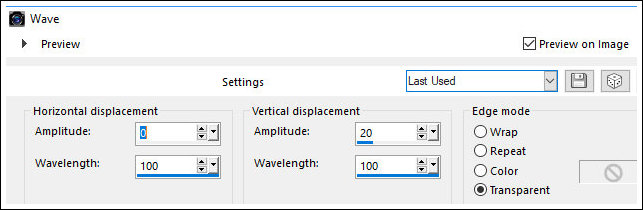
07 - Effects / Distortion Effects / Wave
Image / Mirror / Mirror Horizontal
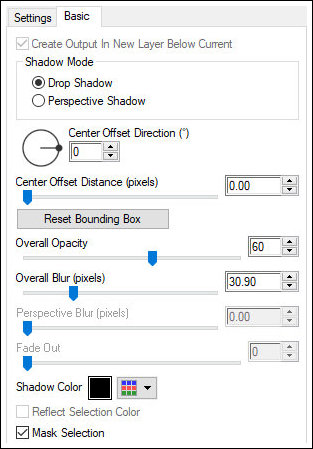
Effects / Plugins / Eye Candy 5:Impact / Perspective Shadow / Preset <<02_shadow>>
Effects / Image Effects / Offset
Blend Mode / Soft Light
Effects / Image Effects / Seamless Tiling / <<Mirror Ghost>>
08 - Ative a layer raster 1
Selections / Load selection from disk / Selection <<mz_sel_lana1>>
Selections / Promote selection to layer
Carolaine and Sensibility / CS_LDots / Default
Selections / Select None
09 - Ative a layer raster 1
Selections / Load selection from disk / Selection <<mz_sel_lana1_a>>
Selections / Promote selection to layer
Effects / Plugins / Carolaine and Sensibility / CS_HLines
Selections / Select None
Blend Mode / Darken (ou outro)
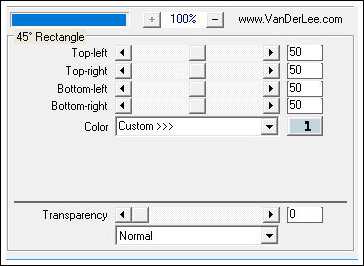
10 - Layers / New Raster layerLayers / Arrange / Bring to top
Effects / Plugins / VanDerLee / Unplugged-X / 45° rectangle
Blend Mode / Soft Light
11 - Ative a layer Raster 1
Selections / Load selection from disk / Selection <<mz_sel_lana2>>
Selections / promote selection to layer
Selections /Select None
Effects / Plugins / Toadies / What are you?
Effects / Plugins / Alien Skin Eye Candy 5 / Impact / Perspective Shadow /
Preset<<02_shadow>> igual ao passo 7
12 - Ative a layer do Topo (Raster 2)
Copie o elemento <<mz_lana_lignes>.
Cole como nova layer
Ative a <Pick Tool / Posição de X:217 / Posição de Y:0
Blend Mode / Screen
Baixar a opacidade para 85 (ou a seu gosto)
Effects / Plugins / Eye Candy 5: impact / Perspective Shadow / Preset<<02_shadow(igual ao passo 7)
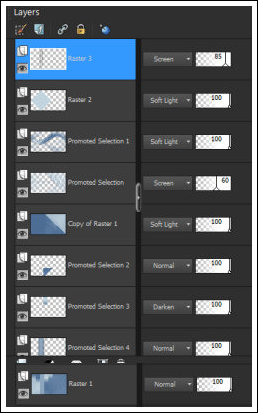
As layers estarão assim:
13 - Edit / Copy Special / Copy Merged
Cole como uma nova imagem
Image / Resize / 130x130px (Lock Aspect Ratio desmarcado / Resize All layers marcado)
Selections / Select All
Copiar o tube personagem
Voltar à imagem pequena e colar como nova layer
Image / Resize <70%> / Resize All Layers desmarcado
Pocisione a imagem na seleção
Selections / invert
Aperte a tecla Delete
Selections / Select none14 - Image / Add borders / Symmetric marcado / 5px / branco
Prepare um Gradient Radial:
Selections / Select All
Image / Add borders / Symmetric marcado / 35 px / branco
Selections / Invert
Pinte com o gradiente
Selections / invert
Effects / Plugins / Alien Skin Eye Candy 5 / Impact / Perspective Shadow /Preset<<02_shadow>> / igual ao passo 7
Selections / Select None
Image / Add borders / Symmetric Marcado / 2 pixels cor branco15 - Edit / Copy
Voltar para a imagem principal
Ative a layer <<Copy of Raster 1>>
Colar a imagem copiada, como nova layer
Ative a <Pick Tool> / Posição X:476 / Posição Y:137
Effects / Plugins / Alien Skin Eye Candy 5 / Impact / Perspective Shadow /
Preset<<02_shadow>> / igual ao passo 7
16 - Ative a layer do topo
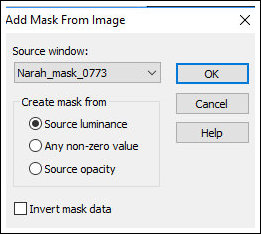
Layers / New Raster LayerPreencha com a cor branca
Layers / New Mask Layer / From image: Mask <<Narah_mask_0773>>
Layers / Merge / Merge Group
Selections / Load save selection / Load selection from disk: Selection <<mz_sel_lana3>>
Aperte a tecla Delete
Selections / Select None17 - Copie o elemento <<mz_lana_deco>>
Cole como nova layer
Ative a <Pick Tool> / Posição de X:480 / Posição de Y:141
Copie o elemento <<mz_lana_text1>>
Cole como nova layer
Ative a <Pick Tool> / Posição de X:454 / Posição de Y:56
Copie o elemento <<mz_lana_text2>
Cole como nova layer
Ative a <Pick Tool> / Posição de X: 710 / Posição de Y: 139
18 - Layers / New Raster Layer
Preencha com a cor branca
Selections / Select All
Selections / Modify / Contract: 2px
Aperte a tecla Delete
Image / Add borders / symmetric marcado / 1px / cor escura (2)
Selections / Select All
Image / Add borders / Symmetric marcado / 15 pixels cor brancaEffects / 3D Effects / Drop Shadow: 0/0/60/20 / Cor Preta
Selections / Select None
Image / Add borders / Symmetric marcado / 1px / cor escura (2)
Image / Add borders / Symmetric marcado / 35px / branco19 - Copie o elemento <<mz_lana_deco1>>
Cole como nova layer
Posicione no canto superior esquerdo conforme modelo
Com a ferramenta <Color change> colorize com a cor escura (2)
Layers / Duplicate
Image / Mirror / Mirror Horizontal
Image / Mirror / Mirror Vertical20 - Copie o tube personagem
Cole como nova layer
Posicione à esquerda e aplique um Drop Shadow de sua escolha
Image / Add borders / symmetric marcado / 1px / cor escura (2)
Coloque sua assinatura
Merge all
Redimensione se necessário
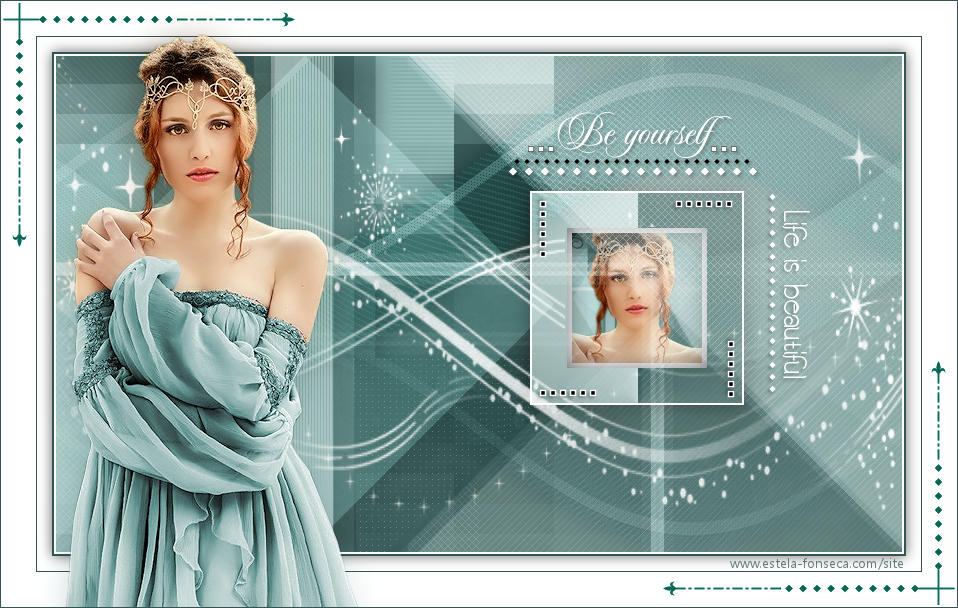
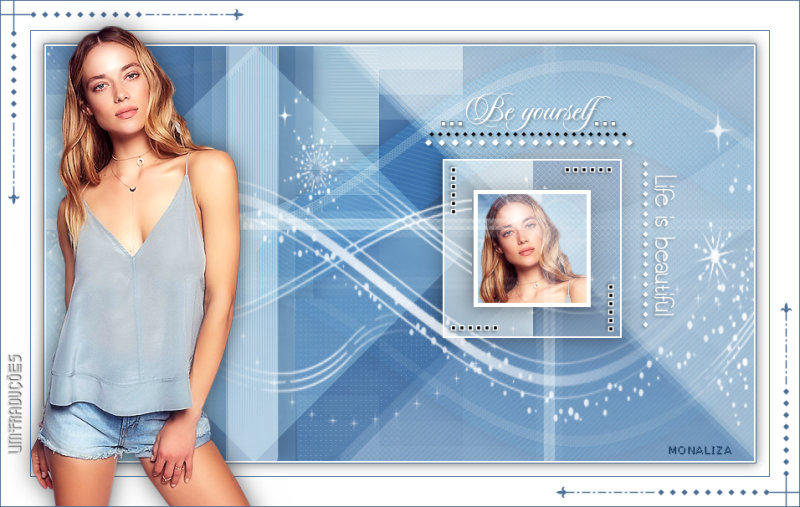
Salve como JPEGVersão original com tube de Sylvie Erwan.
©Tutorial Traduzido por Vera Mendes em 15/10/2018.
Obrigada Monaliza por me permitir traduzir seu trabalho.