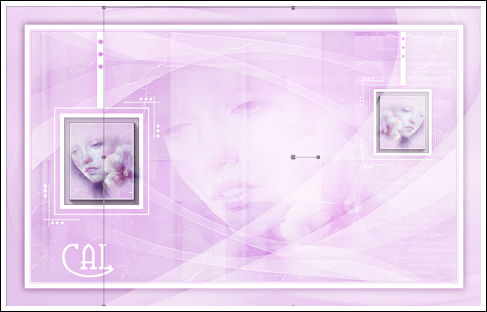
CAL
Tutorial de ©Monaliza, original, AQUI.
Tutorial traduzido no PSP X9, mas pode ser feito com outras versões.
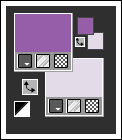
Material Necessário:
Os tubes utilizados são de Cal na Primeira versão.
A Segunda versão o tube é de Mentali
A Mask é de Narah , seu grupo AQUI
Plugins Utilizados:
AAA Frame/ Foto Frame
Alien Skin Eyes Candy 5/ Impact
Andromeda/ cMulti
AP 01 [Innovations]/ Lines SilverLining
Unlimited 2 / <BKG Kaleidoscope>
Carolaine and Sensibility / CS Rectangle
FM Tile Tools / Blend Emboss
Ita@lian Editors Effects/ Effetto fantasma
Photo Agin Kit / Cracked Paper
Penta com/ Color dot
Toadies
Simple
Preparação:
Abra o tube no PSP, duplique e feche o original. Remova a marca d'água da cópia.
Copie as seleções para a pasta de seleções do PSP
Duplo clique nos <<presets>> do Alien Skin para importa-los automaticamente
Abra a Mask no PSP e Minimize
Nota: Image / Mirror / Mirror Horizontal = Image/Mirror
Image / Mirror / Mirror Vertical= Image / Flip
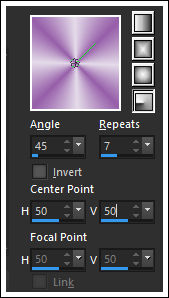
01- Primeiro Plano cor escura e Segundo Plano cor clara
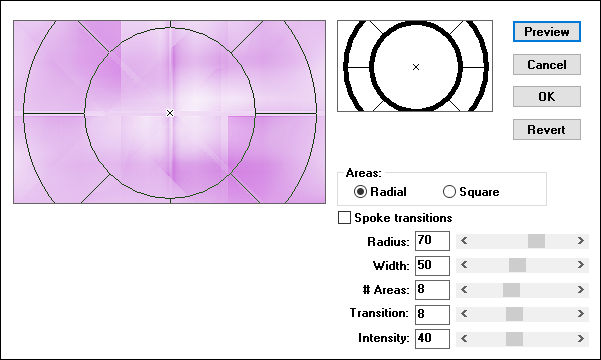
Gradiente <<Radial>> Configurado como segue:
Abra uma nova imagem transparente de 850/500 pixels
Preencha a layer com o Gradiente
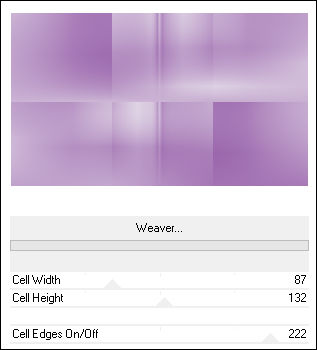
02- Effects / Plugins / Unlimited 2 / Toadies / Weaver
Layers / Duplicate
Adjust / Sharpness / Sharpen More
Layers / Duplicate
Effects / Plugins / Unlimited 2 / <BKG Kaleidoscope> / @Blue Berry Pie
Blend Mode / Overlay
Layers / Duplicate
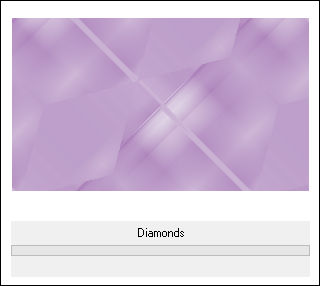
Effects / Plugins / Unlimited 2/ Simple / Diamond
Blend Mode / Soft Light
Layers / Merge / Merge Visible
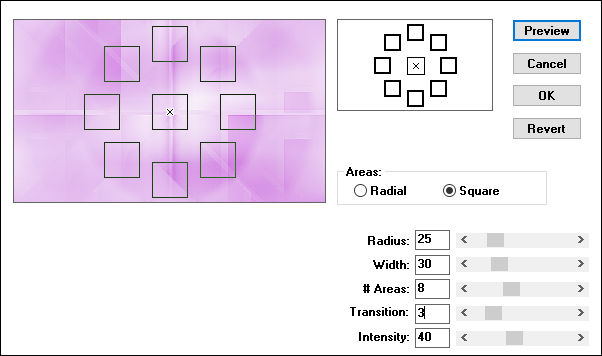
03- Effects / Plugins / Andromeda / cMulti
Effects / Plugins / Andromeda / cMulti
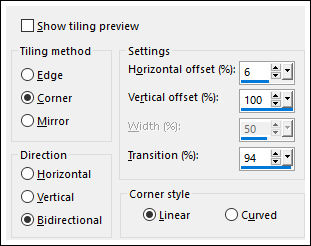
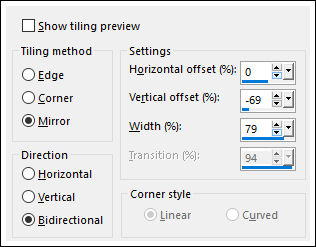
04- Effects / Image Effects / Seamless Tiling / Side By Side
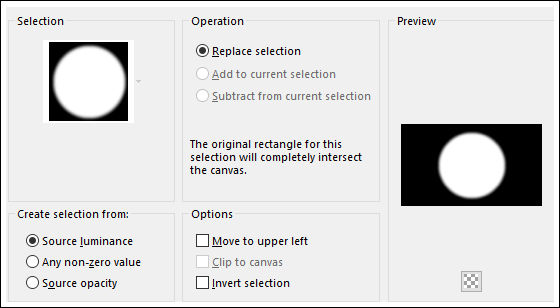
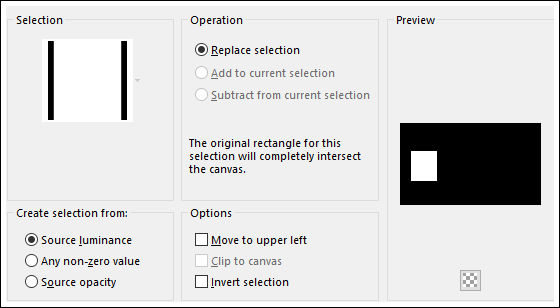
Selections / Load save selection / Load selection from disk: "mz_sel_cal1"
Selections / Promote Selection to Layer
Selections / Select None
05- Effects / Plugins / AP 01 [Innovations] / Lines SilverLining
Effects / Image Effects / Seamless Tiling
06- Ative a Layer do Fundo
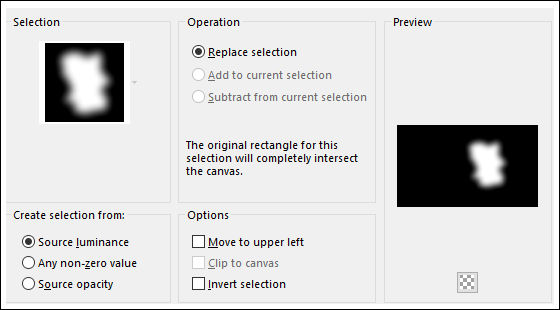
Selections / Load save selection / Load selection from disk: "mz_sel_cal2"
Selections / Promote Selection to Layer
Selections / Select None
Effects / Plugins / Carolaine and Sensibility / CS Rectangle
Effects / Plugins / AP 01 [Innovations] / Lines SilverLining (idem ponto 6)
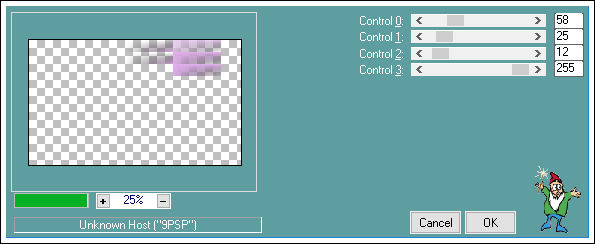
Effects / Plugins / Ita@lian Editors effects / Effetto fantasma: 41
Adjust / Sharpness / Sharpen
Blend Mode / Hard Light
07- Ative a Layer do topo
Ative o tube da Personagem
Copie e Cole como nova layer
Image / Mirror / Mirror Horizontal
Blend Mode / Overlay
Baixe a opacidade à gosto
Selections / Load save selection / Load selection from disk: "mz_sel_cal3"
Selections / Invert
Ative a Layer do Fundo (Merged)
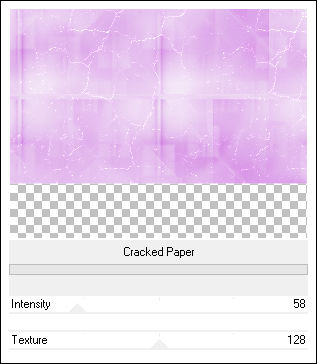
Effects / Plugins / Unlimited 2 / Photo Agin Kit/ Cracked Paper
Selections / Select None
08- Ative o elemento "mz_cal_rectangles"
Copie e Cole como nova layer
Layers / Arrange / Bring to top
Blend Mode / Soft Light
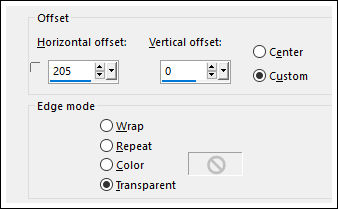
Effects / Image Effects / Offset
09- Ative a Layer do Fundo
Selections / Load save selection / Load selection from disk: "mz_sel_cal4"
Selections / Promote Selection to Layer
Selections / Select None
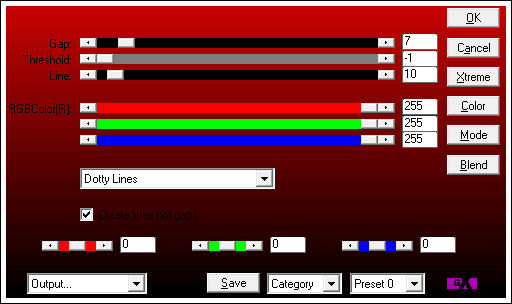
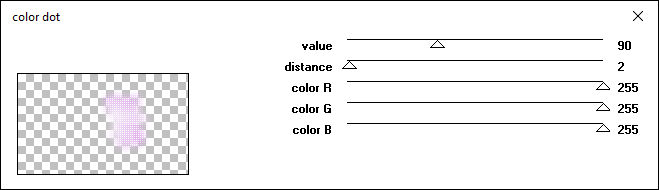
Effects / Plugins / Penta com/ Color dot
Ative o tube "Texte"
Copie e Cole Como Nova Layer
Layers / Arrange / Bring to topo
Objets/ Align / Right
Blend Mode / Luminance Legacy (ou outro)
10- Layers / New Raster Layer
Preencha com a cor #ffffff
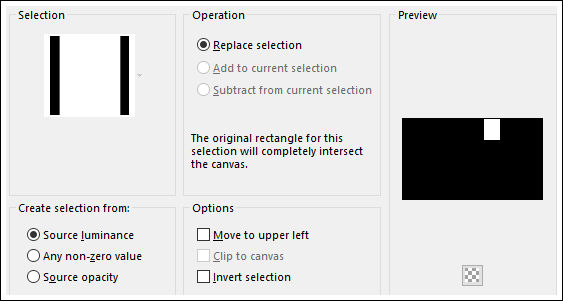
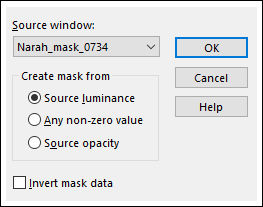
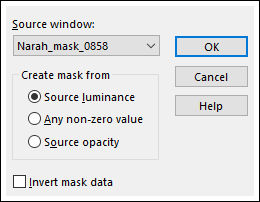
Layers / New Mask Layer / From Image:
Adjust / Sharpness / Sharpen More
Layers / Merge / Merge Group
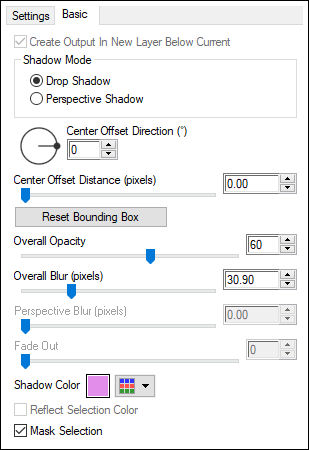
Effects / Plugins / Alien Skin Eyes Candy 5/ Impact / Perspective shadow /02_shadow
Guia Basic
11- Ative a Layer do Fundo
Effects / Plugins / FM Tile Tools/ Blend Emboss / Default
Selections / Load save selection / Load selection from disk: "mz_sel_cal5"
Copie
Selections / Select None
12- Abra uma nova imagem transparente de 190/215 pixels
Preencha com a cor #ffffff
Selections / Select All
Selections / Modify / Contract 2 pixels
Delete no teclado
Selections / Modify / Contract 10 pixels
Preencha com a cor #ffffff
Selections / Modify / Contract 8 pixels
Cole na seleção ( a imagem está na memória)
Ative o tube da Personagem
Image /Mirror / Mirror Horizontal
Image / Resize / 190 pixels de Altura ... Resize All Layers Marcado
Copie e Cole como nova layer
Posicione sobre a seleção
Layers / Merge / Merge Down
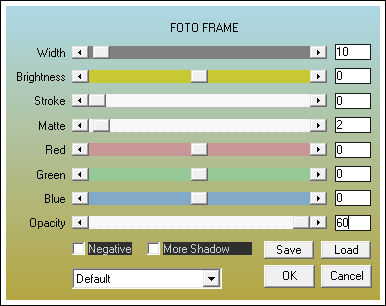
Effects / Plugins / AAA Frame / Foto Frame
Selections / Select None
Copie
Retorne ao seu trabalho
Ative a Layer do topo
Cole Como Nova layer
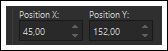
Pick Tool (K) Posição de X=45 / Posição de Y= 152
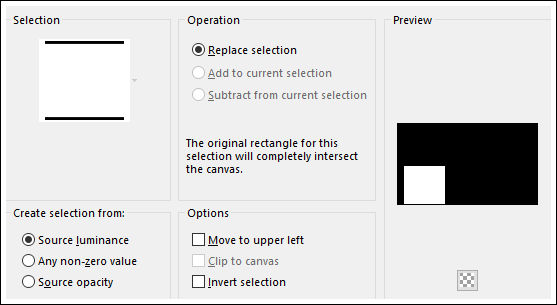
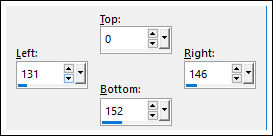
Selection Tool (S) / Custom Selection
Layers / New Raster Layer
Preencha com a cor #ffffff
Selections / Select None
Layers / Arrange / Move Down
Ative a Layer do topo
Layers / Merge / Merge Down
Effects / Plugins / Alien Skin Eyes Candy 5/ Impact / Perspective shadow /02_shadow (idem ponto 10)
14- Selections / Load save selection / Load selection from disk: "mz_sel_cal6"
Layers / New Raster Layer
Preencha com a cor escura
Effects / Plugins / Alien Skin Eyes Candy 5/ Impact / Glass / preset "mz_glass_02"
Selections / Select None
Layers / Merge / Merge Down
Layers / Duplicate
Image / Mirror / Mirror Horizontal
Image / Resize / 70 % ... Resize All Layers ... Desmarcado
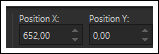
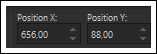
Pick Tool (K) Posição de X=652 / Posição de Y= 0
15- Ative o tube <<mz_cal_deco>> Copie e Cole como nova layer
Blend Mode / Screen
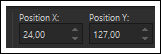
Ferramenta <<Pick Tool>> Posição de X= 24 / Posição de Y= 127
Ative o tube <<mz_cal_deco_pm>>
Copie e Cole como nova layer
Blend Mode / Screen
Ferramenta <<Pick Tool>> Posição de X= 656 / Posição de Y= 88
16 - Image / Add Borders / Symmetric Marcado / 1 pixel cor escura
Copie
Image / Add Borders / Symmetric Marcado / 2 pixels cor #ffffff
Image / Add Borders / Symmetric Marcado / 1 pixel cor escura
Image / Add Borders / Symmetric Marcado / 10 pixels cor #ffffff
Image / Add Borders / Symmetric Marcado / 1 pixel cor escura
Selections / Select All
Image / Add Borders / Symmetric Marcado / 35 pixels cor #ffffff
Selections / Invert
Cole na seleção
Adjust / Blur / Radial Blur
Adjust / Sharpness / Sharpness More
Selections / Invert
Effects / 3D Effects / Drop Shadow: 0 / 0 / 60 / 20 / # cor escura
Edit / Repeat Drop Shadow
Selections / Select None
17- Ative o tube <<Titre>>
Copie e Cole como Nova Layer
Posicione à gosto
Effects / Plugins / Alien Skin Eyes Candy 5 / Impact / Perspective shadow / 02_shadow ( igual ao ponto 10)
Layers / New Raster Layer
Preencha com a cor branca
Layers / New Mask Layer / From Image
Layers / Duplicate
Layers / Merge / Merge Group
Blend Mode / Soft Light
Effects / Image Effects / Offset
Adjust / Sharpness / Sharpen More
Nota: Com a Ferramenta <<Pick Tool>> Mova essa imagem ligeiramente para baixo
18 - Ative o tube <<mz_cal_corner>>Copie e Cole Como Nova Layer
Posicione no canto superior esquerdo
Effects / 3D Effects / Drop Shadow: 1 / 1 / 60 / 1,00 / cor escura
Layers / Duplicate
Image / Mirror / Mirror Horizontal
Image / Mirror /Mirror Vertical
Image / Add Borders / Symmetric Marcado / 1 pixel cor escura
Assine seu trabalho
Salve como JPG
Versão com tubes de Mentali:
©Tutorial Traduzido por Estela Fonseca 05/03/2018.
Obrigada Monaliza por me permitir traduzir seu trabalho.