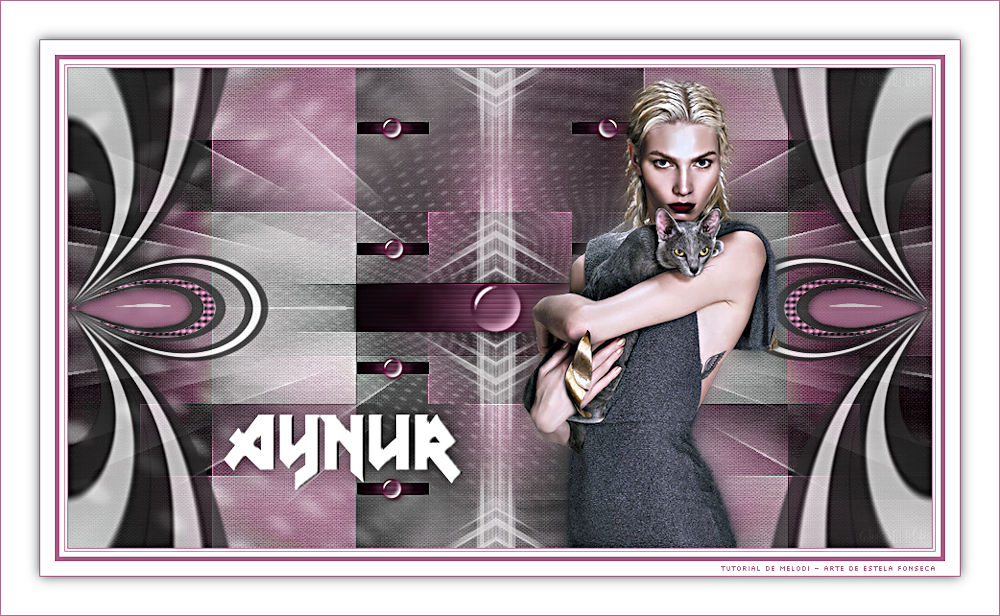
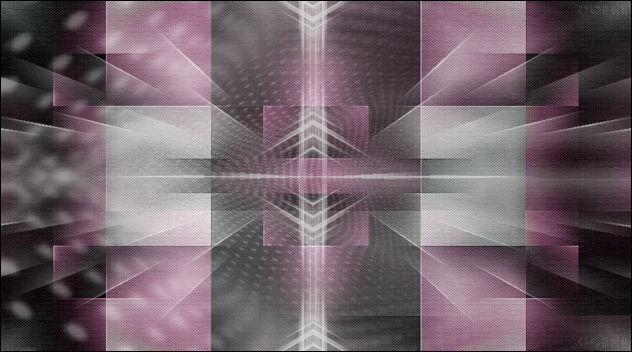
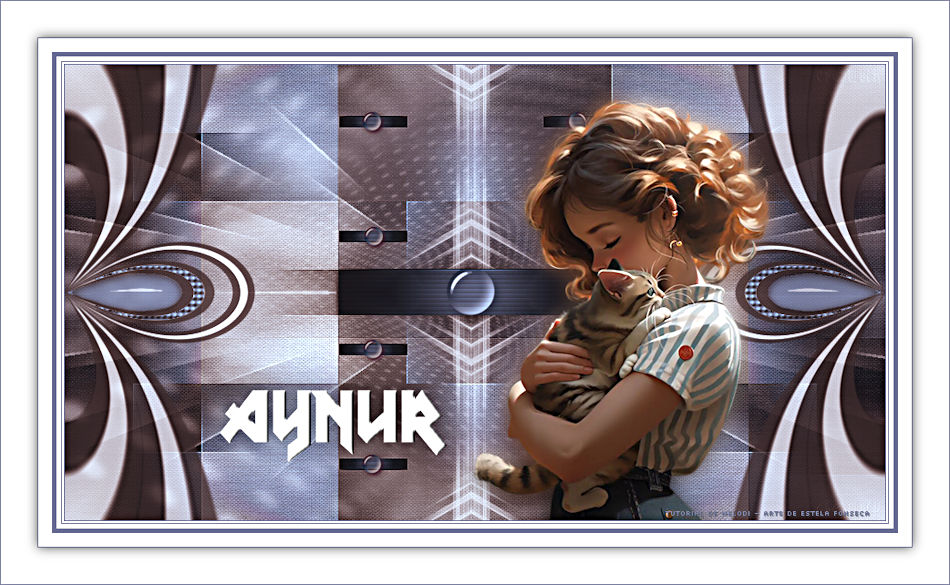
FRIENDSHIP
Tutorial escrito por Melodi.
O tutorial traduzido no Corel PSP X8 e traduzido no Corel PaintShopPro 2022 ULTIMATE.
MATERIAIS:
Woman Tube: Femme-1703-Azalee
Mask_GB_12
deco hüzünlüyıllar
decor_nmcriacoes_163
deco melodi Aynr 1 and 2
Text Melodi – Aynur
Selections aynr 1 and 2
Preset Melodi-Frendship
PLUGINS:Mehdi – Wavy Lab 1.1.
Flaming Pear - Flexify 2
Filters Unlimited 2.0 - Paper Textures - Canvas,Fine
Mehdi – Sorting Tiles.
Alien Skin Eye Candy 5 Impact – Perspective Shadow
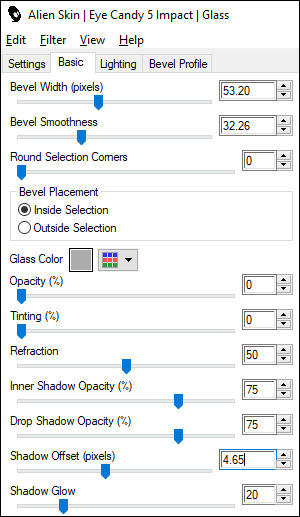
Alien Skin Eye Candy 5 Impact – Glass
Texture Effects – Blinds
Filters Unlimited 2.0 - Tile&Mirror – Mirrored & Scaled
Filters Unlimited 2.0> &<Bkg Designer sf10 III – VMT Instant Tile
Preparação:Abra o material no PSP. Duplique e feche o original.
Copie as seleções para a pasta de seleções do PSP.
Minimize a Mask no PSP.
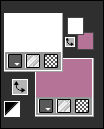
01- Primeiro Plano cor #ffffff / Segundo Plano cor #b57397
(Se trabalhar com outra imagem escolha uma cor que harmonize com o seu tube).
Abra uma nova imagem transparente de 900 x 500 Pixels
Effects /Plugins /Mehdi / Wavy Lab 1.1.
Adjust /Blur /Gaussian Blur / Radius 50.Effects /Plugins /Mehdi / Sorting Tiles.
Effects /Edge Effects /Enhance.
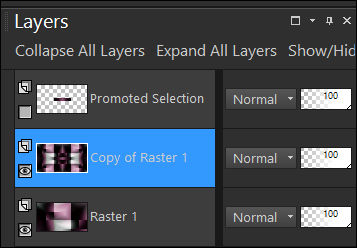
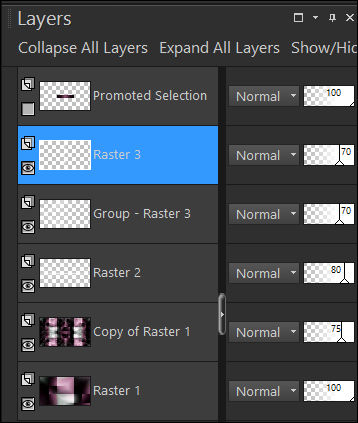
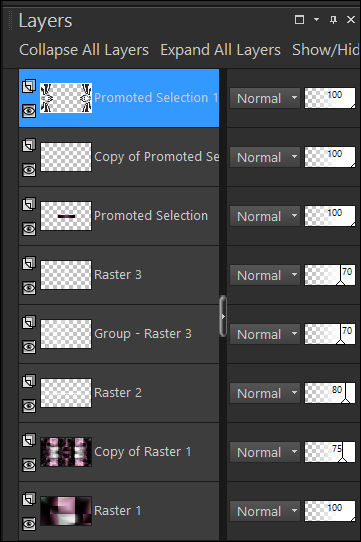
Layers /Duplicate. (Copy of Raster 1)
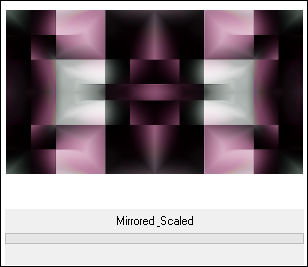
Effects / Plugins / Filters Unlimited 2.0 / Tile&Mirror / Mirrored & Scaled
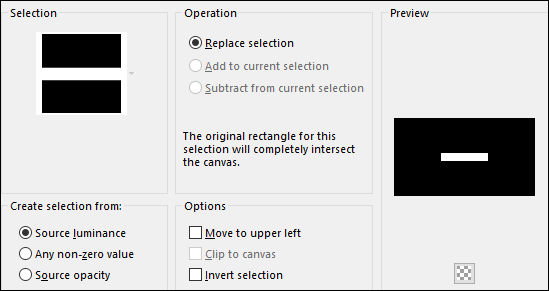
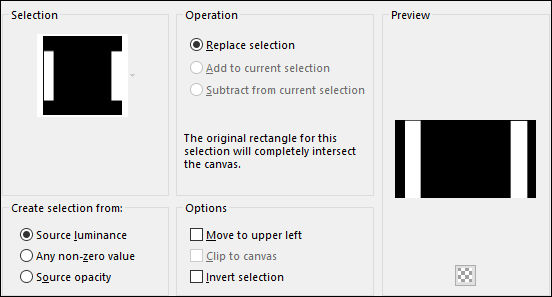
02- Selections/Load/Save Selection/Load selections from Disk : aynr 1
Selections / Promate Selection to Layer
Selections / Select None
Feche o olho da layer << Promoted Selection >>
Ative a Layer do meio ( Copy of Raster 1)
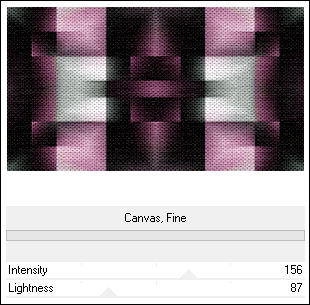
Effects / Plugins /Filters Unlimited 2.0 / Paper Textures / Canvas Fine :
Opacidade / 75%
Abra o deco << Hüzünlüyıllar >> Copie e Cole como nova layer em seu trabalho (Raster 2)Não Mova!
Opacidade / 80%
03- Layers /New Raster Layer. (Raster 3)
Preencha com a cor do Primeiro Plano #ffffff
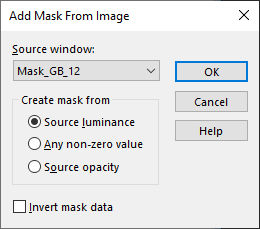
Layers /New Mask Layer /From Image: Mask_GB_12
Layers / Merge / Merge Group (Group – Raster 3)
Layers / Duplicate (Copy of Group – Raster 3)
Image / Mirror / Mirror Vertical
Layers / Merge /Merge Down (Group – Raster 3)
Opacidade / 70%Abra o Deco <<decor_nmcriacoes_163>> Copie e cole como nova layer em seu trabalho (Raster 3)
Pick Tool (K) Posição X: 350 / Posição Y: -46
Opacidade / 70%
04- Ative e Abra o olho da Layer a layer do Topo <<Promoted Selection>>Effects / Texture Effects / Blinds: Cor #000000
Effects /3D Effects /Drop Shadow: 0,0,40,10 Preta
Layers /Duplicate. (Copy of Promoted Selection)
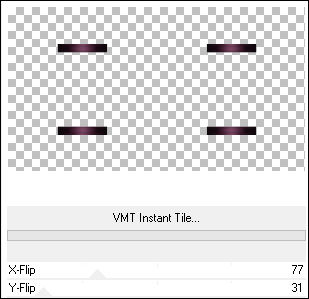
Effects / Plugins /Filters Unlimited 2.0 / &<Bkg Designer sf10 III / VMT Instant Tile… (x2)
Selections/Load/Save Selection/Load selections from Disk : aynr 2
Delete no Teclado
Selections / Select None
05- Primeiro Plano cor (4) #2a2a2a
Layers / New Raster Layer. (Raster4)
Preencha com a cor do Primeiro Plano cor (4) #2a2a2a
Selections /Select All.
Selections / Modify / Contract / 30 pixels.
Selections /Invert.
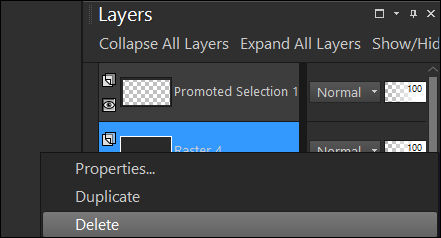
Selections / Promote Selection to Layer. (Promoted Selection 1)
Ative a Layer (Layer Raster 4)
Clique com o botão direito do Mouse <<Delete>>
Ative a layer Promoted Selection 1
Selections / Modify /Contract /10 pixels.
Preencha com a cor branca (#ffffff )
Selections /Select None.
Layers /Duplicate.
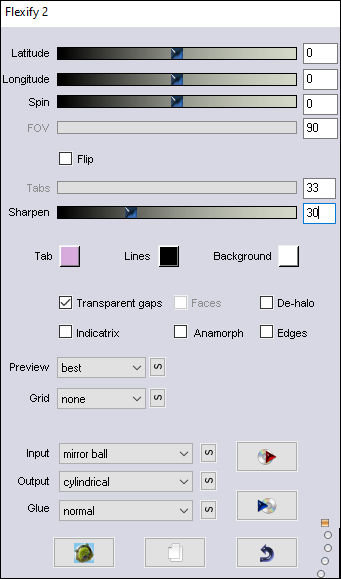
Image /Resize / 80% ... Resize All Layers ... DesmarcadoEffects / Plugins /Flaming Pear / Flexify 2: Miror ball / Cylindrical/ Normal
Ative novamente a layer (Promoted Selection1)
Image /Resize / 90% ... Resize All Layers ... Desmarcado
Effects / Plugins /Flaming Pear / Flexify 2: Miror ball / Cylindrical/ Normal (mesmos valores de antes)
Ative a layer do Topo
Layers / Merge / Merge Down.
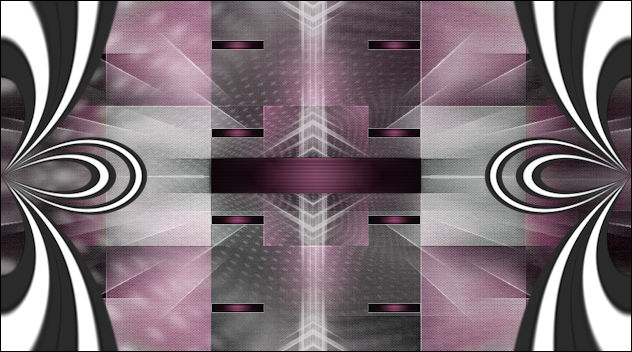
06- Ative a Varinha Mágica , tolerance e feather 0, e clique no círculo formado pelo efeito, veja abaixo:
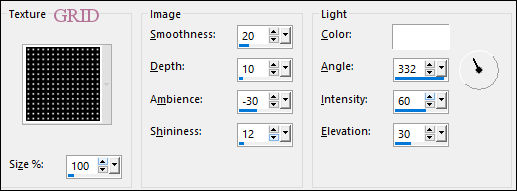
Preencha com a cor do Segundo Plano (cor 2) #b57397Effects / Texture Effect / Texture (Grid )
Selections > Select None
Ative a Varinha Mágica , tolerance e feather 0, e clique no círculo formado pelo efeito, veja abaixo:
Preencha com a cor (2) #b57397
Effects / Plugins / Alien Skin Eye Candy 5 / Impact / Glass / Clear
Selections / Select None
Opacidade / 70%
07- Abra o tube << deco melodi Aynr 1>>
Copie e cole como nova layer em seu trabalhoPick Tool (K) Position X: 415 / Position Y: 218
Blend Mode / Luminance(Legacy)
(ou outro dependendo de suas cores)
Abra o tube << deco melodi Aynr 2>> Copie e cole como nova layer em seu trabalhoPick Tool (K) Position X: 325 / Position Y: 50
Abra o tube << Femme-1703-Azalee>> Copie e cole como nova layer em seu trabalhoImage / Resize / 80%... Resize All Layers ... Desmarcado
Adjust / Sharpness / Sharpen
Pick Tool (K) Position X: 470 / Position Y: 8
Layers / Duplicate.
Adjust / Blur / Gaussian Blur / Radius 10.
Layers / Arrange / Move Down
08- Abra o << Text Aynur>> Copie e cole como nova layer em seu trabalhoPick Tool (K) Position X: 162 / Position Y: 361
Effects / 3D Effects / Drop Shadow: 0, 0 ,50 ,50 #000000
09- Image / Add Borders / Symmetric Marcado / 1 pixel cor 2 #b57397
Image / Add Borders / Symmetric Marcado / 2 pixel cor1 #ffffff
Image / Add Borders / Symmetric Marcado / 1 pixel cor 2 #b57397
Image / Add Borders / Symmetric Marcado / 5 pixel cor1 #ffffffImage / Add Borders / Symmetric Marcado / 5 pixel cor 2 #b57397
Image / Add Borders / Symmetric Marcado / 15 pixel cor1 #ffffffImage / Add Borders / Symmetric Marcado / 1 pixel cor 2 #b57397
Selections / Sellect All
Image / Add Borders / Symmetric Marcado / 40 pixel cor1 #ffffff
Effects / 3D Effects / Drop Shadow: 0 / 0 / 60 / 20 / Cor #000000
Selections / Sellect None
Image / Add Borders / Symmetric Marcado / 1 pixel cor 2 #b57397
Adicione seu nome ou sua marca d'água
Image / Resize / 900 pixels de Largura
Salve como JPGVersão com tube de LB Tubes:
©Tutorial traduzido por Estela Fonseca em 26/06/2023.
Não alterar nem repassar sem autorização.
