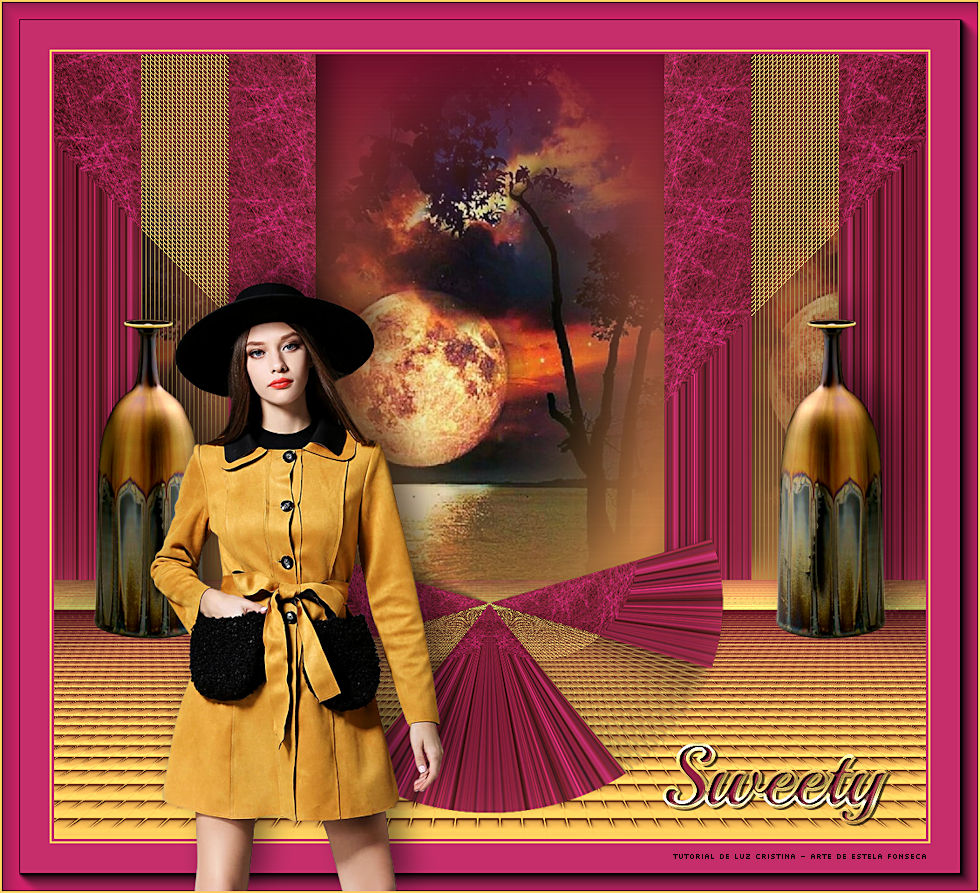
SWEETYTutorial de Luz Cristina - Original Aqui .Obrigada Luz Cristina, por sua autorização.
Materiais Necessários:
3 Tubes + 1 Misted + 2 Pattern
Plugins Utilizados: Muras Meister / Perspective Tile AAA Frames
Preparação: Abra os tubes no PSP, duplique e feche os originais.
Copie as Patterns para a pasta de Pattern do PSP.
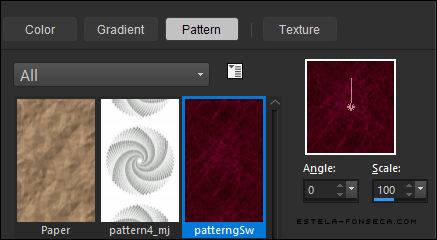
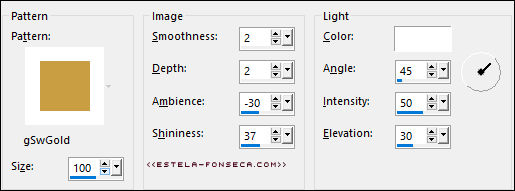
3- Coloque no Primeiro Plano a Pattern «patterngSw» configurado como segue:
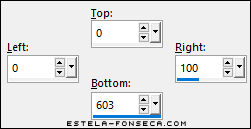
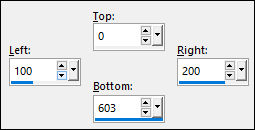
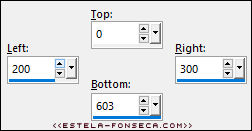
Preencha a seleção com a Pattern Selections / Select None 4- Selection Tool (S) /Rectangle / Custom Selection:
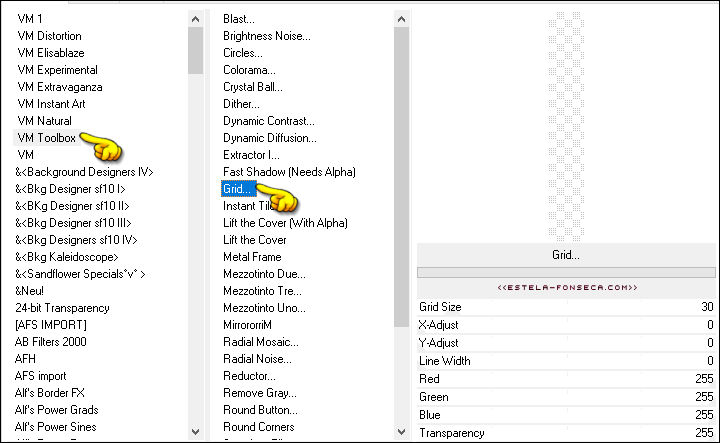
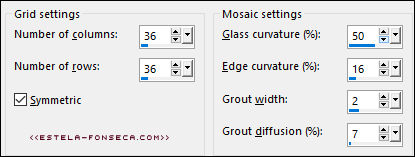
5- Effects / Plugins / Filters Unlimited 2.0 / VM Toolbox / Grid
6- Effects / Texture Effects / Sculpture
Selections /
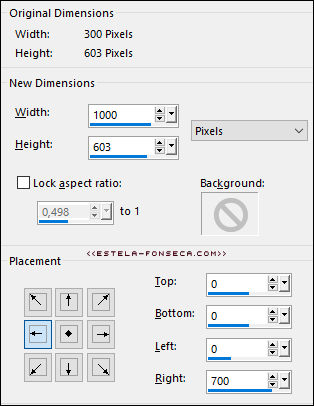
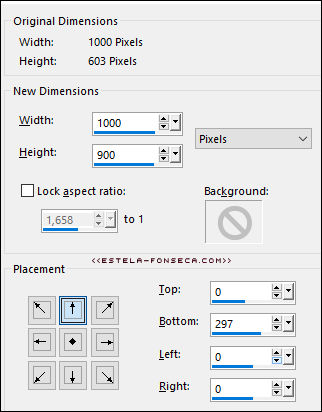
Select None 8- Preencha com a pattern do Primeiro Plano a Pattern «patterngSw» Selections / Select None 9- Image / Canvas Size:
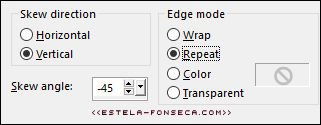
10- Effects /Geometric Effects / Skew
11- Layers / Duplicate Image / Mirror / Mirror Horizontal
12- Layers / Merge / Merge Down
14- Effects / 3D Effects / Drop Shadow: -15/ 15 / 50 / 50 / Cor #000000 Primeiro Plano cor #fac457 / Segundo Plano cor #520018
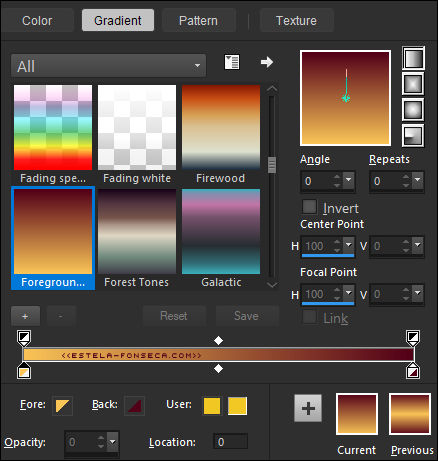
15- Layers / New raster layer Layers / Arrange / Send to Bottom Preencha esta layer com o Gradiente
16- Layers / Duplicate.
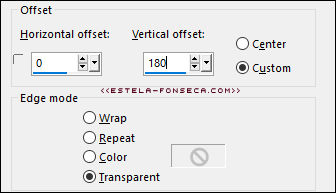
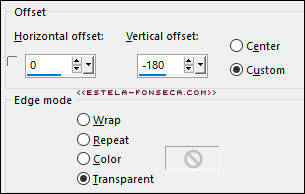
19- Ative o tube «Misted-Luz Cristina» copie e cole como nova layer 20- Effects / Image Effects / Offset: (esta etapa depende do tamanho do seu tube; você pode ignorá-la e mover o tube ao seu gosto)
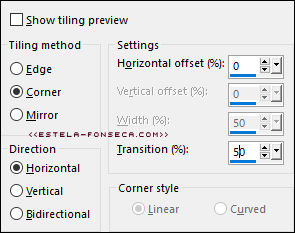
21- Effects / Image Effects / Seamless Tiling:
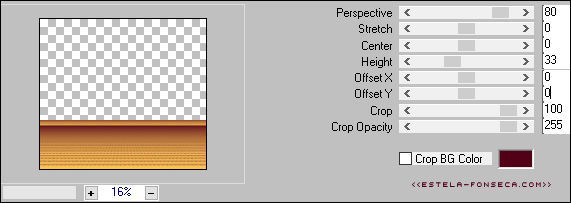
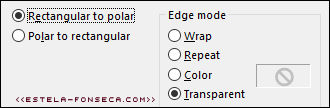
22- Ative a Layer «Raster 1» Layers / Duplicate 23- Effects / Distortion Effects / Polar Coordinate / Rectangular to Polar / Transparente
24- Image / Mirror / Mirror Vertical 26- Effects / Image Effects / Offset
27- Ative o tube «Deco-Luz Cristina» Copie e Cole como nova layer Posicione à esquerda como no exemplo
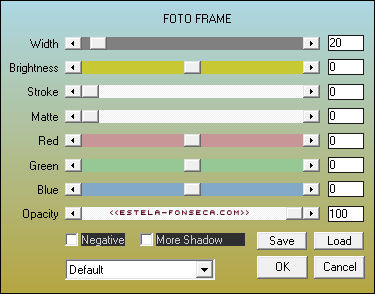
Effects / 3D Effects / Drop Shadow: -15/ 15 / 50 / 50 / Cor #000000 28- Layers / Duplicate Image / Mirror / Mirror Horizontal 29- Image / Add Borders / Symmetric Marcado / 3 Pixels cor escura Image / Add Borders / Symmetric Marcado / 2 Pixels cor clara Image / Add Borders / Symmetric Marcado / 55 Pixels cor escura 30- Effects / Plugins / AAA Frames / Foto Frame: width ... 20
Posicione à esquerda Image / Add Borders / Symmetric Marcado / 2 Pixels cor clara
32- Image / Resize / 86%... Resize All Layers ... Marcado
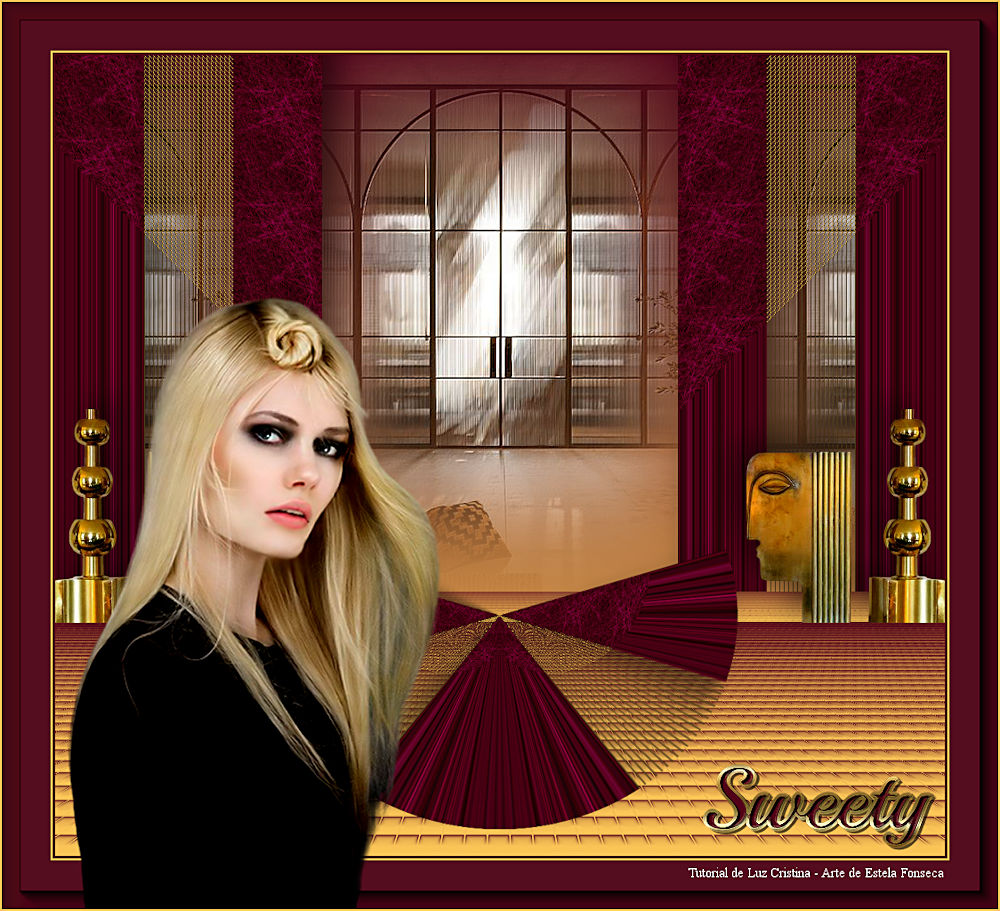
Versão com imagem de Pinterest e tube de Pqna Alice (personagem) Tube Deco (Calligraphy):
© Tutorial traduzido por Estela Fonseca
em 29/01/2023. |