 |
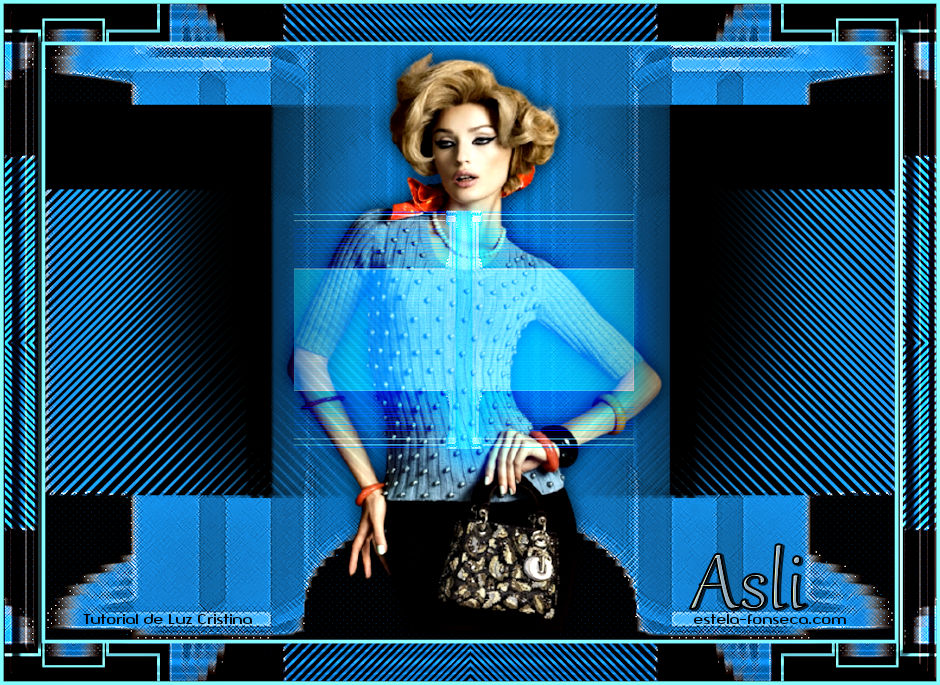
TOP ASLITutorial de ©Luz Cristina , link do original no banner abaixo.
Traduzido com o Corel PaintShop Pro Ultimate 2019.
Tube de Luz Cristina Mask de Benice Deco de Luz Cristina
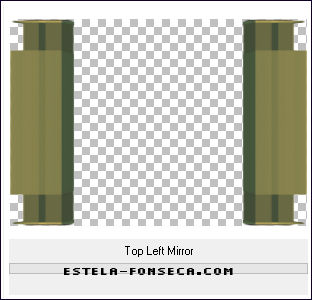
Plugins: Alien Skin Eye Candy 5 / Impact Simple / Top Left Mirror ** MuRa's Meister / Copies e Tone Brush strokes 2- Primeiro Plano cor #000000 e Segundo Plano cor #d0b15e
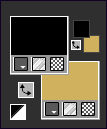
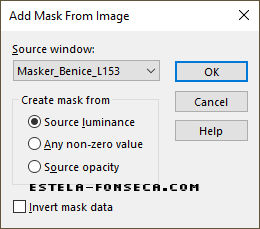
Preencha a Layer com a cor do Segundo Plano 4- Layers / New Mask layer / From Image: L-153 de Benice
Layers / Merge / Merge group 6- Effects / Reflection Effects / Rotating Mirror ( 0 / 180 / Reflect) 7- Effects / Geometric Effects / Cylinder
Horizontal / Strenght 100
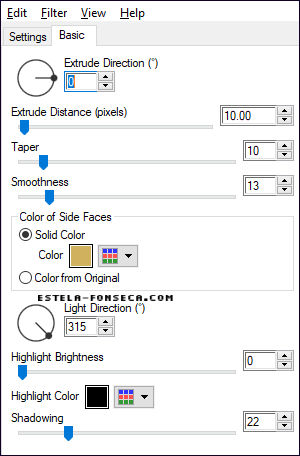
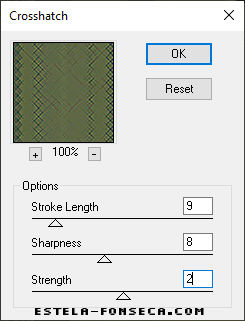
13- Effects / Plugins / Brush Strokes /
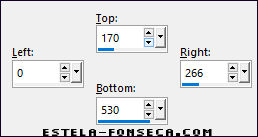
Crosshatch 15- Layers / New Raster Layer 16- Ferramenta Selection Tool /
Rectangle / Custom Selection
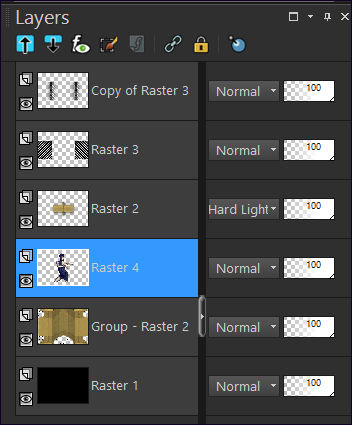
Effects / Reflection Effects / Rotating Mirror ( 0 / 180 / Reflect) 20- Layers / Duplicate 23- Effects / 3D Effects / Drop Shadow ( 3 / 3 / 80 / 1 / Cor #000000) 24- Abra o tube da Personagem, copie e cole como nova layer (É opcional o posicionamento do tube...) Layers / Arrange / Move Down ( 3 Vezes)
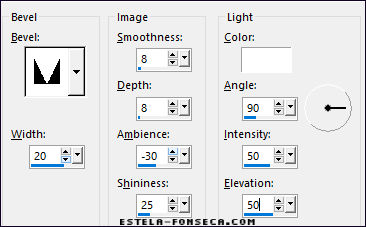
25- Effects / 3D Effects / Drop Shadow:
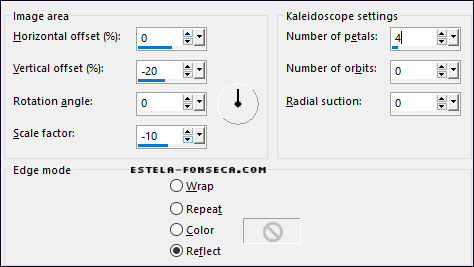
à sua escolha Image / Add Borders / Symmetric Marcado / 45 Pixels cor do Primeiro Plano Selecione a Borda de 45 Pixels 27- Effects / Reflection Effects / Kaleidoscope /
2 Vezes
29- Selections / Select None 30- Image / Add Borders / Symmetric Marcado / 4 Pixels cor do Segundo Plano 31- Image / Resize / 85%... Resize All Layers ... MARCADo 32- Abra o <<Texto>> Copie e Cole como nova layer Posicione 33- Layers / Merge / Merge All (Flatten) Assine e Salve como arquivo JPG otimizado.
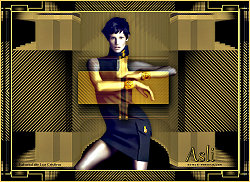
Versão com tube de Angel Star:
©Tutorial traduzido por Estela Fonseca
em: 17/07/2021. |