TOP SUZY SGAI
Tutorial de Luz Cristina, traduzido com a autorização da autora. Original - AQUI
Muitas bençãos na sua vida".
Materiais Necessários:
Flaming pear Blend emboss Flood Nick software.
2.- Foreground cor #026d51 e background #bf736b Forme um gradiente Linear angle 45 repeats 3 Preencha a imagem com o gradiente 3.- Selections /Select all Copie o tube da mulher e cole na seleção. Selections / Select none. 4.- Adjust / Blur/ Radial Blur: 6.- Effects /Geometric effects/ perspective horizontal / 90 transparente. 7.- Image / mirror Effects /Geometric effects/ perspective horizontal / 90 transparente. 8.- Layers/ duplicate Ative a Ferramenta mover (move tool) e coloque a
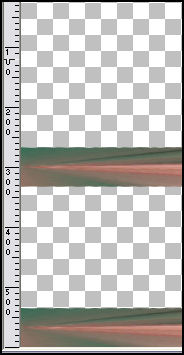
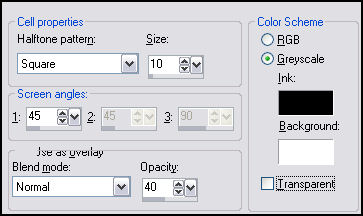
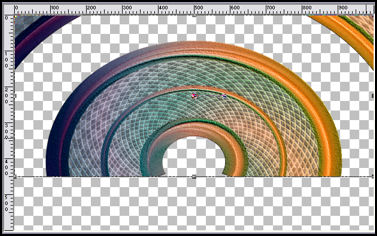
segunda barra como abaixo: Image / flip. Layers /Merge Visible. 10.- Effects /Distortion effects/ pinch / 100. 11.- Com a varinha mágica selecione as partes transparentes. Preencha com o mesmo gradiente - mudando a opacidade para 50%. 12.- Effects / Artistic Effects / halftone com estes
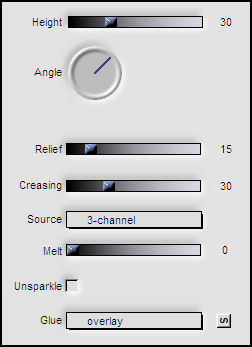
valores: Selections /Select None. 14.- Effects / Distortion effects/ polar coordinates / rectangular to polar / warp. 15.- Image/ flip. 16.- Adjust / Add Remove Noise /Add noise/ 10 uniforme mono. 17.- Effects / Plugin / Flaming pear / Boss emboss así (se não
tiveres use outro emboss):
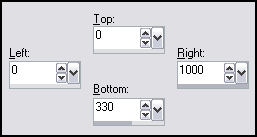
19.- Ferramenta de seleção (selection tool) clique em custom selection e configure:
20.- Selections/ invert /pressione a tecla delete. Selections / Select none. 21.- Ferramenta Deform Tool baixe a figura até o valor 450 px:
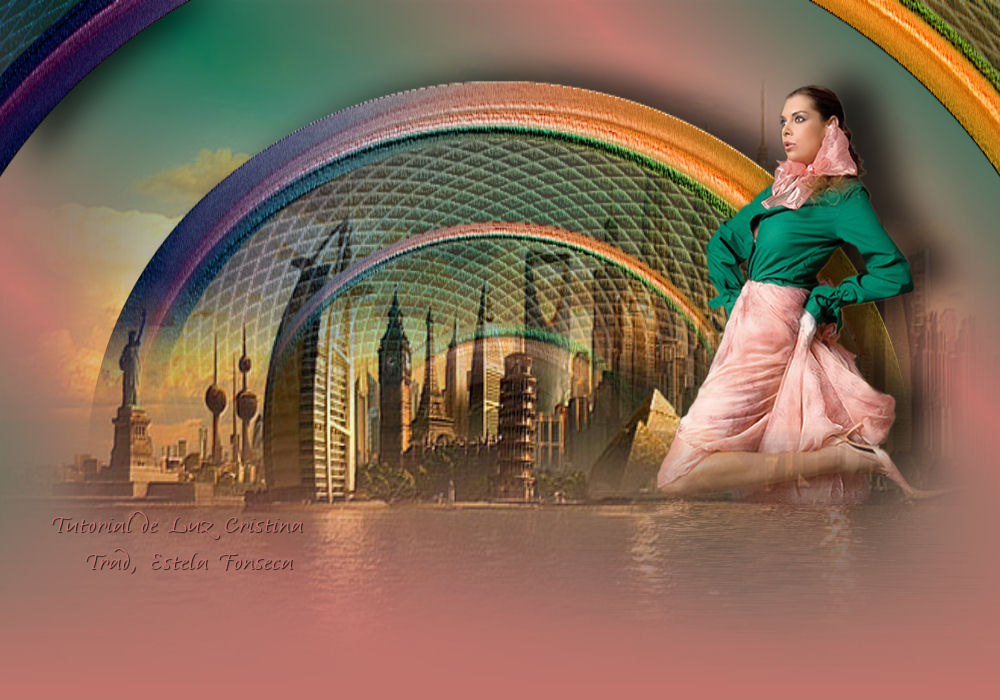
22.- Image / Canvas size / 1000 X 700 px. / 0 100 0 0. 23.- Layers / New Mask layer from image / Mask marge topfade Layers / Merge /merge group. 24.- Effects / 3D Effects /Drop shadow: -8 35 75 45. 25.- Layers /New raster layer /Layers / arrange send to bottom. 26.- Selections /Select all Copie o tube da paisagem e cole na seleção Selections / Select none. 27.- Layers / New raster layer Layers /arrange send to bottom Preencha com o mesmo gradiente do passo 2. 28.- Layers / New Mask Layer / From Image/ mask marge-topfade Layers / merge group Blend Mode / hard ligth. 29.- Layers /New raster layer Layers / arrange send to bottom Preencha com a cor #bf736b. 30.- Ative a layer de cima. Copie o tube da mulher e cole como nova layer. 31.- Effects / Plugin /Flaming Pear / flood:
32.- Layers / New mask layer from image /marge-topfade , aplique 2 vezes Layers / Merge / merge group. 33.- Posicione o tube a direita e aplique uma sombra. 34.- Assine seu trabalho Layers / Merge All / Exporte como JPG. Créditos: ©Tutorial traduzido por Estela Fonseca em 15 de
Maio de 2010. |