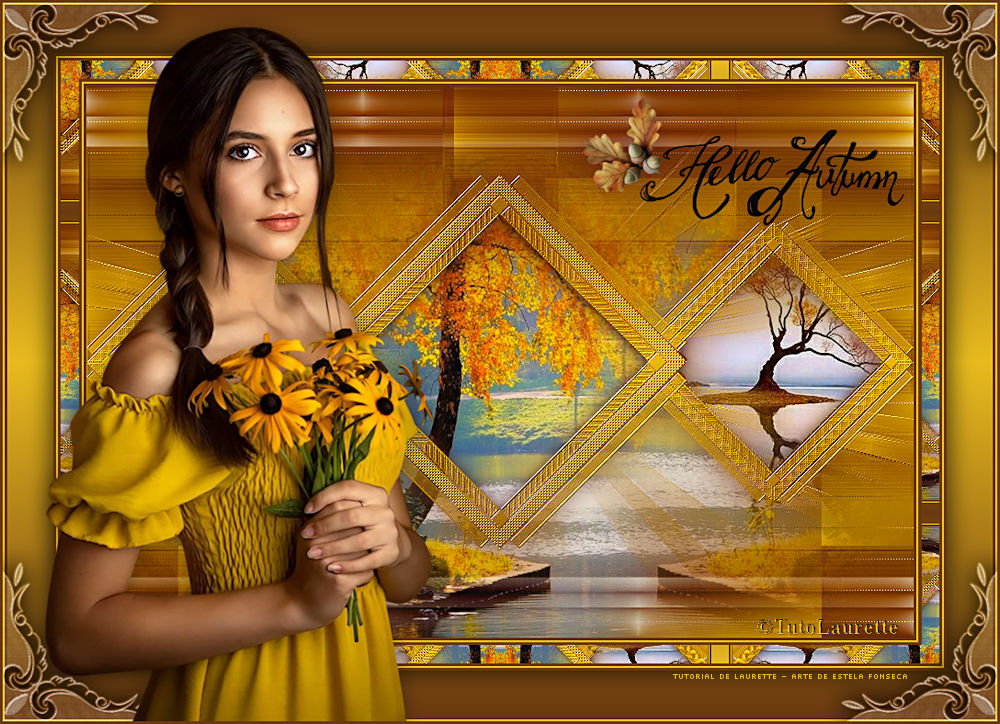
veronique
Tutorial criado por Laurette, todos os direitos reservado. Original, Aqui.

Traduzido no Corel PaintShop Pro 2021 Ultimate.
Material Necessário:
Tube de Laurette
(Demais materiais também de Laurette)
Plugins:MuRa's Seamless / Emboss at Alpha
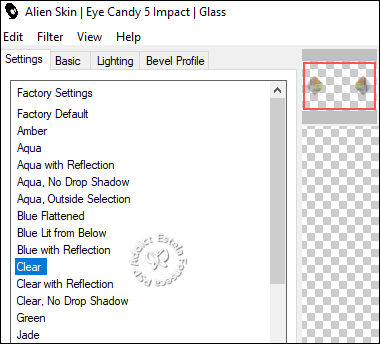
Alien Skin Eye Candy 5 / Impact / Glass / Clear
L en K Lanksiteofwonders / Zitah
Simple / Zoom Out and Flip
Preparação:
Copie as seleções para a pasta de seleções do PSPAbra os tubes, duplique e feche os originais.
Abra as máscaras no PSP e minimize-as.
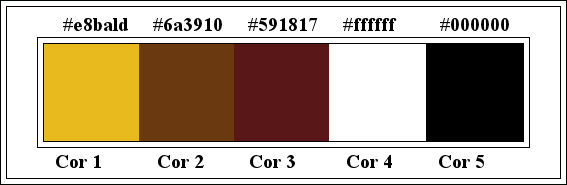
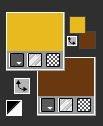
Cores:
Primeiro Plano cor (1) #e8ba1d / Segundo Plano cor (2) #6a3910
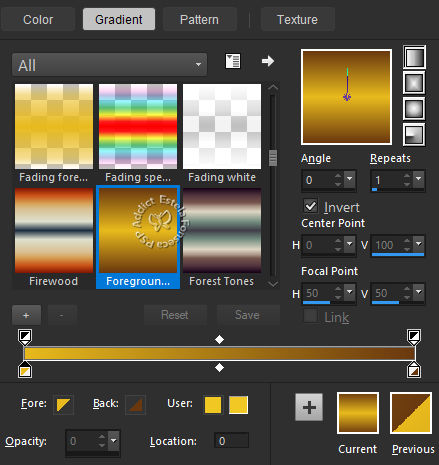
Forme um Gradiente «Linear» configurado como segue:
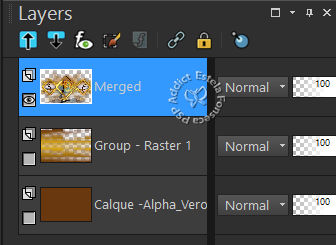
Abra a layer «Calque_Alpha_Veronique» Duplique e feche a original
01- Preencha com a cor 2
Layers / New Raster Layer
Preencha com o Gradiente Linear
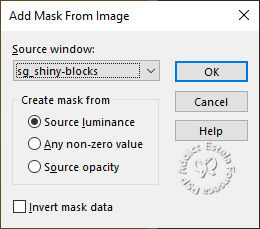
Ative a Mask «sg_shiny-blocks.png»
Layers / New Mask Layer / From Image: «sg_shiny-blocks.png»
Adjust / Sharpness / SharpenLayers / Merge / Merge Group
Effects / 3D Effects / Drop Shadow: 0 / 0 / 60 / 40 / Cor 302- Layers / New Raster Layer
Preencha com o Gradiente Linear
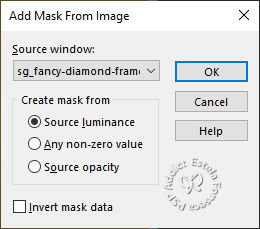
Ative a mask «sg_fancy_diamond_frame.png»
Layers / New Mask layer / From Image: «sg_fancy_diamond_frame.png»
Effects / Edge Effects / EnhanceLayers / Merge / Merge Group
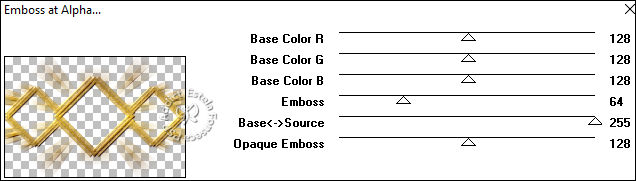
Effects / Plugins / MuRa's Seamless / Emboss at Alpha / Default
Effects / 3D Effects / Drop Shadow: 0 / 0 / 60 / 40 / Cor 3
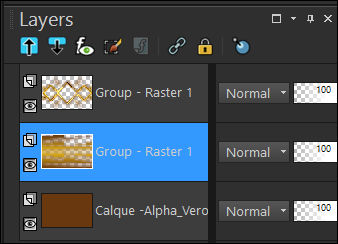
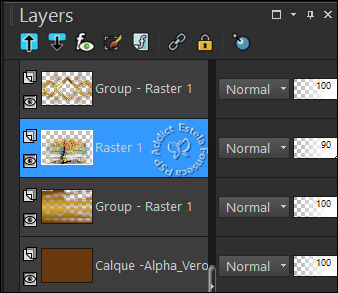
03- Ative a Layer do meio «Group-Raster 1»
Ative o tube «paysage _grand» Copie e Cole como nova layerArraste para baixo
Opacidade / 90%
Effects / 3D Effects / Drop Shadow: 0 / 0 / 60 / 40 / Cor 3
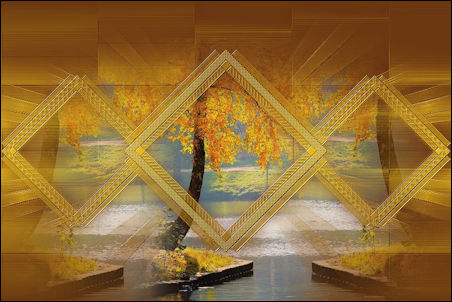
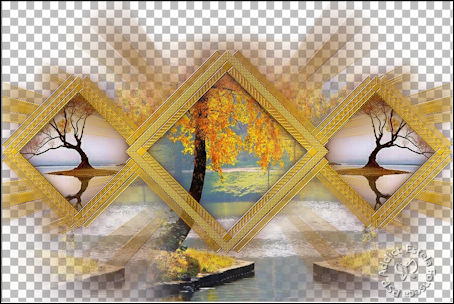
Resultado:
4- Ative a layer do Fundo «Calque _Alpha_ Véronique»
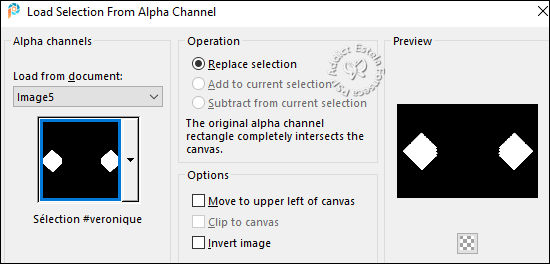
Selections / Load save selection / Load selection from alpha channel: Selection#1
Selections / Promote selection to layer
Layers / Arrange / Bring to top
Selections / Select None
5- Ative a layer «Raster1»
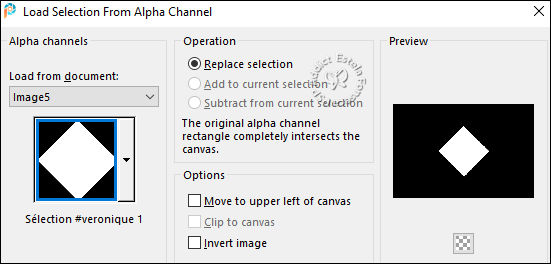
Selections / Load save selection / Load selection from alpha channel: Selection#veronique 1
Selections / Promote selection to layer
Effects / Plugins /Alien Skin Eye Candy 5 / Impact / Glass / Clear
Selections / Select None6- Ative a layer do Topo ( Promoted Selection)
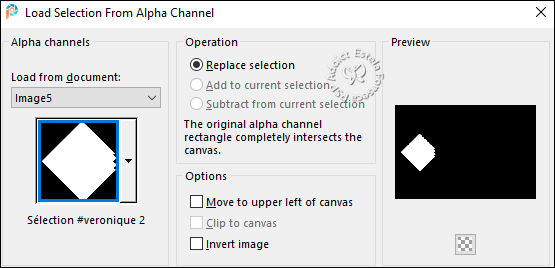
Selections / Load save selection / Load selection from alpha channel: Selection#veronique 2
Selections / Promote selection to Layer
Ative o tube «paysage redimensionner 1»
Copie e Cole como nova layerPosicione o tube sobre a seleção
Selections / Invert ... Delete no Teclado
Selections / Invert
Layers / Merge / Merge Down
Effects / Plugins / Alien Skin Eye Candy 5 Impact / Glass / Clear (está na memória)
Effects / 3D Effects / Drop Shadow: 0 / 0 / 60 / 40 / Cor 3
Selections / Select None
7- Ative a layer do Topo ( Promoted Selection)
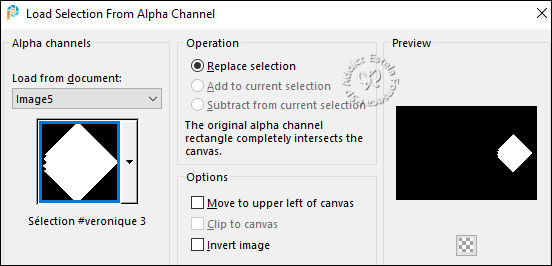
Selections / Load save selection / Load selection from alpha channel: Selection#veronique 3
Selections / Promote selection to Layer
Ative o tube «paysage redimensionner 2»
Copie e Cole como nova layer
Posicione o tube sobre a seleção
Selections / Invert ... Delete no Teclado
Selections / Invert
Layers / Merge / Merge Down
Effects / Plugins / Alien Skin Eye Candy 5 Impact / Glass / Clear (está na memória)
Effects / 3D Effects / Drop Shadow: 0 / 0 / 60 / 40 / Cor 3
Selections / Select None
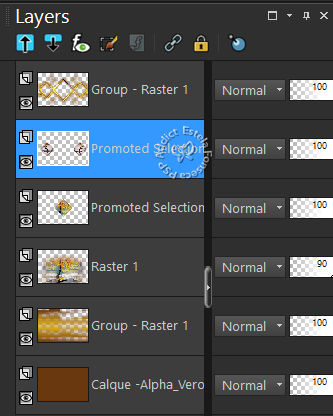
8- Ative a Layer do TOPO
Layers / Merge / Merge Down ( 2 Vezes)
Layers / Arrange / Move Down
Resultado:
Feche as duas Layers do Fundo:«Calque_Alpha_Véronique» e «Group-Raster1»
Layers / Merge / Merge VisibleResultado
Abra as duas Layers
9- Ative a Layer do meio «Group-Raster1»
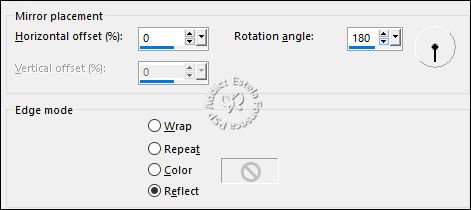
Layers / DuplicateEffects / Reflection Effects / Rotating Mirror
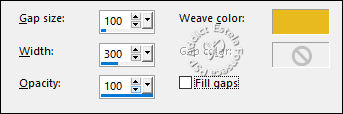
Effects / Texture Effects / Weave: 100 / 300 / 100 / cor n°1 e nº5
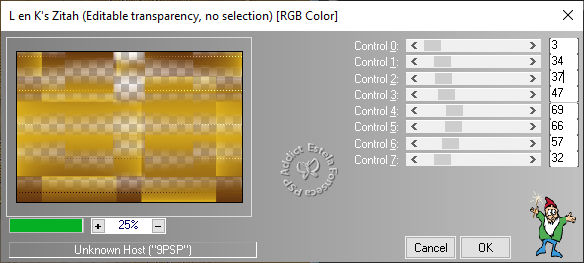
Effects / Plugins / L en K Lanksiteofwonders / Zitah: 3 / 34 …como está.
Repeat/ L en K’s Zitah
10- Ative a Layer do Topo
Ative o tube «déco» Copie e Cole como nova layer
Effects / 3D Effects / Drop Shadow: 0 / 0 / 60 / 40 / Cor n°3 (está na memória)
Blend Mode / Hard Light ou Outro
Layers / Merge / Merge Visible11- Ative o tube «WordArt» Copie e Cole como nova layer
Effects / 3D Effects / Drop Shadow: 0 / 0 / 60 / 40 / Cor n°3 (está na memória)
Posicione como preferir12- Image / Add Borders / Symmetric Marcado / 3 pixels cor n°2
Image / Add Borders / Symmetric Marcado /2pixels cor n°1
Image / Add Borders / Symmetric Marcado / 3 pixels cor n°2
Selections / Select All
Image / Add Borders / Symmetric Marcado / 20 pixels cor neutraSelections / Invert
Preencha com o Gradiente
Effects / Plugins / Simple / Zoom Out and Flip
Effects / Reflection Effects / Rotating Mirror (na memória)Selections / Select None
13- Image / Add Borders / Symmetric Marcado / 3 pixels cor n°2
Image / Add Borders / Symmetric Marcado /2pixels cor n°1
Image / Add Borders / Symmetric Marcado / 3 pixels cor n°2
Selections / Select All
Image / Add Borders / Symmetric Marcado / 50 pixels cor neutraSelections / Invert
Preencha com o Gradiente
Selections / Invert
Effects / 3D Effects / Drop Shadow: 0 / 0 / 80 / 40 / Cor 5
Selections / Select None14- Image / Add Borders / Symmetric Marcado / 3 pixels cor n°2
Image / Add Borders / Symmetric Marcado /2pixels cor n°115- Ative o tube «coin» Copie e Cole como nova layer
Blend Mode / Luminance ou outro que combine com seu tube
Effects / 3D Effects / Drop Shadow: 0 / 0 / 80 / 40 / Cor 5
16- Ative o tube da personagem copie e cole como nova layer
Image / Resize / 80% ...Resize All Layers ... Desmarcado
Posicione à esquerda ou a sua conveniência
Aplique uma sombra de sua escolha
Image / Add Borders / Symmetric Marcado / 3 pixels cor n°2
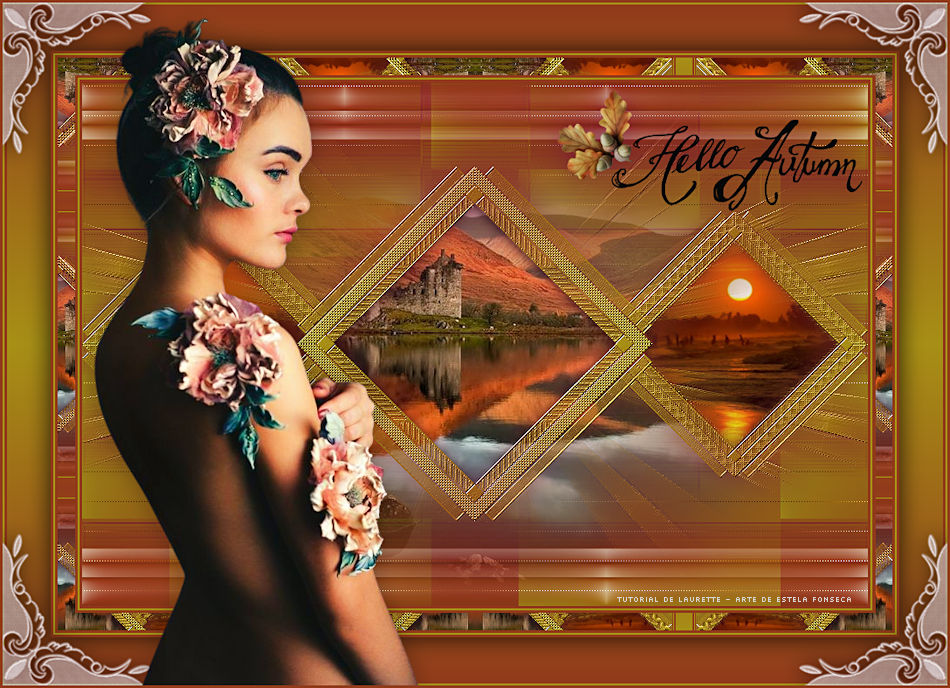
Assine seu trabalho... Layers / Merge / Merge All (Flatten)Image / Resize / 900 pixels ... Resize All Layers ... Marcado.
Adjust / Sharpness / Unsharp Mask:
Salve como JPG
Fim.
Versão com tubes de Vera Mendes (Personagem) , Mentali (Misted Paisagem) e SuizaBella (Misted Paisagem):
©Tutorial traduzido por Estela Fonseca em 18/10/2022.
Não alterar nem repassar sem autorização.