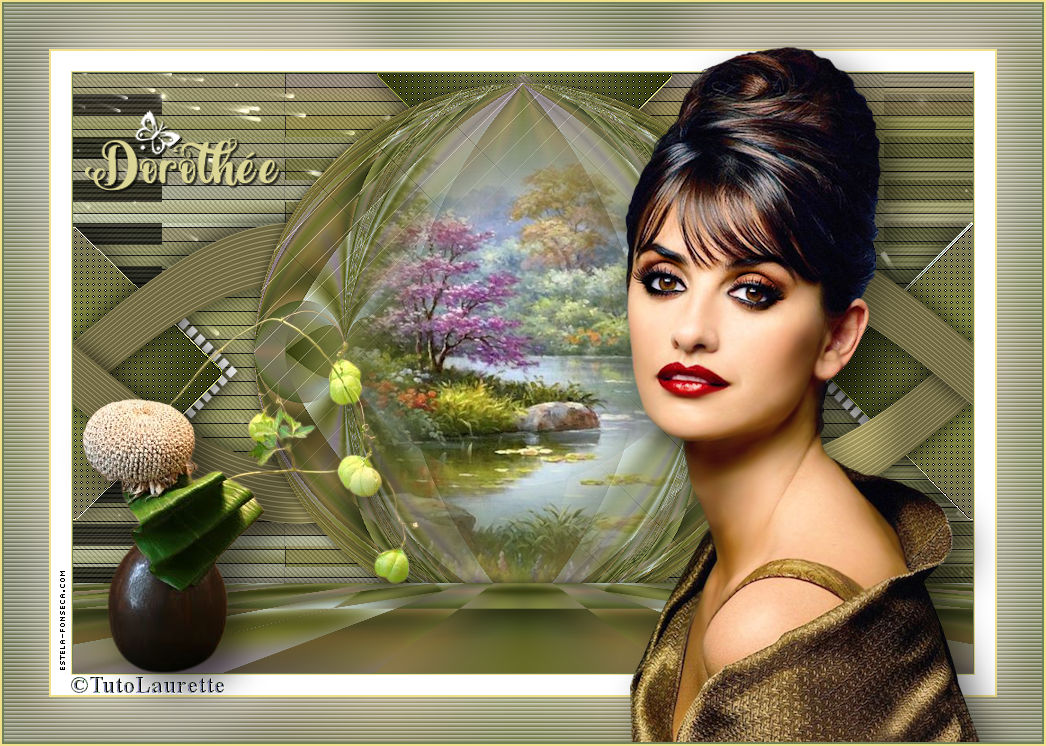
DOROTHÉE
Tutorial criado por Laurette, todos os direitos reservado. Original, Aqui.

Traduzido no Corel PaintShop Pro 2019 Ultimate.
Material Necessário:
Tube de Laurette (Personagem) Exclusivo para este tutorial.
Mask de Narah, seu Blog, AQUI.
Tube Misted Paisagem de Laurette
Imagem de Paisagem
Deco
Plugins:
Medhi/ Sorting Tile
Simple /Pizza Slice Mirror
I .C.NET Software / Filters Unlimited 2.0 / Tile & mirror
L en K Lanksiteofwonders / Len K’s Paris
Carolaine and Sensibility / CS LDot / CS Réflexion / cs texture /CS BRectangles / CS-DLines / CS-Linear-H
MuRa's Meister / Perspective Tiling.
Cores do tutorial:
Preparação:
Abra os tubes no PSP, duplique e feche os originais.
Não esqueça de remover a assinatura das cópias....
Abra a Mask de Narah no PSP e Minimize-a.
01- Abra a layer <<Alpha _Dorothée >> Duplique e feche a original
Renomeie para <<Merged>>
Selections / Select All
Abra a Imagem <<image paysage >> / Copie e Cole na seleção.
Selections / Select None
Adjust / Blur / Gaussian Blur / Radius 25%
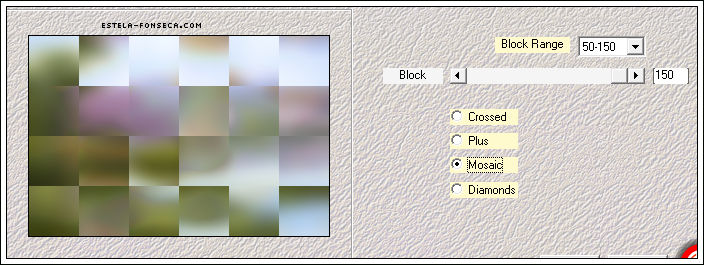
02- Effects / Plugins / Medhi / Sorting Tiles...( 50/150...150...Mosaic )
03- Effects / Plugins / Simple / Pizza Slice Mirror
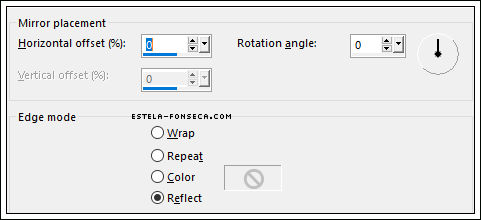
Effects / Reflection Effects /Rotating Mirror: ( 0/ 0/ reflet)
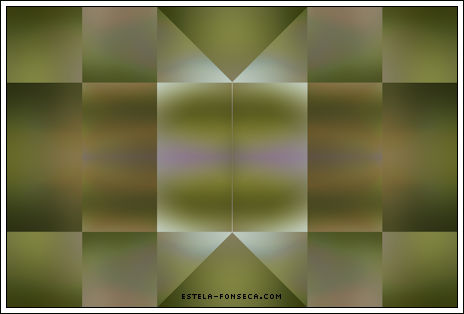
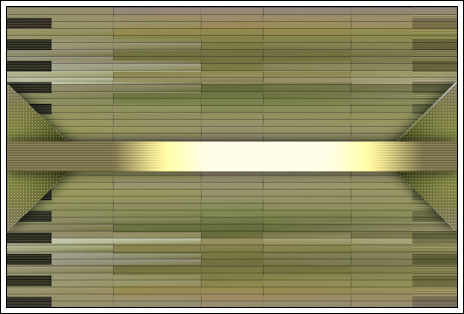
Resultado:
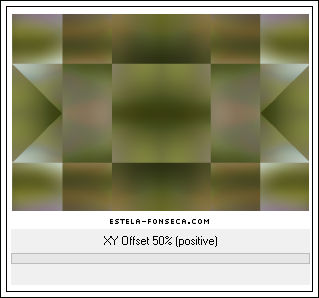
04- Effects / Plugins / I .C.NET Software / Filters Unlimited 2.0 / Tile & Mirror /XY Offset 50% (positive)
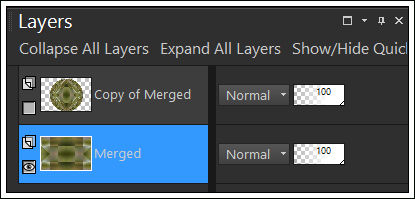
Layers / Duplicate
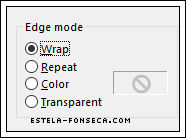
05- Effects / Geometric Effects / Circle / Wrap
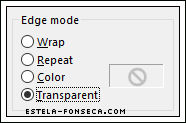
Effects / Geometric Effects / Circle / Transparente
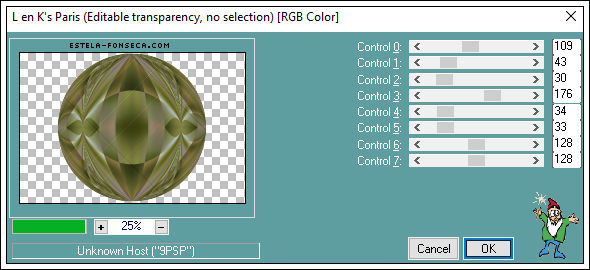
Effects / Plugins / L en K Lanksiteofwonders / Len K’s Paris / Default
Edit / Repeat / Len K’s Paris
Feche o olho dessa layer ...
06- Ative a Layer <<Merged>>
Selections / Load save selection / Load selection from alpha channel: Selection # 1dorothée
Selections / Promote selection to layer
Effects / Plugins / Carolaine and Sensibility / CS LDot .
Effects / 3D Effects / Drop Shadow: 0 / 0 / 80 / 40 / #000000
Selections / Select None07- Layers / New Raster Layer (Raster 1)
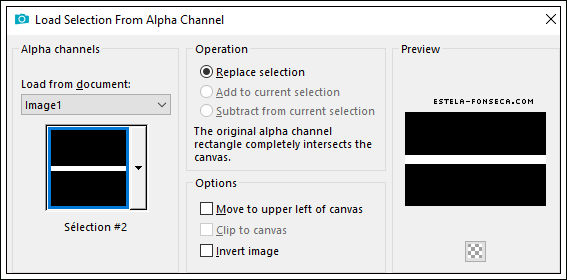
Selections / Load save selection / Load selection from alpha channel: Selection # 2dorothée
Preencha com a cor 3
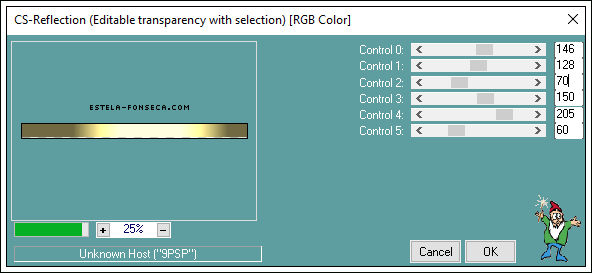
Effects /Plugins / Carolaine and Sensibility /CS Réflexion Control
Effects / Plugins / Carolaine and Sensibility / cs texture: Default
Effects / 3D Effects / Drop Shadow: 0 / 0 / 80 / 40 / #000000
Selections / Select None08- Ative a Layer <<Merged>> a Layer do Fundo
Layers / Duplicate
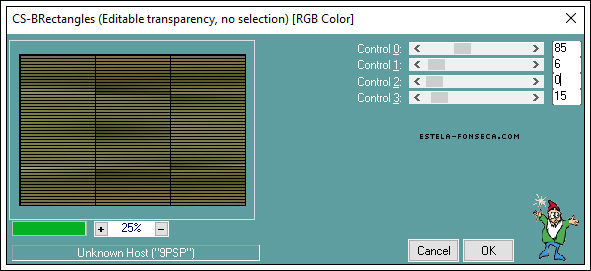
Effects / Plugins / Carolaine and Sensibility / CS BRectangles: (85 / 6 / 0 / 15)
Effects / Plugins / Carolaine and Sensibility / CS-DLines (40/5)
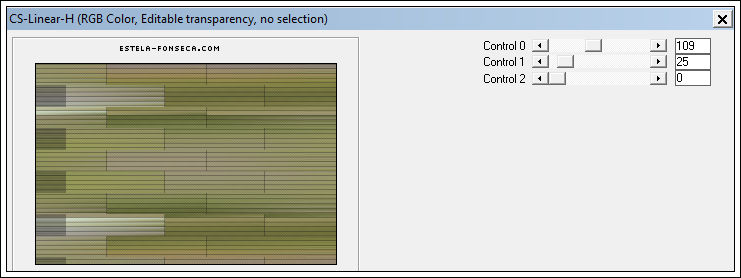
Effects / Plugins / Carolaine and Sensibility / CS-Linear-H: (109/25/0)
Layers / Duplicate
Image / Mirror / Mirror Horizontal
Opacidade / 25 %
Layers / Merge / Merge DownResultado:
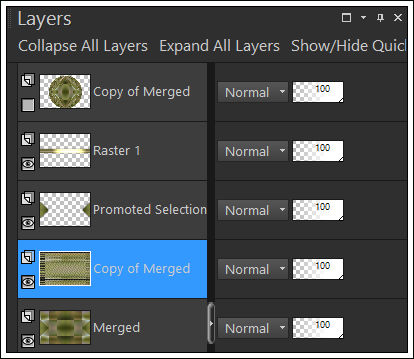
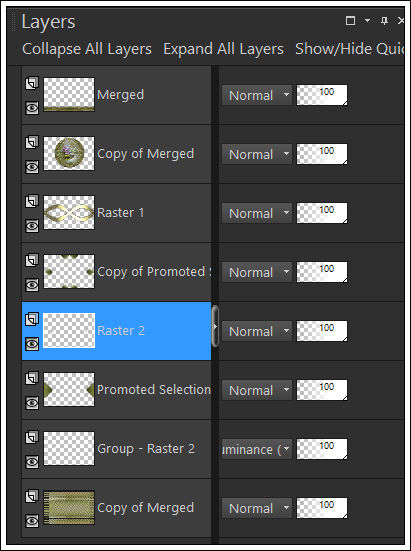
09- Ative a Layer << Promoted Selection>> A terceira de Cima para Baixo ou de Baixo para cima.
Layers / DuplicateEffects / Image Effects / Seamless Tiling / Default
Effects / Edge Effects / Enhance
Ative a Layer imadiatamente abaixoEffects / Edge Effects / Enhance
10- Ative a Layer <<Raster 1>> A segunda Layer a partir da layer do topo
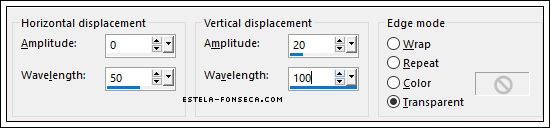
Effects / Distortion Effects / Wave:
Layers / Duplicate
Image / Mirror / Mirror Vertical
Layers / Merge / Merge Down
11- Ative e Volte a visibilidade da Layer do TOPO (Copy of Merged)
Adjust / Sharpness / Sharpen
Abra o tube <<tube paysage >> Copie e Cole como nova layer
Layers / Duplicate
Layers / Merge / Merge Down
Effects / 3D Effects / Drop Shadow: 0 / 0 / 60 / 20 Cor 2
Layers / Merge / Merge Down12- Image / Resize/ 90% ... Resize All Layers ... Desmarcado
Objects / Align Top ( ou Pick Posição de X (181) Posição de Y (0,00) Tecla "M" para desativar a ferramenta Pick
Effects / 3D Effects / Drop Shadow: 0 / 0 / 60 / 30 Cor 5
13- Ative a Layer do Fundo << Merged>>
Layers / Arrange / Bring to top
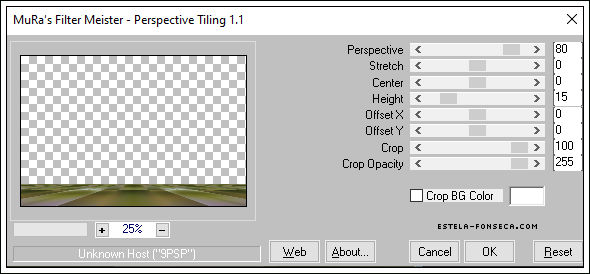
Effects / Plugins / MuRa's Meister / Perspective Tiling
Effects / 3D Effects / Drop Shadow: 0 / 0 / 60 / 30 Cor 5
14- Ative a Layer do Fundo <<Copy of Merged>>
Ative a Mask <<NarahsMasks_1646>> Minimize-a
Layers / New Raster LayerPreencha com a cor branca
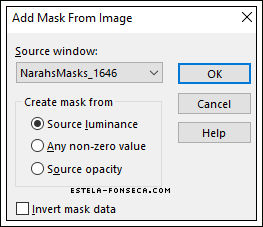
Layers / New Mask layer / From Image: Narah-Masks_1646
Layers / Duplicate
Layers / Merge / Merge Group
Blend Mode / Luminance (Legacy)
15- Ative a Layer <<Promoted Selection>> A terceira a partir da layer do Fundo
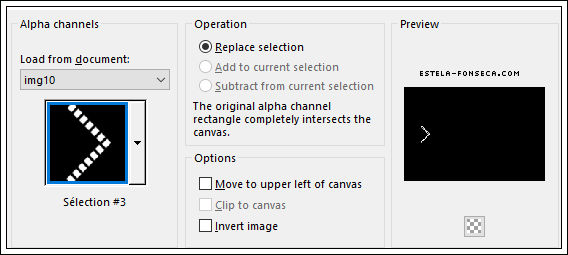
Layers / New Raster LayerSelections / Load save selection / Load selection from alpha channel: # 3dorothée
Preencha com a cor branca
Selections / Select None
Layers / Duplicate
Image / Mirror / Mirror Horizontal
Layers / Merge / Merge Down
Effects / 3D Effects / Drop Shadow: 0 / 0 / 60 / 30 Cor 5
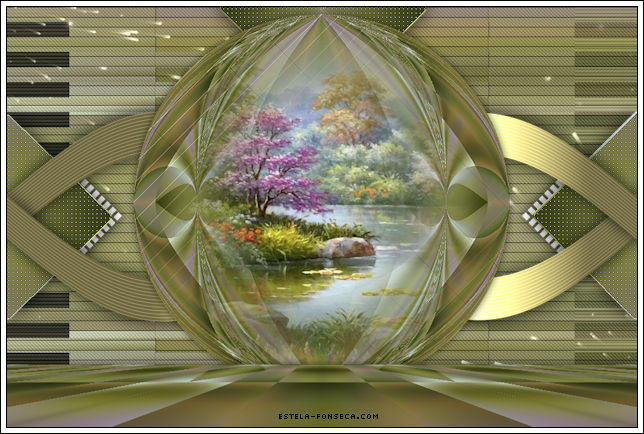
Resultado
16- Image / Add Borders / Symmetric Marcado / 1 pixel cor 2
Copie17- Image / Add Borders / Symmetric Marcado / 1 pixel cor 3
Image / Add Borders / Symmetric Marcado / 20 pixels cor Branca
Image / Add Borders / Symmetric Marcado / 2 Pixels cor 3Selections / Select All
Image / Add Borders / Symmetric Marcado / 45 pixels cor branca
Selections / InvertCole na seleção
Adjust / Blur / Gaussian Blur / Radius 25
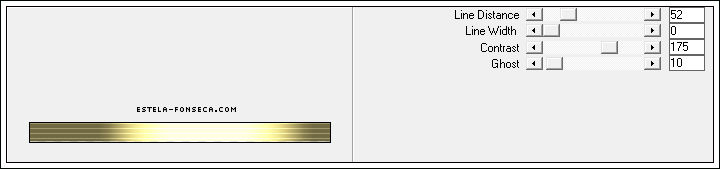
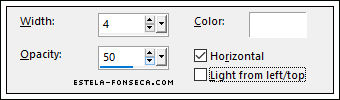
Effects / Texture Effects/ Blinds:
Selections / Select None
18- Ative o tube da personagem
Copie e Cole como nova layer
(não esqueça de apagar o logo da autora)
Image / Resize / 75% ... Resize All Layers ... Desmarcado
Posicione à direita
Aplique uma sombra de sua escolha ou utilize o preset do material
19- Ative o tube floral / Remova a assinatura
Copie e Cole como nova layer
Posicione à esquerda
Aplique a mesma sombra
20- Ative o <<Título>> Colorize
Cole como nova layer
Image / Add Borders / Symmetric Marcado / 2 Pixels cor 2
Image / Add Borders / Symmetric Marcado / 2 Pixels cor 3
Assine seu trabalhoColoque a assinatura de Laurette
Image / Resize / 950 Pixels de Largura ... Resize All Layers ... Marcado
Salve como JPG.
Versão com tube de Lana (Personagem) e de LisaT (Misted Paisagem) e de Lecture33 (Vaso floral):
©Tutorial traduzido por Estela Fonseca em 07/09/2021.
Não alterar nem repassar sem autorização.