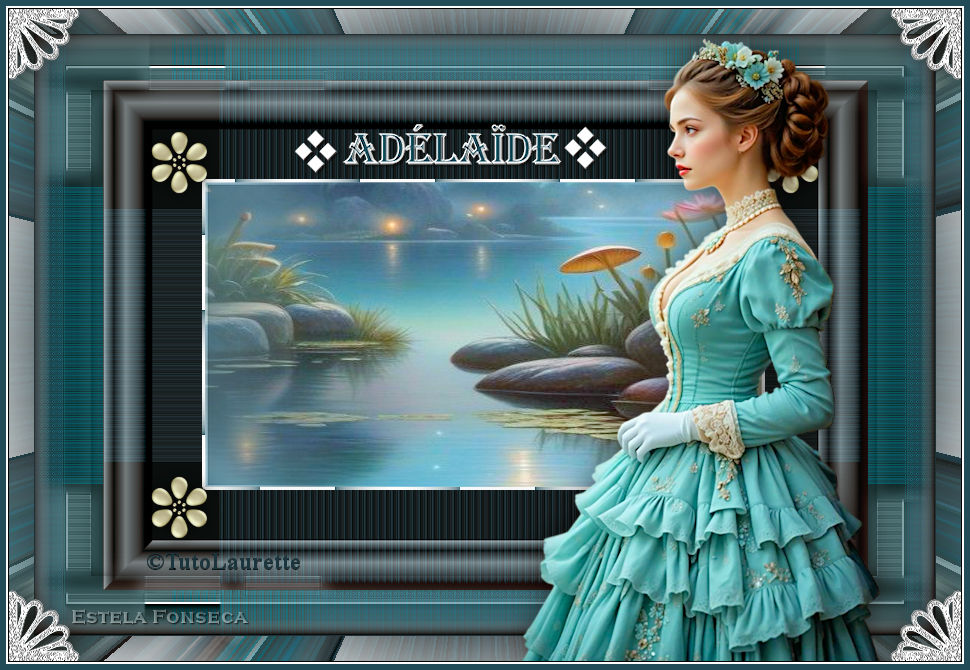
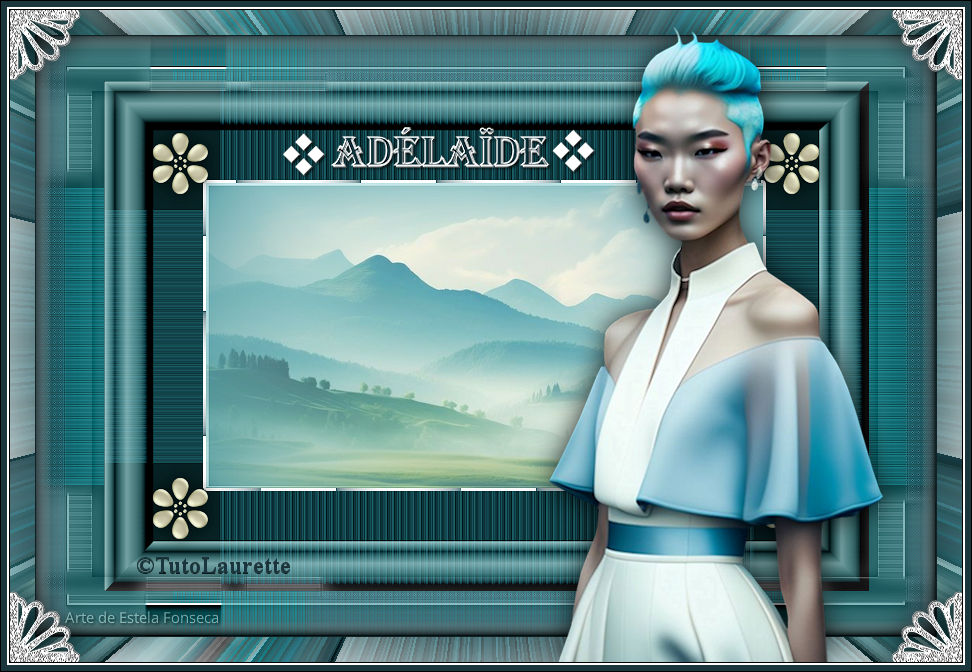
ADELAIDE
Tutorial criado por Laurette, todos os direitos reservado. Original, Aqui.

Traduzido no Corel PaintShop Pro 2022 ULTIMATE.
Material Necessário:
1 tube feminino + 1 tube paisagem + 3 tubes decorativos + 1 Paleta de cores + 1 tube texto título
***
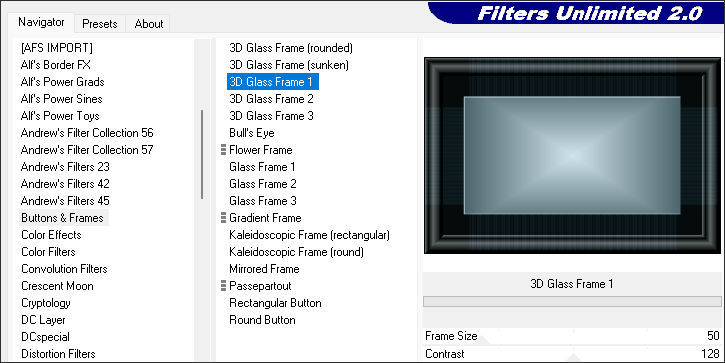
Plugins Utilizados:IC.NET Software Unlimited2.0/ Buttons e Frames 3D glass
VM Toolbox / Zoom Blur
Medhi / Kaléidoscope 2.1
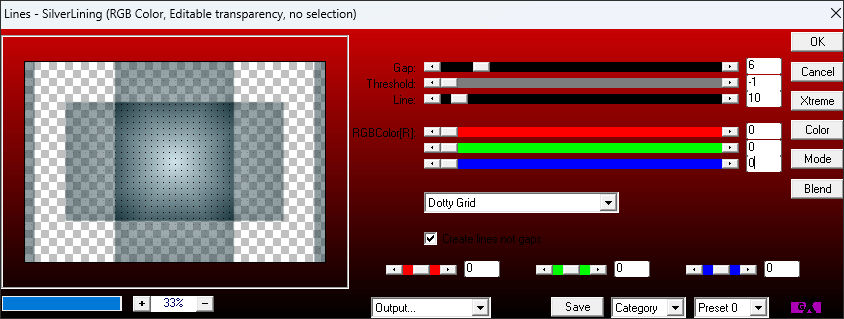
AP 01(innovation) Line-SilverLining / Dotty-Grid
Adjust /Variation
Cybia / ScreenWorks / Dot Screen
***
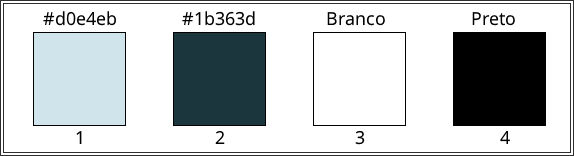
Paleta de Cores:
Abra os tubes no psp, duplique e feche os originais. Sempre trabalhe com as cópias.Abra a layer alpha, duplique e feche a original.
01- Abra uma nova imagem transparente de 900/600 pixels. Ou utilize a layer « calque_alpha_adelaide »Primeiro Plano cor #d0e4eb (cor 1) / Plano de Fundo cor #1b363d (cor 2)
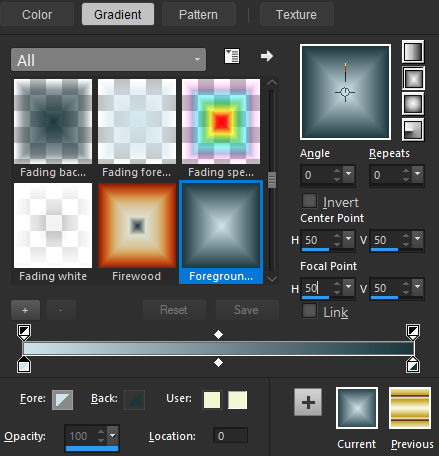
Prepare no primeiro plano um gradiente Rectangular configurado da seguinte forma:
Preencha a layer com o gradiente.
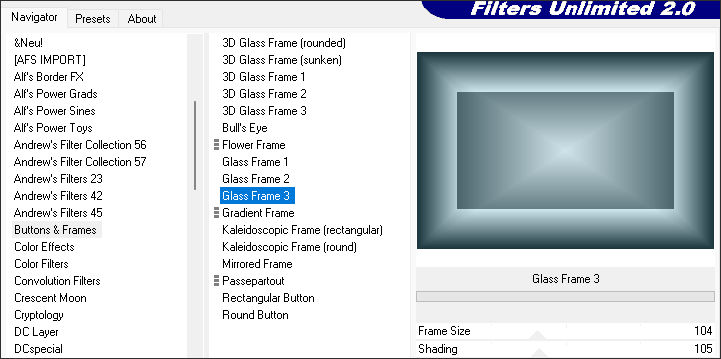
02- Effects / Plugins / <IC.NET Software> Filters Unlimited2.0/ Buttons & Frames /3D Glass Frame3: 104/105
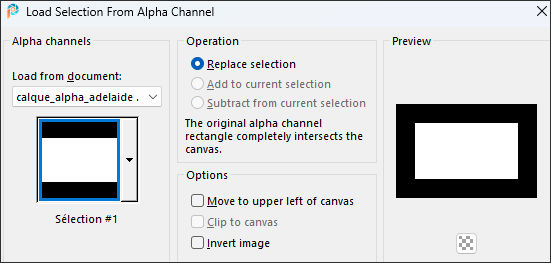
03- Selections / Load/Save selection / Load selection from alpha chennel... Selection#1
Selections /Invert
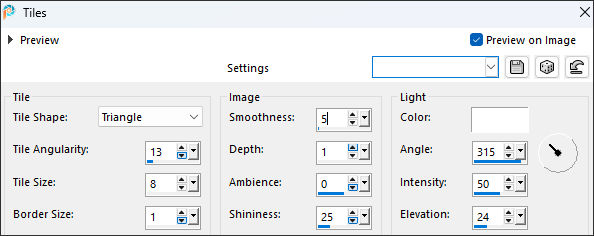
Effects / Texture Effects / Tiles:
Mantenha a seleção.
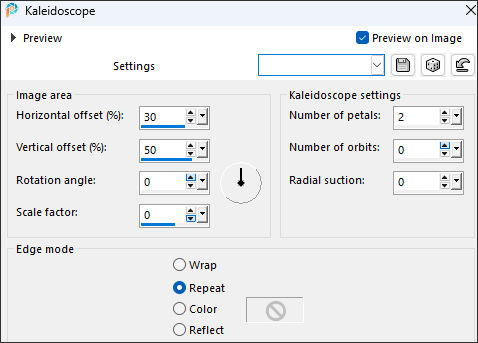
Effects / Reflection Effects / Kaleidoscope
Selections / Invert
Mantenha a seleção ativa.
04- Layers / New raster layerPreencha com o Gradiente
Selections / Select None
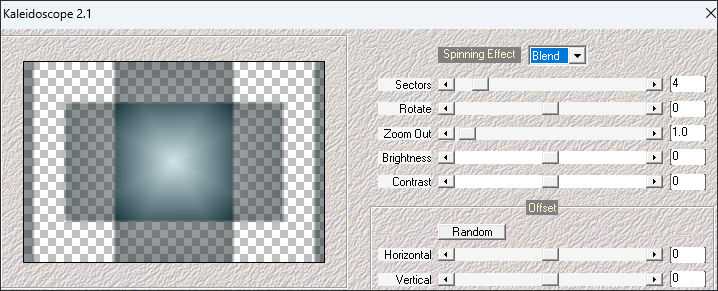
Effects / Plugins / Mehdi / Kaleidoscope 2.1
Effects / Plugins / AP 01(innovation) / Line-SilverLining Dotty-Grid
Effects / Edge Effects / Enhance
Effects / 3D Effects / Drop Shadow: 0/0/80/25 cor 2
02- Ative a layer do fundo ... Raster1Layers / Duplicate
Effects / Plugins / <IC.NET Software> Filters Unlimited2.0/ Buttons & Frames / 3D Glass Frame 1:50/128
Image / Resize / 85% ... Resize All Layers ... Desmarcado
Layers / Arrange / Move Up
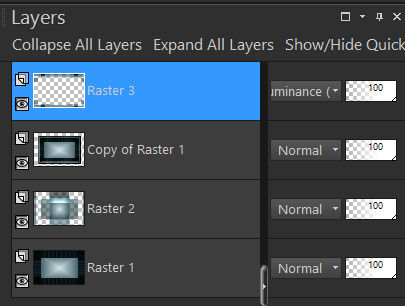
06- Abra o tube « déco n°1 » Copie e cole como nova layerNão Mova!
Effects / 3D Effects / Drop Shadow: 0/0/80/25 cor 1
Blend Mode / Luminance (Legacy)
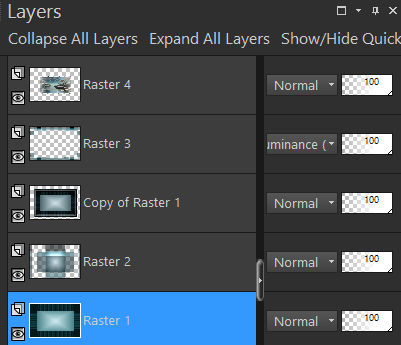
Ordem das Layers:
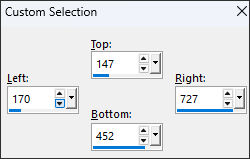
07- Selection Tool (S) / Custom Selection:
Mantenha a seleção ativa
08- Abra o tube « paysage_adelaide »
Copie e cole como nova layer
Coloque bem no centro de sua imagem
Selections / Invert
Delete no teclado
Selections / Invert
Mantenha a seleção ativa
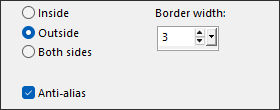
09- Selections / Modify / Select selection borders
Layers / New Raster layer
Preencha com a cor branca
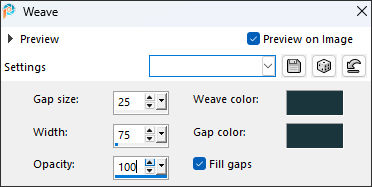
Effects / Texture Effects / Weave: Cor n°2 (nos dois quadrados de cores)
Layers / Merge / Merge DownSelectons / Select None
10- Ative a layer do Fundo... Raster1Effects / Plugins / Adjust / Variation: clic em Original ... em More Cyan e em Lighter ok.
Ou Adjust / Smart Photo Fix ( se preferir)
Ordem das layers:
Layers / Merge / Merge Visible
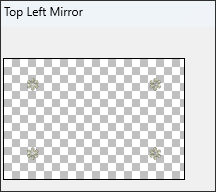
11- Abra o tube «déco2» Copie e cole como nova layerFerramenta de Pick (K) Position X (116,00) Position Y (96,00)
Effects / Plugins / Simple / Top Left Mirror
Effects/ 3D Effects / Drop Shadow: 0/ 0 / 80 / 25 / Preto
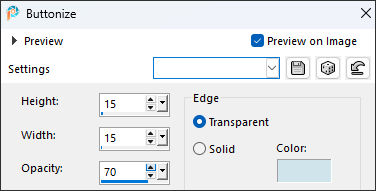
12- Effects / 3D Effects / Buttonize: Cor 1
13- Image / Add Borders / Symmetric Marcado / 1 pixel cor 2Selections / Select All
Image / Add Borders / Symmetric Marcado / 25 pixels cor branca
Selections / Invert
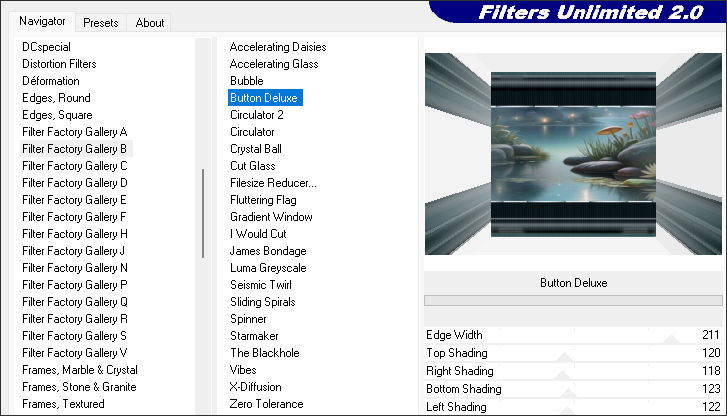
<< Effects / Plugins / <I.C.NET Software> Filters unlimited 2.0 / Filter Factory Gallery B / Button Deluxe
Default...
Mantenha a seleção ativa
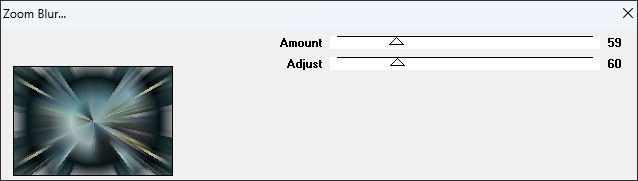
14- << Effects / Plugins /VM Toolbox / Zoom Blur: / 59 / 60
Effects/ 3D Effects / Drop Shadow: 0/ 0 / 80 / 40 / PretoSelections / Select None
15- Abra o tube «déco-coins» Copie e cole como nova layer
Não Mova!
Effects/ 3D Effects / Drop Shadow: 0/ 0 / 80 / 40 / Preto
16- Abra o tube «femme» remova a assinaturaCopie e cole como nova layer
Image / Resize / 85% ... Resize All Layers ... desmarcado
Posicione como na imagem final ou como achar mais bonito.
Adjust / Sharpness / Sharpen
Effects/ 3D Effects / Drop Shadow: 0/ 0 / 80 / 40 / Preto
17- Ative o tube «texte»
Copie e cole como nova layerPosicione como na imagem final
Effects/ 3D Effects / Drop Shadow: 1 / 1 / 80 / 4/ Preto
18- Image / Add Borders / Symmetric Marcado / 1 pixel preto
Image / Add Borders / Symmetric Marcado / 2 pixels brancoImage / Add Borders / Symmetric Marcado / 6 pixel cor 2
19- Assine seu trabalho... coloque a marca d'água da autora (Laurette)Coloque a licença do tube (se trabalha com tubes pago)
Image / Add Borders / Symmetric Marcado / 1 pixel preto
Redimensione à 950 pixels de largura ... Resize All Layers ... Marcado
Salve como JPG.
***
Versão com tube principal de Jeanne tube Designs Tube misted de EF:
©Tutorial traduzido por Estela Fonseca em 27/08/2025.
Não alterar nem repassar sem autorização.