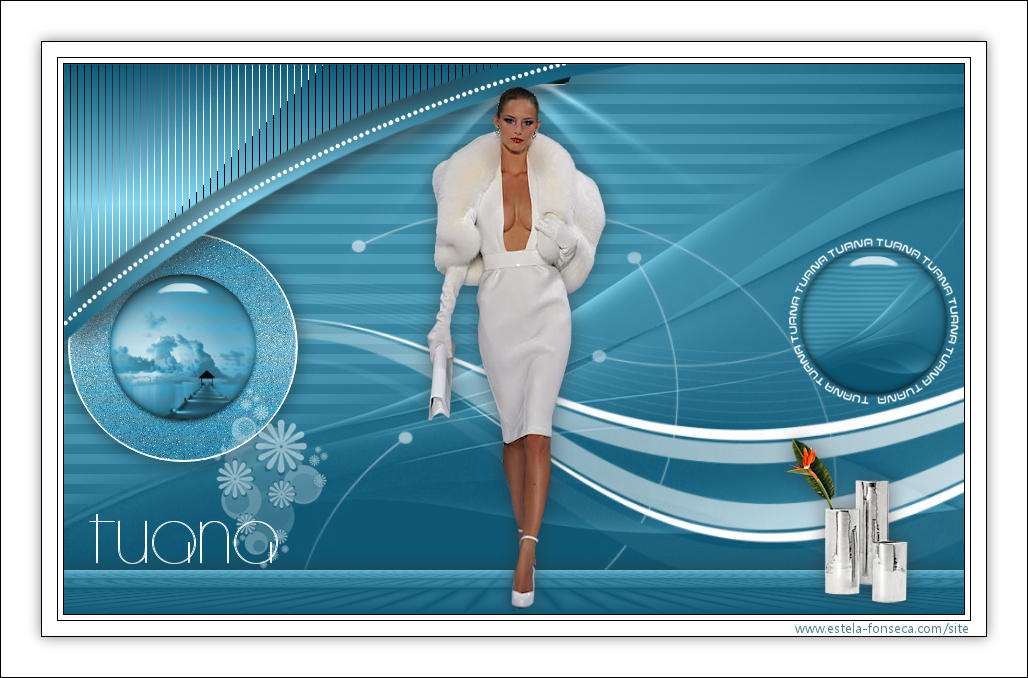
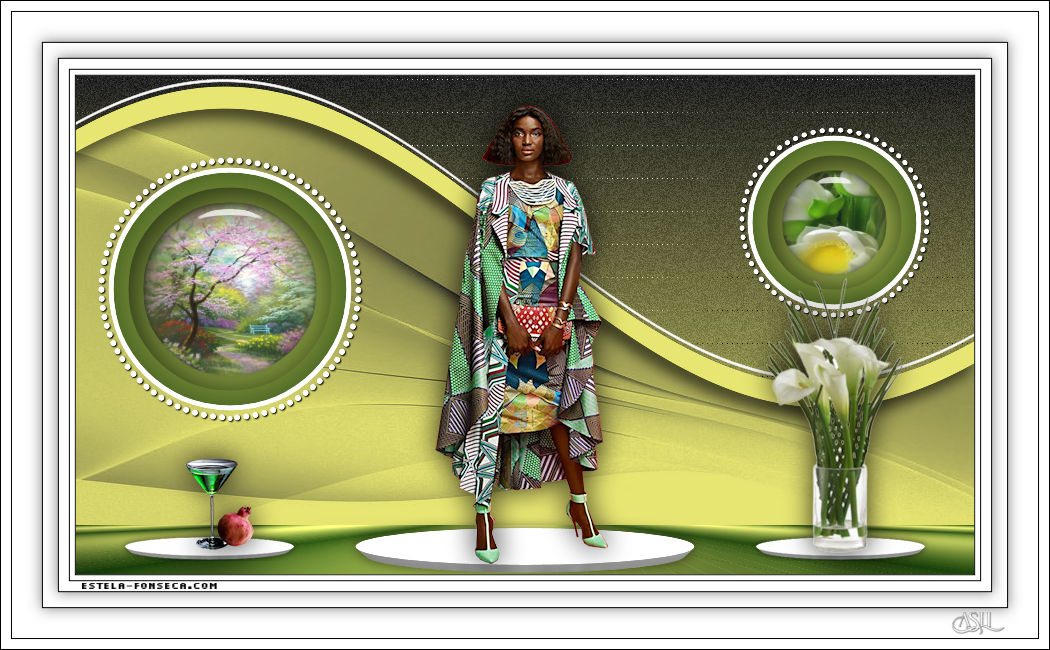
TUANA
Tutorial de ©Kamil. Original Aqui
Traduzido no PSP X9
Materiais Necessários:
Tube <<KamilTubes-546>> de Kamil, seus tubes, AQUI.
Tube <<Mary 0912-123>> de Mary
Tube <<SvB Zee 6 misted >> de SvB.
Mask de Narah , seu grupo , AQUI.
Mask de Ildiko, seu site, AQUI.
Plugins Utilizados:
Carolaine and Sensbilty / CS-HLines
Alien Skin Eye Candy 5 / Impact
<I.C.NET Software> / Filters Unlimited 2.0 / &<BKg Designer sf10 II>
Mehdi / Sorting Tiles
Mura's Meister / Perspektive Tiling
Tramages / Tow The Line
Preparação:
Abra os tubes no PSP, duplique e feche os originais.
Abra as Masks no PSP e Minimize
Copie as seleções para a Pasta de seleções do PSP
Abra o Brush e importe para a pasta de Brush do PSP (File Export Custom Brush)
Dê dois cliques no preset do Alien Skin para colocá-lo automaticamente na pasta do plugin.
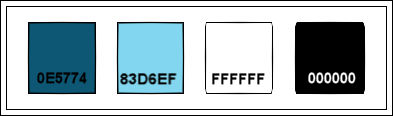
Cores:
Primeiro Plano cor OE5774
Segundo Plano cor #83DËF
01- Abra uma Nova imagem transparente de 900/550 pixels
Preencha com a cor do Primeiro Plano
Layers / New Raster Layer
Preencha com a cor do Segundo Plano
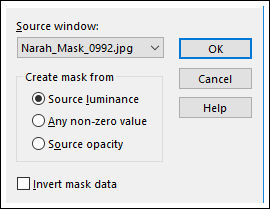
Layers / New Mask Layer / From Image:Narah_Mask_0992.Jpg
Layers / Merge / Merge Group
Layers / Merge / Merge Down
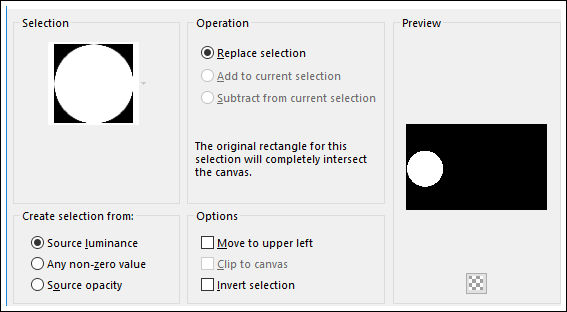
02- Selections / Load/Save Selection / Load Selection From Disk:Tuana-1
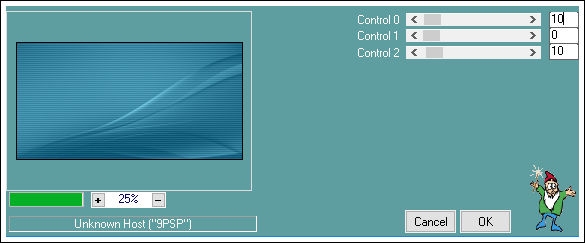
Effects / Plugins / Carolaine and Sensbilty / CS-HLines
Selections / Select None
Resultado:
Copie!
02- Layers / New Raster Layer
Preencha com a cor branca (#ffffff)
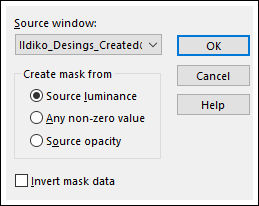
Layers / New Mask Layer / From Image ( Ildiko_Desings_Created@Mask_@ildi (4) )
Layers / Merge / Merge Group
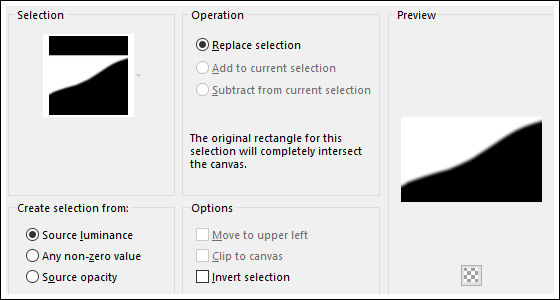
Selections / Load/Save Selection / Load Selection From Disk: Tuana-2
Delete no Teclado!
Selections / Select None
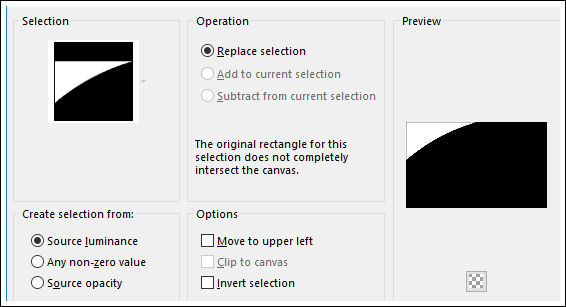
Layers / New Raster LayerSelections / Load/Save Selection / Load Selection From Disk: Tuana-3
Cole na seleção ( a imagem está na memória)Effects / Plugins / Alien Skin Eye Candy 5 / Impact / Glass / Tuana-Glass
Selections / Select None
Objects / Align / Center in Canvas
Abra o tube <<Deco Tuana-Text-1>> Copie e Cole como nova layer
Layers / Merge / Merge Down
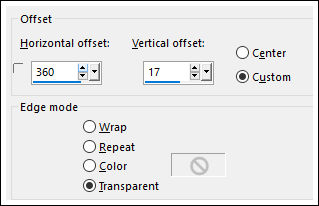
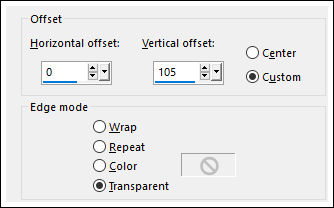
Effects / Image Effects / Offset
Resultado:
03- Layers / New Raster Layer
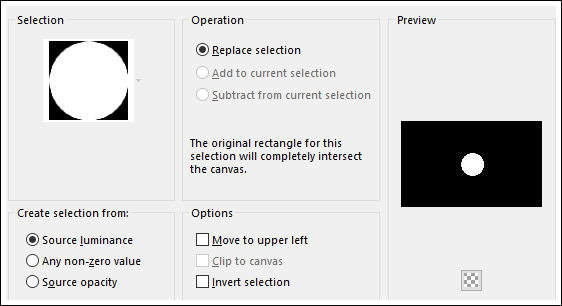
Selections / Load/Save Selection / Load Selection From Disk: Tuana-4
Preencha com a cor branca (#ffffff)
Selections / Modify / Contract / 2 Pixels
Primeiro Plano cor #0d5774
Segundo Plano cor #82d6f0
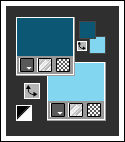
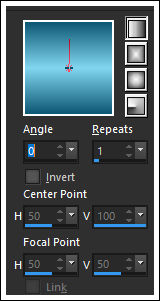
Gradiente Linear
Preencha com o Gradiente
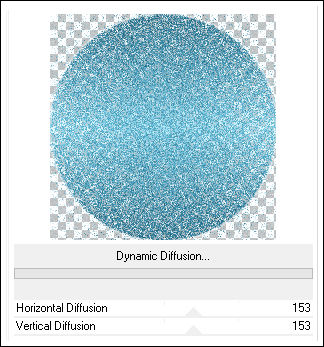
Effects / Plugins / <I.C.NET Software> / Filters Unlimited 2.0 / &<BKg Designer sf10 II> /Dynamic Diffusion
Selections / Modify / Contract / 40 Pixels
Mude a cor do Segundo Plano para a cor branca (#ffffff)
Preencha com a cor do Segundo Plano
Selections / Modify / Contract / 2 Pixels
Mude a cor do Segundo Plano para a cor #82d6f0
Preencha com o mesmo Gradiente
Abra o tube <<SvB Zee 6 misted>> Copie e Cole na seleção
Effects / Plugins / Alien Skin Eye Candy 5 / Impact / Tuana-Glass
Selections / Select NoneBlend Mode / Luminance Legacy
Effects / 3D Effects / Drop Shadow: 0 / 0 / 60 / 30 / #000000
04- Layers / New Raster Layer
Preencha com o mesmo Gradiente
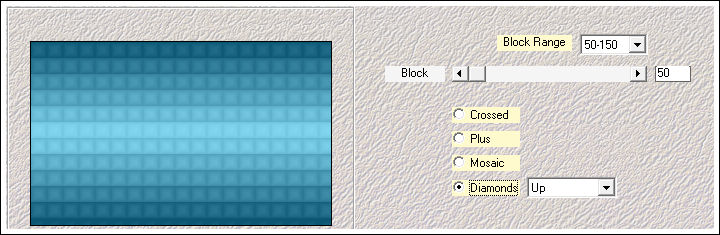
Effects / Plugins / Mehdi / Sorting Tiles
Effects / Plugins / Mura's Meister / Perspektive Tiling
Effects / 3D Effects / Drop Shadow : 0 / 0 / 60 / 30 / #000000
Layers / New Raster Layer
Desfaça o Gradiente e coloque no Primeiro Plano a cor #ffffff
Ferramenta Paint Brush Tool <<Brush Tuana-01>>configurado como segue:
Carimbe o Brush como abaixo:
05- Abra o tube <<Tuana-Deco-1>> Copie e Cole como nova layer
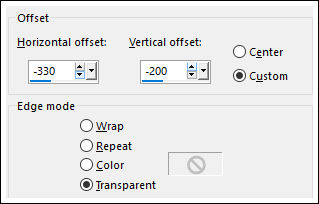
Effects / Image Effects / Offset:
Blend Mode / Luminance ( Legacy )
06- Abra o tube <<Tuana-Text-2>> Copie e Cole como nova layer
Effects / Image Effects / Offset:
07- Layers / New Raster Layer
Selections / Load/Save Selection / Load Selection From Disk: Tuana-5
Preencha com o mesmo gradiente de antes:
Selections / Select None
Effects / 3D Effects / Drop Shadow: 10 / 10 / 60 / 30 / #000000
Selections / Load/Save Selection / Load Selection From Disk: Tuana-6
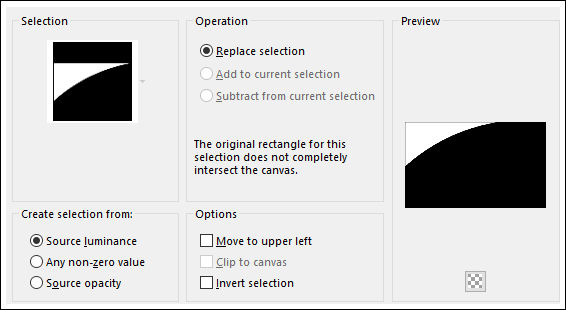
Selections / Promoted Selection Layer
Selections / Select None
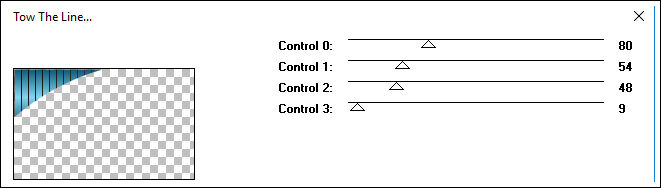
Effects / Plugins / Tramages / Tow The Line
Effects / 3D Effects / Drop Shadow: 10 / 10 / 60 / 30 / #000000
08- Ative o tube <<Tuana-Deco-2>> Copie e Cole como nova layer
Não Mova!
09- Abra o tube <<Mary 0912-123>> Copie e Cole como nova layer
Image / Resize / 35% ... Resize All Layers ... Desmarcado
Image / Resize / 70% ... Resize All Layers ... Desmarcado
Adjust / Sharpness / Sharpen
Effects / 3D Effects / Drop Shadow: 0 / 0 / 60 / 30 / #000000
Ative o tube <<KamilTubes-546 ( Woman )>> Copie e Cole como nova layer
Image / Resize / 85% ... Resize All Layers ... Desmarcado
Adjust / Sharpness / Sharpen
Effects / 3D Effects / Drop Shadow: 0 / 0 / 60 / 30 / #000000
10- Image / Ad Border / Symmetric Marcado /1 pixel Cor #000000
Image / Ad Border / Symmetric Marcado / 5 pixels / Cor #ffffff
Image / Ad Border / Symmetric Marcado /1 pixel Cor #000000
11- Image / Ad Border / Symmetric Marcado / 15 pixels / Cor #ffffff
Image / Ad Border / Symmetric Marcado /1 pixel Cor #000000
Selections / Select AllImage / Ad Border / Symmetric Marcado / 40 pixels / Cor #ffffff
Effects / 3D Effects / Drop Shadow: 0 / 0 / 60 /20 / #000000
Selections / Select None
Image / Ad Border / Symmetric Marcado /1 pixel Cor #000000
Redimensione se desejarColoque a sua Marca d'água ou a sua assinatura
Salve como JPG
Outra versão com tube de Mentali (Personagem) e de Maryse (Deco):
VOLTAR
©Tutorial Traduzido por Estela Fonseca 11/11/2018.
Obrigada Kamil por me permitir traduzir seus trabalhos.