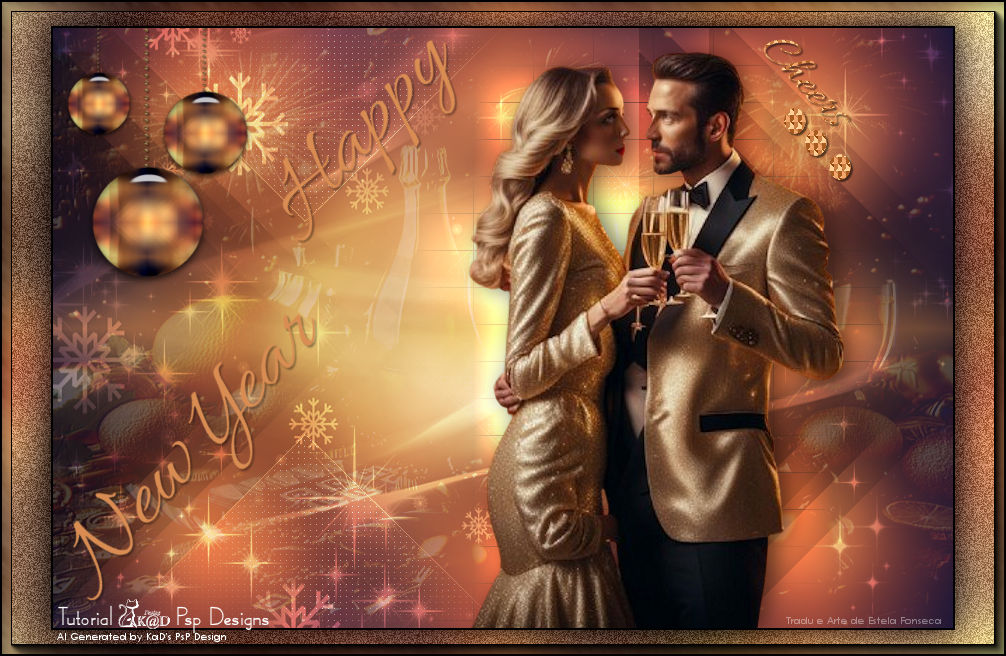
NEW YEAR 2025
Tutorial de KaDs , original,
Aqui.
Tutorial traduzido no PSP 2022
Ultimate. Porém pode ser feito
em versões anteriores do PSP.
Material Necessário:

KaD_Couple11
535_KaD_Deco1
KaD_AIGeneratedBackground 1
535_KaD_Alfakanaal
LF-Mask22-30102013
535_KaD_Extrude
Fonte Allura-Regular
Plugins :
Unlimited 2.0 – VM EXTRAVAGANZA : Holidays in Egypt *
Unlimited 2.0 – Filter
Factory Gallerie J : Drink to me *
AP01 [Innovations] : Mirror
Reflections – Lines Silverlining
Unlimited 2.0 – &<BKG
Kaleisdoscope> – Cake Mix *
Alien Skin – Eye Candy 5 –
Impact
Toadies – Ommadown
Graphics Plus – Cut Glass
Eigen Filter – Emboss 3
* Dentro do Unlimited
Preparação:
Abra os tubes no psp duplique e
feche os originais.
Não esqueça de remover a marca d'água
das cópias.
Ao trabalhar com suas próprias cores, brinque com o
Modo de Mesclagem e/ou Opacidade a seu critério.
Os termos: Image /Mirror » Mirror
Horizontal
Image/Flip» Mirror/Vertical
Lembre-se de salvar seu trabalho com frequência
Algumas telas de impressão têm
cores diferentes do original.
Cores:
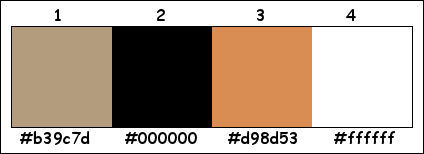
Primeiro Plano cor 1 / Plano de
Fundo cor 2
1- Abra "535_KaD_Alfakanaal"
Window / Duplicate
Feche a original e Continue com a
cópia.
2- Selections / Select all
Ative e Copie "
KaD_AIGeneratedBackground 1" Cole na seleção.
Selections / Select None.
3- Effects / Reflection effects / Rotating
Mirror / DEFAULT
Adjust / Blur / Gaussian blur :
Radius 25
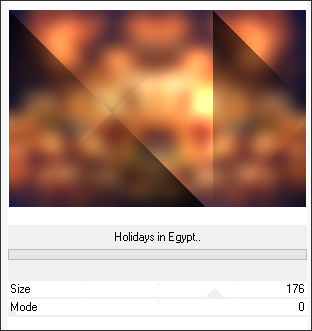
4- Effects / Plugins / Unlimited 2.0 / VM
EXTRAVAGANZA / Holidays in Egypt :
5- Effects / Plugins / Unlimited
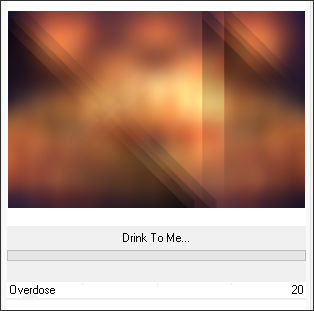
2.0 / FFGJ / Drink to me:
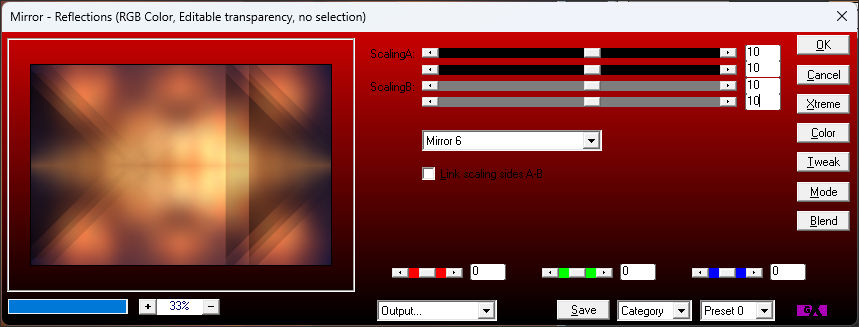
6- Effects / Plugins / AP01 [Innovations] / Mirror
Reflections / Mirror 6:
7- Selections / Load/Save Selection / Load Selection
From Alpha Channel: Selectie 1
Selections / Promote selection to
layer (Promoted selection)
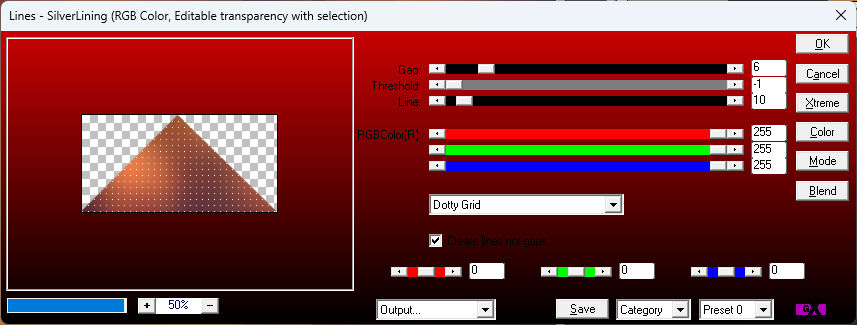
Effects / Plugins / AP01 [Innovations]
/ Lines – Silverlining / Dotty Grid:
Selections / Select none
8- Layers / Duplicate
Image / Mirror / Mirror Vertical
Layers / Merge / Merge down
Effects / Image effects / Seamless
Tiling

Blend mode / Lighten ...
Opacidade / 55
9- Effects / Plugins / Edge effects / Enhance
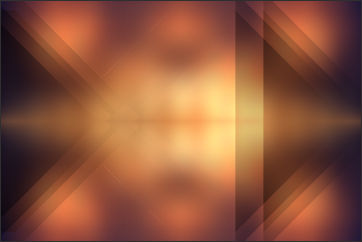
Resultado:
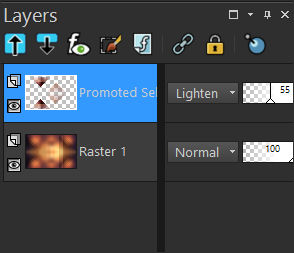
10- Layers / Merge / Merge down
Layers / Duplicate
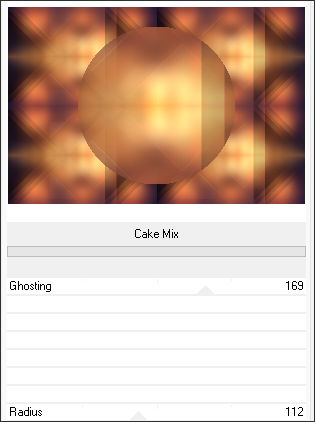
Effects / Plugins / Unlimited 2.0
/ &<BKG Kaleisdoscope>/ Cake Mix
11- Selections / Load/Save
Selection / Load Selection From Alpha Channel:
Selectie 2
Pressione Delete no teclado.
Selections / Select none
12- Image / Resize / 30% ... Resize All Layers ...
Desmarcado.
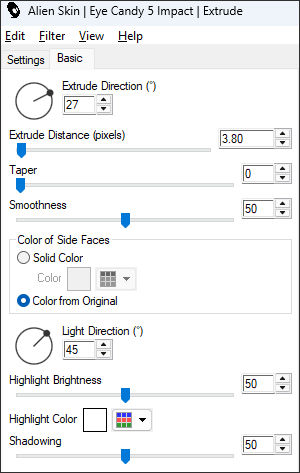
Effects / Plugins / Alien Skin
Eye Candy 5 / Impact / Extrude : Preset 535_KaD_Extrude
Ou manualmente.
13- Effects / Plugins / Alien Skin Eye Candy 5 /
Impact / Glass / CLEAR
14- Ative e Copie "535_KaD_Deco1" Cole como
nova layer (Raster 2)
Layers / Arrange / Move Down
Press K / Pos X : 447 / Pos Y : 41
 Pressione M para sair da Ferramenta.
Ative a Layer do Topo.
Layers / Merge / Merge down (Raster
2)
15- Image / Resize / 75% ... Resize all layers
... Desmarcado.
Press K / Pos X : 29 / Pos Y : 0
 Pressione M para sair da Ferramenta
16- Layers / Duplicate
Image / Resize / 75% ... Resize
All Layers ... Desmarcado.
Press K / Pos X : 103 / Pos Y :
-41 Pressione M para sair da Ferramenta
17- Layers / Duplicate
Image / Resize / 75%... Resize All
Layers ... Desmarcado.
Press K / Pos X : 9/ Pos Y : -34
 Pressione M para sair da Ferramenta
18- Layers / Merge / Merge down
Repeat 1x (Raster 2)
19- Ative a Layer Raster 1
Layers / New Raster layer
Selections / Select all
20- Ative e Copie "KaD_AIGeneratedBackground 1" Cole na seleção.
Selections / Select None
Effects / User Defined Filter /
Emboss 3
Blend mode / Lighten ... Opacidade
/ 20
21- Coloque a cor 3 no Plano de Fundo.
Ative a Ferramenta de Texto (text tool (T)
) Configure como segue:


Digite : Happy
Layers / Convert to raster layer (Raster 4)
Layers / Arrange / Move up
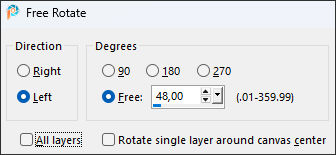
Image / Free rotate / Left 48
Effects / 3D Effects / Drop shadow :
2 / 2 / 35 / 2 / Cor 2
Press K / Pos X : 228 / Pos Y : 11
 Pressione M
para sair da Ferramenta
22 - Ative a ferramenta de Texto e Digite: New Year
Layers / Convert to raster layer (Raster 5)
Image – Free rotate: Left 48
(como antes)
Effects / 3D Effects / Drop shadow :
2 / 2 / 35 / 2 / Cor 2
Press K / Pos X : 19 / Pos Y
: 285
 Pressione M
para sair da Ferramenta
23 - Ative e Copie " KaD_Couple11" Cole como
nova layer
Press K / Pos X : 415 / Pos Y : 23
 Pressione M
para sair da Ferramenta
24-
Layers / Duplicate (Copy of Raster 6)
Ative a Layer (Raster 6) /
Adjust / Blur/ Gaussian blur: Radius 10
Effects /
Plugins / Toadies / Ommadown / DEFAULT
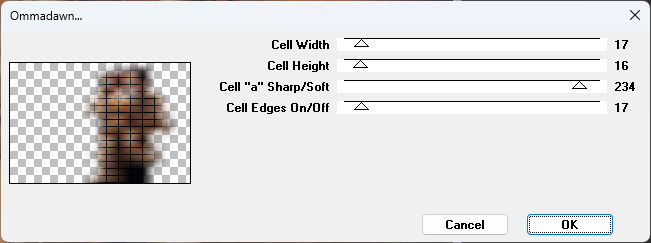
Blend mode / Dodge
25 - Ative a Layer do Topo
Effects / 3D Effects / Drop shadow :
0 / 7 / 50 / 30 / Cor 2
26 -
Layers / New Raster Layers (Raster 7)
Selections / Load/Save Selection / Load Selection
From Alpha Channel: Selectie 3
Preenha a seleção com a cor 3
Effects /
Plugins / Graphics Plus / Cut Glass / DEFAULT : 20 –
50
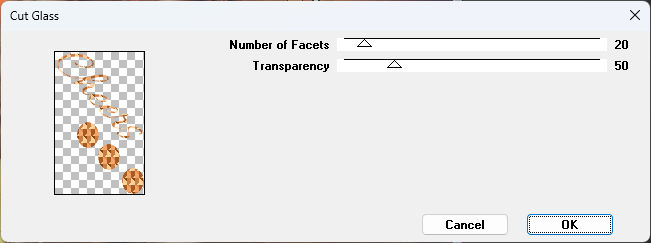
Selections /
Select none
27- Effects / 3D Effects / Drop shadow : 2 / 2
/ 35 / 2 / Cor 2
Layers / Duplicate
Layers / Merge / Merge down (Raster 7)
28- Mude a cor do Primeiro Plano para a cor 4
Ative a Layer Raster 3
Layers / New Raster layer
Preencha com a cor do Primeiro Plano
Layers / New Mask layer / From image:
“LF-Mask22-30102013”
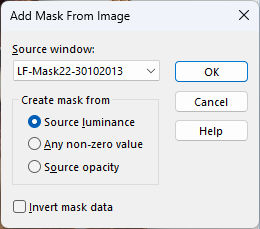
Layers / Duplicate
Layers / Merge /Merge Group (Group – Raster 8)
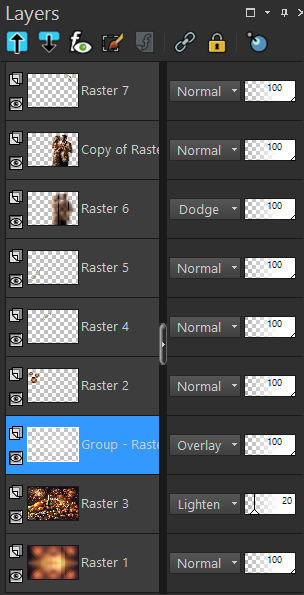
Blend mode / Overlay
Resultado:
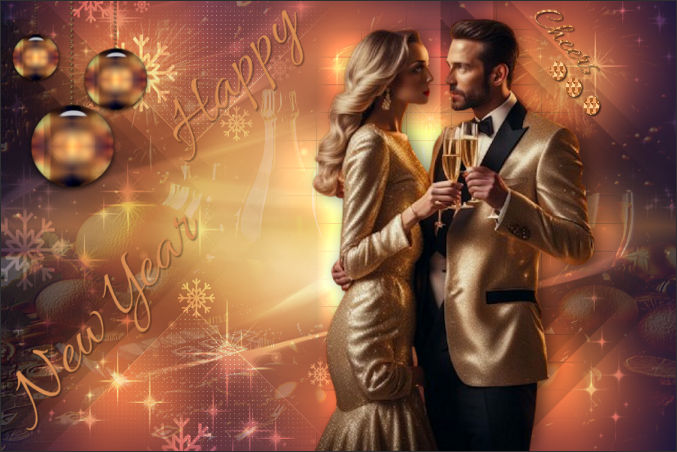
29-
Image / Add borders / Symmetric Marcado / 2 pixels
cor 2
30- Selections /
Select all
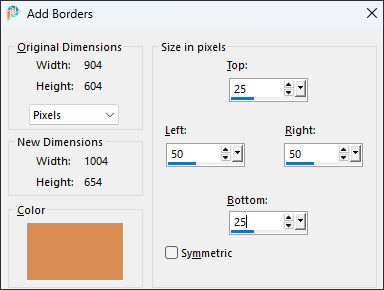
Image /Add borders / Cor 3:
Effects / Image effects / Seamless Tiling
/ DEFAULT
31- Selections / Invert
Adjust / Blur / Gaussian blur :
Radius 30
32-
Adjust / Add/Remove noise/ Add noise:

Selections / Invert
Effects / 3D Effects / Drop shadow :
0 / 0 / 80 / 40 / Cor 2
33- Selections / Invert
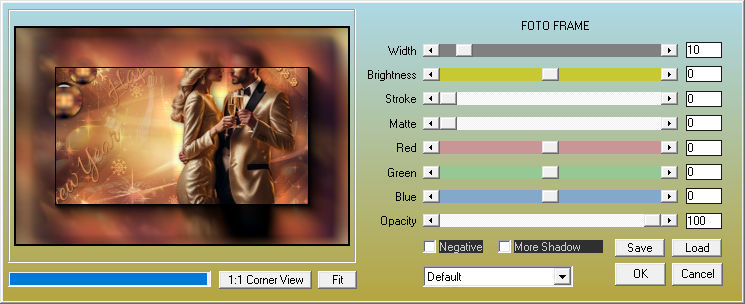
Effects / Plugins / AAA Frames /
Foto Frame:
Selections /
Select none
34- Adicione seu nome ou a sua marca d'água.
Adicione a marca d'água de KaDs.
Se você usar meus tubos feitos por
IA, adicione também esta marca d'água minha:
“AIGeneratedAndTubedByKaD”
35-
Image / Add borders / Symmetric Marcado / 1 pixel
cor 2
Image / Resize / 900 Pixels de
Largura. Resize all Layers Marcado
Adjust / Sharpness / Unsharp Mask
: 2 – 30 – 2 – Nada marcado
Salve como JPG.


©Tutorial traduzido por Estela Fonseca em 01/03/2024.
Não alterar nem repassar sem autorização.