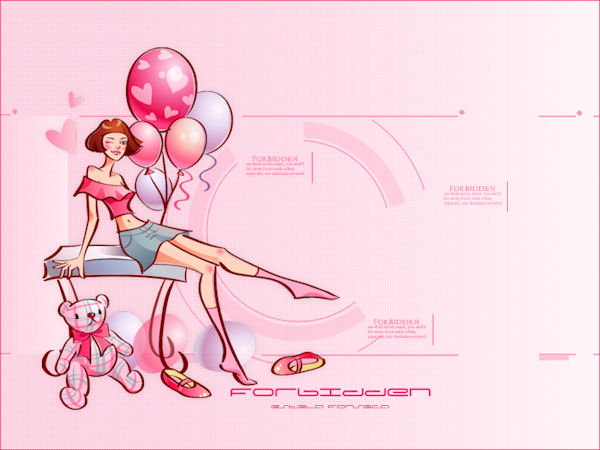
FORBIDDEN
Tutorial de ©Créa Barbouille - Original Aqui
Materiais:
1 template +1 tube +1 mask +1 brush +1 fonte. Aqui
Instale o brush na pasta de brush do PSPMinimize a Fonte.
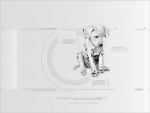
1:) Abra o template "template_forbidden_claire"Nós vamos trabalhar nele!
Delete a marca d'água.
Preencha a layer com a cor "dcdcdc"
2:) Abra a mask "claire_masque_forbidden"
Volte ao seu trabalho,
Layers, nova layer, preencha com a cor "f7f7f7"
Layers, new mask layer , from image
Mask "claire_masque_forbidden"
Marque: "invert mask data".
Na paleta das layers, clique com o botão direito e duplique
Opacidade da layer (50%)
Layers, merge , merge group
3:) Foreground cor "bdbdbd", background cor "f7f7f7"
Forme no primeiro plano um gradiente linear (90/0)
Layers, new layer
Selections, load save selection, load selection, from alpha channel
Seleção (#1)
Preencha a seleção com o gradiente
Opacidade (60%).
Selections , Select None
4:) Layers , new layer
Selections, load save selection, load selection, from alpha channel
Seleção (#2)
Preencha com a cor "b5b5b5"
Selections, select none
5:) Layers, new layer
Selections, load save selection, load selection from alpha channel
Seleção (#3)
Preencha com a cor "d2d2d2"
Selections, select none
6:) Layers, new layer
Selections, load save selection, load selection from alpha channel
Seleção (#4)
Preencha seis vezes, com a cor "c0c0c0"
Selections, select none
7:) Layers, new layerSelections, load save selection, load selection from alpha channe
Seleção (#5)
Preencha com a cor "c0c0c0"
Selections, select none
8:) Layers, new layer
Selections, load save selection, load selection from alpha channe
Seleção (#6)
Preencha duas vezes com a cor "b5b5b5"
Selections, select none
9:) Layers, new layer
Selections, load save selection, load selection from alpha channe
Seleção (#7)
Preencha com a cor "a0a0a0"
Selections, select none
10:) Foreground cor "a0a0a0"
Layers, new layer
Aplique o brush "aDr_TeenyText7"
Posicione
Layers, new layer
Aplique novamente o brush
Posicione
Layers, new layer
Aplique novamente o brush
Posicione
11:) Abra o tube "jcw_losing_my_sopts"
Copie e cole como nova layer
Image, redisize (70%). All layers, desmarcado
Posicione.
Aplique a sombra: (0/0/10/15/preta).
12:) Foreground bloqueado, Background cor "b5b5b5"
Escreva "Forbidden" com a fonte "Captain Podd", tamanho (36px).
Converta em layer
Posicione
Assine seu trabalho com a mesma fonte , porém com o tamanho (14px)
13:) Layer, nova layer
Preencha com a cor "b5b5b5"
Selections, select all
Selections, modify, contract, (1)
Delete, no seu teclado
Select none
Merge All.
Salve como jpg.
©Tutorial Traduzido por Estela Fonseca 27/10/2010.
Obrigada Claire por me permitir traduzir seu trabalho.