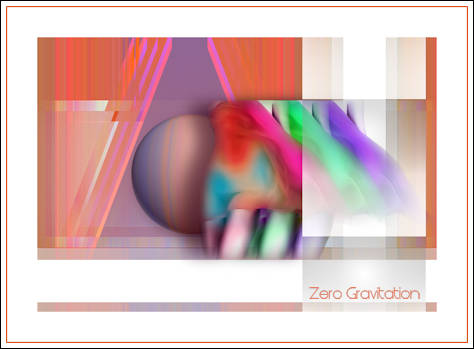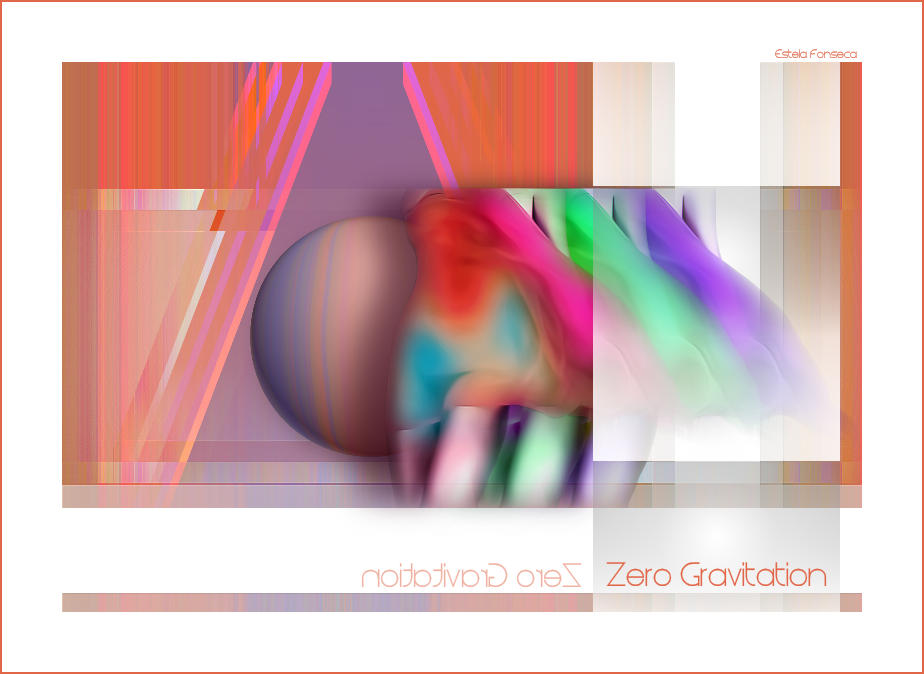
ZERO GRAVITATION
Tutorial de ©CameronTags , original Aqui.
Material Necessário:
Plugins Utilizados:
Filter Factory Gallery H / GridMedRichard Rosenman / 3D Sphere Generator
Alien Skin Eye Candy 5 / Impact
VanDerLee / Unplugged-X / Tile Vertical
Flaming Pear / Swap
1 - Abra uma nova imagem transparente de 800/550 pixelsSelections / Select All
Ative a textura << texturezerogravitation_camerontags.jpg >>Copie e cole na seleção
Selections / Select none
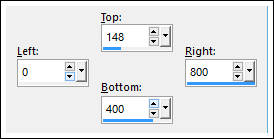
2 -Layers / New raster layerFerramenta Selection Tool (S) / Custom Selection
Primeiro Plano cor #e0dfe3Forme um Gradiente Fading Foreground / Estilo <<Sunburst>> repeats 0
Preencha a seleção com este gradienteSelections /Select None
3 - Effects / Edge Effects / Enhance4 - Layers / New Raster Layer
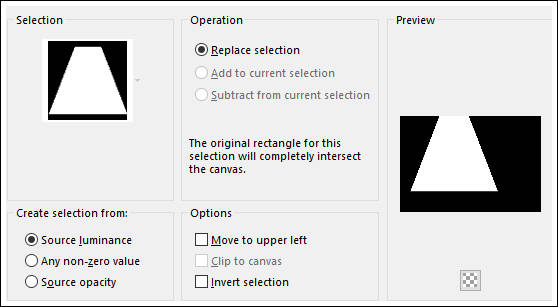
Selections / Load save selection / Load selection from disk: Sele1zerogravitation
Primeiro Plano cor # e16643Gradiente << Fading foreground >> estilo <<Linear>> angle e repeats 0 / Invert marcado
Preencha a Seleção com o Gradiente
Selections / Select none.
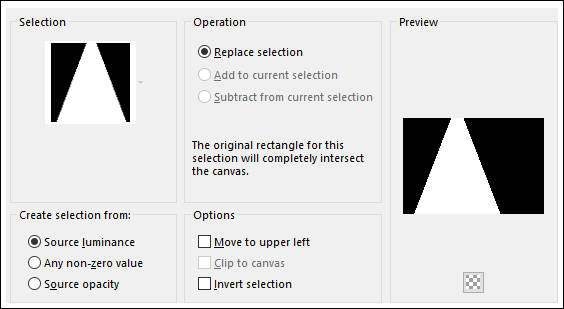
5 - Layers / New Raster LayerSelections / Load save selection / Load selection from disk: Sele2zerogravitation
Primeiro Plano cor #8c6695
Gradiente Fading Foreground estilo <<Linear>> Angle e Repeats 0 / Invert Marcado
Preencha a seleção com o Gradiente
Selections / Select none
6 - Layers / Merge / Merge Visible
Effects / Plugin / Unlimited 2 / Filter Factory Gallery H / GridMed :78/6.
7 - Abra uma nova imagem transparente de 250/250 pixels
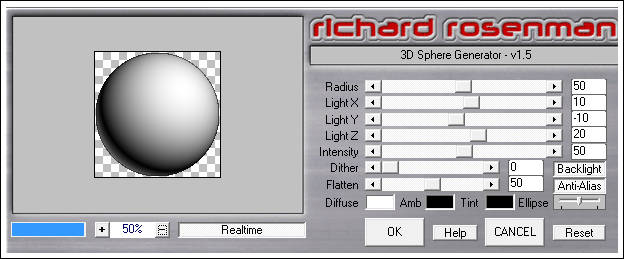
Effects/ Plugin / Richard Rosenman / 3D Sphere Generator
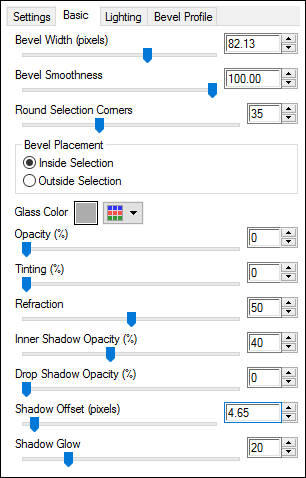
8 - Effects / Plugin / Alien Skin Eye Candy 5 / Impact / Glass / Clear, no Drop ShadowBasic, valores:
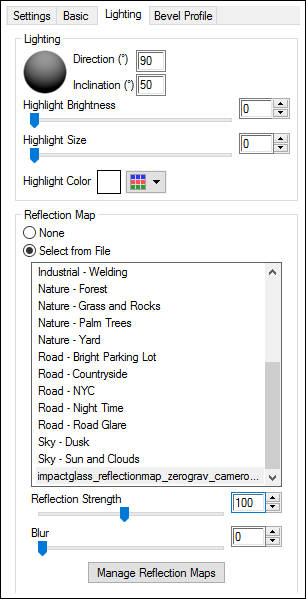
Na guia Lighting , coloque os valores e clique no botão "Manage Reflection Maps"
Clique em "Import" e encontre o material <<impactglass_reflectionmap_zerograv_camerontags.jpg>>
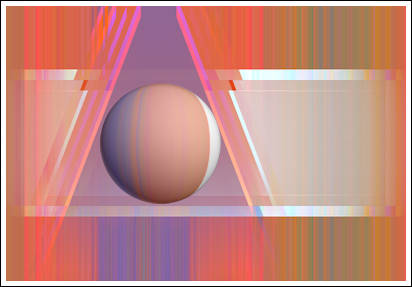
9 - Copie e cole como nova layer
Posicione como segue:
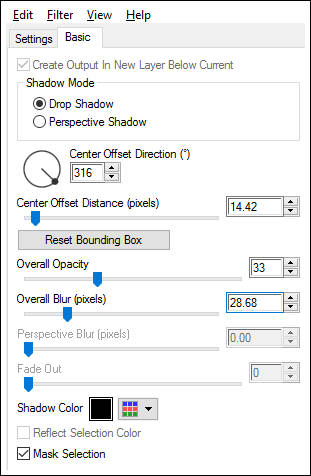
10 - Effects /Plugin /Alien Skin Eye Candy 5 Impact / Perspective Shadow / Drop Shadow Blurry
Basic estes valores:
11 - Layers / New Raster Layer
Preencha com a cor branca # ffffff
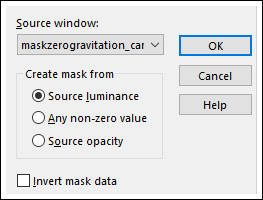
Ative a mask <<maskzerogravitation_camerontags.png>> Minimize
Layers / New Mask layer / From Image
Layers / Merge / Merge Group
Effects / 3D Effects / Drop Shadow: 1/1/40/1/cor #000000
12 - Abra o tube <<bodyzerogravitation_camerontags.pspimage>>
Copie e cole como nova layer
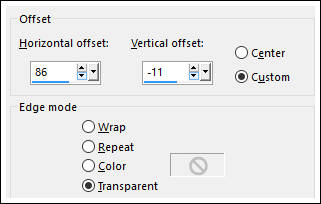
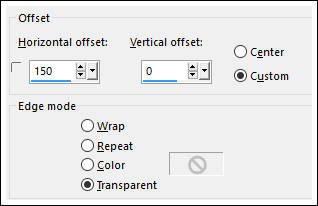
Effects / Image Effects / Offset
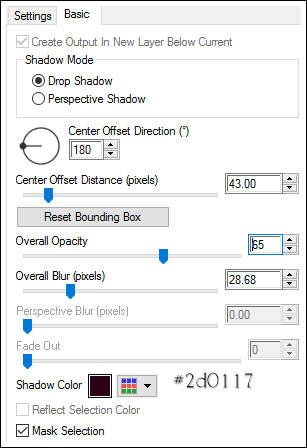
13 - Effects / Plugin / Alien Skin Eye Candy 5 Impact / Perspective Shadow / Drop Shadow BlurryBasic:
14 - Layers / Duplicate (2 vezes)
Na primeira cópia
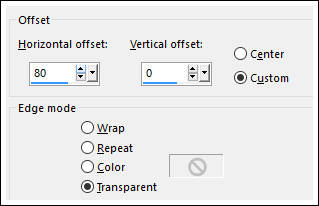
Effects / Image Effects / Offset
Effects / Plugin / Flaming Pear / Swap Red / Green
Layers / Arrange / Move Down15 - Na segunda cópia do tube (Copy (2) of Raster 2)
Effects / Image Effects / Offset:
Effects / Plugin / Flaming Pear / Swap Red / Blue
Layers / Arrange / Move down (2 vezes)16 - Layers /New Raster Layer
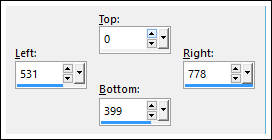
Ferramenta Selection Tool (S) / Custom Selection:
17 - Preencha a seleção com o gradiente Fading Foreground
Estilo Sunburst / Repeats 0 / invert marcado Formado da cor #ffffff
Selections /Select none
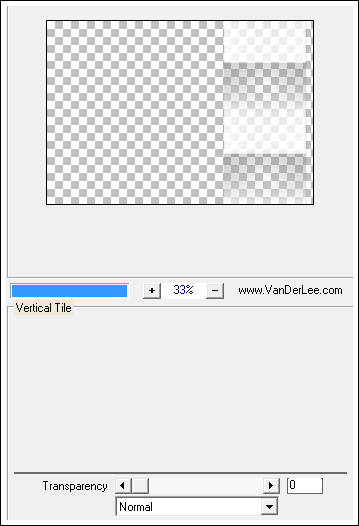
18 - Effects / Plugin / VanDerLee / Unplugged-X / Tile Vertical
19 - Layers / Merge / Merge All
Image / Add Borders / Symmetric Marcado / 60 pixels cor # ffffff
Image / Add Borders / Symmetric Marcado /2 pixels cor #e16647
20 - Abra a fonte Steiner , instaleAtive a Ferramenta de texto / Foreground e Background cor # e16647
Tamanho 28 pixels / Escreva "Zero Gravitation" - Posicione conforme o modelo.
Layers / Duplicate
Image / Mirror
Posicione.
Baixe a opacidade da layer para 50%
Layers / Merge / Merge AllSalvar como jpg.
© Tutorial Traduzido por Estela Fonseca em 04/12/2009.
Obrigada, Cameron por me permitir traduzir este trabalho.