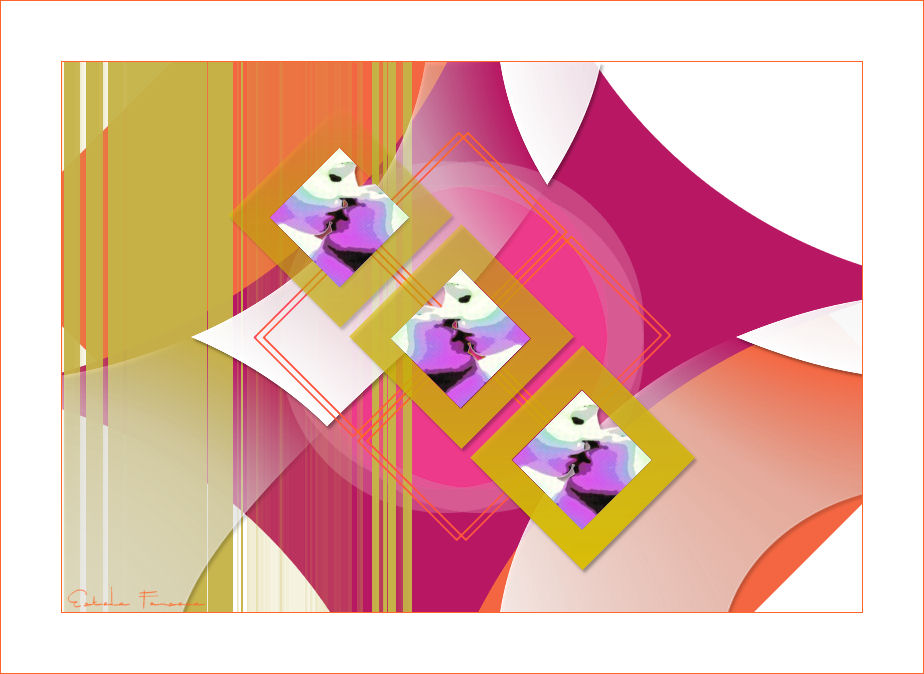
THE LOVERS I
Tutorial de ©CameronTags.
Material Necessário:
Plugins Utilizados:
1- Abra uma nova imagem transparente de 800 / 550 pixelsPreencha com a cor branca #ffffff
2- Layers / New Raster LayerPreencha com a cor #f46641
Image / Free Rotate / Free 45º / Right3- Layers / New Raster Layer
Preencha com a cor #b81863
Image / Free Rotate / Free 45º / Left4- Effects / Distortion Effects / Pinch: 100
5- Layers / New Raster Layer/ Preencha com a cor #ee3a8a
Effects / Geometric Effects / Circle: TransparenteImage / Resize / 60% (Resize all layers, Desmarcado)
6- Effects / Plugin / Filter Factory Gallery J / Drink To Me /valores: 12
7- Layers / New Raster Layer / Preencha com a cor #c5b347
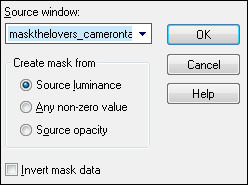
Layers / New Mask Layer / From Image:
Layes / Merge / Merge Group8- Layers / New Raster Layer
Selections Tool (S) / Custom Selection:
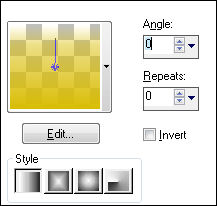
Preencha a seleção com o gradiente Fading Foreground formado das cores:Foreground cor #ffffff / Estilo Linear / Angle e Repeats 0
Selections / Select None
9- Effects / Plugin / Simple / Diamonds
10- Effects / Distortion Effects / Pinch: 10011- Effects / Plugin / Alien Skin Eye Candy 5 Impact / Perspective Shadow / Drop Shadow Low
Em Basic, valores:
12- Ative o tube <<rombothelovers_camerontags.pspimage>> Copie e cole como nova layer
13- Layers / New Raster Layer
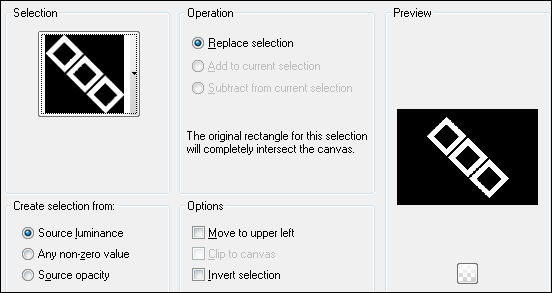
Selections / Load save selection / Load selection from disk: selectionthelovers_camerontags.
Preencha a seleção com o gradiente formado das cores:
Foreground cor#d9bd07 / Busque no foreground o gradiente Fading Foreground
Selections / Select None14- Ative a varinha mágica e selecione o centro do primeiro quadrado
Ative o tube <<thelovers_camerontags.pspimage>>
Copie e cole na seleção
Selections / Select None
15- Clique com a varinha mágica dentro do quadrado Nº2
Ative o tube <<thelovers>>
Image / Mirror / Mirror Horizontal
Copie e cole na seleção
Selections / Select None
16- Repita o passo Nº 14 com o quadrado Nº3
17- Effects / Plugin / Alien Skin Eye Candy 5 Impact / Perspective Shadow / Drop Shadow LowEm Basic:
18- Layers / Merge / Merge AllImage / Add Borders / Symmetric Marcado / 1 pixel cor #ff6528
Image / Add Borders / Symmetric Marcado / 60 pixels cor #ffffff
Image / Add Borders / Symmetric Marcado / 1 pixel cor #ff6528
Assine e salve como jpg
© Tutorial Traduzido por Estela Fonseca em 08/06/2011.
Obrigada, Caroline por me permitir traduzir este trabalho.