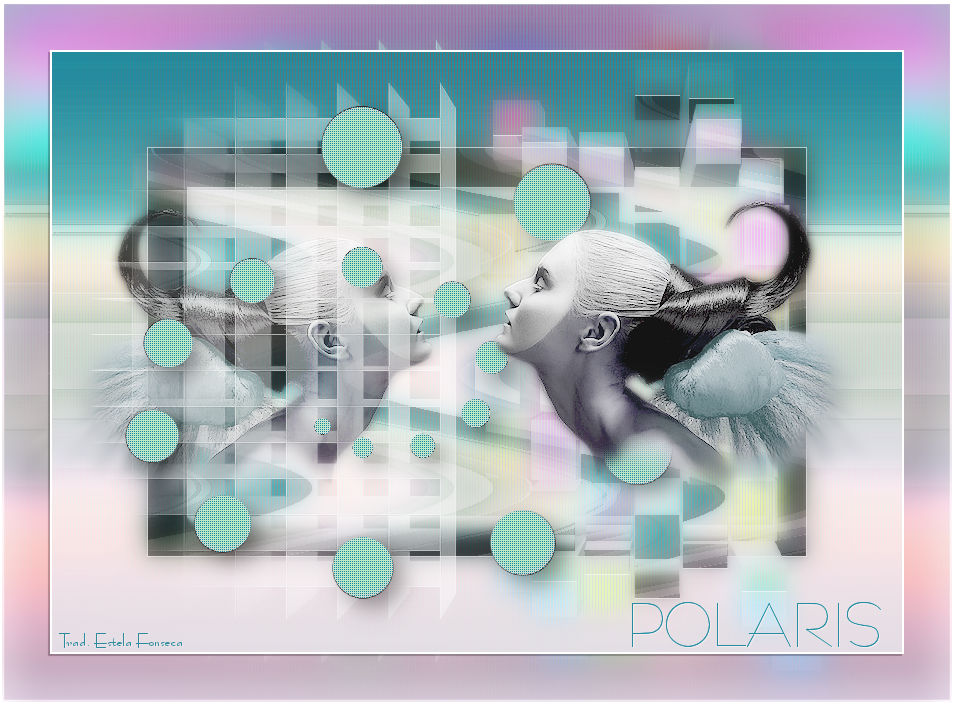
POLARIS
Tutorial de ©CameronTags , original Aqui. / Obrigada Cameron , por sua autorização.
Material Necessário:
© Denise tube rosto Worisch
Plugins Utilizados:
Eye Candy 5 Impact
Simples
Backgroundmaniac Native illusions
AAA Frame /Foto Frame
Borduremania ou Bordermania
Esthétiques ou Stylize Extrude
Flaming Pear Aetherize e Kyoto Color
Xero
Corel Paint Shop Pro Programa
1 - Abra uma Nova imagem transparente de 850/600 pixelsSelections / Select All.
Ative <<texturapolaris.jpg>>
Copie e cole na seleção
Selections / Select none.
2 - Selections / Select All
Selections / Modify / Contract 95
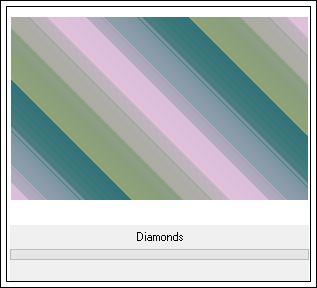
Effects / Plugin / Simple / Diamond
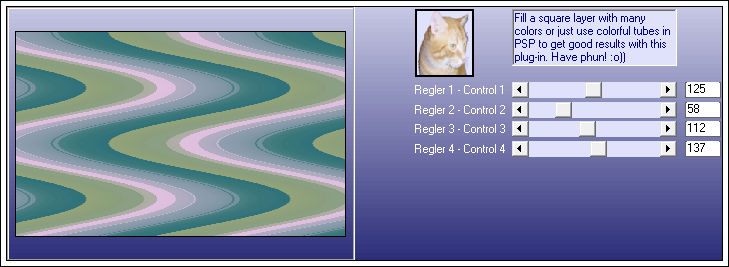
Effects / Plugin / Backgroundmaniac / Native Illusions:
Mantenha a Seleção!!!!!
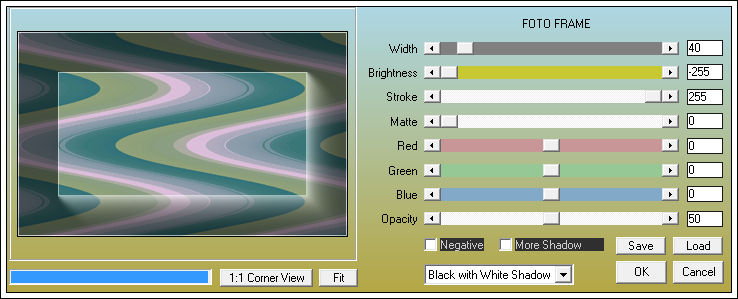
3 - Effects/ Plugin / AAA Frames / Foto Frame:
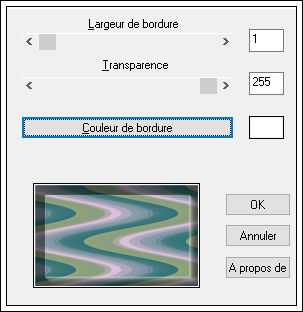
Effects / Plugin / Borduremania / Cadre Plat /valores: 1 / 255 / # ffffff
Selections / Select none.
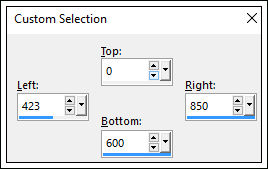
4 - Ferramenta Custom Selection:
Selections / Promote Selection to layer
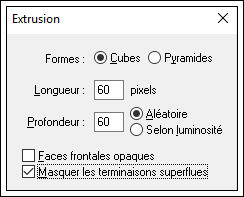
5 - Effects / Plugin / Esthétic / Extrusion ou Stylize / Extrude
Selections / Select none.
Layers / Merge / Merge Down
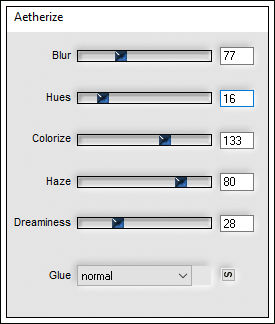
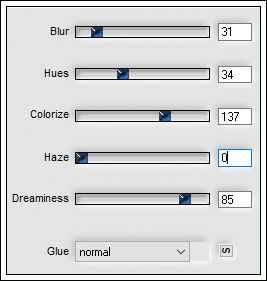
6 - Effects / Plugin / Flaming Pear / Aetherize:
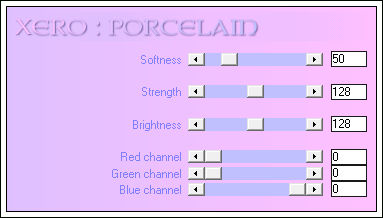
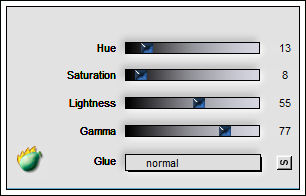
Effects / Plugin / Xero / porcelain: 50 / 128 / 128 / 0 / 0 / 0
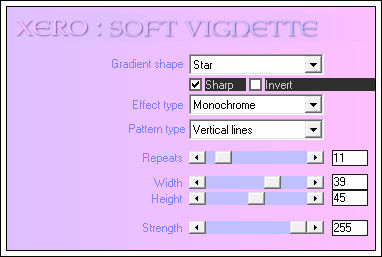
Adjust / Sharpness / Sharpen More7 - Effects / Plugin / Xero / Soft Vignette:
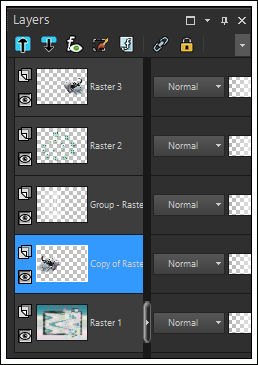
8 - Layers / New Raster Layer
Preencha com a cor # ffffff
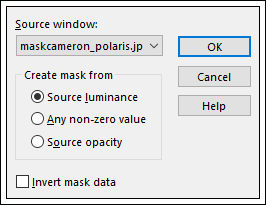
Ative a <<maskcameron_polaris.jpg>> Minimize
Layers / New mask layer / From image: Invert Mask desmarcado
Layers /Merge / Merge group
Opacidade 83%.
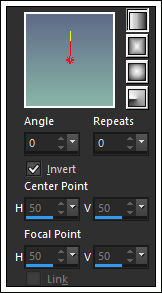
9 - Forme Um Gradiente Estilo Linear Angle e Repeats 0 /
Formado das cores # 5f6a88 e # 88b5a6
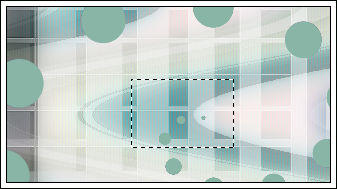
Ferramenta <<Elipse>>Desenhe um círculo com um raio X e Y de 40,50Center X de 310,00 e Center Y 335,00 , veja abaixo:
10 - Layers / Convert to Raster layer.
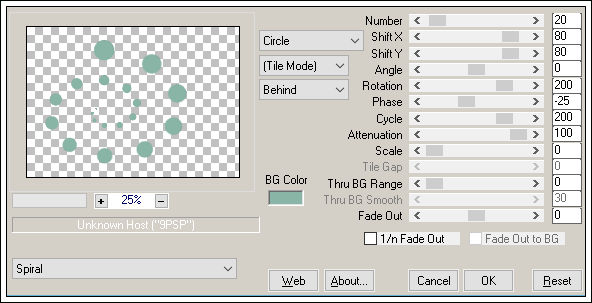
11 - Effects / Plugin / Mura's Meister / Copies
Faça com a ferramenta seleção um contorno nos últimos 3 circulos e delete no teclado.
12 - Effects / Plugin / Flaming Pear / Aetherize:
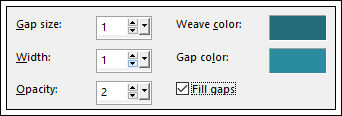
Effects / Texture Effects / Weaver : weave color: # 246c79 - Gap color: # 2b8c9e
Marque a caixa "Fill Gaps"
Adjust / One Step Photo Fix
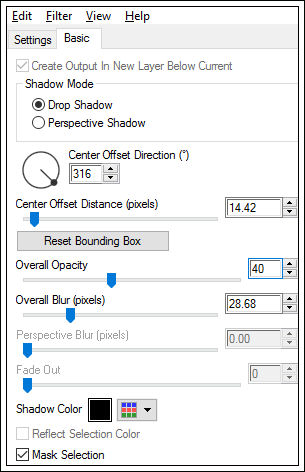
Effects /Plugin / Alien Skin Eye Candy 5 / Impact / Perspective Shadow /Preset <<Drop Shadow, Blurry>>na aba Basic:
13 - Abra o tube <<4951dwtubes.pspimage >>
Copie e cole como nova layer
Image / Resize / 60% (Resize all layers desmarcado)
Effects / Plugin / Xero / Porcelain:
Effects / Plugin / Flaming Pear / Kioto Color:
14 - Adjust / Sharpness / Sharpen
Image / Mirror / Mirror Horizontal (Image-Mirror)
Posicione à direita e ao centro do plano.
Layers / Duplicate
Image / Mirror / Mirror Horizontal (Image-Mirror)
(o tube da esquerda) baixe a opacidade para 79% .
Layers / Arrange Move Down (3 Vezes)
Layers / Merge / Merge All.
Image / Add Borders / Symmetric / 2 pixels cor # ffffff (Minimize esse trabalho 1)
15 - Abra nova imagem transparente de 950 / 700 pixels.
Selections/ Select all
Copie o trabalho 1 e cole na seleção
Selections / Select None.
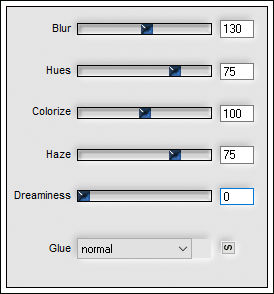
Effects / Plugin / Flaming Pear / Aetherize: 130/75/100/75/0.
16 - Ative o ´<<Trabalho 1>> e cole como nova Layer (no trabalho 2)
Effects / 3D Effects / Drop shadow: 2/ -2 / 25/1,00 / cor # 000000 .
Image / Add Borders / Symmetric / 2 pixels cor #ffffffEscreva o texto
Salve como JPG .
VOLTAR
© Tutorial Traduzido por Estela Fonseca em 02/07/2009.
Obrigada, Cameron por me permitir traduzir este trabalho.