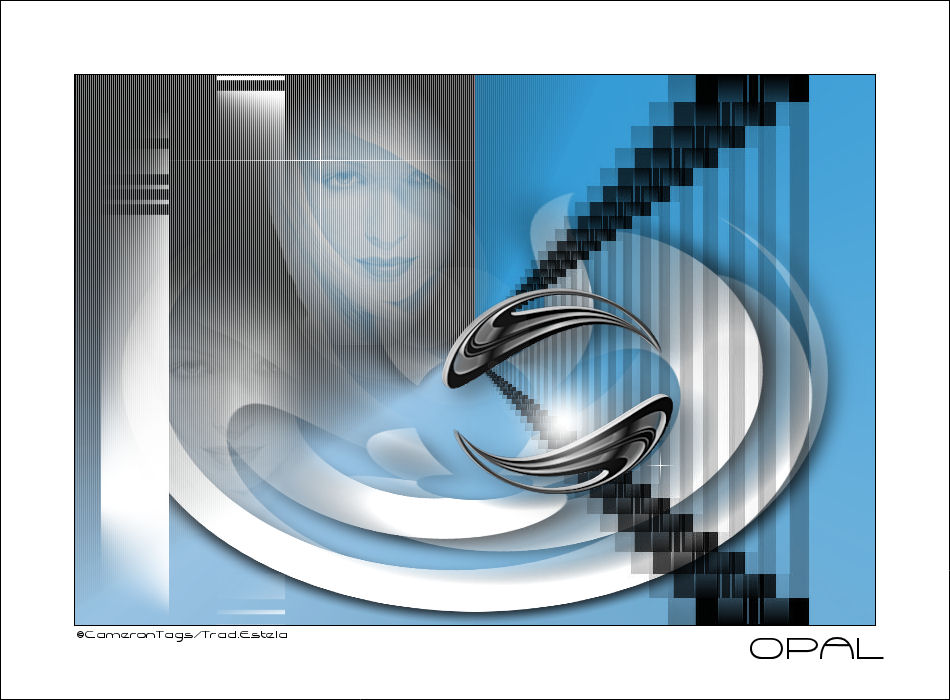
OPAL
Tutorial de ©CameronTags , original Aqui. Obrigada Cameron , por sua autorização.
Material Necessário:
tube ©GK Atrapadas PSP
Plugins Utilizados:
Factory Gallery E
Visman VM Natural
Eye Candy 5 Impact
1-Abra uma nova imagem transparente de 800 x 550 pixels.
Preencha com a cor preta #000000.
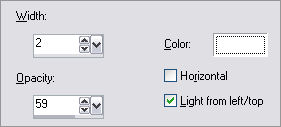
Effects / Texture Effects / Blinds:
2- Layers / New Raster Layer
Preencha com o Gradiente Linear Angle 90 Repeats 0 / formado a partir das cores: #2490cc e #d7d9e8.
Invert marcado.
Layers / New Raster Layer
Preencha com a cor branca.
3- Ative a maskcameronF39 e minimize.
Layers / New mask layer / From image: mask: maskcameronF39
Layers / Merge /Merge group.
Effects / Plugins / Eye Candy 5 Impact / Drop Shadow Blurry - em Basic: shadow color #000000
4- Layers / Merge / Merge Down
Effects / Plugins / Tramages / Perforator 1:147/126/134/207/131/107/90.
Effects / Distortion Effects / Polar Coordinates / Rectangular to polar / Repeat
5- Layers / New Raster Layer
Preencha com a cor #000000
Ative a maskcameronF33 e minimize
Layers / New Mask Layer / from Image: maskcameronF33
Layers / Merge / Merge Group
6- Layers / New Raster Layer
Preencha com a cor branca #ffffff
Ative a mask maskcameronF35 e minimize.
Layers / New Mask Layer / From Image: maskcameronF35
Layers / Merge / Merge Group
Effects / Image Effects/ Seamless Tiling: corner/bidirecional/-71/55/64/linear marcado.
7- Ativar o tube "172_woman_tubes_GK_01-02-2006pspimage"
Copie e cole como nova layer , coloque do lado esquerdo.
Reduza a opacidade para 70% .
Layers / Duplicate
Arraste para baixo e para a esquerda
Blend Mode / Soft Light
Opacidade 100%.
Ative o tube "opalo_camerontags.psp"
Copie e cole como nova layer
Posicione a direita conforme modelo.
Layers / Merge / merge All.
Digite o seu texto.
8- Effects / Ilumination effects / Sunburst: 20/61/63/0/0/35.
9- Image / Add Borders / Symmetric Marcado / 1 pixel cor #000000
Image / Add Borders / Symmetric Marcado / 73 pixels Cor #ffffff
Image / Add Borders / Symmetric Marcado /1 píxel cor #000000.
10- Effects / Plugins / VM Natural / Sparkle:129/255/255/255/255/142
Assine seu trabalho
Salve como JPG.
© Tutorial Traduzido por Estela Fonseca em 28/05//2009.
Obrigada, Cameron por me permitir traduzir este trabalho.