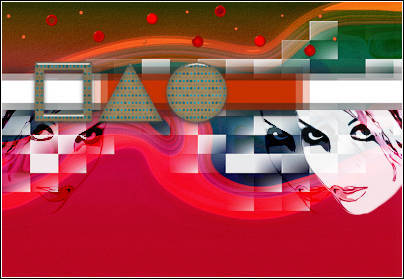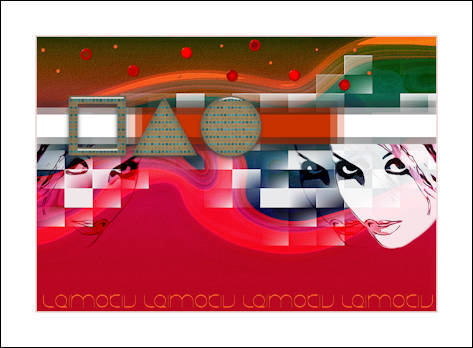
LEIMOTIV
Tutorial de ©CameronTags , original Aqui.
Material Necessário:
Fonte JUSTIFYlazy
Eye Candy 5 Textures
Eye Candy 6
FM Tile Tools Blend Emboss
VanDerLee UnPlugged-X
1- Abra uma nova imagem transparente de 800 / 550 pixelsSelections / Select All
Ative « texturecamerontags_tutorialleimotiv.png»
Copie / Cole na seleção
Selections / Select None
2- Layers / New Raster Layer
Preencha com a cor #ffffff
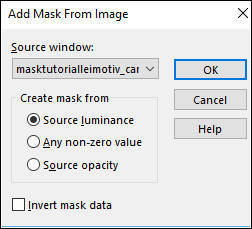
Active «masktutorialleimotiv_camerontags.png» Minimize
Layers / New Mask layer / from image
Layers / Merge / Merge Group
3- Effects / Plugins / Alien Skin Eye Candy 6 /Text_Selection / Perspective Shadow
Drop Low Opacity, Black
Em Basic, estes valores:
4- Layers / Merge / Merge All
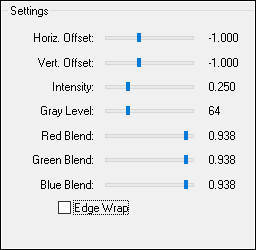
5- Effects / Plugins / FM Tile Tools / Blend Emboss:
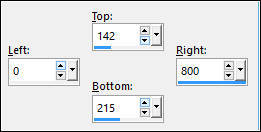
6- Layers / New Raster Layer
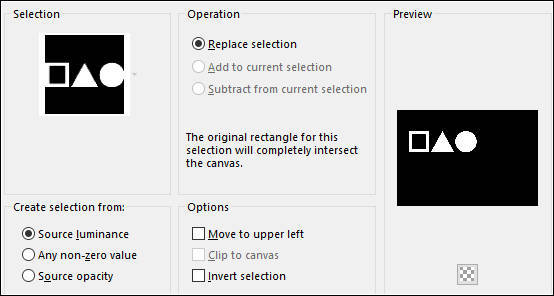
Ative a Ferramenta Selection Tools / Custom Selection /valores:
Preencha com a cor #ffffff
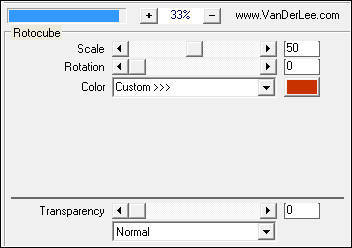
7- Effects / Plugins / VanDerLee / UnPlugged-X / Rotocube:
Selections / Select None
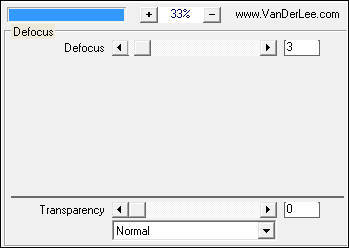
8- Effects / Plugins / VanDerLee / UnPlugged-X / Defocus:
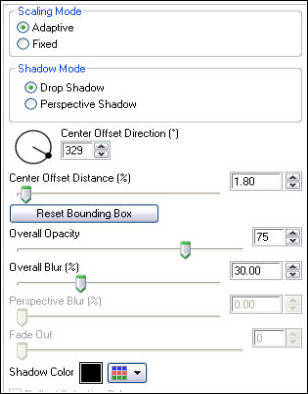
9- Effects / Plugins / Alien Skin Eye Candy 6 / Text_Selection / Perspective Shadow / Drop - Blurry
Em Basic, estes valores:
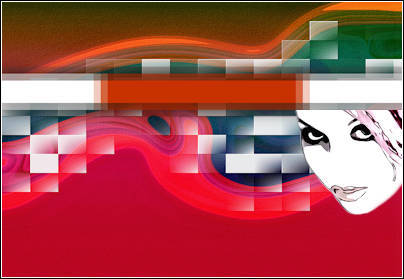
10- Ative o tube « facetutorialleimotiv_camerontags.pspimage»
Copie e cole como nova layer
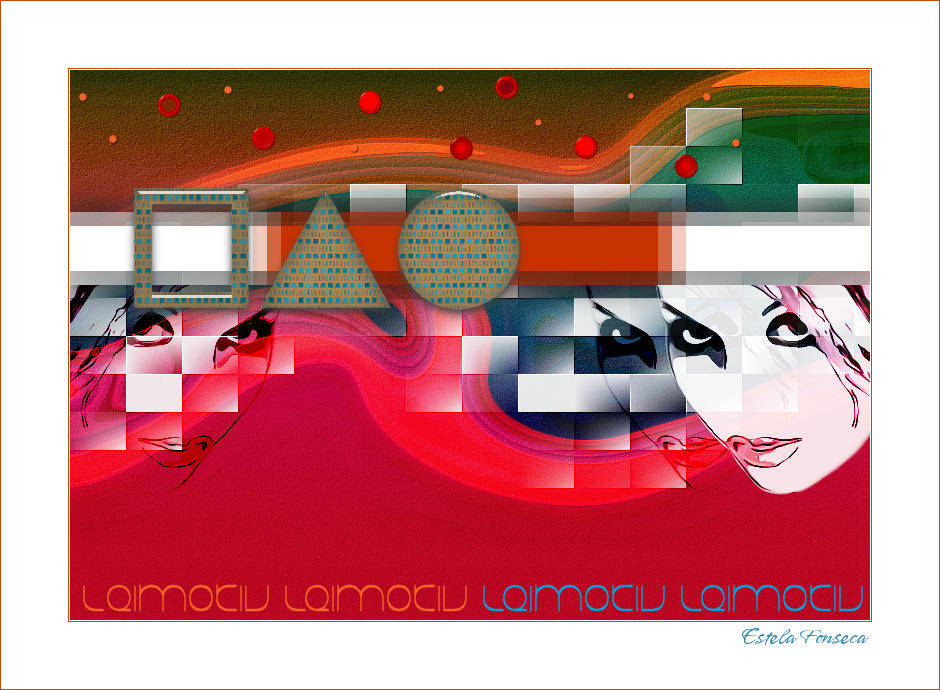
Com a Ferramenta Mover coloque a direita , como mostra a imagem:
Blend Mode / Hard Light
Opacidade / 89%
11- Layers / Duplicate ( 2 vezes)
Na layer «Copy of Raster 2»
Image /Mirror
Blend Mode / Burn
12- Ative a Layer «Copy(2) Of Raster 2»
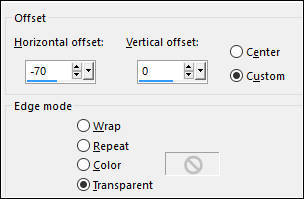
Effects / Image Effects / Offset:
Blend Mode / Burn
Layers / Arrange Move down ( 2 vezes)
13- Ative a Layer do topoLayers / New Raster Layer
Selections / Load save selection / Load selection from disk: seleleimotiv1_camerontags
14- Preencha a seleção com a cor #ffffff
Selections / Select None
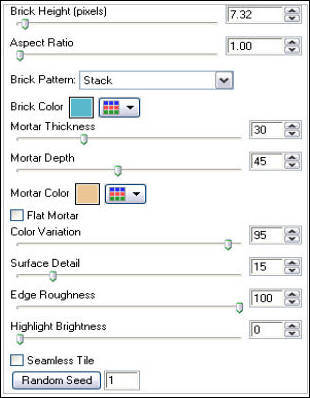
Effects / Plugins / Eye Candy 5 / Textures / Brick Wall / Em Basic, estes valores:
15- Effects / Plugins / Eye Candy 6 /Text_Selection / Glass / Colored / Watery, Down
- Em Basic, estes valores:
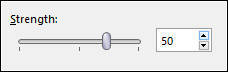
16- Adjust / Hue and Saturation / Vibrancy
17- Ative «circlestutorialleimotiv_camerontags.pspimage»
Copie e cole como nova layer
Mova para o topo como segue:
18- Layers / Merge / Merge All
Image / Add Borders / Symmetric Marcado / 1 pixels cor #ffffff
Image / Add Borders / Symmetric Marcado /1 Pixel cor #c04800
Image / Add Borders / Symmetric Marcado / 67 pixels cor #ffffff
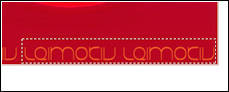
19- Ative o tube «letrastutorialleimotiv_camerontags.pspimage»
Copie e cole como nova layer
20- Ative a ferramenta de seleção em retângulo
Faça uma seleção sobre as duas ultimas palavras
Image / Negative Image
Selections / Select None
Nota: se preferir faça as letras Leimotiv, com a ferramenta Texto
Na paleta de cores coloque no background e no foreground a cor #f36228
Escreva 4 vezes o texto "Leimotiv" , deixando um espaço entre cada palavra.
Depois continue do igual ao passo Nº 20
21- Escreva o TextoLayers / Merge / Merge All
Salve como jpg
VOLTAR© Tutorial Traduzido por Estela Fonseca em 10/10/2010.
Obrigada, Cameron por me permitir traduzir este trabalho.