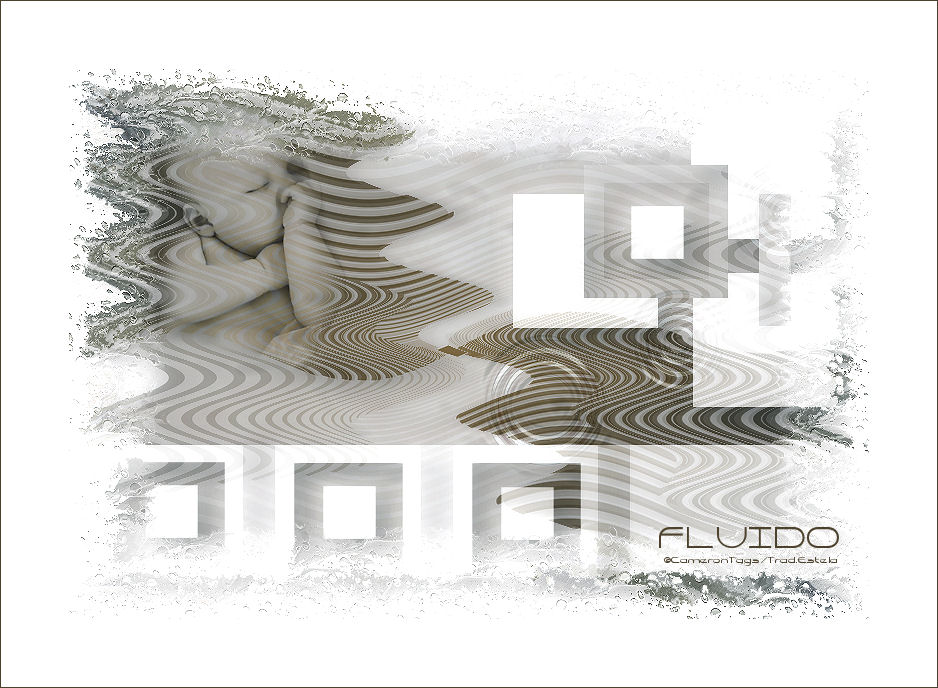
FLUIDO
Tutorial de ©CameronTags , original Aqui.
Material Necessário:
tube ©Fabienne Farouche para TDA
Plugins Utilizados:Redfield Plasteroid
Flaming Pear Glare
Eye Candy 5 Nature
Eye Candy 5 Impact
· Programa Corel Paint Shop Pro
01- Abra uma nova imagem transparente de 800 / 550 pixels.
Preencha com a cor branca #ffffff.
Layers / New Raster Layer
Preencha com o gradiente Sunburst Formado das cores: #27363d e #a0855a / invert marcado
Ative a mask:"maskcameronF34" Minimize
Layers / New Mask Layers / From Image:maskcameronF34
Layers / Merge / Merge Group
Effects /Plugin / Alien skin / Eye Candy 5 Impact / Perspective Shadow: Drop Shadow Blurry.
Em basic:
Layers / Merge / Merge Visible
02- Effects / Distortion Effects / Wave: 5/15/5/50/repeat marcado
03- Ative o tube "Baby.pspimage by Fabienne Farouche"
copie e cole como nova layer
Posicione no canto superior esquerdo
Blend Mode /Luminance
Opacidade / 87%.
Layers / Merge / Merge Visible
04- Effects / Plugin / Alien Skin Eye Candy 5 / Nature / Ripples: Raindrops in Calm Water
05- Layers / New Raster Layer
Preencha com a cor #ffffff
Ative a maskcameronF36, Minimize
Layers / New Mask layers / From Image: mask:maskcameronF36
Layers / Merge / Merge group.
Effects / Plugin / Alien Skin / Eye Candy 5 Impact / Perspective Shadow: Drop Shadow Blurry
Mesmos valores do passo nº 1
Opacidade / 71
Layers / Merge / Merge Visible
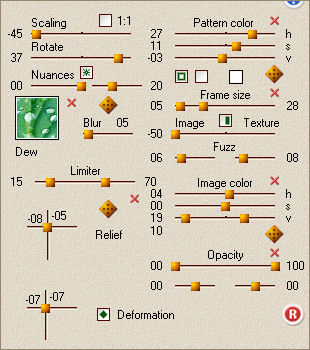
06- Effects / Plugin / Redfield / Plasteroid
07- Adjust / One Step Photo Fix
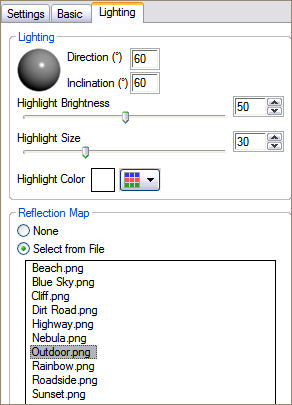
Effects / Plugin / Flaming Pear / Glare: 69/81/42/47/-149
Escreva seu texto.
Image / Add Borders / Symmetric / 68 pixels cor #ffffff
Image / Add Borders / Symmetric / 2 pixels cor #4b412c
Salve como jpg.
© Tutorial Traduzido por Estela Fonseca em 28/05//2009.
Obrigada, Cameron por me permitir traduzir este trabalho.